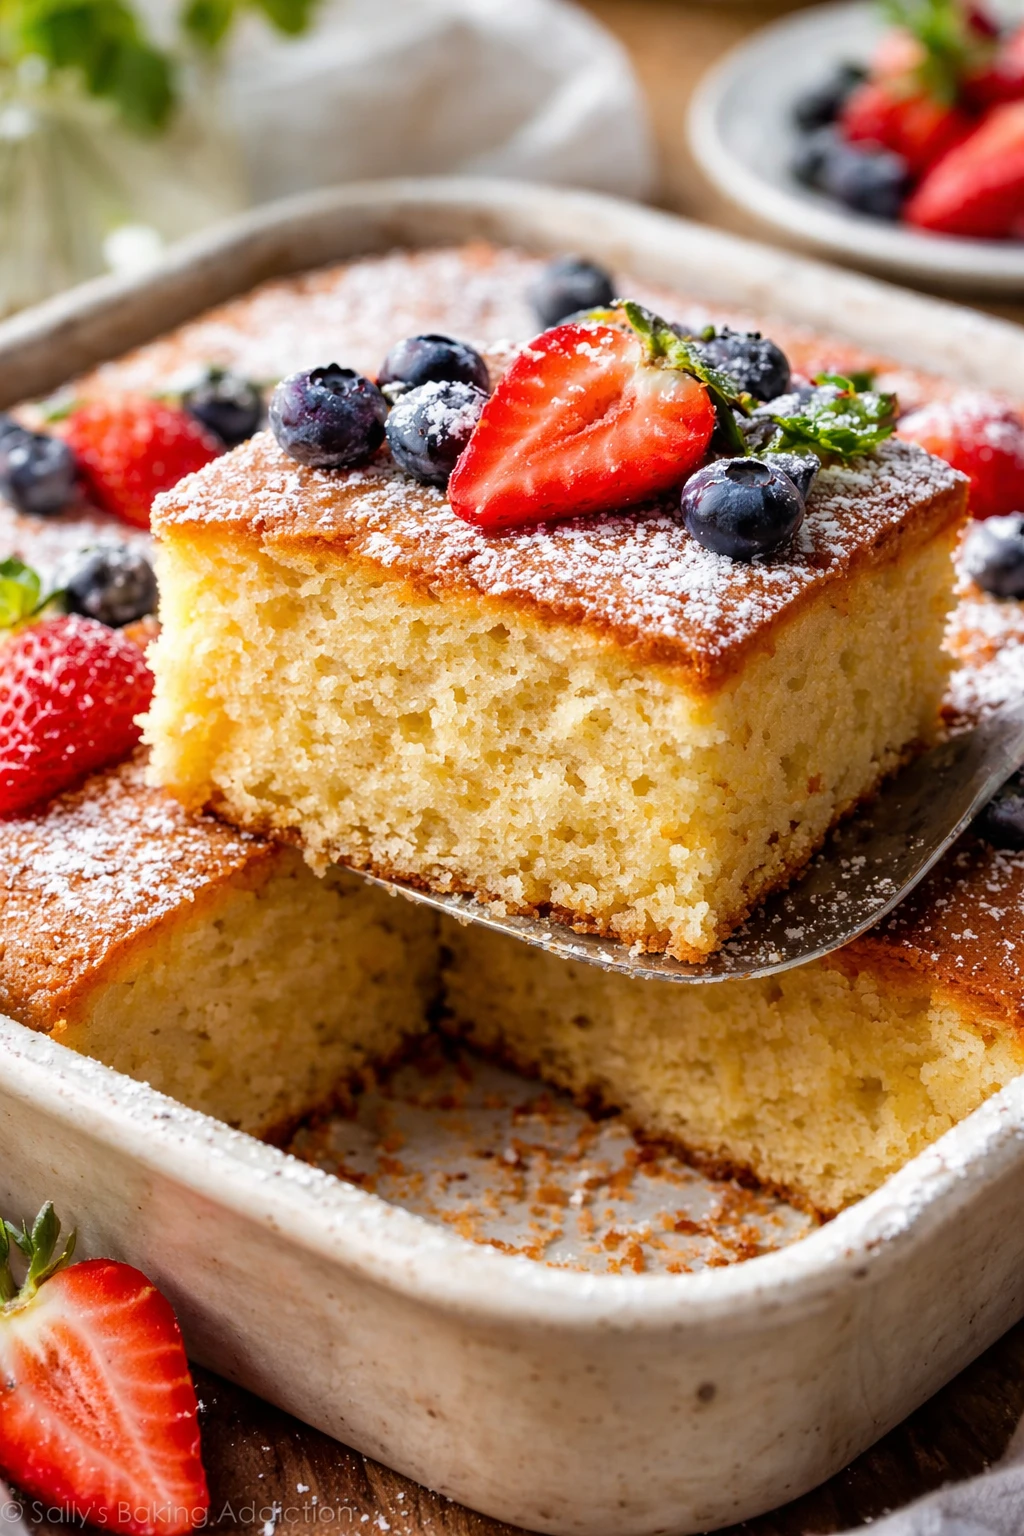
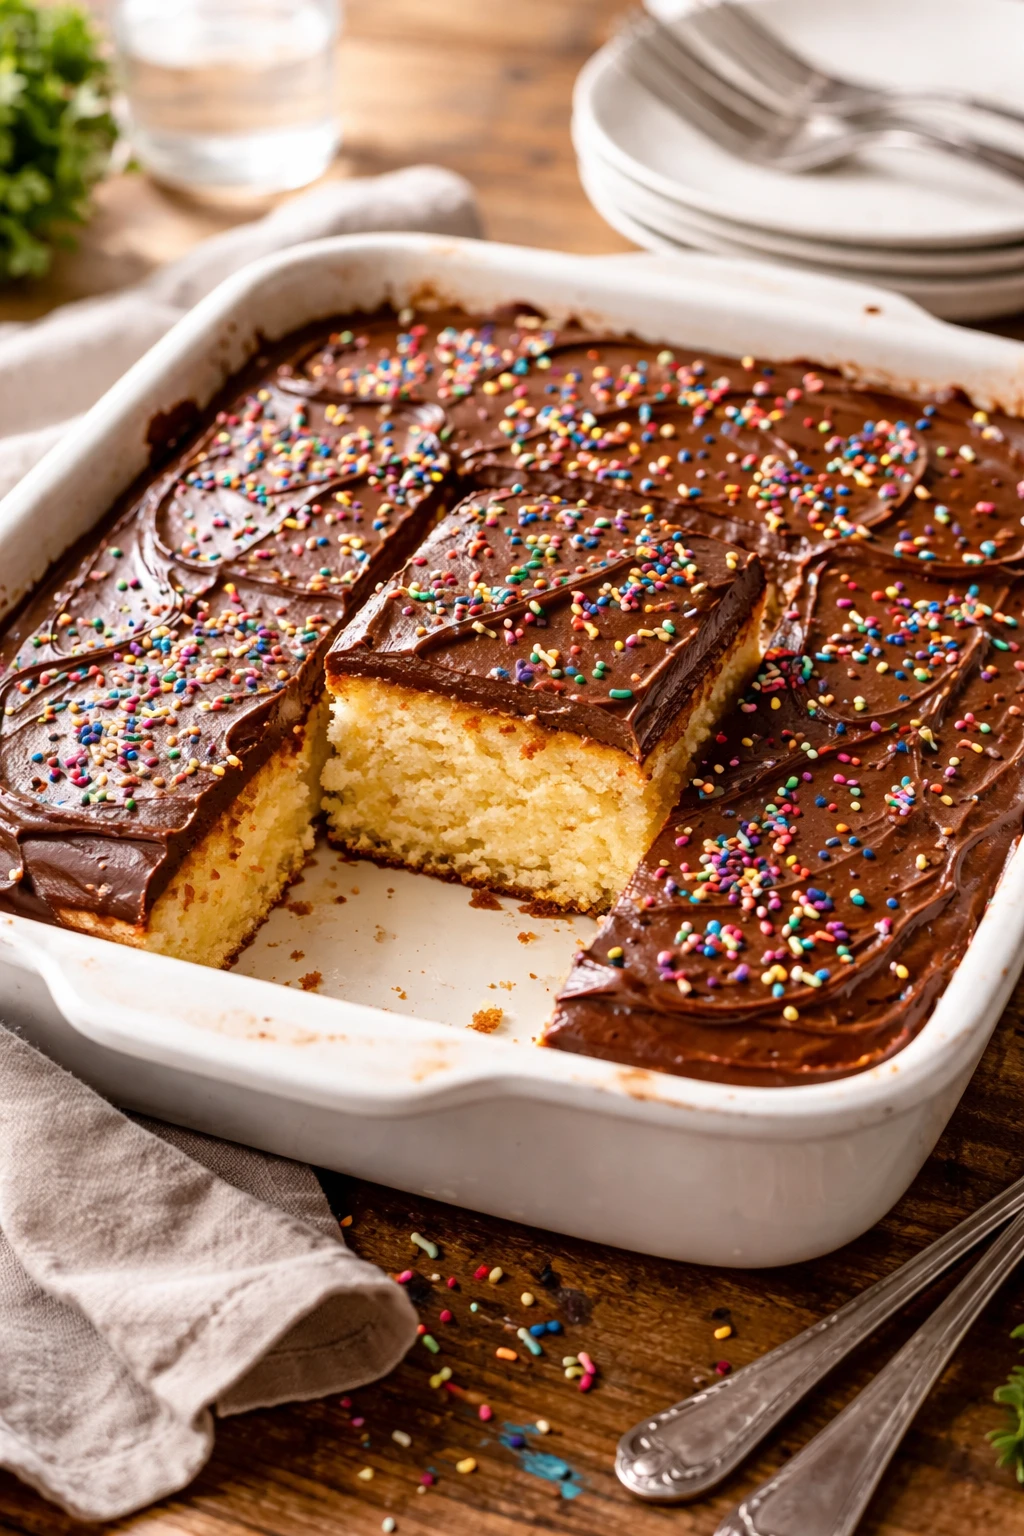
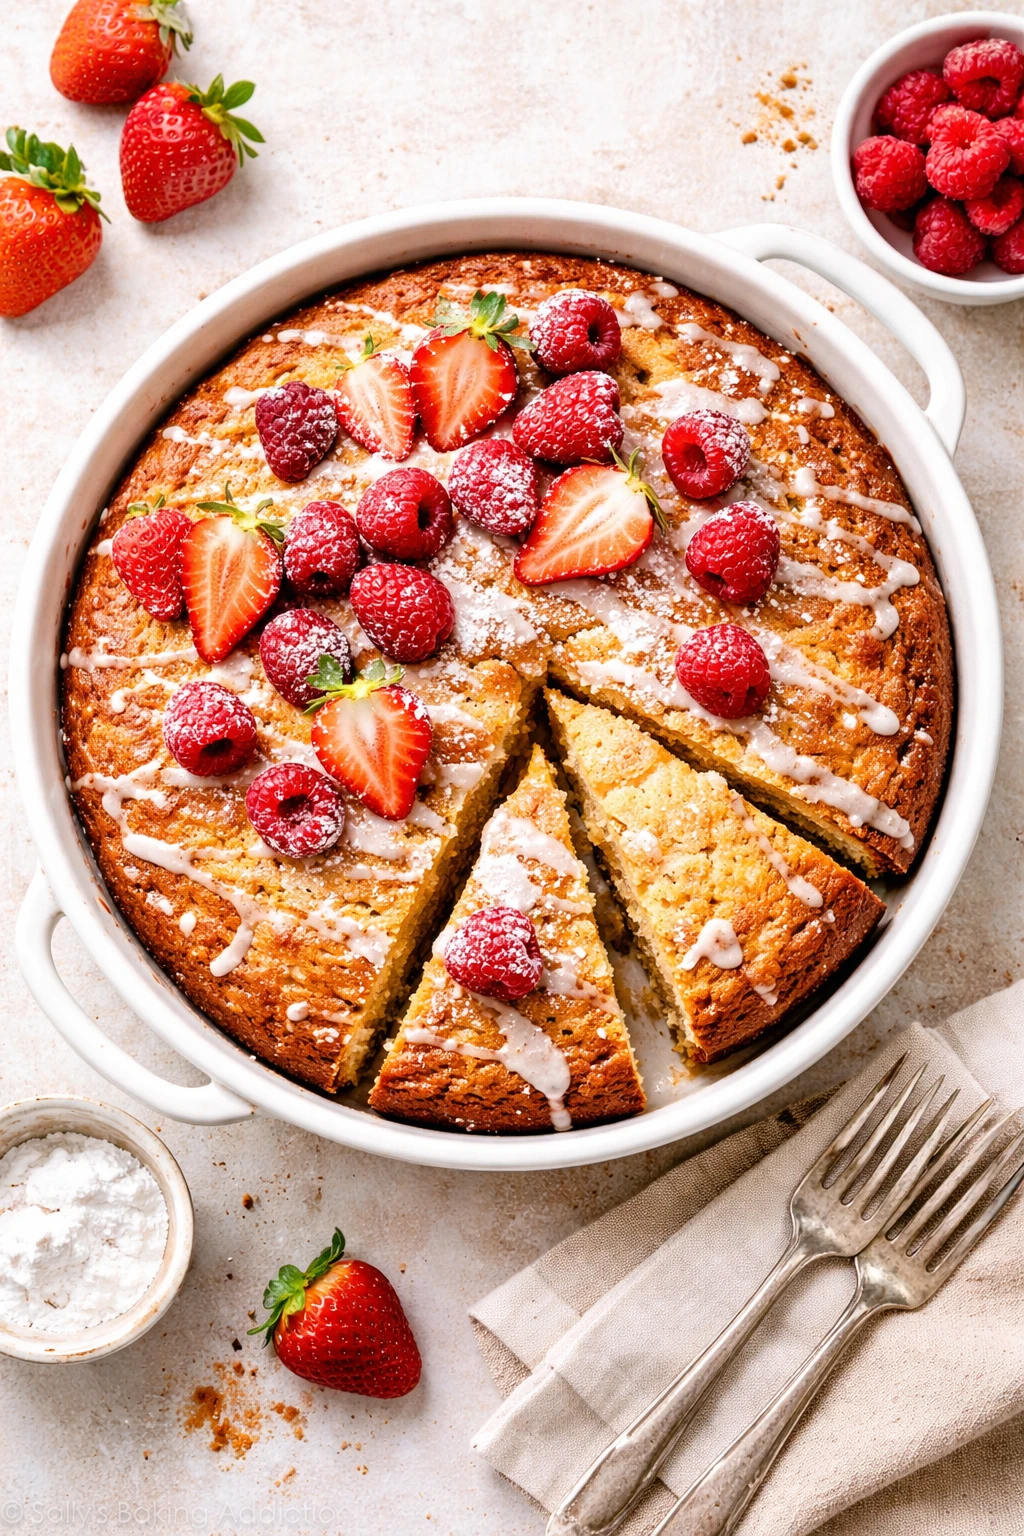
This one-pot vanilla cake is such a lifesaver when you want something sweet but don’t want to fuss. It’s super moist thanks to mixing everything right in the pan, and it’s ready fast. Great for afternoon tea or last-minute dessert!
Introduction
I've been making this one-pot vanilla cake for years whenever I want a quick treat without the usual mess. The first time I tried it, I was skeptical about mixing everything in one pan, but it turned out so moist and tender that it quickly became a favorite. What sets this version apart is using melted butter instead of creaming it, which keeps the cake super soft and rich. Also, I found that gently folding the flour and not overmixing helps keep it light and fluffy. The cake bakes up golden with a delicate crumb, perfect for slicing with a cup of tea or coffee. Honestly, it’s one of those simple recipes that feels fancy but really isn’t. I love how easy cleanup is — no extra bowls to wash! If you’re short on time but want something homemade and comforting, this is your go-to cake. It’s not overly sweet, so you can dress it up with fresh berries or a dusting of powdered sugar. My family always asks for seconds, and I bet yours will too!
What You'll Need
One 8-inch round cake, 8 servings
- 225g self-raising flour, sifted
- 200g caster sugar
- 115g unsalted butter, melted and cooled
- 2 large eggs
- 240ml whole milk
- 1 tsp vanilla extract
- Pinch of salt
How To Do It
Step 1
Preheat your oven to 180°C (350°F). Grease an 8-inch round cake pan and line the bottom with parchment paper to prevent sticking. This step is crucial because it ensures your cake will release easily without crumbling when it’s done. Greasing the pan evenly also helps the cake bake uniformly, avoiding dry edges. Avoid skipping the parchment paper as it’s a simple trick to guarantee a perfect slice later.
⏱ Time: 10 minutes
✓ Doneness: Pan is evenly greased with parchment paper firmly in place
Step 2
In the same cake pan, add the melted butter and caster sugar. Stir gently with a wooden spoon or spatula until combined. The melted butter coats the sugar, which helps dissolve it slightly and creates a moist crumb in the final cake. Mixing directly in the pan saves washing extra bowls and keeps the process streamlined. Don’t over-stir here; just bring the ingredients together.
⏱ Time: 3 minutes
✓ Doneness: Butter and sugar appear glossy and slightly blended
Step 3
Crack in the eggs, one at a time, stirring gently after each addition to blend fully. This slow addition helps the eggs incorporate smoothly without curdling the butter. Eggs provide structure and moisture, so mixing them well is key to a tender crumb. If you rush, you might end up with lumps or a batter that’s too thick, making baking uneven.
⏱ Time: 4 minutes
✓ Doneness: Batter looks smooth and slightly thickened after egg addition
Step 4
Pour in the milk and vanilla extract. Stir gently again until everything is combined into a smooth batter. The milk thins the batter to the right consistency, while vanilla adds that warm, comforting aroma. Be careful not to overmix here; once the milk is incorporated, stop stirring to keep the cake light and airy.
⏱ Time: 2 minutes
✓ Doneness: Batter is smooth and slightly runny, with no lumps
Step 5
Sift the self-raising flour and salt over the wet ingredients in the pan. Then, using a spatula, fold the flour into the batter gently. Folding rather than stirring vigorously prevents gluten from developing too much, which would make the cake tough. You want to see a few streaks of flour disappearing but avoid overworking the batter. This technique is what keeps the cake tender and soft.
⏱ Time: 5 minutes
✓ Doneness: Batter is smooth with no visible flour, slightly thick but pourable
Step 6
Scrape down the sides of the pan to ensure all ingredients are fully combined. This prevents dry pockets of flour or butter, which could cause uneven texture. A quick but thorough scrape helps the batter bake consistently and rise evenly. It’s a small step but makes a big difference in the final cake’s texture.
⏱ Time: 2 minutes
✓ Doneness: Batter evenly distributed with no clumps on sides
Step 7
Place the pan in the preheated oven and bake for 28-30 minutes. Avoid opening the oven door in the first 20 minutes to prevent the cake from sinking. The heat causes the butter to set and the eggs to coagulate, giving the cake structure. The self-raising flour’s baking powder creates air bubbles that make the cake rise. Patience here ensures the perfect rise and moist crumb.
⏱ Time: 30 minutes
✓ Doneness: Top is golden and a skewer inserted comes out clean
Step 8
Remove the cake from the oven and let it cool in the pan for 10 minutes. This resting time lets the cake set, making it easier to remove without breaking. Cooling too quickly or trying to unmold while hot can cause it to crumble. After 10 minutes, run a knife around the edges to loosen the cake gently.
⏱ Time: 10 minutes
✓ Doneness: Cake slightly shrinks from pan edges and feels firm to touch
Step 9
Invert the cake onto a wire rack and peel off the parchment paper. Let it cool completely before slicing or serving. Cooling fully allows the crumb to finish setting, so slices hold together nicely. If you cut too soon, the cake might be too soft and fall apart. Once cooled, it’s ready to enjoy plain or topped with fresh fruit or cream.
⏱ Time: 30 minutes
✓ Doneness: Cake is cool to touch and holds shape when sliced
Pro Tips
Sift flour right before folding it in
Sifting aerates the flour and removes lumps, which helps incorporate it more gently into the wet ingredients. This prevents overmixing and ensures a light, tender crumb. Skipping this step can cause clumps that result in uneven texture.
Use room temperature eggs
Room temperature eggs blend more easily with melted butter and sugar, creating a smoother batter. Cold eggs can cause the butter to seize or curdle, affecting the cake’s texture and rise.
Don’t open the oven door during the first 20 minutes of baking
Opening the oven door too soon causes heat loss and can make the cake collapse by interrupting the rise process. Keeping the oven closed ensures stable temperature and proper leavening.
Cool cake in pan before removing
Allowing the cake to rest in the pan helps it set and prevents it from breaking apart when unmolding. Removing it too early can cause it to crumble or stick.
Use parchment paper for easy release
Greasing alone may not prevent sticking, but lining the pan with parchment paper ensures the cake lifts out cleanly, preserving its shape and texture.
Mix batter gently but thoroughly
Gentle mixing prevents gluten overdevelopment while ensuring ingredients are combined evenly. Overmixing leads to a tough cake; undermixing causes uneven pockets of flour.
Measure ingredients accurately
Baking is a science, and precise measurements ensure the right balance of moisture, structure, and sweetness. Using a kitchen scale is best for consistency.
Common Mistakes to Avoid
Overmixing the batter
Why it happens Many cooks think more mixing means better blending, but overmixing develops gluten, making the cake tough instead of tender.
Fix Fold the flour in gently just until no dry streaks remain. Use a spatula rather than a mixer, and stop mixing as soon as the batter is smooth.
Skipping parchment paper
Why it happens Some assume greasing alone is enough to prevent sticking, but without parchment, the cake often sticks to the pan edges or bottom.
Fix Always line the pan bottom with parchment paper after greasing. This simple step guarantees clean release and easier cleanup.
Using cold eggs or butter
Why it happens Cold eggs or butter don’t blend well, causing a lumpy batter or curdling, which affects texture and rise.
Fix Bring eggs to room temperature before mixing, and let melted butter cool slightly before combining with eggs.
Opening the oven door early
Why it happens Anxious to check doneness, some open the oven too soon, causing heat loss and cake collapse.
Fix Resist the urge to peek for at least the first 20 minutes to allow the cake to rise and set properly.
Incorrect oven temperature
Why it happens Ovens can run hotter or cooler than the dial shows, leading to underbaked or burnt cakes.
Fix Use an oven thermometer to ensure accurate temperature, and adjust accordingly for even baking.
Variations
Lemon One-Pot Cake
Add zest of one lemon and replace vanilla extract with lemon juice for a bright, citrusy twist. The cake will be slightly tangier and refreshing, perfect for spring or summer afternoons.
Note: Because lemon juice adds acidity, reduce milk by 1-2 tablespoons to keep batter consistency similar.
Chocolate Swirl Cake
Stir in 2 tablespoons of cocoa powder with the flour and gently swirl in melted chocolate chunks before baking. This adds rich chocolate flavor and a marbled look without complicating the one-pot method.
Note: Ensure cocoa powder is sifted with the flour to prevent clumps and maintain light texture.
Berry-Stuffed One-Pot Cake
Fold in fresh or frozen berries gently into the batter before baking. The berries burst and add juicy pockets of flavor, making the cake more festive and colorful.
Note: If using frozen berries, toss them in a little flour first to prevent sinking.
Spiced One-Pot Cake
Add 1 teaspoon cinnamon and 1/4 teaspoon nutmeg to the flour for a warm, cozy flavor. This version is lovely in autumn or winter and pairs well with cream cheese frosting.
Note: Mix spices with the flour to evenly distribute flavor throughout the cake.
Gluten-Free One-Pot Cake
Substitute self-raising flour with a gluten-free baking mix and add 1/4 teaspoon xanthan gum if not included. This keeps the cake tender and moist for gluten-sensitive eaters.
Note: Baking time may increase slightly; check doneness with a skewer after 30 minutes.
Nutrition
Per Serving:
Nutritional values are estimates and may vary based on specific ingredients used.
Storage & Tips
Room Temperature
Store the cooled cake covered loosely with foil or a cake dome at room temperature for up to 2 days. Avoid airtight containers as they can trap moisture and make the crust soggy.
Refrigerator
Keep the cake in an airtight container in the fridge for up to 5 days. The cake may firm up and lose some softness but will still taste good cold or warmed.
Freezer
Wrap the cake tightly in plastic wrap and then foil to freeze for up to 2 months. Thaw overnight in the fridge and reheat gently before serving to restore softness.
Reheating
Warm slices in a low oven (150°C) for 10-15 minutes or briefly in the microwave with a damp paper towel to prevent drying out. Avoid overheating to keep moist texture.
Make Ahead
You can prepare the batter a few hours in advance and keep it covered in the pan in the fridge. Bring it back to room temperature before baking for best rise and texture.
FAQ
Can I use plain flour instead of self-raising flour?
Yes, but you’ll need to add baking powder to compensate. For every 150g of plain flour, add 1.5 teaspoons of baking powder. This ensures the cake rises properly and has the right texture.
What if I don’t have vanilla extract?
You can skip it or substitute with an equal amount of almond extract or a teaspoon of lemon zest for a different flavor. Vanilla adds warmth but is not essential for the cake’s structure.
How do I know when the cake is done?
Insert a toothpick or skewer into the center. If it comes out clean or with a few moist crumbs, the cake is ready. If batter sticks, bake for a few more minutes and check again.
Can I make this cake dairy-free?
Yes! Substitute the butter with a dairy-free margarine or coconut oil and use a plant-based milk like almond or oat milk. The texture will be slightly different but still tasty.
Why does my cake sometimes sink in the middle?
This usually happens if the oven temperature is too low, or the cake is underbaked. Also, opening the oven door too early can cause the cake to collapse. Use an oven thermometer and avoid peeking early.
Can I add frosting or glaze?
Absolutely! This cake is a great base for simple glazes, buttercream, or whipped cream. Because it’s lightly sweet, you can get creative with toppings without it being overpowering.
What’s the best pan to use for this recipe?
An 8-inch round cake pan works best to get the right thickness and bake time. Avoid using pans that are too large or small as it will affect cooking time and texture.
Can I double the recipe?
Yes, but bake in two pans rather than one large pan to ensure even cooking. Adjust baking time accordingly; check doneness with a skewer.
Final Thoughts
Give this one-pot vanilla cake a try and enjoy how easy and delicious baking can be. Don’t forget to share your results—I’d love to hear how it turns out!