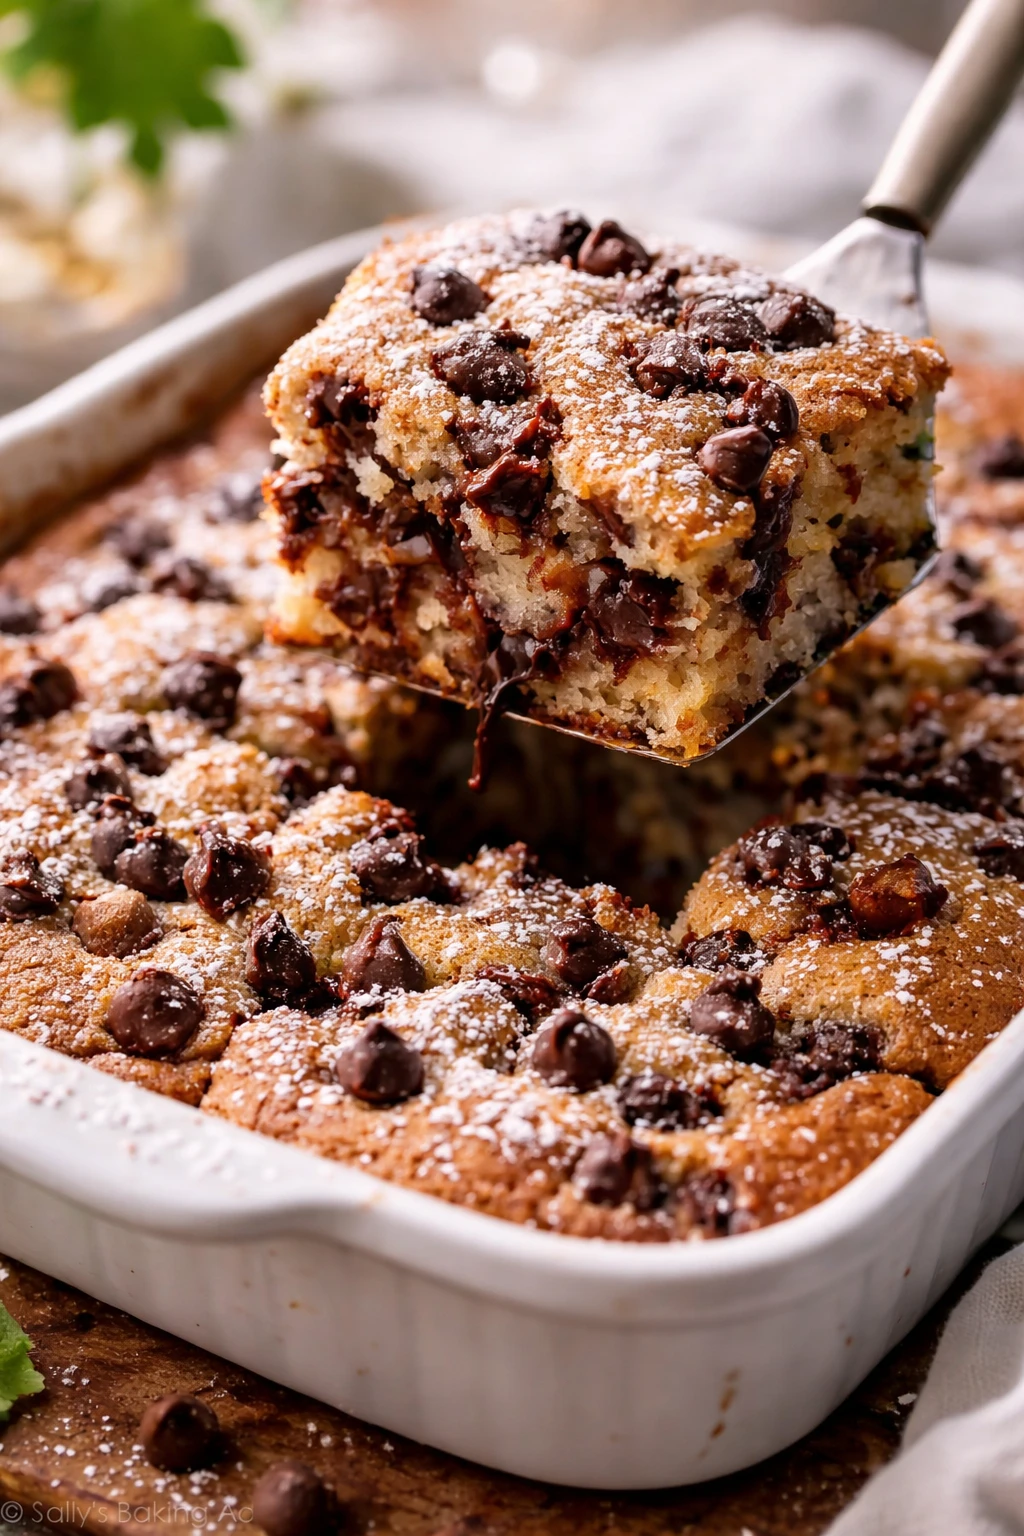
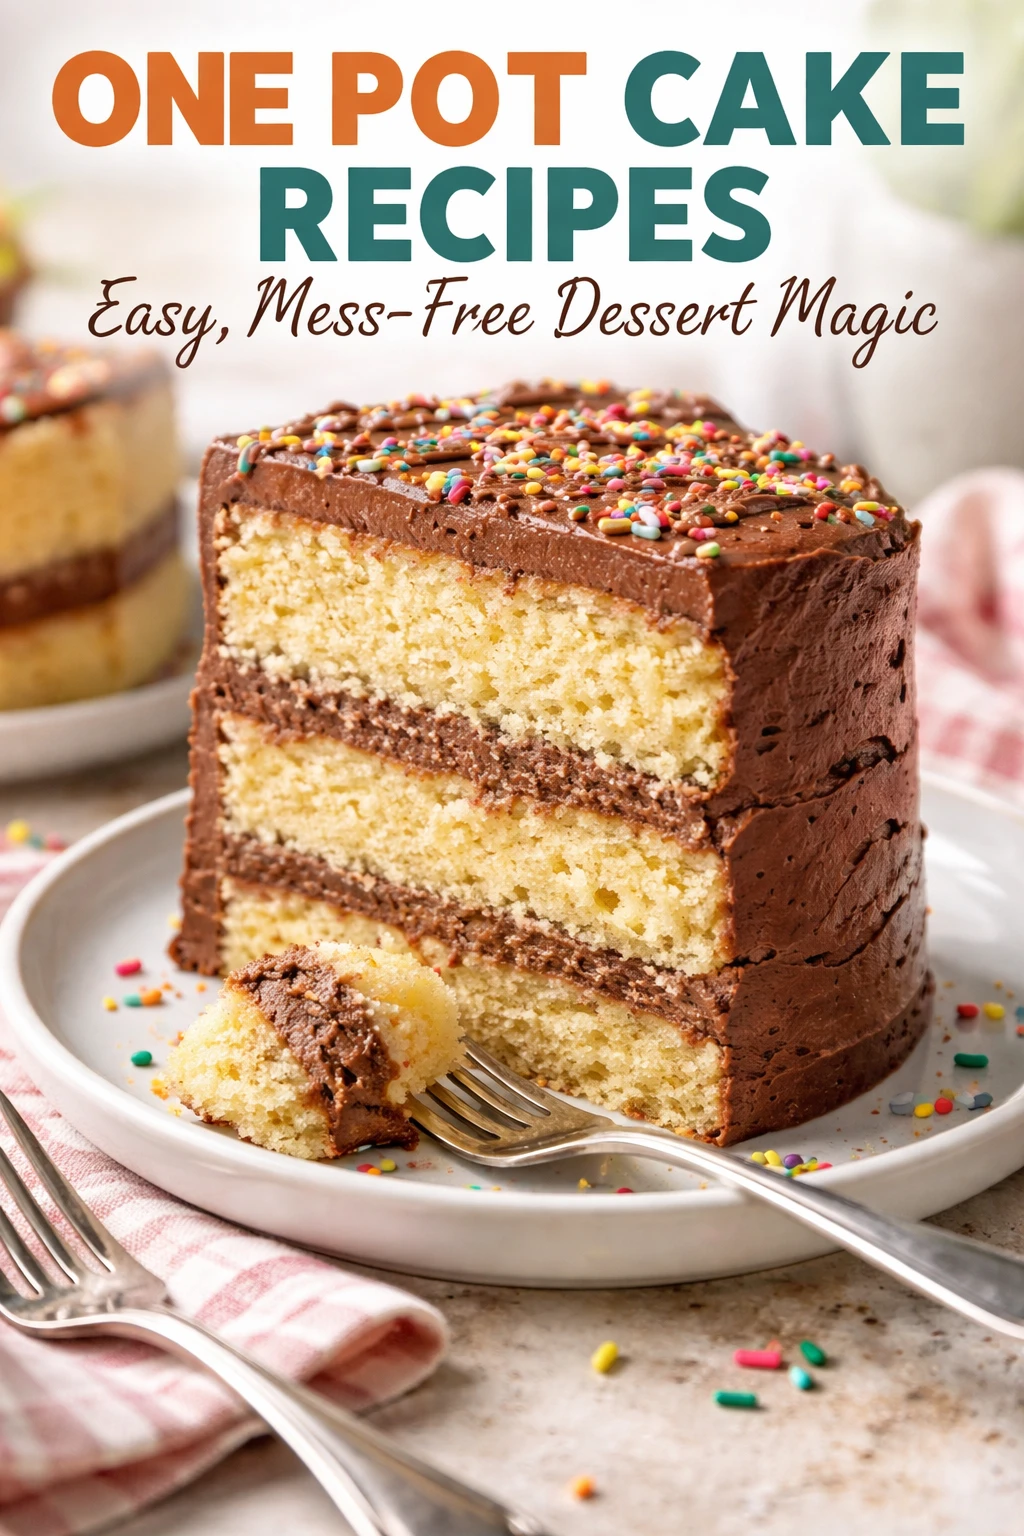
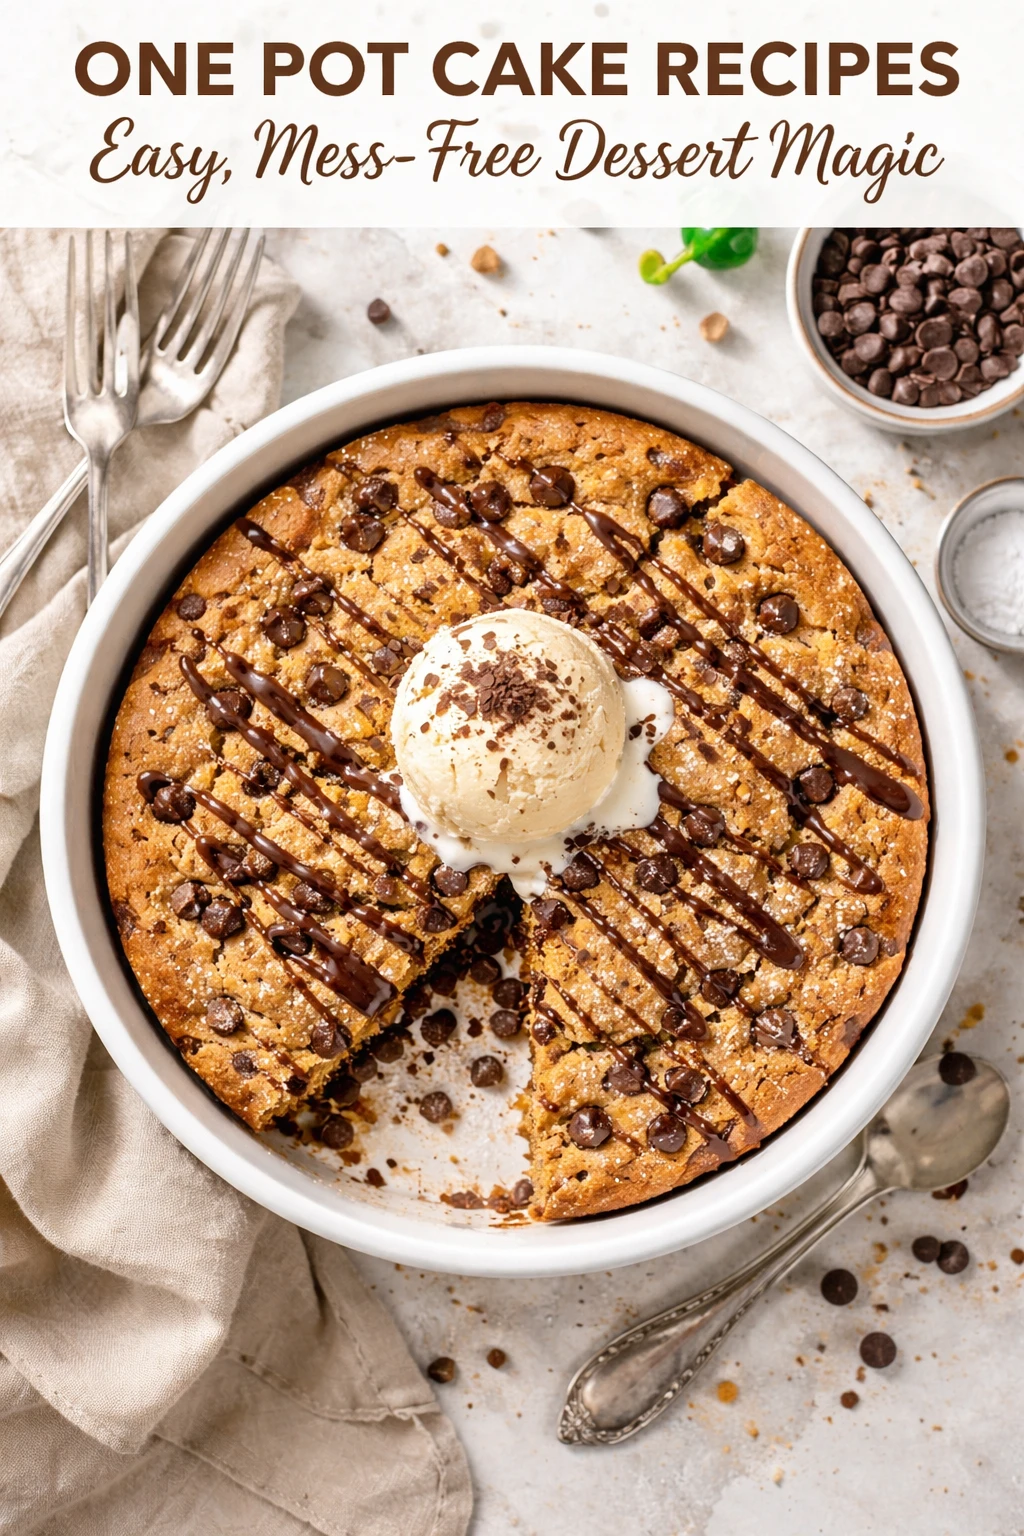
This one-pot cake is a total lifesaver when you want a moist, fruity dessert without the mess. You cook the batter right over the fruit, which creates a gorgeous caramelized topping. Perfect for casual dinners or a last-minute sweet fix!
Introduction
I stumbled upon this one-pot cake recipe a few years ago when I wanted a quick dessert with minimal cleanup, and it instantly became a favorite in my kitchen. What’s brilliant about this cake is the technique of pouring the batter directly over fresh fruit in the pan, which caramelizes beautifully as it bakes, creating a sticky, sweet topping that’s just irresistible. Unlike traditional fruit cakes where the fruit is mixed in or layered, this method keeps the fruit intact and juicy, giving each bite a fresh burst of flavor. The batter itself is simple and moist, thanks to the melted butter and milk, making the texture just right—not too dense, not too fluffy. I’ve tried this with peaches, plums, and even berries, and each variation brings something unique to the table. The trick I learned is to really trust the baking time and resist opening the oven too early to let that caramelization develop fully. The finished cake is golden on top with a sticky fruit layer underneath, perfect served warm with a scoop of vanilla ice cream or a dollop of whipped cream. It’s become my go-to when I want a fuss-free dessert that still feels special and homemade.
How To Do It
Step 1
Start by preheating your oven to 350°F (175°C). While it warms up, melt the butter gently in a saucepan or microwave until fully liquid but not hot. This melted butter will help keep the cake moist and give it a tender crumb. Pour the melted butter into a mixing bowl and whisk in the granulated sugar until it’s combined well. This step helps incorporate the sugar into the fat, which starts the cake’s tender texture development. Be sure not to overmix here, as you want the sugar to dissolve but maintain some airiness.
⏱ Time: 10 minutes
✓ Doneness: Butter is fully melted and sugar is partially dissolved with a smooth mixture
Step 2
Add the eggs one at a time to the butter-sugar mixture, whisking well after each addition. This emulsifies the batter, allowing it to hold air and rise nicely in the oven. Next, stir in the vanilla extract for flavor depth. If you add eggs too quickly or don’t mix well, the batter can separate, so take your time to get a smooth consistency. This step is crucial because it impacts how well the cake rises and its final texture.
⏱ Time: 5 minutes
✓ Doneness: Batter looks smooth and glossy with no streaks of egg or butter
Step 3
In a separate bowl, whisk together the all-purpose flour, baking powder, and salt. Sifting these together is ideal as it evenly distributes the baking powder, which is the leavening agent, and prevents clumps. The salt balances the sweetness and enhances the flavors. Avoid over-sifting as it can introduce too much air, which might affect the cake’s texture.
⏱ Time: 5 minutes
✓ Doneness: Dry ingredients are well combined with no lumps
Step 4
Gradually add the dry ingredients to the wet mixture in three parts, alternating with the milk, starting and ending with the dry ingredients. Gently fold the batter with a spatula instead of vigorous stirring to keep the batter light. Overmixing at this stage can develop gluten, making the cake tough rather than tender. The milk hydrates the flour and improves the batter’s flow, ensuring even baking.
⏱ Time: 7 minutes
✓ Doneness: Batter is smooth, slightly thick but pourable, no flour pockets
Step 5
Prepare your baking pan by lightly greasing it and arranging the sliced fruit evenly on the bottom. The fruit acts as a natural caramel base as it cooks, so don’t crowd it too tightly to allow juices to bubble up. Using fresh, ripe fruit is key here for a juicy, flavorful topping. If you’re using stone fruits like peaches or plums, slice them about 1/4 inch thick for the best texture.
⏱ Time: 5 minutes
✓ Doneness: Fruit slices cover the pan evenly without overlapping excessively
Step 6
Pour the prepared batter gently over the fruit layer, spreading it evenly with a spatula. The batter should cover the fruit completely. This layering is what creates the signature caramelized fruit topping after baking, so an even spread ensures consistent cooking and caramelization. Avoid stirring the batter into the fruit or you’ll lose the defined layers.
⏱ Time: 3 minutes
✓ Doneness: Batter surface is smooth and fully covers the fruit
Step 7
Place the pan in the preheated oven and bake for about 30 minutes. Resist the urge to open the oven door too early, as the steam and heat help the fruit caramelize and the cake to rise evenly. You’ll know it’s done when the top is golden brown and a toothpick inserted into the center comes out clean or with a few moist crumbs. The fruit underneath will be bubbling and sticky.
⏱ Time: 30 minutes
✓ Doneness: Golden brown top and clean toothpick test
Step 8
Once baked, let the cake cool in the pan for at least 10 minutes. This resting time lets the juices thicken slightly, so when you flip or serve it, the caramelized fruit layer stays intact and doesn’t run all over the plate. Cooling also helps the cake firm up a bit, making it easier to slice.
⏱ Time: 10 minutes
✓ Doneness: Cake is warm but not hot and juices have thickened
Step 9
Serve the cake warm or at room temperature, ideally with a scoop of vanilla ice cream or a dollop of whipped cream to complement the caramelized fruit’s rich sweetness. This cake is best enjoyed fresh but still delicious the next day if stored properly. It’s a simple yet impressive dessert that always gets compliments!
⏱ Time: 0 minutes
✓ Doneness: Cake is sliced cleanly with visible fruit topping
Pro Tips
Use room temperature eggs for better emulsification.
Room temperature eggs blend more smoothly with melted butter and sugar, creating a stable batter that traps air effectively. Cold eggs can cause the butter to seize or the batter to curdle, negatively affecting texture and rise.
Don’t open the oven door during baking.
Opening the oven door lets out heat and steam, which can interrupt the caramelization process of the fruit and cause the cake to deflate. Keeping the oven closed ensures even temperature and proper rising.
Slice fruit uniformly for even cooking.
Even slices ensure that all fruit cooks at the same rate, preventing some pieces from burning while others remain undercooked. This consistency is key to that perfect caramelized topping.
Let the cake cool in the pan before serving.
Cooling allows juices from the caramelized fruit to thicken, preventing the topping from running off when sliced. It also helps the cake set, making clean slices easier.
Use a non-stick or well-greased pan.
This prevents the caramelized fruit from sticking to the pan, making it easier to serve and preserving the beautiful fruit layer intact.
Alternate adding dry ingredients and milk while mixing.
This technique prevents overmixing by hydrating the flour gradually and evenly, which keeps the batter light and ensures a tender crumb.
Choose fruits in season for best flavor.
Seasonal fruits are naturally sweeter and juicier, which enhances the caramelization and overall taste of the cake.
Common Mistakes to Avoid
Overmixing the batter
Why it happens Many cooks think mixing longer ensures better blending, but overmixing develops gluten which toughens the cake.
Fix Mix just until the ingredients are combined and no flour pockets remain. Use gentle folding motions especially when combining wet and dry ingredients to keep the batter light.
Using underripe or watery fruit
Why it happens Sometimes people grab any fruit available without considering ripeness, leading to too much moisture or bland flavor.
Fix Choose ripe but firm fruit and slice evenly. Avoid fruit that’s overly soft or watery to ensure proper caramelization and flavor.
Opening oven door too early
Why it happens It’s tempting to check on the cake, but opening the door disrupts heat and moisture balance.
Fix Set a timer and wait at least 25 minutes before checking. This allows the cake to rise and the fruit to caramelize properly.
Not greasing the pan well
Why it happens Some assume a quick spray or wipe is enough, but caramelized fruit can stick stubbornly.
Fix Generously grease the pan with butter or oil, especially the bottom and sides, to prevent sticking and preserve the fruit layer.
Pouring batter unevenly over fruit
Why it happens Rushing this step leads to uneven baking and inconsistent caramelization.
Fix Pour batter slowly and spread gently with a spatula to cover all fruit evenly, ensuring consistent cooking and texture.
Variations
Berry Blend One-Pot Cake
Swap stone fruits for a mix of fresh berries like blueberries, raspberries, and blackberries. This variation results in a tangier, juicier topping with beautiful jewel tones. The cake remains moist and pairs wonderfully with a dusting of powdered sugar.
Note: Because berries release more juice, watch baking time closely to avoid sogginess; you might need to extend baking by 5 minutes.
Spiced Apple and Pear Cake
Use sliced apples and pears with a sprinkle of cinnamon and nutmeg in the fruit layer. This cozy twist adds warm spice notes that complement the caramelization and make it a perfect fall dessert.
Note: Toss fruit slices with spices and a bit of brown sugar before layering; bake slightly longer for tender fruit.
Gluten-Free Almond One-Pot Cake
Replace all-purpose flour with a gluten-free flour blend and add 1/4 cup ground almonds for texture. This version is great for gluten-sensitive guests and adds a lovely nutty flavor that pairs well with stone fruits.
Note: Gluten-free batters can be denser; add an extra 1/4 teaspoon baking powder to help with rise.
Vegan Coconut One-Pot Cake
Swap eggs for flax eggs and use coconut milk instead of dairy milk. Replace butter with coconut oil for a tropical twist. This vegan-friendly cake delivers moist texture and subtle coconut flavor with the same caramelized fruit topping.
Note: Flax eggs need 5 minutes to thicken before mixing; coconut oil should be melted but not hot.
Lemon-Blueberry One-Pot Cake
Add lemon zest and juice to the batter and use blueberries for a fresh, zesty flavor. The citrus brightens the rich caramelized topping and makes this cake refreshing and light.
Note: Add lemon zest to wet ingredients and fold in blueberries gently to avoid bursting.
Nutrition
Per Serving:
Nutritional values are estimates and may vary based on specific ingredients used.
Storage & Tips
Room Temperature
This cake can safely sit at room temperature for up to 4 hours if covered loosely with foil or a cake dome to prevent drying out. Avoid leaving it out longer to prevent fruit spoilage.
Refrigerator
Store leftovers in an airtight container in the fridge for up to 3 days. The cake may firm up and the fruit topping becomes less sticky when cold. Reheat gently before serving to restore softness.
Freezer
Freeze the cake wrapped tightly in plastic wrap and aluminum foil for up to 2 months. To thaw, move it to the fridge overnight, then warm in the oven at 300°F (150°C) for 10-15 minutes to refresh texture.
Reheating
Reheat slices in a 350°F oven for about 10 minutes or microwave for 30 seconds to 1 minute. Adding a small splash of milk or cream before warming helps retain moisture. Avoid overheating to prevent drying.
Make Ahead
You can prepare the fruit layer and batter separately a day ahead, keeping fruit covered in the fridge and batter chilled. Assemble and bake fresh on serving day for best caramelization and texture.
FAQ
Can I use frozen fruit instead of fresh for this cake?
You can use frozen fruit, but it tends to release more water as it thaws, which can make the topping less caramelized and the cake soggy. If using frozen, thaw and drain excess liquid first, then pat dry to reduce moisture before layering.
What’s the best pan to use for this one-pot cake?
A round or square metal baking pan about 8 or 9 inches works best because it distributes heat evenly and helps the fruit caramelize properly. Glass pans can be used but may require longer baking times and produce a less crisp topping.
Can I make this cake gluten-free?
Yes! Use a gluten-free all-purpose flour blend that includes xanthan gum for structure. You might need to add a bit more baking powder to help the cake rise, and the texture will be slightly denser but still delicious.
Why did my cake turn out dense and not fluffy?
This usually happens from overmixing the batter, which develops gluten and makes the cake tough. Also, old baking powder or skipping it can prevent proper rise. Mix gently and ensure your leavening is fresh.
Can I prepare this cake in advance?
You can prepare the batter and fruit separately a day ahead and store them in the fridge. Assemble and bake fresh when ready to serve for the best caramelized topping and texture.
How do I prevent the fruit from sticking to the pan?
Generously grease your pan with butter or oil before placing the fruit. This creates a barrier that helps the caramelized fruit release easily after baking.
What’s the best way to serve this cake?
Serve warm or at room temperature with a scoop of vanilla ice cream or whipped cream. The cold cream contrasts beautifully with the warm, sticky fruit topping.
Can I add nuts or other toppings to this cake?
Absolutely! Chopped toasted nuts like almonds or pecans sprinkled over the fruit before adding batter add crunch and flavor. Just be mindful of baking times if adding extras.
Final Thoughts
I hope you give this one-pot caramelized fruit cake a try—it’s such a simple way to impress with minimal effort. Let me know how it turns out and what fruit combos you love!