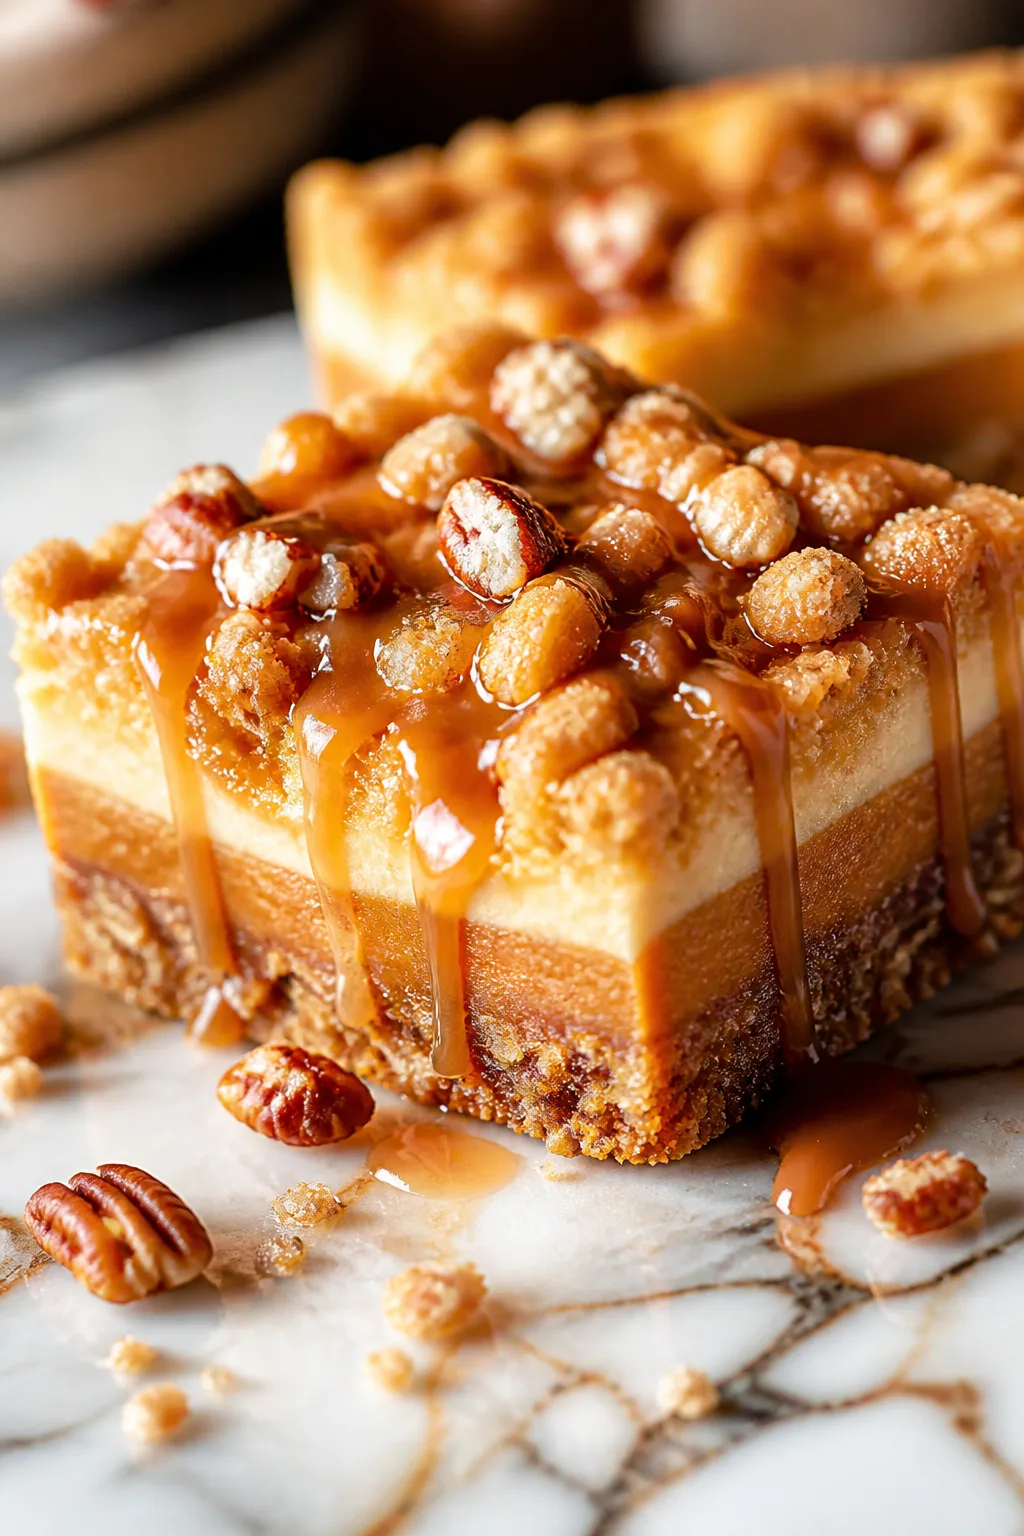
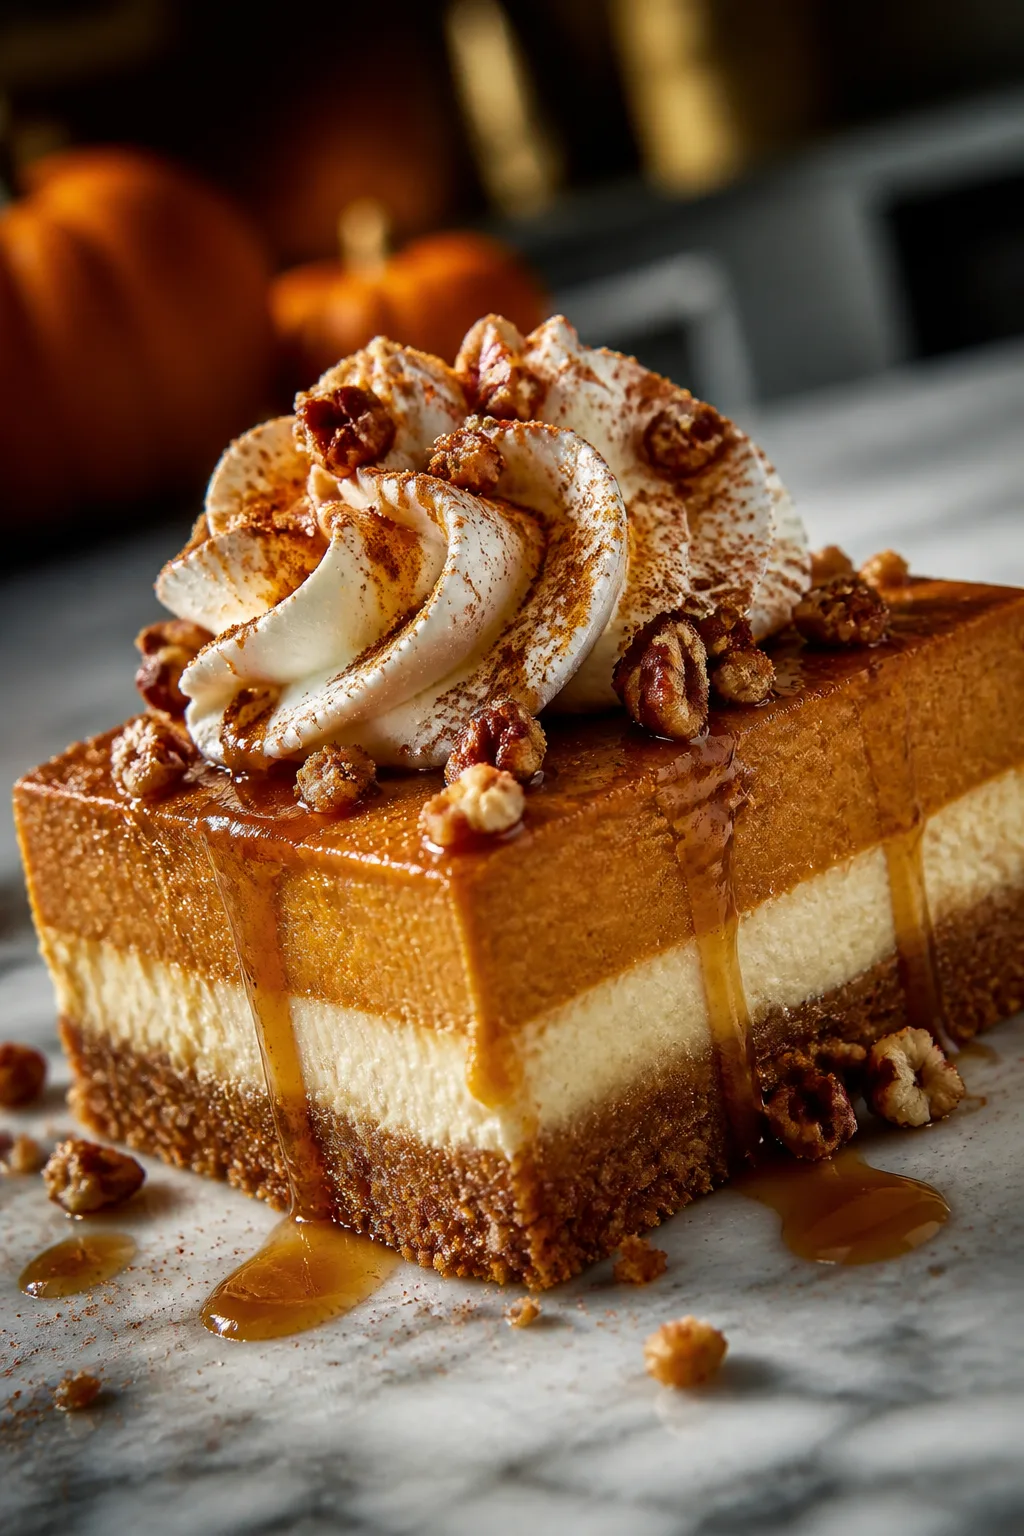
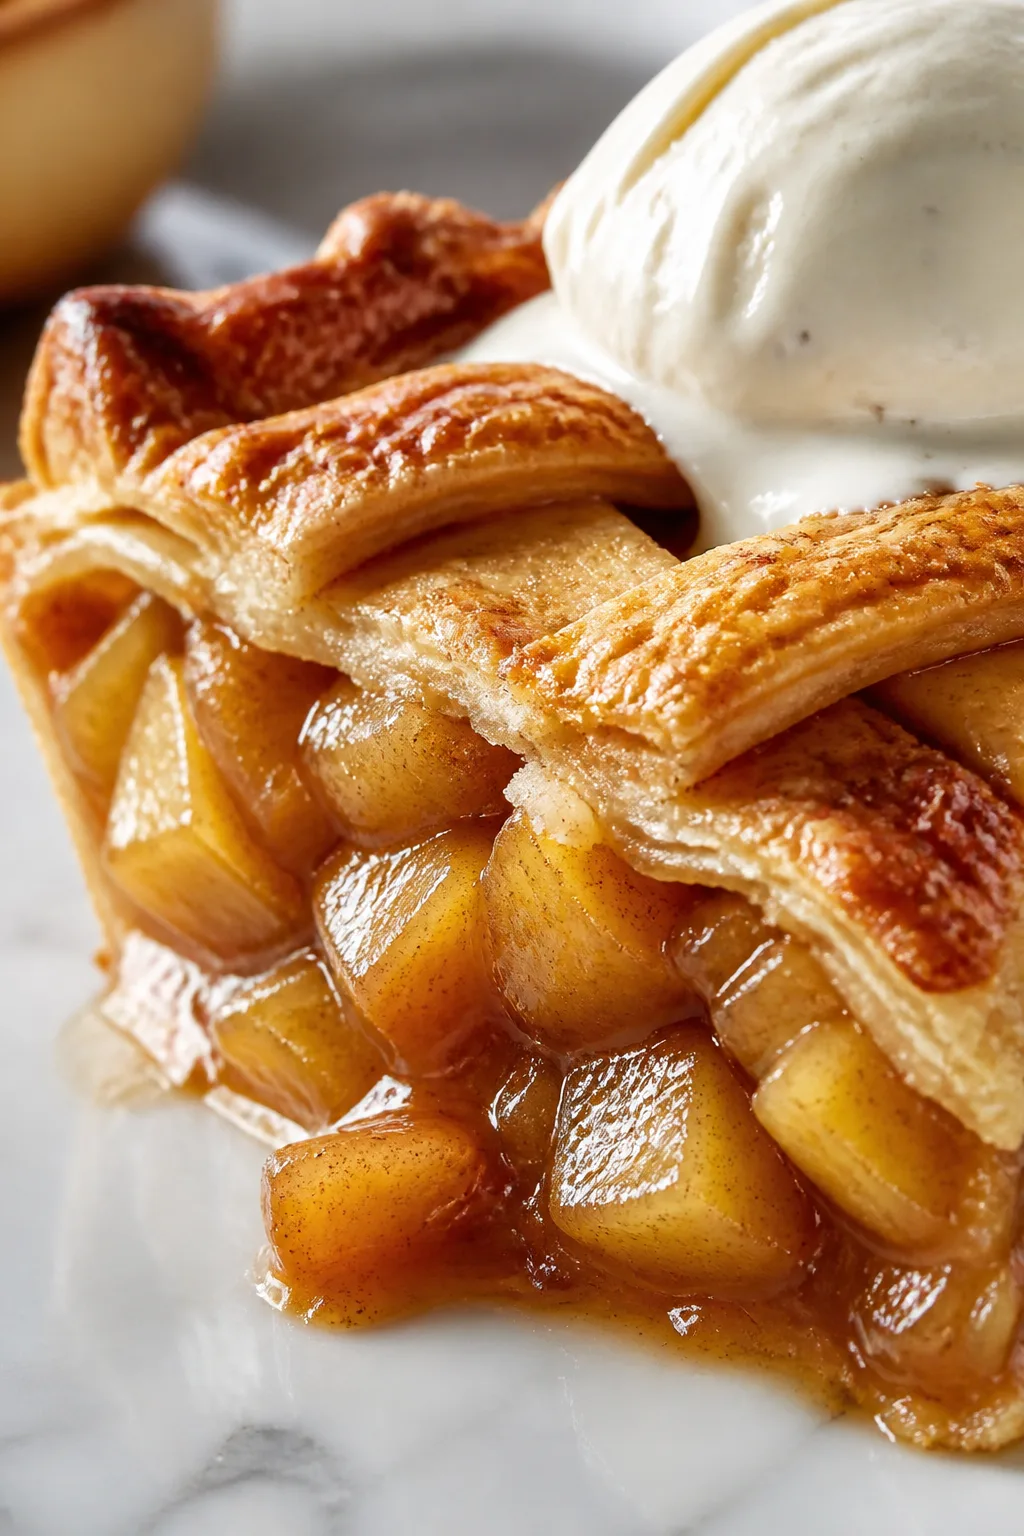
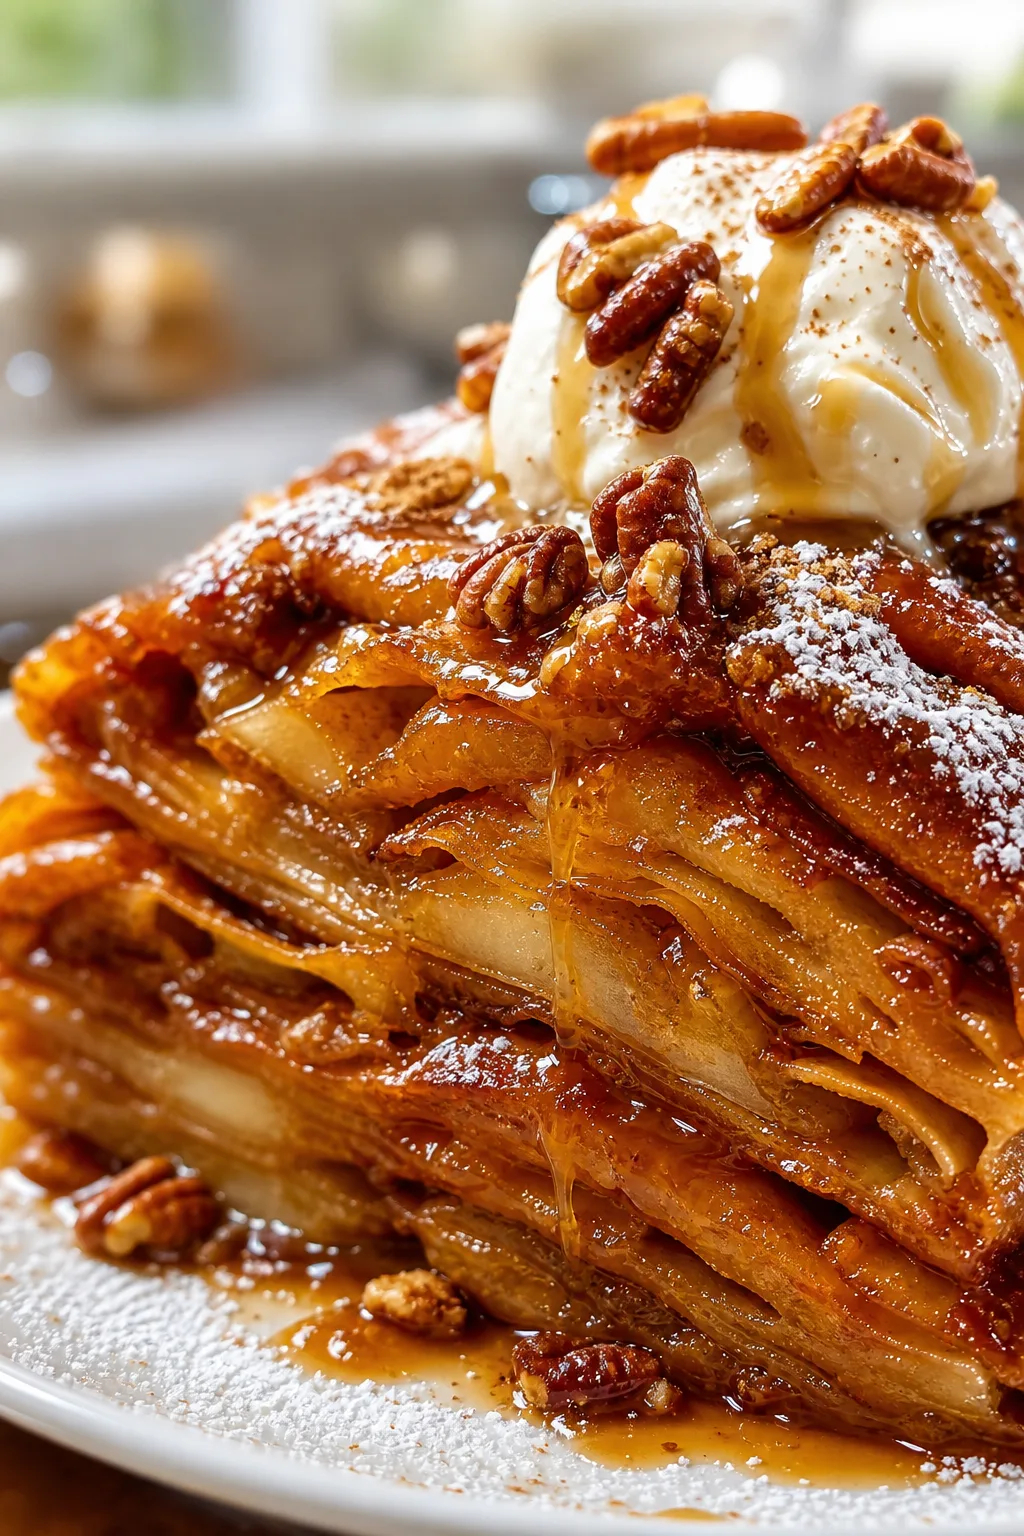
This apple crisp is like a warm hug on a chilly day. With cinnamon-spiced apples and a crunchy oat topping, it’s perfect for cozy evenings or weekend get-togethers. The secret? Toasting the oats before baking for extra depth!
Introduction
I first stumbled upon this apple crisp recipe on a chilly October weekend when I was craving something warm and comforting but didn’t want to fuss with complicated desserts. What makes this version stand out is the little trick I learned from my grandma—toast the oats before mixing them into the topping. It adds a nutty depth and crunch that you just don’t get otherwise. Plus, I always add a pinch of cinnamon and nutmeg to the apples for that perfect cozy fall spice. Over the years, tweaking the balance of tart apples and sweet topping has made this my go-to dessert when the leaves start turning. The finished crisp is bubbling, golden, and smells like autumn itself. Every bite has that tender apple softness paired with a buttery, crunchy oat topping that’s just irresistible. I love serving it warm with a scoop of vanilla ice cream or a dollop of whipped cream. Honestly, it’s the dessert my family asks for again and again during the fall season!
How To Do It
Step 1
Preheat your oven to 350°F (175°C). While it warms up, peel, core, and slice your apples into even pieces, about 1/4-inch thick. This ensures they cook evenly and soften just right. Toss the sliced apples with lemon juice to prevent browning and add a subtle tang that brightens the flavor. Then mix in the granulated sugar, brown sugar, cinnamon, nutmeg, and salt until the apples are well coated. This spice blend is key for that warm, nostalgic fall taste. Avoid skipping the lemon juice as it keeps the apples fresh and vibrant during baking.
⏱ Time: 15 minutes
✓ Doneness: Apples are evenly coated with spices and sugar, showing no clumps or dry spots.
Step 2
Spread the apple mixture evenly in a greased 9x13 inch baking dish. This layer will be the juicy base that softens beautifully as it cooks, so make sure it’s level for even baking. Then, in a medium bowl, combine the oats, flour, brown sugar, cinnamon, and salt for the topping. These dry ingredients create the structure for the crisp crust. The balance between oats and flour is important to get that perfect crumbly texture without being too dense or too sandy.
⏱ Time: 10 minutes
✓ Doneness: Dry topping ingredients are thoroughly mixed and free of lumps.
Step 3
Add the cold, cubed butter to the oat mixture. Using your fingers or a pastry cutter, work the butter into the dry ingredients until the mixture resembles coarse crumbs with some pea-sized bits. This technique ensures the topping bakes into a golden, crispy crust with pockets of buttery richness. Avoid melting the butter beforehand—it needs to be cold to create the right texture. If the butter gets too warm, the topping will be greasy and dense rather than crisp.
⏱ Time: 8 minutes
✓ Doneness: Topping mixture looks crumbly with visible butter chunks.
Step 4
Before applying the topping, toast the oat mixture in a dry skillet over medium heat for about 5 minutes, stirring frequently. This extra step deepens the flavor and adds a lovely nuttiness to the topping that’s often missing in typical recipes. Watch carefully so it doesn’t burn; you want a golden color and a toasty aroma. Skipping this step is tempting to save time, but it really elevates the final dish.
⏱ Time: 5 minutes
✓ Doneness: Topping is golden brown and smells nutty and toasted.
Step 5
Sprinkle the toasted oat topping evenly over the apples in the baking dish. Distribute it carefully so the entire surface is covered, which helps create that signature crunchy crust. Don’t press down on the topping; keeping it loose ensures it crisps nicely in the oven. If you pack it too tightly, it might turn cakey instead of crumbly.
⏱ Time: 5 minutes
✓ Doneness: Topping covers apples evenly without compacting.
Step 6
Place the baking dish on the middle rack of your preheated oven. Bake for about 40-45 minutes, or until the apples are bubbling and tender and the topping is golden brown. You’ll know it’s done when the edges are bubbling and you can smell that warm cinnamon aroma filling the kitchen. Avoid opening the oven too often, as the heat loss can affect cooking time and texture.
⏱ Time: 40-45 minutes
✓ Doneness: Bubbling apples and golden crispy topping.
Step 7
Once baked, remove the crisp from the oven and let it cool for at least 15 minutes. This resting time allows the juices to thicken slightly, making it easier to serve without it being too runny. If you serve it immediately, the filling might be too hot and liquidy. Use a wide spatula to scoop out portions, making sure to get a good mix of fruit and topping.
⏱ Time: 15 minutes
✓ Doneness: Filling has thickened slightly and topping remains crisp.
Step 8
Serve warm, ideally with a scoop of vanilla ice cream or a dollop of whipped cream. The cold cream melting over the warm crisp creates a delightful contrast in temperature and texture that’s hard to beat. If you want to make it dairy-free, coconut whipped cream is a fantastic alternative that pairs beautifully with the spices.
⏱ Time: 5 minutes
✓ Doneness: Dessert is warm and ready to enjoy with creamy topping.
Step 9
Store any leftovers in an airtight container in the refrigerator. Reheat gently in the oven or microwave before serving to restore that freshly baked warmth and crisp topping. Avoid overheating as it can dry out the fruit and toughen the topping. If you want to freeze it, do so before baking and thaw overnight in the fridge before baking as usual.
⏱ Time: 5 minutes
✓ Doneness: Leftovers are stored properly and reheat evenly.
Pro Tips
Toast the oats before mixing the topping.
Toasting activates Maillard reactions that deepen flavor and add a toasty, nutty aroma. Without this step, the topping can taste flat and lack complexity.
Keep the butter cold when cutting into the topping.
Cold butter forms small pockets of fat that melt during baking, creating a crisp, flaky texture. Warm butter leads to greasy, dense topping.
Use tart apples like Granny Smith.
Tart apples hold their shape and balance the sweet topping, preventing the dish from becoming overly sweet or mushy.
Don’t skip the lemon juice on the apples.
Lemon juice prevents browning and adds a subtle acidity that brightens the apple flavor and keeps the filling fresh.
Bake at 350°F for even cooking.
This moderate temperature allows apples to soften without turning to mush while giving the topping time to crisp up perfectly.
Let the crisp rest before serving.
Resting thickens the filling juices and lets the topping set, making it easier to serve and enhancing texture.
Use a wide spatula to serve.
A wide spatula helps scoop up both apples and topping together, preserving the layered texture and preventing the crisp from falling apart.
Common Mistakes to Avoid
Using warm butter in the topping
Why it happens Many assume melted butter will mix better, but warm butter lacks the solid fat needed for a flaky texture.
Fix Keep butter refrigerated until ready to cut in. Use a pastry cutter or fingers to work it quickly into dry ingredients, leaving pea-sized chunks.
Skipping the lemon juice on apples
Why it happens It’s easy to overlook, but apples brown quickly once peeled and sliced.
Fix Toss sliced apples immediately in lemon juice to preserve color and add brightness to the filling.
Overbaking the crisp
Why it happens Trying to get the topping extra brown can lead to dry, mushy apples underneath.
Fix Bake at the recommended temperature and check for bubbling juices and golden topping; remove promptly.
Packing the topping too tightly
Why it happens Pressing the topping down makes it dense and cakey rather than crumbly and crisp.
Fix Sprinkle the topping loosely over apples without pressing to keep it light and crunchy.
Using quick oats instead of rolled oats
Why it happens Quick oats are finer and don’t provide the same texture or toasting effect.
Fix Always use old-fashioned rolled oats for the topping to achieve the ideal crunch and flavor.
Variations
Pecan and Maple Apple Crisp
Add 1/2 cup chopped pecans and substitute maple syrup for brown sugar in the topping for a nutty, slightly sweeter twist. The pecans add crunch and a rich flavor that pairs beautifully with maple and apples.
Note: Reduce granulated sugar slightly to balance the added sweetness from maple syrup; watch topping browning closely as nuts toast faster.
Gluten-Free Apple Crisp
Use gluten-free rolled oats and almond flour instead of all-purpose flour in the topping. This keeps the crisp safe for gluten-sensitive eaters without sacrificing the crumbly texture.
Note: Make sure your gluten-free oats are certified gluten-free to avoid cross-contamination; almond flour can make the topping slightly denser.
Spiced Pear and Apple Crisp
Swap half the apples for ripe pears and increase cinnamon to 1 1/2 teaspoons. Pears add a honeyed sweetness and softer texture, complementing the tart apples and spices.
Note: Pears cook faster and soften more, so watch baking time carefully to avoid mushy filling.
Vegan Apple Crisp
Replace butter with coconut oil and use a flax egg (1 tbsp flaxseed meal + 3 tbsp water) in the topping to make this crisp vegan-friendly. The coconut oil adds a subtle tropical note and keeps the topping crispy.
Note: Chill the coconut oil before cutting in to mimic butter’s texture; baking time remains the same.
Caramel Apple Crisp
Drizzle caramel sauce over the apples before adding the topping for a decadent dessert. The caramel adds rich sweetness and a sticky texture that pairs beautifully with the spiced fruit.
Note: Reduce granulated sugar slightly to avoid over-sweetness and watch for topping browning as caramel can cause faster caramelization.
Nutrition
Per Serving:
Nutritional values are estimates and may vary based on specific ingredients used.
Storage & Tips
Room Temperature
The apple crisp can safely sit at room temperature, covered loosely, for up to 2 hours. Beyond that, bacteria growth increases so it’s best refrigerated. Keep it covered to prevent drying out.
Refrigerator
Store leftovers in an airtight container for up to 4 days. The crisp topping may soften but reheating in the oven restores some crunch. Serving cold is fine but less texturally satisfying.
Freezer
Freeze unbaked apple crisp tightly wrapped in plastic and foil for up to 3 months. Thaw overnight in the fridge before baking. Avoid freezing after baking to preserve topping texture.
Reheating
Reheat in a 350°F oven for 15-20 minutes until warmed through and topping is crisp again. A quick microwave reheat works but softens the topping. Add a splash of water if filling looks dry.
Make Ahead
Prepare the apple mixture and topping separately up to 2 days ahead. Store apples in an airtight container in the fridge with lemon juice. Keep topping in a sealed container at room temperature. Assemble and bake just before serving.
FAQ
Can I use different types of apples?
Absolutely! Tart apples like Granny Smith are best for balance, but you can mix in sweeter varieties like Fuji or Honeycrisp. Just keep in mind sweeter apples will make the filling less tart and possibly sweeter overall.
How do I keep the topping crunchy after baking?
To keep the topping crisp, don’t cover the crisp tightly while it’s warm; condensation softens it. Store leftovers uncovered or loosely covered and reheat in the oven to restore crunch.
Can I make this dessert gluten-free?
Yes, swap all-purpose flour for almond or gluten-free flour and ensure your oats are certified gluten-free. This keeps the topping crumbly and safe for gluten-sensitive eaters.
Is it okay to use frozen apples?
Frozen apples can work but may release more water, making the filling runnier. Thaw and drain excess liquid before baking to avoid sogginess.
What’s the best way to store leftovers?
Store leftovers in an airtight container in the fridge up to 4 days. Reheat in the oven to bring back the crisp topping texture.
Can I prepare this dessert ahead of time?
Yes! You can mix the apples and topping separately a day or two ahead. Keep apples in the fridge with lemon juice and topping at room temp. Assemble and bake fresh.
How do I prevent the apples from browning before baking?
Tossing the sliced apples immediately with lemon juice prevents oxidation and keeps them bright and fresh-looking.
Can I add nuts to the topping?
Definitely! Chopped pecans or walnuts add great crunch and flavor. Add them with the oats before mixing in butter.
Final Thoughts
I hope you give this cozy apple crisp a try and enjoy all those warm fall flavors as much as I do. Don’t forget to share how it turns out!