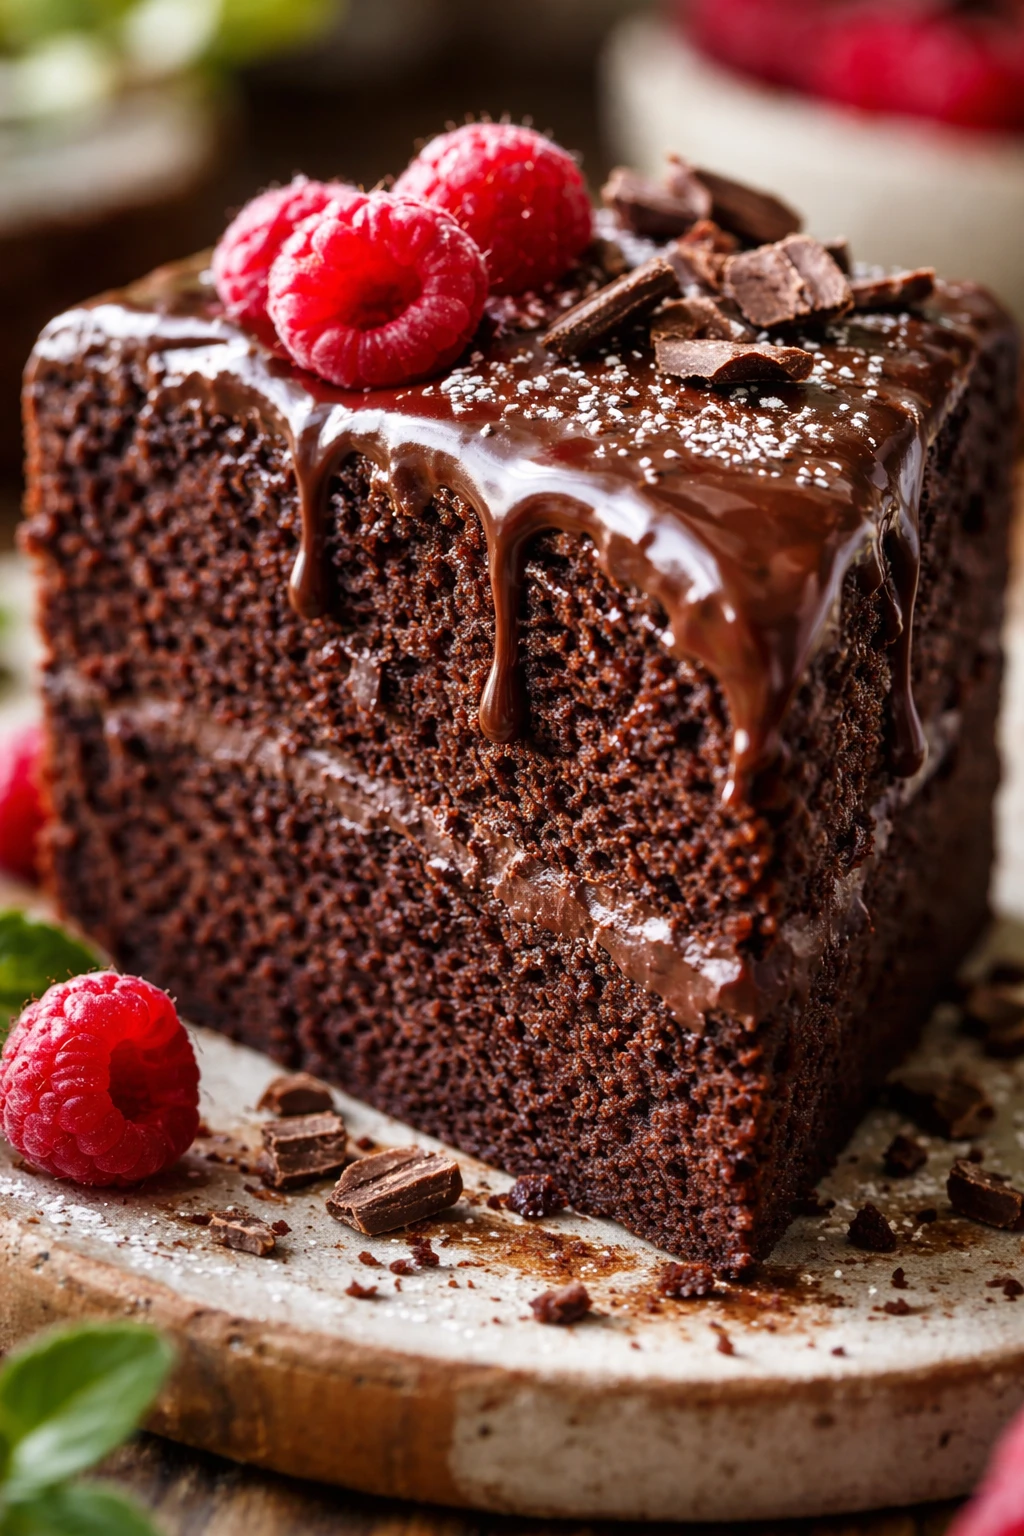
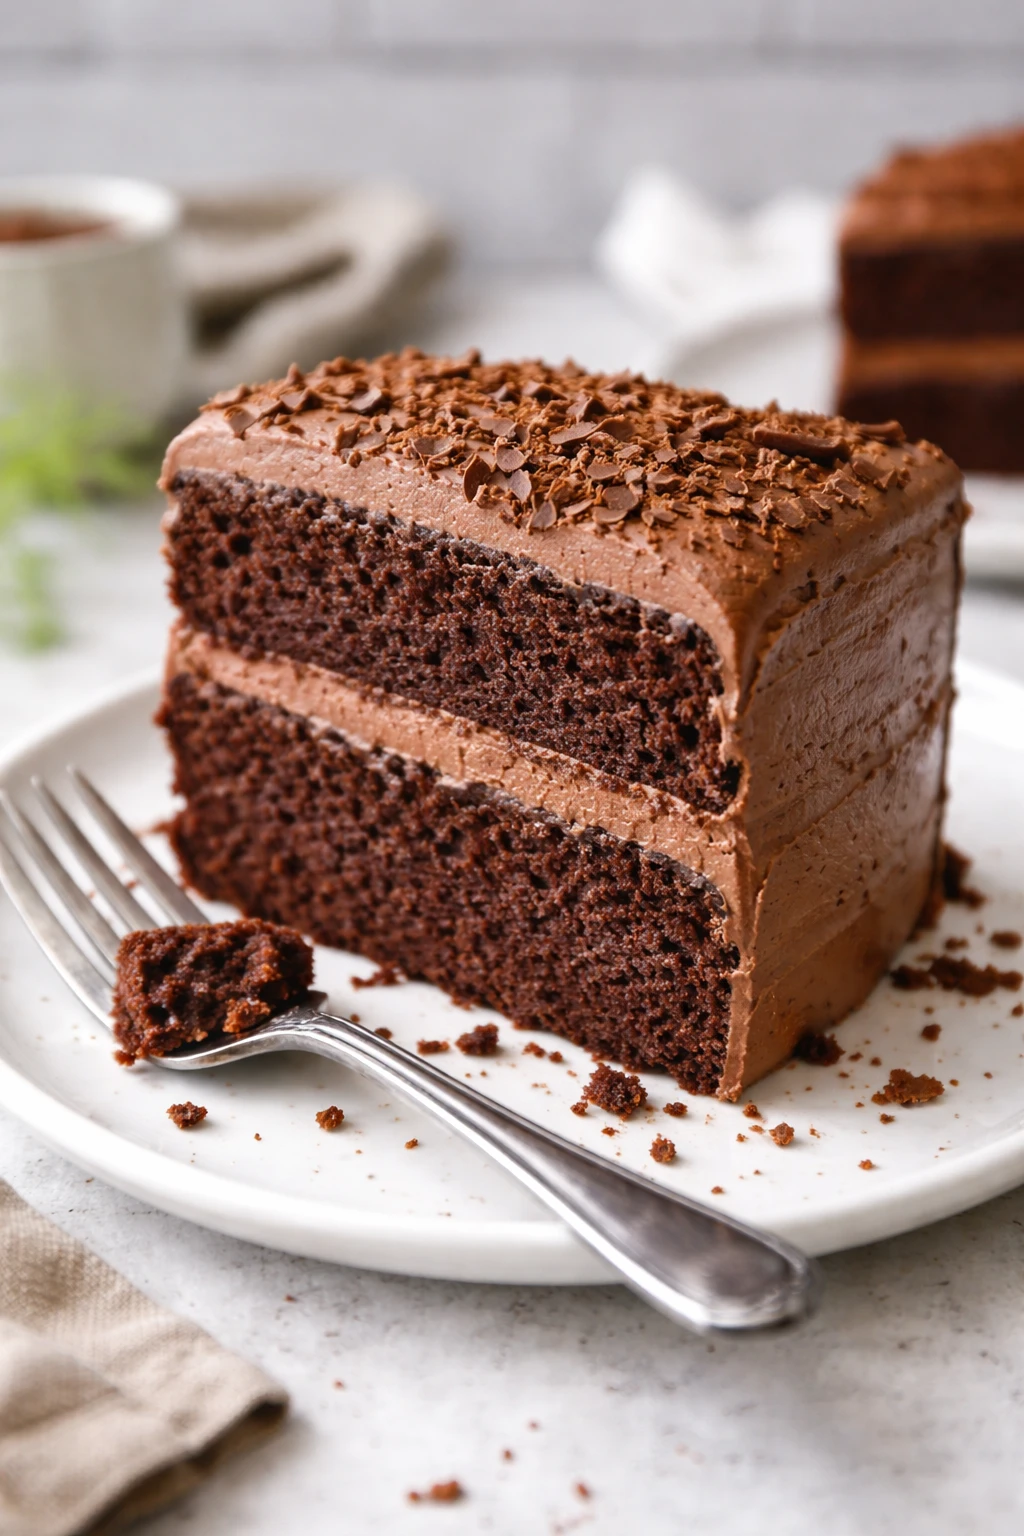
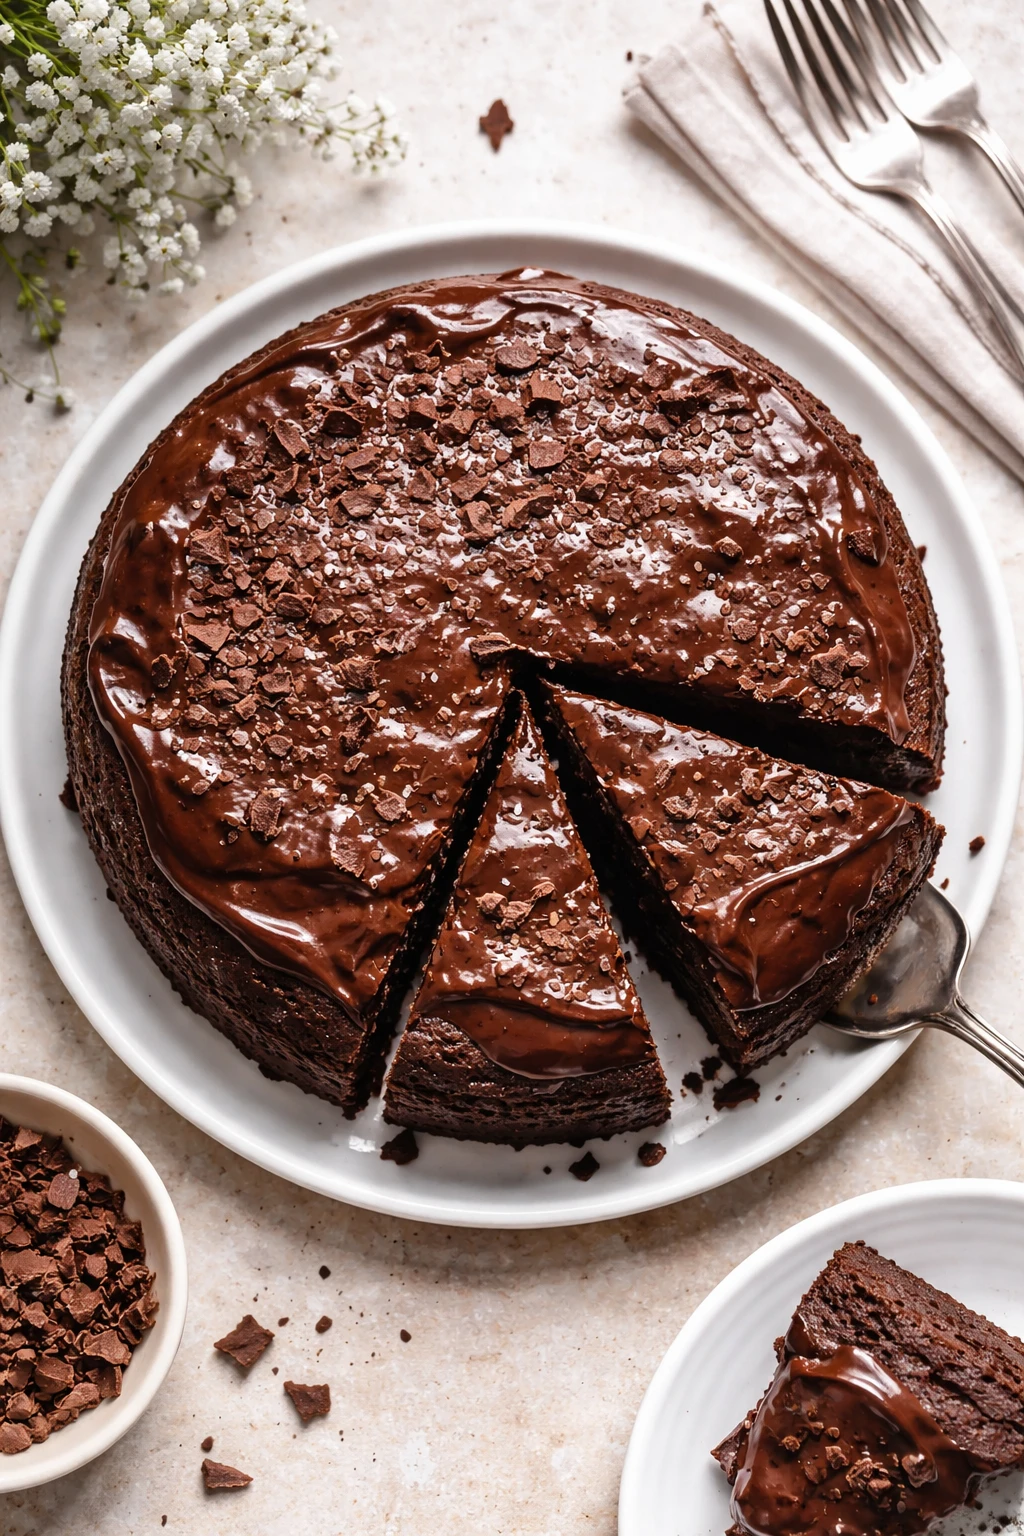
This chocolate cake is pure comfort with just five ingredients and no fuss. It’s rich, moist, and perfect for when you want something quick but indulgent. I love making it for last-minute celebrations or a cozy weekend treat.
Introduction
I first stumbled upon this chocolate cake recipe on a hectic weeknight when I had exactly five ingredients in my pantry and a serious chocolate craving. It was a total lifesaver and has since become my go-to whenever I want something rich but fuss-free. What makes this cake stand out is how simple it is — no eggs, no milk, just pantry staples coming together to create something surprisingly moist and deeply chocolatey. I love that it doesn’t require any fancy tools or complicated steps, which means I can whip it up quickly after work or throw it together for an impromptu celebration. One trick I learned early on: sifting the dry ingredients really helps keep the texture light and prevents any lumps, which makes a huge difference in the final crumb. When it’s done, the cake has this tender, almost fudgy feel with a subtle cocoa bitterness that pairs perfectly with a dusting of powdered sugar or a scoop of vanilla ice cream. Honestly, it feels like a warm hug on a plate, and I hope you’ll love it just as much as I do!
What You'll Need
One 8-inch round cake, 8 servings
- 1 cup all-purpose flour, sifted
- 1 cup granulated sugar
- 1/2 cup unsweetened cocoa powder, sifted
- 1 teaspoon baking powder
- 1/2 cup vegetable oil
- 1 cup water
- 1 teaspoon vanilla extract
- 1/4 teaspoon salt
How To Do It
Step 1
Preheat your oven to 350°F (175°C) and grease an 8-inch round cake pan with a little oil or butter. This step is crucial because it ensures your cake releases easily after baking, preventing any frustrating sticking. I like to also line the bottom with parchment paper for extra insurance. Make sure the oven is fully preheated before baking; otherwise, the cake might not rise evenly and could end up dense.
⏱ Time: 10
✓ Doneness: Pan greased evenly with no dry spots and parchment paper snug at the bottom.
Step 2
In a large bowl, sift together the all-purpose flour, cocoa powder, baking powder, salt, and sugar. Sifting breaks up clumps and aerates the flour and cocoa, which helps create a lighter texture. Skipping this can lead to lumpy batter or uneven baking. Mix the dry ingredients thoroughly to ensure an even distribution of leavening agents.
⏱ Time: 5
✓ Doneness: Dry ingredients are smooth, lump-free, and well combined with a uniform cocoa color.
Step 3
Add the vegetable oil, water, and vanilla extract to the dry ingredients. Use a whisk to combine everything gently but completely, scraping the sides of the bowl. Mixing just until combined avoids developing gluten, which keeps the cake tender. Overmixing can make the cake tough, so stop as soon as the batter is smooth and uniform.
⏱ Time: 5
✓ Doneness: Batter is smooth, slightly thick, and has no visible streaks of flour or cocoa.
Step 4
Pour the batter into the prepared cake pan and tap it lightly on the counter to release any trapped air bubbles. This helps prevent holes or tunnels in the baked cake. Spread the batter evenly with a spatula if needed. Smooth the top gently to ensure an even rise and uniform baking.
⏱ Time: 3
✓ Doneness: Batter evenly spread in pan with no large bubbles on the surface.
Step 5
Bake in the preheated oven for about 28-30 minutes. Start checking at 28 minutes by inserting a toothpick into the center; it should come out with a few moist crumbs but no wet batter. Baking too long dries out the cake, while underbaking leaves it gooey and unstable. Oven temperatures can vary, so use the toothpick test as your guide.
⏱ Time: 30
✓ Doneness: Toothpick inserted in center comes out clean or with a few moist crumbs.
Step 6
Remove the cake from the oven and let it cool in the pan for about 10 minutes. This resting time allows the cake to firm up slightly, making it easier to remove without breaking. If you try to unmold it while still hot, it may fall apart. After 10 minutes, run a knife around the edges to loosen it.
⏱ Time: 10
✓ Doneness: Cake edges begin to pull away from the pan and surface feels set but warm.
Step 7
Invert the cake onto a wire rack to cool completely. Cooling on a rack prevents condensation from building underneath and keeps the bottom from getting soggy. It also helps the cake set fully, improving texture. Patience here is key if you want clean slices later.
⏱ Time: 30
✓ Doneness: Cake feels firm at room temperature and is cool to the touch.
Step 8
Once cooled, dust the top with powdered sugar or cocoa powder, or frost as you like. This finishing touch adds a lovely visual appeal and a bit of extra sweetness or bitterness depending on your choice. If frosting, spread gently to avoid tearing the delicate crumb.
⏱ Time: 5
✓ Doneness: Even dusting or smooth frosting without crumbs mixing in.
Step 9
Slice with a sharp serrated knife, wiping it clean between cuts for neat pieces. Serve plain or with a scoop of vanilla ice cream or fresh berries for a simple but elegant dessert. Enjoy immediately for the best texture and flavor.
⏱ Time: 5
✓ Doneness: Clean slices with moist crumb and no crumbling.
Pro Tips
Always sift your dry ingredients before mixing.
Sifting breaks up clumps and aerates the flour and cocoa powder, which results in a lighter, more evenly textured cake. It also helps distribute leavening agents like baking powder uniformly, preventing dense or uneven spots.
Don’t overmix the batter once wet and dry ingredients are combined.
Overmixing develops gluten, which can make your cake tough and chewy rather than tender. Stir just until the ingredients come together for a soft crumb.
Use room temperature water for mixing the batter.
Cold water can cause the batter to seize or mix unevenly, while warm water helps dissolve sugar and cocoa powder, creating a smoother batter and better crumb.
Grease and line your pan properly to avoid sticking.
Even a little sticking can ruin the cake’s appearance and texture when you try to remove it. Lining with parchment paper ensures a clean release and preserves the cake’s shape.
Check for doneness with a toothpick starting at 28 minutes.
Ovens vary, so checking early prevents overbaking, which dries out the cake. The toothpick should come out with a few moist crumbs but no wet batter.
Cool the cake completely on a wire rack before serving.
Cooling on a rack prevents sogginess from trapped steam and allows the cake to set properly, making it easier to slice and enhancing texture.
Add a pinch of salt to the batter even if it’s not listed.
Salt balances sweetness and enhances chocolate flavor. Even a tiny amount makes a noticeable difference in taste.
Common Mistakes to Avoid
Skipping the sifting of dry ingredients.
Why it happens It’s tempting to just dump everything together, especially when in a hurry, but skipping sifting leads to lumps and uneven baking.
Fix Take the extra 2-3 minutes to sift flour, cocoa, and baking powder together. This ensures the batter is smooth and the rise is even, resulting in a light, tender cake.
Overmixing the batter after adding wet ingredients.
Why it happens Many think mixing longer makes a smoother batter, but it actually develops gluten, making the cake dense.
Fix Mix gently and stop as soon as the ingredients are combined with no streaks of flour. Use a spatula or whisk and fold rather than beating vigorously.
Not preheating the oven fully before baking.
Why it happens Sometimes people turn the oven on and immediately put the batter in, but uneven temperature can cause poor rise and texture.
Fix Wait until the oven reaches 350°F (175°C) before baking. Use an oven thermometer if your oven temperature is inconsistent.
Removing the cake from the pan too soon.
Why it happens Eagerness to see the finished product leads to unmolding while still hot, causing the cake to break.
Fix Let the cake cool 10 minutes in the pan, then loosen edges with a knife and invert onto a wire rack to cool completely.
Using expired baking powder.
Why it happens Baking powder loses potency over time, especially if not stored properly, leading to flat cakes.
Fix Test baking powder by mixing a teaspoon in hot water to see if it bubbles vigorously. Replace if inactive to ensure proper rise.
Variations
Vegan Chocolate Cake
This recipe is already egg-free, but you can make it vegan by choosing a plant-based oil and ensuring your vanilla extract contains no alcohol. Add a tablespoon of apple cider vinegar to react with the baking powder for extra lift. Expect a similarly moist and tender crumb with a slight tang.
Note: The vinegar reacts with baking powder to help leavening since there are no eggs, so add it just before baking to keep the batter active.
Chocolate Orange Twist
Add 1 teaspoon of orange zest to the dry ingredients and swap vanilla for orange extract for a bright citrus flavor. This pairs beautifully with the rich cocoa and adds freshness. The texture remains moist but with a zesty aroma.
Note: Zest the orange finely to avoid bitter pith; mixing it with dry ingredients ensures even distribution.
Mocha Chocolate Cake
Dissolve 1 tablespoon of instant espresso powder in the water before adding to the batter. This enhances the chocolate flavor and adds a subtle coffee note without bitterness. The cake stays moist and rich with a deeper flavor profile.
Note: Make sure the espresso powder is fully dissolved to avoid grainy texture.
Gluten-Free Chocolate Cake
Replace all-purpose flour with a gluten-free blend designed for baking, making sure it contains xanthan gum for structure. The cake will be just as moist but may have a slightly different crumb texture. Great for gluten-sensitive friends.
Note: Use a 1:1 gluten-free baking blend and do not overmix to maintain tenderness.
Chocolate Cake with Chocolate Chips
Fold 1/2 cup of semisweet chocolate chips into the batter before baking for pockets of melty chocolate. This adds texture and extra indulgence, making the cake even more decadent. The chips soften but keep their shape during baking.
Note: Coat chips lightly in flour before adding to prevent sinking to the bottom.
Nutrition
Per Serving:
Nutritional values are estimates and may vary based on specific ingredients used.
Storage & Tips
Room Temperature
This cake keeps well at room temperature for up to 2 days when stored in an airtight container or covered with plastic wrap. Avoid leaving it uncovered to prevent drying out. It’s best enjoyed fresh but holds moisture nicely for short-term storage.
Refrigerator
Store leftovers in an airtight container in the fridge for up to 5 days. The cake may firm up and lose a bit of moisture, so bring it to room temperature or warm gently before serving to restore softness.
Freezer
Wrap the cake tightly in plastic wrap and then foil to freeze for up to 3 months. Thaw in the fridge overnight or at room temperature for a few hours. Freezing may slightly change the texture, but it remains delicious when reheated.
Reheating
Warm slices gently in the microwave for 15-20 seconds or in a low oven (300°F) for 5-7 minutes to refresh moisture. Avoid overheating as it can dry out the cake. Adding a small dab of butter or a splash of milk before warming helps keep it moist.
Make Ahead
You can prepare the batter a few hours ahead and keep it covered in the fridge, then bake just before serving. Alternatively, bake the cake a day ahead and store wrapped at room temperature or refrigerated. This recipe is forgiving and tastes great even after resting.
FAQ
Can I substitute vegetable oil with butter?
Yes, you can, but it will change the texture slightly. Butter solidifies when cooled, making the cake denser and less moist than oil. If you use melted butter, the cake will be richer but might lose some tenderness. For best results, stick with neutral vegetable oil.
Why is my cake dense and not rising?
Common causes include expired baking powder, overmixing the batter, or oven temperature being too low. Make sure your baking powder is fresh and sifted with dry ingredients. Mix only until just combined, and verify your oven is fully preheated to 350°F before baking.
Can I use brown sugar instead of granulated sugar?
Yes, brown sugar will add a slight molasses flavor and extra moisture, which can make the cake more tender and rich. However, it may darken the cake’s color and change the flavor profile slightly. Use packed brown sugar in equal amounts.
Is this recipe vegan?
This cake is egg- and dairy-free, but check your vanilla extract to ensure it’s vegan-friendly. Using plant-based oil makes it fully vegan. Adding a tablespoon of vinegar can enhance leavening but is optional.
Can I double the recipe?
Yes, doubling the ingredients works well. Use a larger pan or two pans to avoid thick batter that won’t bake evenly. Baking time may increase slightly, so check doneness with a toothpick starting at 30 minutes.
How do I store leftover cake?
Store leftovers in an airtight container at room temperature for up to 2 days or refrigerate up to 5 days. For longer storage, freeze well-wrapped for up to 3 months. Bring refrigerated or frozen cake to room temperature or warm gently before serving.
Can I add frosting or glaze?
Absolutely! This cake pairs well with chocolate ganache, cream cheese frosting, or a simple dusting of powdered sugar. Just make sure the cake is fully cooled before frosting to avoid melting.
What pan size is best for this cake?
An 8-inch round cake pan is ideal for this recipe, giving a nice thickness and even baking. You can also use a 9-inch pan but expect a slightly thinner cake and shorter baking time.
Final Thoughts
Give this easy chocolate cake a try — it’s one of those simple recipes that never disappoints. I can’t wait to hear how you like it!