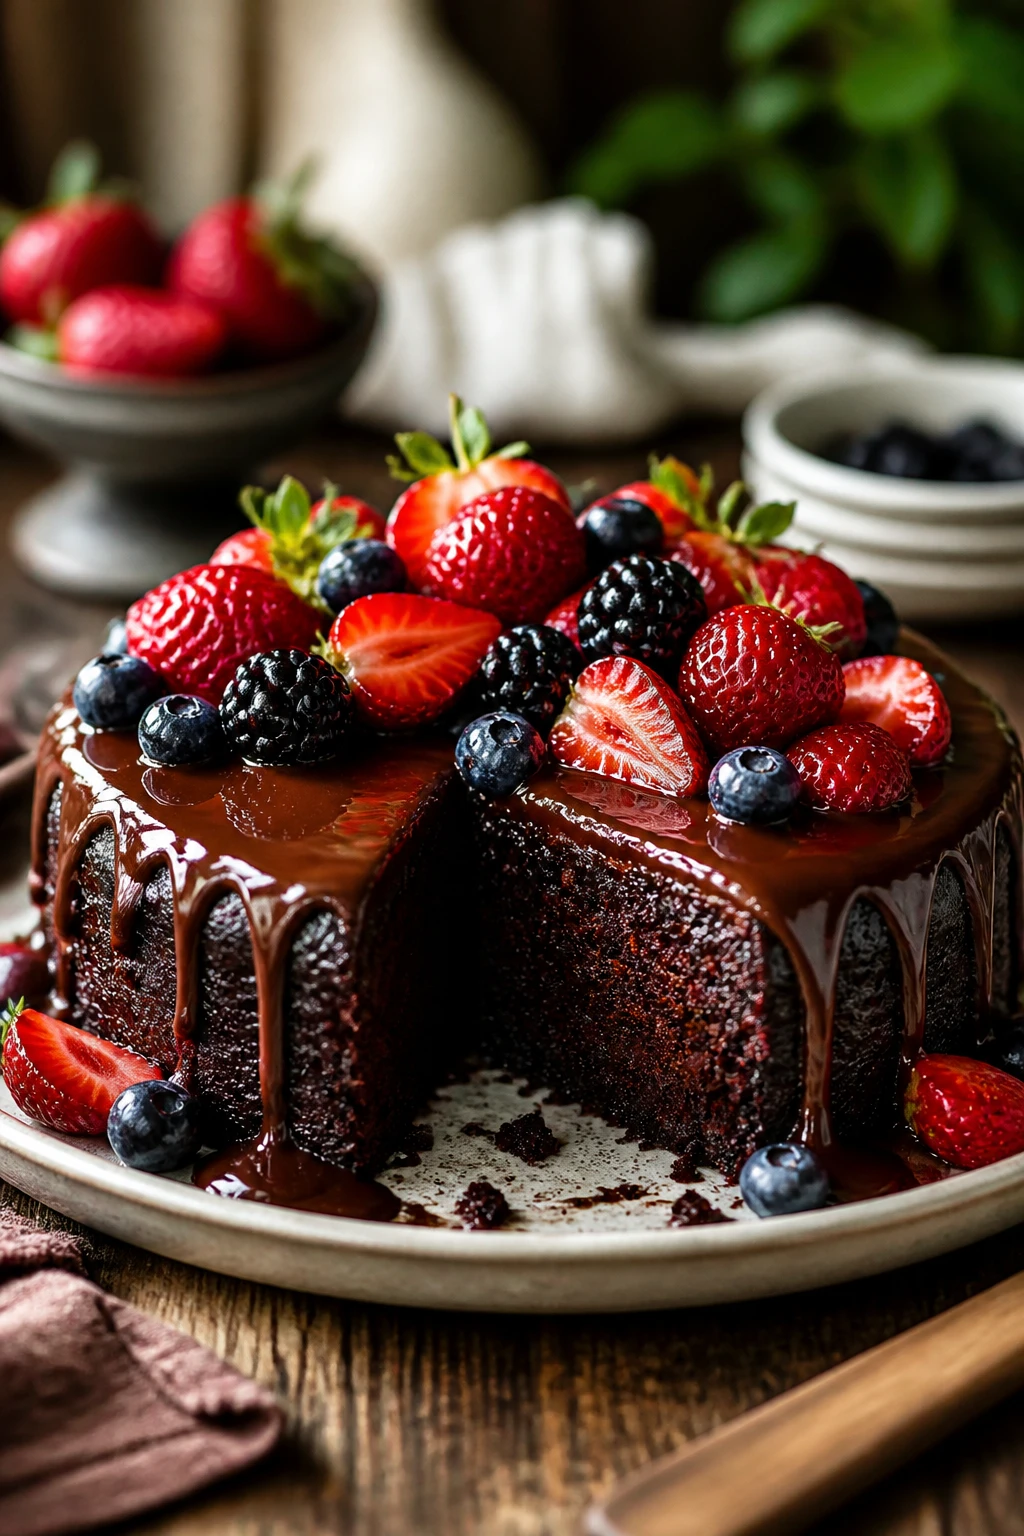
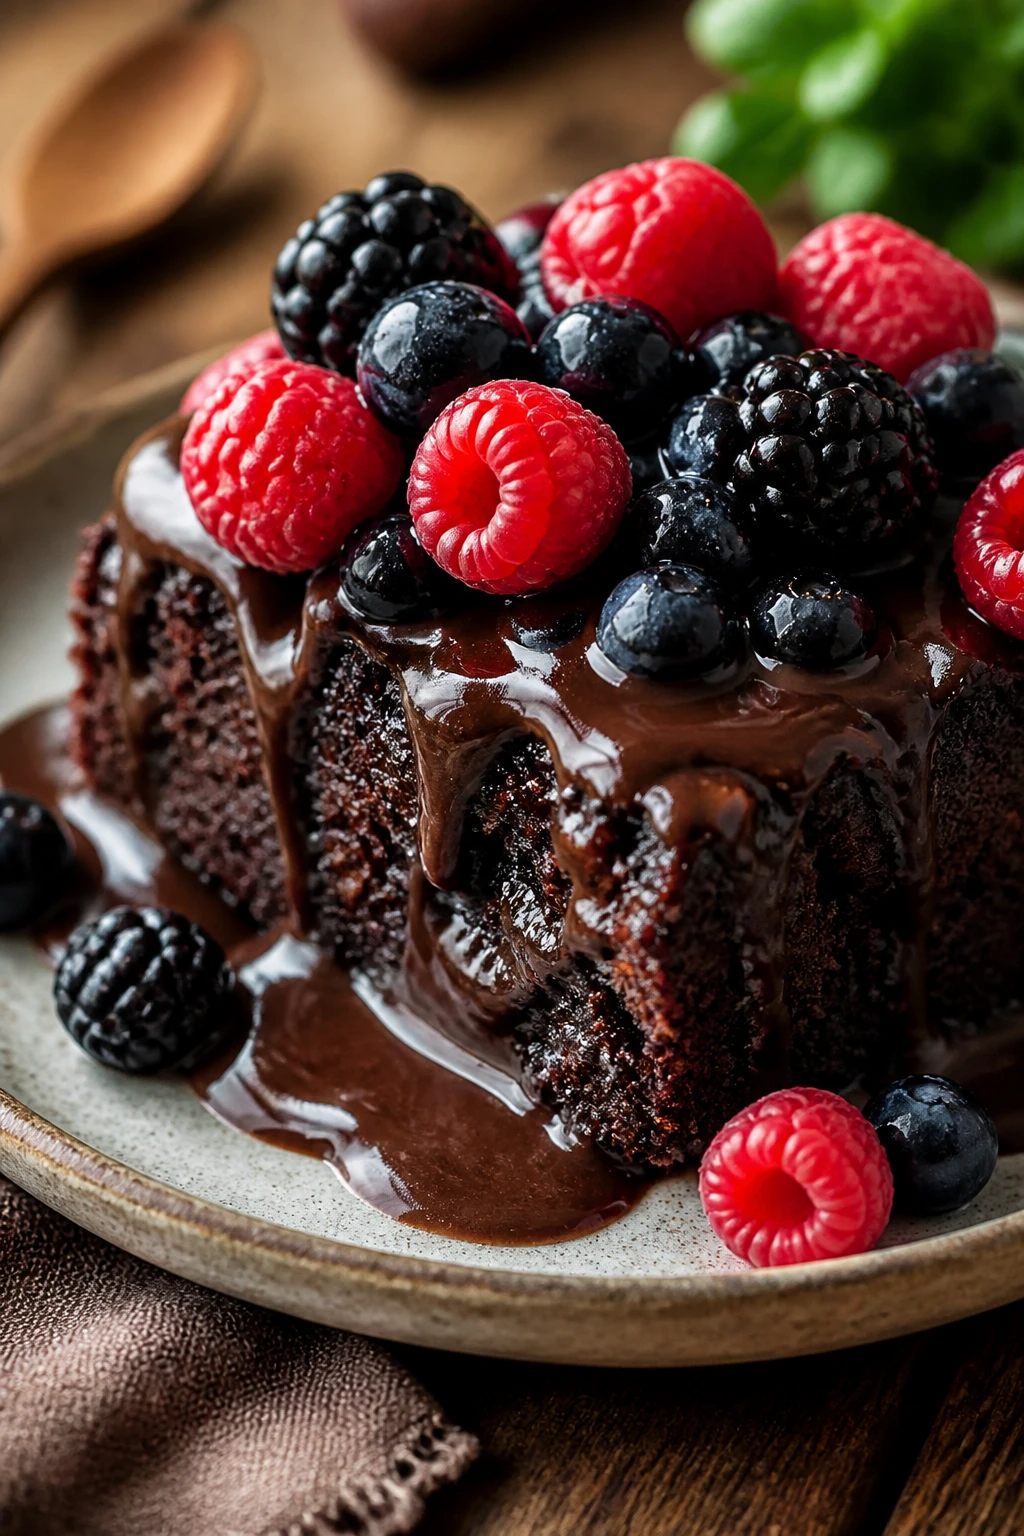
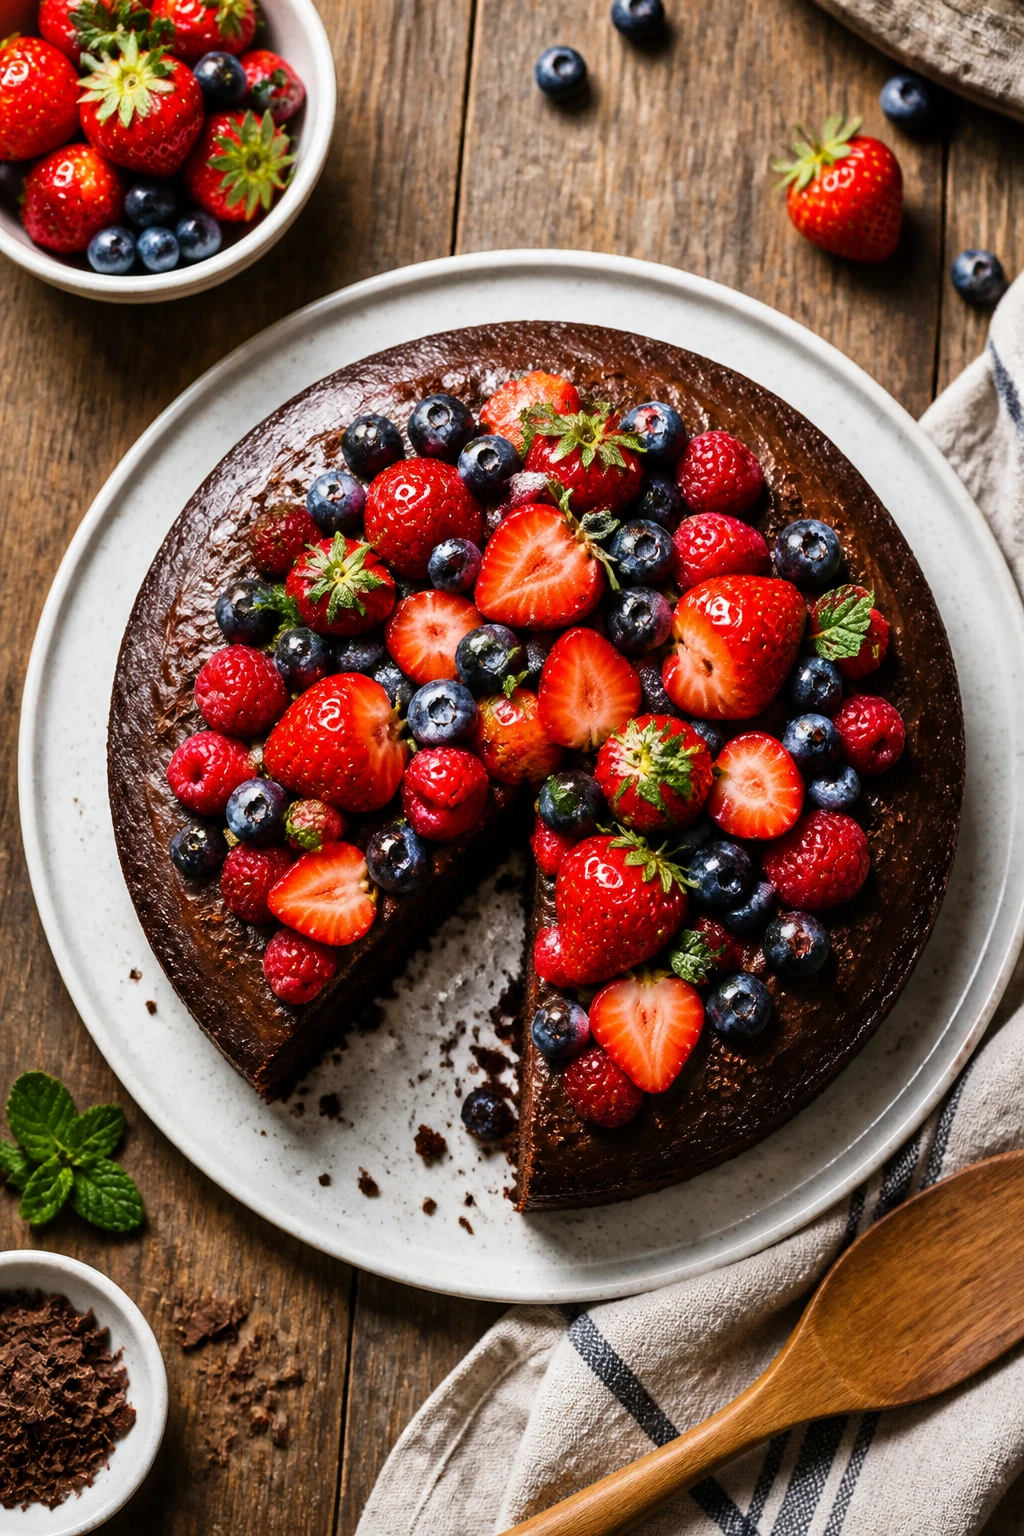
This chocolate cake is incredibly moist and super simple with only five ingredients. The fresh berries on top add a juicy pop of flavor that makes it perfect for casual get-togethers or a quick dessert fix.
Introduction
I remember the first time I made this chocolate cake—it was a total experiment because I only had a handful of ingredients on hand. But honestly, it turned out so moist and rich that it quickly became one of my favorite go-to recipes. What I love most is how simple it is: just five main ingredients, no fancy steps. The trick I learned early on is warming the milk before mixing; it helps everything come together smoother and gives the crumb a lovely tender texture. Also, topping it with fresh berries adds a burst of freshness and color that makes the cake feel special without any extra fuss. This cake is perfect for those casual weekends when you want something sweet but don’t want to spend hours baking. It’s a crowd-pleaser every time, and my family always asks for seconds. Whether you’re serving it for an afternoon coffee or a last-minute dinner dessert, it’s a recipe that’s easy to remember and even easier to love.
What You'll Need
One 9-inch round cake, 8 servings
- 1 cup all-purpose flour, sifted
- 1 cup granulated sugar
- 1/2 cup unsweetened cocoa powder, sifted
- 1 teaspoon baking powder
- 2 large eggs, room temperature
- 1/2 cup whole milk, warmed
- 1/4 cup vegetable oil
- 1 teaspoon vanilla extract
- 1 cup fresh mixed berries (strawberries, blueberries, raspberries)
How To Do It
Step 1
Preheat your oven to 350°F (175°C) and grease a 9-inch round cake pan with butter or non-stick spray. Lightly dust it with flour to prevent sticking. This step is crucial because a well-prepared pan ensures your cake releases cleanly without tearing, keeping the edges smooth and the presentation neat. Avoid skipping the flour dusting as it creates a barrier between the butter and the batter.
⏱ Time: 10 minutes
✓ Doneness: Pan is evenly greased with no dry spots and lightly coated with flour.
Step 2
In a large mixing bowl, whisk together the sifted flour, cocoa powder, sugar, and baking powder until evenly combined. Sifting helps remove lumps and aerates the dry ingredients, which contributes to a lighter crumb. Take your time here; uneven mixing can cause pockets of baking powder or cocoa that affect the texture and flavor.
⏱ Time: 5 minutes
✓ Doneness: Dry ingredients are uniform in color and texture with no clumps.
Step 3
In a separate bowl, beat the eggs until slightly frothy, then add the warmed milk, vegetable oil, and vanilla extract. The warmth of the milk helps dissolve the sugar and activates the baking powder more effectively, giving the cake a tender crumb. Combining wet ingredients separately ensures even mixing and better batter consistency.
⏱ Time: 5 minutes
✓ Doneness: Wet ingredients are smooth and slightly frothy, fully combined.
Step 4
Slowly pour the wet ingredients into the dry ingredients while gently folding with a spatula or wooden spoon. Avoid overmixing, as this can develop gluten and make the cake tough. Fold just until the batter is smooth and the flour disappears. You want a thick but pourable batter with no streaks.
⏱ Time: 3 minutes
✓ Doneness: Batter is homogenous, thick but smooth, no visible flour streaks.
Step 5
Pour the batter into the prepared pan and smooth the top with a spatula. This ensures even baking and a flat surface for decorating. Tap the pan gently on the counter to release any large air bubbles trapped inside, which can cause holes or uneven texture.
⏱ Time: 2 minutes
✓ Doneness: Batter evenly spread, surface smooth, no large bubbles visible.
Step 6
Bake in the preheated oven for about 28-30 minutes. Start checking at 25 minutes by inserting a toothpick into the center; it should come out with a few moist crumbs but no wet batter. Oven temperatures vary, so keeping an eye on it prevents overbaking, which dries out the cake.
⏱ Time: 28-30 minutes
✓ Doneness: Toothpick comes out mostly clean with moist crumbs, cake springs back lightly when touched.
Step 7
Remove the cake from the oven and let it cool in the pan for 10 minutes. This resting period allows the cake to firm up slightly, making it easier to remove from the pan without breaking. Don’t rush this step or the cake might fall apart.
⏱ Time: 10 minutes
✓ Doneness: Cake edges start to pull away from the pan and surface feels set.
Step 8
Run a knife around the edges to loosen the cake, then invert it onto a wire rack to cool completely. Cooling on a rack prevents moisture buildup underneath, which keeps the bottom from getting soggy. Make sure it’s fully cool before adding berries or frosting to avoid melting or sliding.
⏱ Time: 30-40 minutes
✓ Doneness: Cake is completely cool to touch and not steaming.
Step 9
Top the cooled cake with fresh mixed berries right before serving. The juicy berries add a lovely tartness and fresh texture contrast to the rich chocolate. Washing and drying the berries gently beforehand ensures they don’t release too much moisture onto the cake, keeping the crumb intact.
⏱ Time: 5 minutes
✓ Doneness: Berries look fresh, vibrant, and evenly spread on cake surface.
Pro Tips
Always warm the milk slightly before adding it to the batter.
Warming milk helps the sugar dissolve faster and activates the baking powder more effectively, leading to a lighter, more tender crumb. Cold milk can cause uneven mixing and a denser cake texture.
Sift all dry ingredients together to prevent lumps and aerate the mixture.
Sifting distributes the cocoa and baking powder evenly, which ensures consistent flavor and proper rising. It also incorporates air, helping the cake turn out lighter and fluffier.
Fold wet and dry ingredients gently to avoid overmixing.
Overmixing develops gluten in the flour, which can make the cake tough and chewy. Gentle folding keeps the crumb tender and soft, which is key for moist chocolate cake.
Tap the cake pan on the counter before baking to release air bubbles.
Air bubbles trapped in the batter can cause holes and uneven texture. Tapping ensures a smooth surface and even crumb structure after baking.
Check the cake with a toothpick starting at 25 minutes to avoid overbaking.
Ovens vary; starting to check early prevents drying out the cake. The toothpick should come out with a few moist crumbs, not completely dry or wet batter.
Cool the cake completely on a wire rack before adding berries.
Cooling on a rack prevents moisture buildup under the cake, which keeps the bottom from becoming soggy. Adding berries too soon can cause them to slide off or release moisture.
Use fresh, firm berries and dry them well before decorating.
Wet berries can make the cake soggy and cause the topping to slide. Dry, firm berries hold their shape and add a beautiful fresh contrast to the rich chocolate.
Common Mistakes to Avoid
Skipping the sifting of dry ingredients
Why it happens It’s tempting to rush and just mix dry ingredients directly, assuming it won’t matter much.
Fix Always sift flour, cocoa, and baking powder together to avoid lumps and ensure even distribution. This step is quick and makes a big difference in texture and rise.
Using cold milk straight from the fridge
Why it happens Many overlook the temperature of liquids, thinking it’s irrelevant.
Fix Warm the milk slightly before mixing. This helps dissolve sugar and activate leavening, resulting in a lighter, moister cake.
Overmixing the batter after adding wet ingredients
Why it happens Trying to get a perfectly smooth batter often leads to excessive stirring.
Fix Fold gently just until combined. Overmixing develops gluten and causes a tough cake.
Removing the cake from the pan too soon
Why it happens Impatience or fear of sticking can cause early removal attempts.
Fix Let the cake cool in the pan for at least 10 minutes, then loosen edges before inverting. This prevents breakage.
Adding fresh berries before the cake is completely cool
Why it happens Excited to decorate, many add berries right away.
Fix Wait until the cake is fully cool to prevent melting or sliding berries and soggy cake.
Variations
Chocolate Cake with Whipped Cream and Berry Compote
Swap fresh berries for a homemade berry compote and top with fluffy whipped cream for a richer dessert. The compote adds a warm, syrupy sweetness, while whipped cream balances the chocolate’s intensity.
Note: Make sure the cake is completely cool before adding whipped cream to prevent melting; berry compote should be thickened slightly to avoid sogginess.
Gluten-Free Chocolate Cake
Use a gluten-free flour blend in place of all-purpose flour to make this cake suitable for gluten-sensitive eaters. The texture will be slightly different but still moist and delicious.
Note: Choose a blend with xanthan gum included for structure; baking time may vary slightly so watch carefully.
Vegan Chocolate Cake
Replace eggs with flax eggs and use plant-based milk and oil to make a vegan version. This variation is surprisingly moist and perfect for dairy-free diets.
Note: Flax eggs require a few minutes to thicken before mixing; expect a slightly denser crumb.
Chocolate Cake with Espresso Shot
Add a shot of espresso or strong coffee to the wet ingredients to intensify the chocolate flavor and add depth. Coffee enhances the cocoa notes without making the cake taste like coffee.
Note: Reduce milk slightly to compensate for added liquid; espresso should be cooled before mixing.
Chocolate Cake with Nutty Crunch Topping
Top the cake with toasted chopped nuts like hazelnuts or almonds for a crunchy contrast. The nuts add texture and a toasty flavor that pairs beautifully with chocolate.
Note: Toast nuts lightly to bring out flavor but avoid burning; add topping just before serving to keep crunch.
Nutrition
Per Serving:
Nutritional values are estimates and may vary based on specific ingredients used.
Storage & Tips
Room Temperature
This cake can safely sit at room temperature for up to 24 hours if covered tightly with plastic wrap or stored in an airtight container to prevent drying out.
Refrigerator
Store the cake in an airtight container in the fridge for up to 4 days. The texture may firm up slightly and berries might release some juice, so it’s best served at room temperature or warmed slightly before eating.
Freezer
Freeze the cake wrapped tightly in plastic wrap and then foil for up to 3 months. To thaw, place it in the fridge overnight and bring to room temperature before serving to restore moisture.
Reheating
Warm individual slices gently in the microwave for about 15-20 seconds or in a low oven (300°F) for 5-7 minutes. Add a splash of milk or cream if the cake feels dry to refresh moisture.
Make Ahead
You can bake the cake base 1-2 days ahead and store it wrapped at room temperature or refrigerated. Add fresh berries just before serving to keep them vibrant and fresh.
FAQ
Can I substitute butter for vegetable oil in this recipe?
Yes, you can use melted butter instead of vegetable oil, but it may make the cake slightly denser and less moist since butter solidifies when cooled. Melt the butter and cool it before mixing to avoid cooking the eggs prematurely.
What if I don’t have fresh berries? Can I use frozen?
Frozen berries can be used but should be thawed and drained well to avoid excess moisture making the cake soggy. I recommend fresh berries for the best texture and appearance, especially as a topping.
Why does my cake sometimes come out dry?
Dry cake usually results from overbaking or using too much flour. Be sure to measure flour accurately by spooning it into the cup and leveling it off. Also, check your oven temperature with a thermometer, as ovens can run hot.
Can I make this cake gluten-free?
Absolutely! Use a gluten-free flour blend that includes xanthan gum for structure. The texture might be a bit different—sometimes a little more crumbly—but it still tastes great.
How do I store leftover cake with berries on top?
It’s best to store the cake without berries if possible, as they release moisture and can make the cake soggy. If already topped, cover loosely and store in the fridge, but consume within 2 days.
Can I add frosting instead of berries?
Yes, a simple chocolate ganache or cream cheese frosting works beautifully. Just make sure the cake is completely cool before frosting to avoid melting.
Is there a way to make this cake more chocolatey?
Adding a tablespoon of espresso powder to the batter or using a higher quality, darker cocoa powder will deepen the chocolate flavor without altering texture.
Why is it important to let the cake cool before decorating?
If the cake is warm, toppings like berries or frosting can melt or slide off, and the crumb can become fragile. Cooling ensures the cake sets properly and holds decorations nicely.
Final Thoughts
I hope you enjoy making this moist chocolate cake with fresh berries as much as I do! Don’t forget to share your baking wins and berry-topped creations with friends and family.