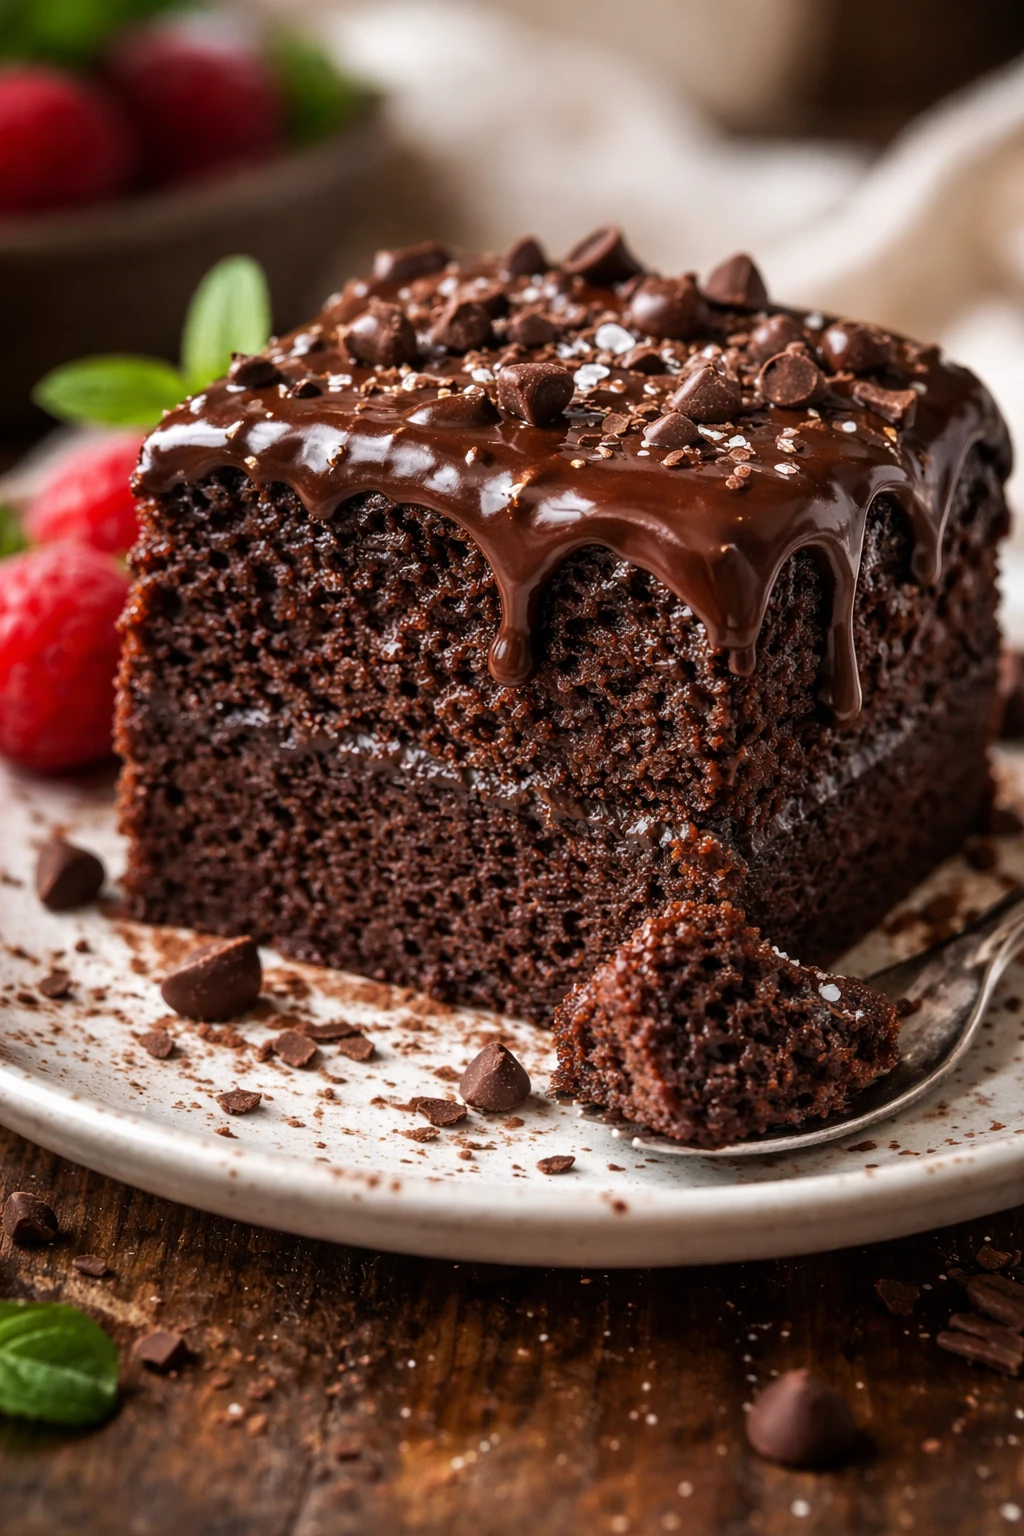
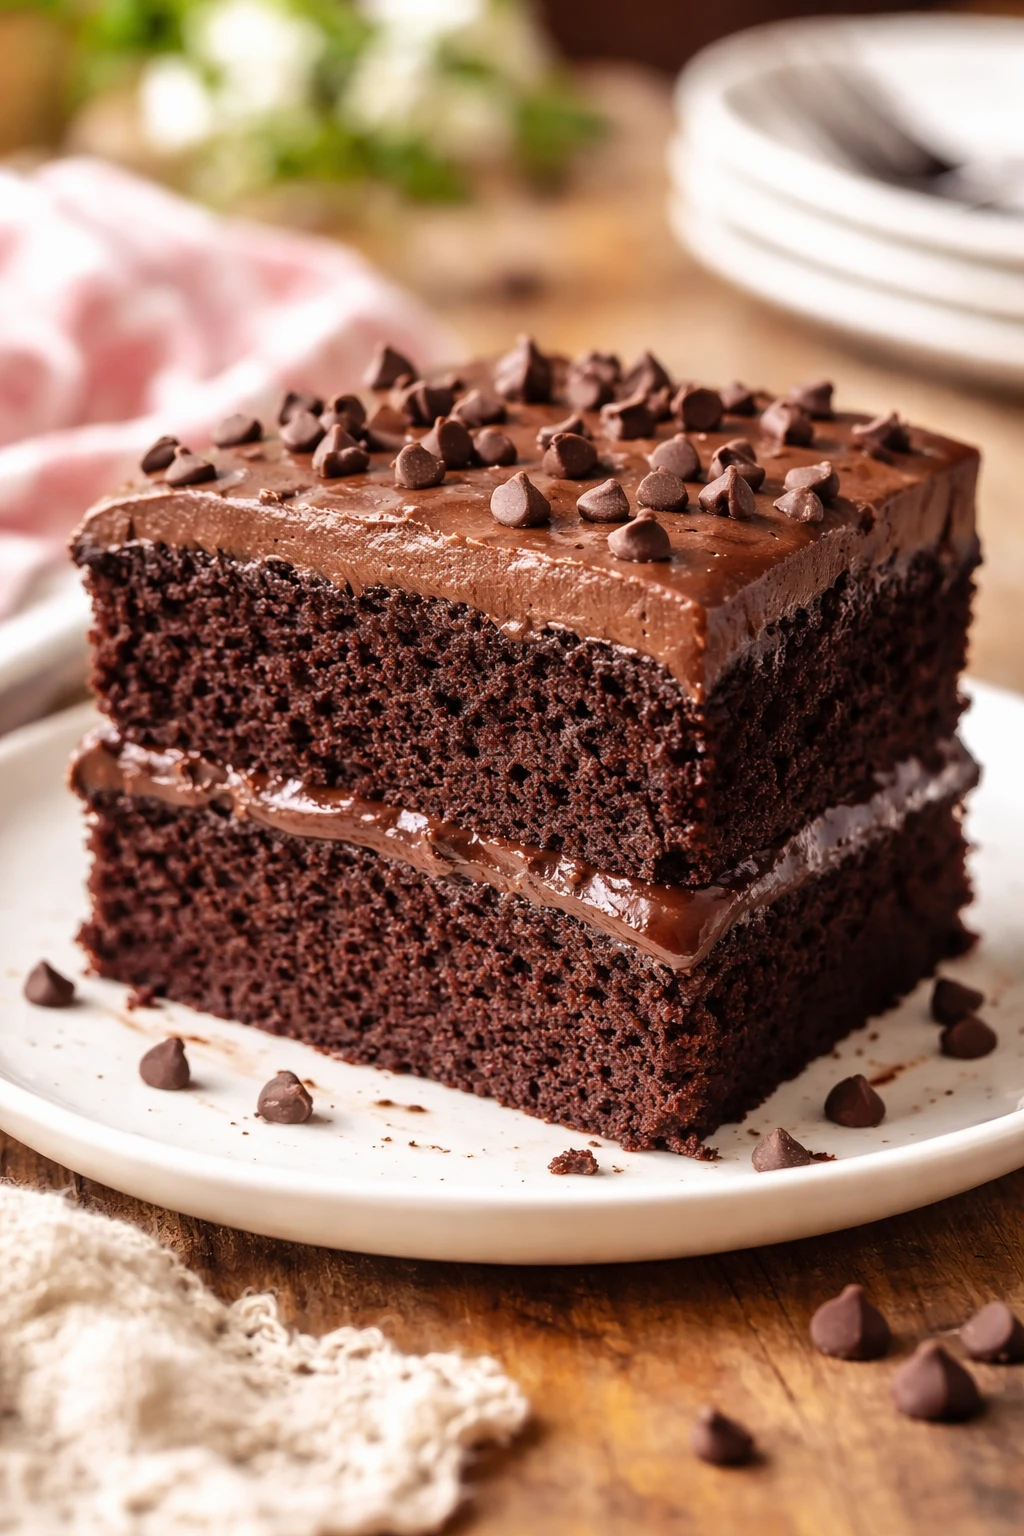
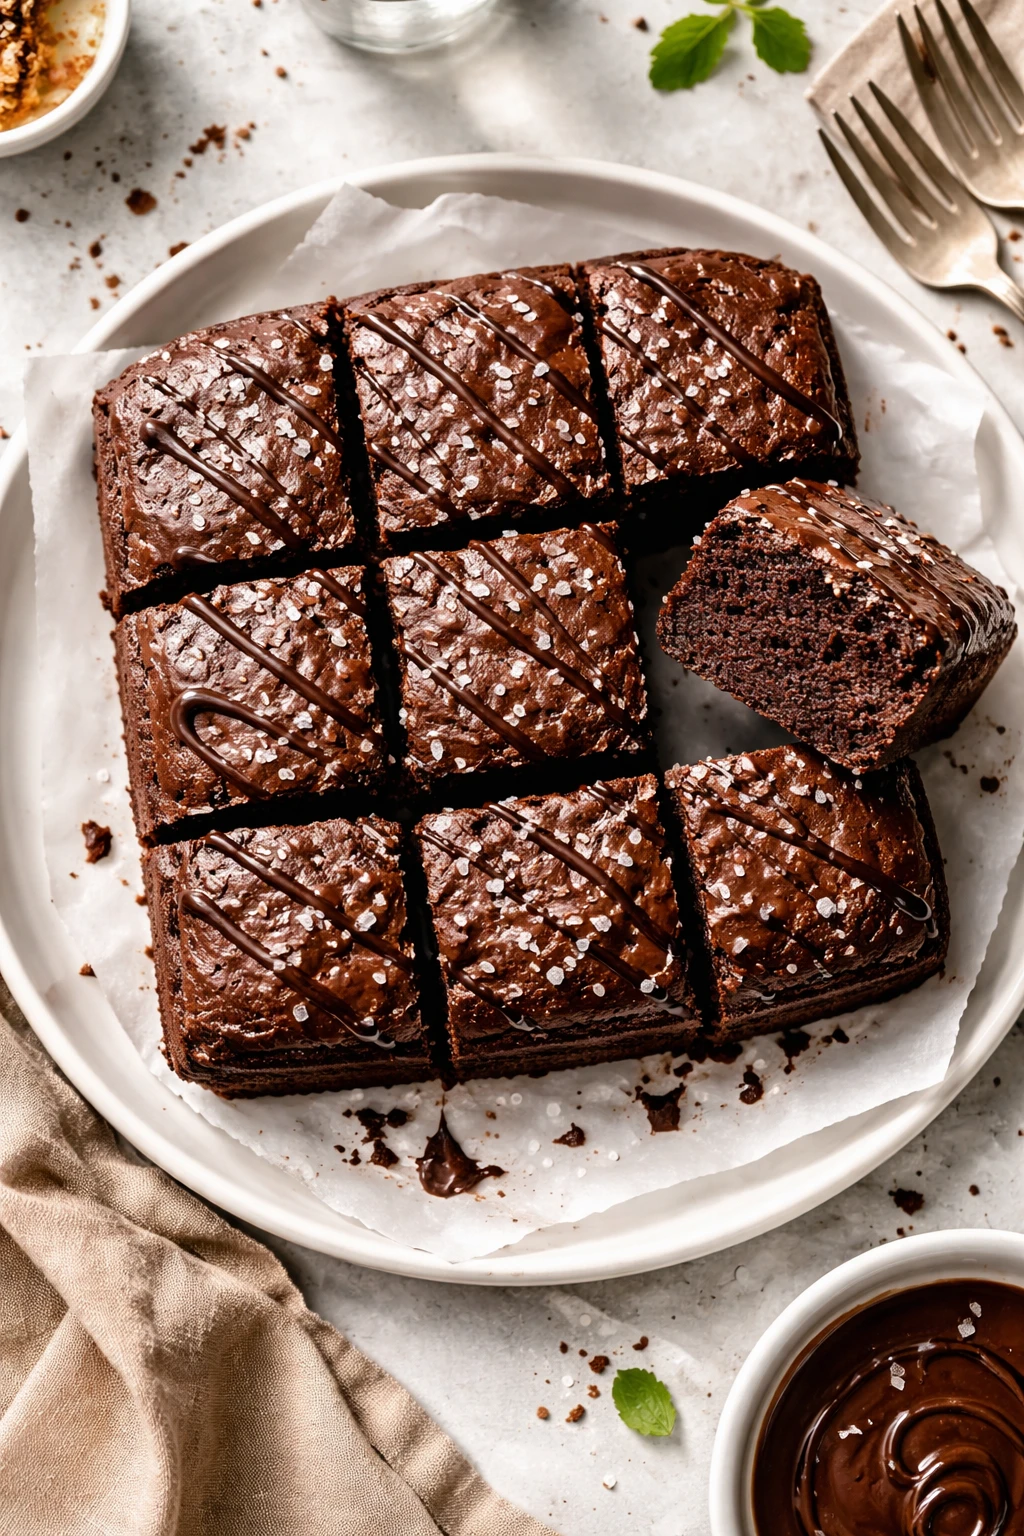
This chocolate cake is a lifesaver when you want something sweet but don’t have much time or ingredients. It’s super moist and rich, thanks to just five simple ingredients. Perfect for a cozy weeknight treat or last-minute dessert!
Introduction
I first stumbled on this five-ingredient chocolate cake recipe on a hectic weeknight when I was craving something sweet but didn’t have the energy or ingredients for a complicated bake. What I love about this cake is how it nails moistness and rich chocolate flavor with minimal fuss—no eggs, no butter, just pantry staples. I’ve made it countless times since, and it’s become a family favorite for those cozy nights when we want dessert without the hassle. The trick I learned is to sift the dry ingredients well; it really helps the cake rise evenly and keeps it light despite the simplicity. Plus, mixing the wet ingredients separately before combining helps avoid lumps and ensures a smooth batter. When baked right, the cake has a tender crumb with just the right amount of chocolate punch, making it feel indulgent without being heavy. It’s perfect for sharing with friends or just treating yourself after a long day. Honestly, this cake feels like a little hug from the inside out!
What You'll Need
One 8-inch round cake, 8 servings
- 1 cup all-purpose flour, sifted
- 1 cup granulated sugar
- 1/2 cup unsweetened cocoa powder, sifted
- 1 teaspoon baking powder
- 1/2 teaspoon salt
- 1/2 cup vegetable oil
- 1 cup water, room temperature
- 1 teaspoon vanilla extract
How To Do It
Step 1
Preheat your oven to 350°F (175°C) and grease an 8-inch round cake pan with a little oil or non-stick spray. This ensures the cake releases easily after baking. Sifting the dry ingredients together (flour, sugar, cocoa powder, baking powder, and salt) into a large bowl is crucial—it aerates the mixture, prevents lumps, and helps the cake rise evenly. If you skip sifting, you might end up with a denser texture and uneven pockets of cocoa or flour.
⏱ Time: 10
✓ Doneness: Dry ingredients are light, fluffy, and fully combined without lumps.
Step 2
In a separate bowl, whisk together the vegetable oil, water, and vanilla extract until combined. Mixing these wet ingredients separately before adding them to the dry ingredients helps the batter come together smoothly, preventing clumps and ensuring even moisture distribution. If you mix everything at once, you risk uneven texture and more mixing needed, which can make the cake tougher.
⏱ Time: 5
✓ Doneness: Wet ingredients are fully blended and look uniform without separation.
Step 3
Slowly pour the wet ingredients into the dry ingredients bowl while stirring gently with a spatula or wooden spoon. Stir just until combined—overmixing develops gluten and can make the cake dense. You’re looking for a smooth, somewhat thick batter without streaks of flour. If the batter looks lumpy or dry spots remain, gently fold a few more times, but don’t overdo it.
⏱ Time: 5
✓ Doneness: Batter is uniform in color and texture, slightly thick but pourable.
Step 4
Pour the batter into the prepared cake pan and spread it evenly with the back of a spoon or spatula. This helps the cake bake uniformly and prevents doming or cracking on top. Tap the pan gently on the counter to release any air bubbles that could cause holes or uneven texture in the cake.
⏱ Time: 3
✓ Doneness: Batter surface is smooth and even, with no large air bubbles.
Step 5
Place the cake pan in the preheated oven on the middle rack. Bake for about 30 minutes, but start checking around 25 minutes. The cake is done when a toothpick inserted in the center comes out with a few moist crumbs but no wet batter. Avoid opening the oven too often during baking as it can cause the cake to sink.
⏱ Time: 30
✓ Doneness: Toothpick test shows moist crumbs without raw batter; cake springs back lightly when touched.
Step 6
Once baked, remove the cake from the oven and let it cool in the pan for 10-15 minutes. This resting allows the structure to set and makes it easier to remove from the pan without breaking. If you try to unmold it while too hot, the cake may crumble or stick.
⏱ Time: 15
✓ Doneness: Cake edges pull slightly away from the pan and surface feels set but warm.
Step 7
Run a knife around the cake edges to loosen it, then invert the pan onto a wire rack to release the cake. Allow it to cool completely before frosting or serving. Cooling fully helps the crumb firm up and prevents frosting from melting or sliding off.
⏱ Time: 20
✓ Doneness: Cake releases cleanly from pan and cools to room temperature.
Step 8
If you want, dust the cake with powdered sugar or top with your favorite frosting. I love a simple dusting or a quick chocolate glaze. Adding frosting is optional but adds richness and moisture contrast.
⏱ Time: 10
✓ Doneness: Frosting or dusting is smooth and evenly spread or sprinkled.
Step 9
Slice the cake with a sharp serrated knife for clean edges. Serve on its own or with a scoop of vanilla ice cream for an extra indulgent treat. This cake is best enjoyed within a couple of days but keeps well covered.
⏱ Time: 2
✓ Doneness: Slices hold shape without crumbling excessively.
Pro Tips
Always sift your dry ingredients together before mixing.
Sifting aerates the flour and cocoa powder, breaks up any lumps, and ensures even distribution of baking powder and salt. This leads to a smoother batter, even rising, and a lighter cake texture. Skipping this step often results in dense spots or uneven crumb.
Mix wet ingredients separately before combining with dry.
This technique prevents overmixing and helps hydrate the dry ingredients gradually. It reduces the risk of lumps and ensures a smooth, consistent batter. Overmixing develops gluten and causes toughness, so this step helps keep the cake tender.
Use room temperature water for the wet ingredients.
Room temperature water blends more easily with the oil and vanilla, ensuring a smooth batter. Cold water can cause the oil to seize or create lumps, while hot water might start cooking the batter prematurely, affecting texture.
Don’t open the oven door during the first 20 minutes of baking.
Opening the oven door releases heat and can cause the cake to sink or bake unevenly. The initial high heat is crucial for proper rise and setting of the structure. Wait until the cake is well set before checking.
Let the cake cool completely before frosting or slicing.
Cooling allows the crumb to firm up and prevents frosting from melting or sliding off. Cutting too soon can cause the cake to crumble or stick to the knife, ruining the presentation and texture.
Tap the cake pan gently before baking.
Tapping releases trapped air bubbles in the batter that could create holes or uneven texture in the cake. This simple step helps create a uniform crumb and smooth surface.
Use a serrated knife for clean slices.
A serrated knife gently cuts through the tender crumb without compressing it. Using a regular knife can squish the cake, causing uneven edges and crumbling.
Common Mistakes to Avoid
Skipping sifting of dry ingredients
Why it happens People often skip sifting to save time or because they underestimate its importance, assuming all-purpose flour is fine as is.
Fix Take the extra 2-3 minutes to sift flour, cocoa, baking powder, and salt together. It ensures even mixing and aeration, which makes a big difference in the cake’s texture and rise.
Overmixing the batter
Why it happens It’s tempting to mix until perfectly smooth, but overmixing develops gluten, making the cake dense and tough.
Fix Mix just until the ingredients come together with no dry spots. Stop as soon as the batter looks uniform but still slightly thick.
Using expired baking powder
Why it happens Baking powder loses potency over time and is often overlooked in pantry checks.
Fix Test your baking powder by dropping a bit in warm water; it should fizz vigorously. Replace if it doesn’t to ensure proper rise.
Opening the oven door too early
Why it happens Curiosity or impatience can lead to opening the door, which causes temperature drops.
Fix Resist checking until at least 20 minutes in. This prevents the cake from sinking and ensures even baking.
Cutting the cake while still warm
Why it happens Eager to taste, people slice the cake immediately, causing crumbling and sticking.
Fix Allow the cake to cool completely on a wire rack before slicing or frosting for clean, neat pieces.
Variations
Add Espresso for a Mocha Twist
Stir in 1 teaspoon of instant espresso powder with the cocoa powder to deepen the chocolate flavor and add a subtle coffee note. It pairs beautifully with a chocolate glaze or whipped cream topping. Expect a slightly richer, more complex taste.
Note: Espresso powder dissolves easily in the batter; no extra liquid needed. Be careful not to add too much to avoid bitterness.
Gluten-Free Version
Replace all-purpose flour with a gluten-free flour blend that includes xanthan gum. This keeps the texture tender and moist without compromising flavor. Perfect for gluten-sensitive friends or family.
Note: Gluten-free flours absorb liquids differently; you might need to rest the batter 10 minutes before baking for best results.
Add Chocolate Chips for Extra Gooeyness
Fold in 1/2 cup of semi-sweet chocolate chips into the batter before baking to add pockets of melty chocolate throughout the cake. Great for chocoholics craving extra gooey bites.
Note: Toss chips in a little flour first to prevent sinking to the bottom during baking.
Make It Vegan
This recipe is already egg-free and can be vegan-friendly by using vegan sugar and ensuring your vanilla extract is alcohol-based without additives. The oil and water base keeps it moist and tender without eggs.
Note: Use organic or certified vegan sugar to avoid bone char processing.
Add a Hint of Cinnamon or Chili
Sprinkle 1/2 teaspoon of ground cinnamon or a pinch of chili powder into the dry ingredients for a warm or spicy twist that complements the chocolate beautifully.
Note: Add spices with the cocoa powder for even distribution.
Nutrition
Per Serving:
Nutritional values are estimates and may vary based on specific ingredients used.
Storage & Tips
Room Temperature
You can keep the cake covered at room temperature for up to 2 days. Use a cake dome or airtight container to prevent it from drying out. It stays moist but is best eaten fresh.
Refrigerator
Store leftovers in an airtight container in the fridge for up to 5 days. The cake might firm up and taste less moist when cold, so bring it to room temperature or warm it slightly before serving.
Freezer
Freeze the cake wrapped tightly in plastic wrap and aluminum foil for up to 3 months. Thaw overnight in the fridge, then bring to room temperature before serving to restore texture.
Reheating
Warm slices gently in the microwave for 15-20 seconds or in a low oven (300°F) for 5-7 minutes. Add a splash of milk or cover with foil to prevent drying out. Avoid overheating which can toughen the crumb.
Make Ahead
You can prepare the batter 1 day ahead and keep it refrigerated in a covered bowl. Bring it to room temperature and stir gently before baking. Alternatively, bake the cake a day ahead and store cooled in an airtight container.
FAQ
Can I substitute the vegetable oil with butter?
You can substitute melted butter for vegetable oil in equal amounts, but it will change the texture. Butter solidifies at room temperature, which may make the cake slightly denser and less moist. Also, the flavor will be richer and buttery, which some prefer. If you use butter, melt it and cool slightly before mixing.
Why is my cake dense or dry?
A dense or dry cake often results from overmixing the batter, using old baking powder, or baking too long. Overmixing develops gluten, making it tough. Old leavening agents don’t create enough rise. Also, overbaking pulls moisture out. Check your ingredients’ freshness and bake just until a toothpick comes out with moist crumbs.
Can I add eggs to this recipe?
Yes, adding one or two eggs will give more structure and a richer crumb, but it’s not necessary for this recipe. If you add eggs, reduce the water slightly and beat eggs with wet ingredients. The cake will be less dense and more like a traditional chocolate cake.
What pan size should I use?
An 8-inch round cake pan works best for this recipe to achieve the right thickness and bake time. Using a larger pan will make a thinner cake that bakes faster, while a smaller pan yields a thicker cake that might need longer baking.
Can I make cupcakes with this batter?
Absolutely! Fill cupcake liners about two-thirds full and bake at 350°F for 18-22 minutes. Keep an eye on them since cupcakes bake faster. The recipe’s moisture and texture translate well to cupcakes.
How do I store leftover cake?
Store leftover cake in an airtight container at room temperature for up to 2 days or in the fridge for up to 5 days. Wrapping tightly prevents it from drying out. Bring refrigerated cake to room temperature before serving for best texture.
Can I freeze this cake?
Yes, wrap the cake tightly in plastic wrap and then foil to prevent freezer burn. Freeze for up to 3 months. Thaw overnight in the fridge and then bring to room temperature before serving. This helps maintain moisture and texture.
What frosting pairs well with this cake?
Simple frostings like chocolate ganache, cream cheese frosting, or a dusting of powdered sugar work beautifully. The cake’s moistness pairs well with rich or tangy frostings that balance the sweetness.
Final Thoughts
Give this simple chocolate cake a try—you might find it becomes your go-to for quick, comforting desserts. Don’t forget to share how yours turns out!