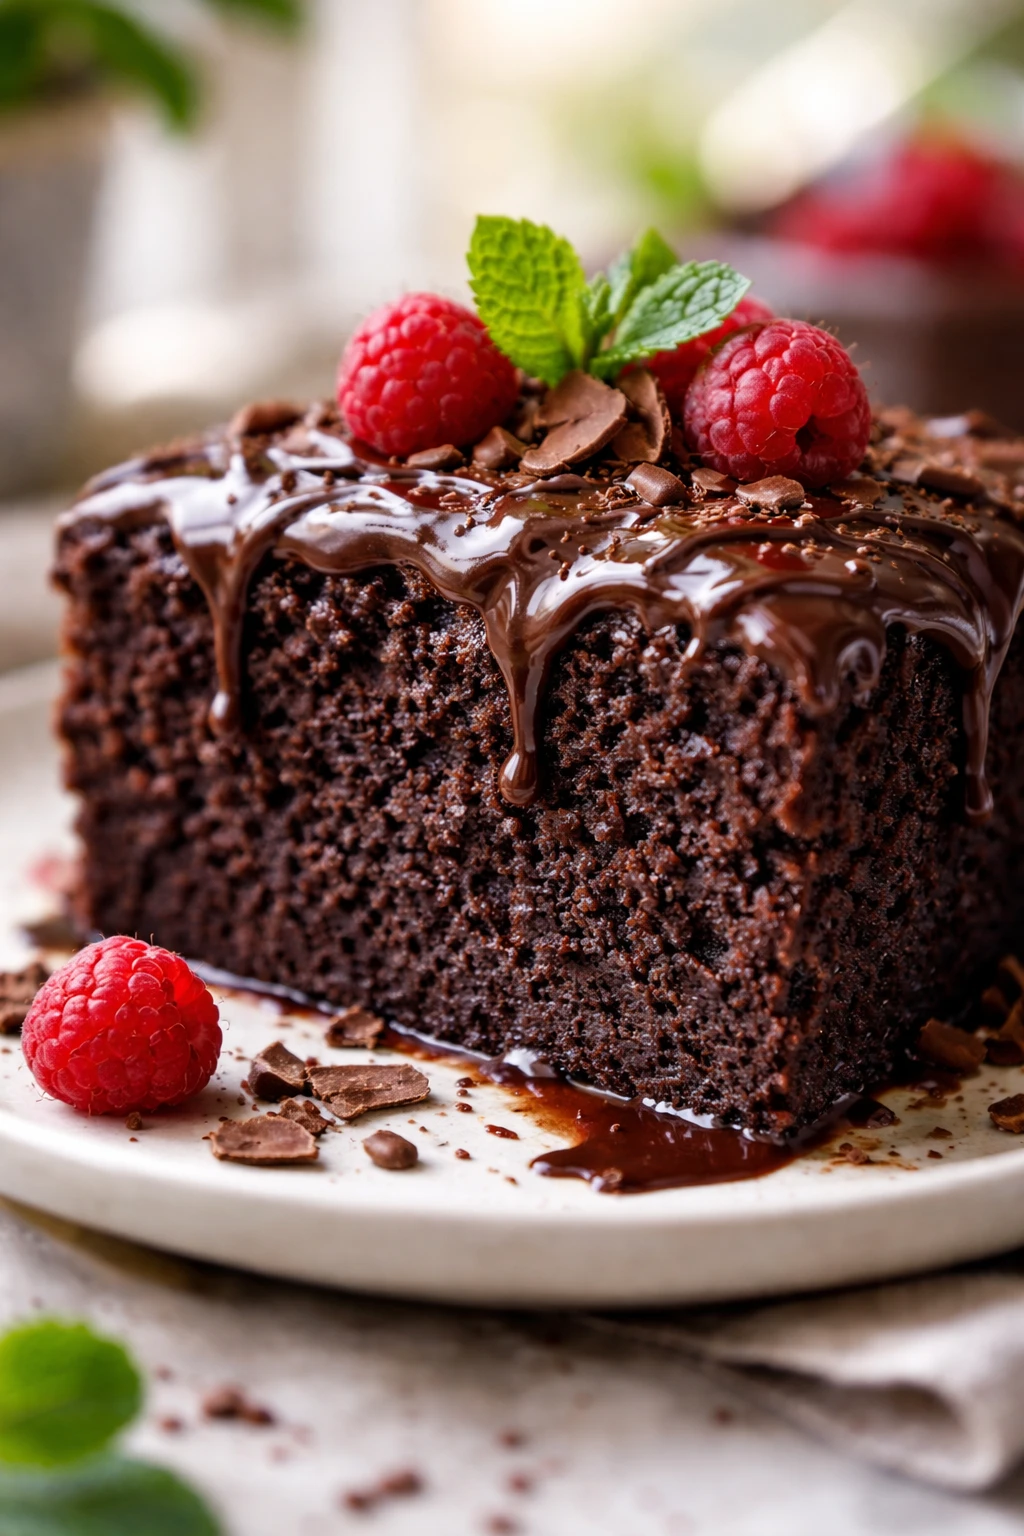
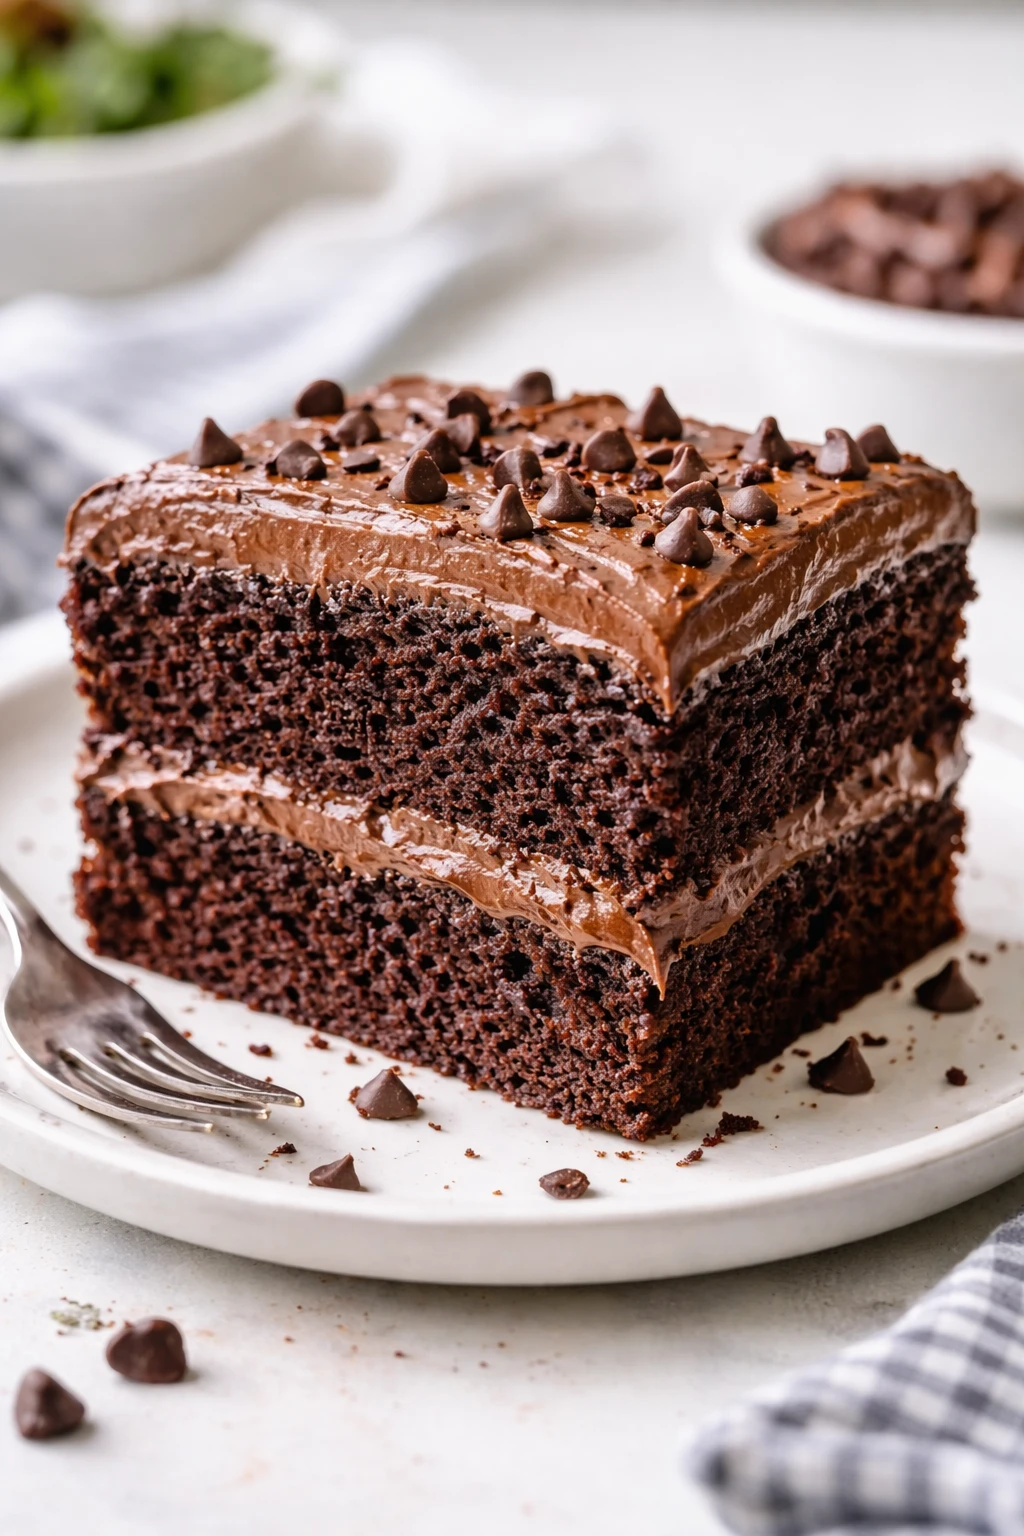
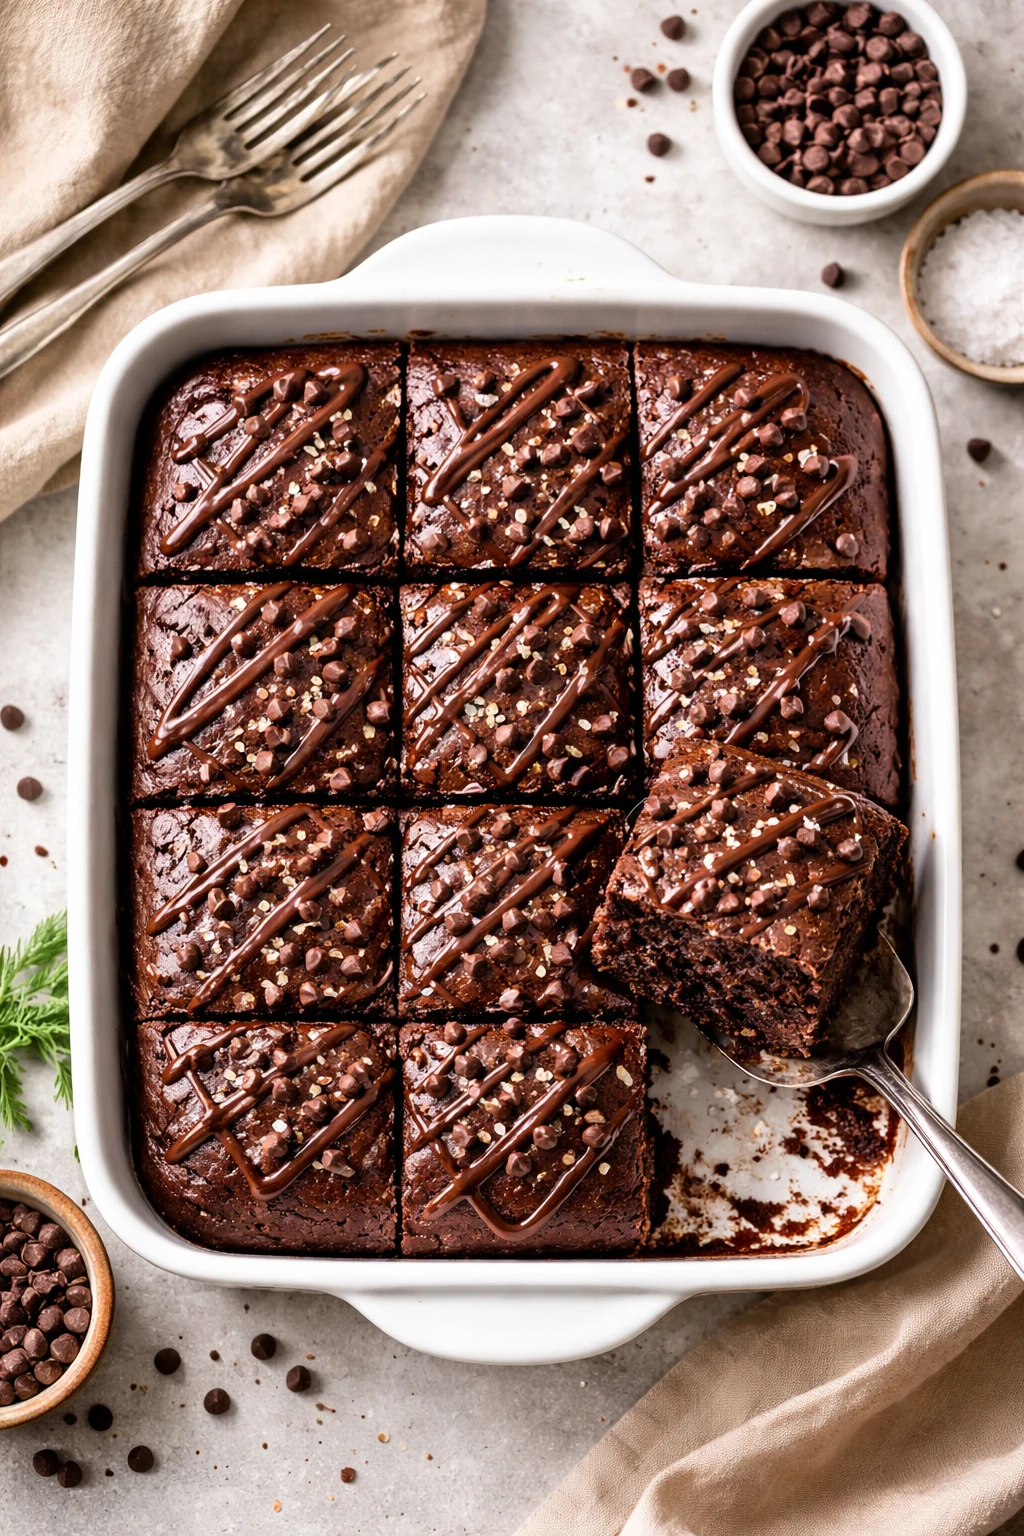
This chocolate cake is a lifesaver when you want something sweet but don't have much time. Made with just five simple ingredients, it turns out super moist and rich every time. Perfect for a cozy weeknight dessert or last-minute craving!
Introduction
I first stumbled upon this five-ingredient chocolate cake recipe during a hectic weeknight when I desperately needed a quick dessert fix. What I love most is how simple it is—no fancy ingredients or complicated steps, yet it yields a cake that’s incredibly moist and rich. I remember my first attempt was a bit dry because I rushed the mixing, but once I slowed down and folded the ingredients gently, the texture improved dramatically. The trick I learned is to sift the dry ingredients well and to use room temperature milk to keep everything smooth and tender. The finished cake has a deep chocolate flavor that’s not too sweet, just perfect for a cozy night in or an impromptu gathering. It’s also a great base for adding your favorite frosting or enjoying plain with a cup of coffee. Honestly, it’s become my go-to when I want chocolate without fuss. I’m excited to share this easy, fail-proof recipe with you because it’s one of those simple pleasures that feels special every time.
What You'll Need
One 8-inch round cake, 8 servings
- 1 cup all-purpose flour, sifted
- 1 cup granulated sugar
- 1/2 cup unsweetened cocoa powder, sifted
- 1 teaspoon baking powder
- 1/2 cup milk, at room temperature
How To Do It
Step 1
Start by preheating your oven to 350°F (175°C) and greasing an 8-inch round cake pan. This ensures the cake won’t stick and will bake evenly. Greasing the pan properly is key; I like to use a bit of butter and a dusting of flour to create a non-stick surface. Avoid skipping this step or the cake might tear when you try to remove it.
⏱ Time: 10 minutes
✓ Doneness: Pan is evenly greased with no bare spots, and oven is fully preheated.
Step 2
In a large bowl, sift together the flour, cocoa powder, and baking powder. Sifting removes lumps and aerates the dry ingredients, leading to a lighter cake texture. Mixing these ingredients well at this stage also helps distribute the leavening agent evenly, so the cake rises uniformly during baking.
⏱ Time: 5 minutes
✓ Doneness: Dry ingredients are well combined with no lumps or clumps visible.
Step 3
Add the sugar to the dry mix and stir gently to combine. Using granulated sugar adds a subtle crunch and sweetness balance, but be careful not to overmix here to avoid toughening the cake. The sugar also helps create a tender crumb by attracting moisture during baking.
⏱ Time: 3 minutes
✓ Doneness: Sugar is evenly distributed with no visible patches in the dry mix.
Step 4
Pour in the room temperature milk slowly while stirring with a spatula or wooden spoon. Mixing wet and dry ingredients gradually prevents clumps and ensures a smooth batter. Room temperature milk helps the ingredients combine more easily, preventing the butterfat from solidifying and creating lumps.
⏱ Time: 5 minutes
✓ Doneness: Batter is smooth and uniform with no visible flour pockets or lumps.
Step 5
Mix the batter just until combined. Overmixing can develop gluten in the flour, making the cake dense and chewy instead of tender. Use gentle folding motions and stop as soon as you see no dry flour. It’s okay if the batter looks a little lumpy; it will smooth out as it bakes.
⏱ Time: 2 minutes
✓ Doneness: Batter has no dry patches but is not overly smooth or elastic.
Step 6
Pour the batter into your prepared pan, smoothing the top with a spatula. This ensures even baking and a nice flat surface for decorating. Tap the pan lightly on the counter to release any trapped air bubbles that might cause holes in the cake.
⏱ Time: 3 minutes
✓ Doneness: Batter evenly spread with a smooth surface, no bubbles on top.
Step 7
Bake in the preheated oven for about 25-30 minutes. Don’t open the oven door too early or the cake might collapse. Bake until a toothpick inserted in the center comes out with a few moist crumbs but no wet batter. The edges will start to pull away slightly from the pan when it’s done.
⏱ Time: 25-30 minutes
✓ Doneness: Toothpick inserted in center comes out mostly clean with moist crumbs.
Step 8
Remove the cake from the oven and let it cool in the pan for about 10 minutes. This resting period allows the cake to firm up slightly, making it easier to remove. Then, run a knife around the edges to loosen it before transferring to a wire rack to cool completely.
⏱ Time: 15 minutes
✓ Doneness: Cake slightly pulls away from pan edges and feels firm to touch.
Step 9
Once cooled, slice and serve as is or with your favorite frosting or fresh berries. This cake’s moist texture pairs beautifully with whipped cream or a simple dusting of powdered sugar. Enjoy it fresh for the best flavor and texture.
⏱ Time: 5 minutes
✓ Doneness: Cake slices cleanly with moist, tender crumb and rich chocolate aroma.
Pro Tips
Always sift your dry ingredients before mixing.
Sifting aerates the flour and cocoa powder, removing lumps and ensuring even distribution of baking powder. This step is key to achieving a light, tender crumb and prevents dense spots in your cake.
Use room temperature milk for the batter.
Cold milk can cause fats to seize or clump, resulting in uneven batter and texture. Room temperature milk emulsifies better, leading to a smooth batter and a moist, tender cake.
Don’t overmix the batter once wet and dry ingredients are combined.
Overmixing develops gluten in the flour, which makes the cake tough and dense. Mixing just until combined keeps the crumb soft and tender.
Grease and flour your pan thoroughly.
This prevents sticking and helps the cake release cleanly. Skipping this can cause the cake to tear and ruin the presentation.
Test doneness with a toothpick inserted in the center.
A toothpick with a few moist crumbs means the cake is perfectly baked. If it comes out wet, it needs more time; if completely dry, it might be overbaked and dry.
Let the cake cool in the pan for 10 minutes before removing.
This resting time lets the cake firm up so it doesn’t break apart when you take it out, ensuring clean slices and a beautiful finish.
Tap the pan gently after pouring batter to release air bubbles.
Trapped air bubbles can cause holes or uneven texture. Tapping evens the batter and improves crumb consistency.
Common Mistakes to Avoid
Overmixing the batter
Why it happens Many cooks think mixing longer makes the batter smoother and better, but it actually activates gluten in the flour, making the cake dense and tough.
Fix Mix just until the ingredients come together. Use gentle folding motions and stop as soon as you see no dry flour. This keeps the crumb tender and moist.
Skipping sifting of dry ingredients
Why it happens It feels like an extra step or unnecessary, but skipping sifting leads to uneven mixing and lumpy batter.
Fix Always sift flour, cocoa powder, and baking powder together. This aerates them and ensures even distribution, which is crucial for a light, even cake.
Using cold milk
Why it happens Some recipes don’t specify, so cold milk is used straight from the fridge, causing fats to solidify and batter to clump.
Fix Bring milk to room temperature before adding. This helps the batter emulsify smoothly and makes the cake moist and tender.
Not greasing the pan well
Why it happens Rushing or skipping this step causes the cake to stick and break when removing.
Fix Grease the pan with butter, then dust with flour, tapping out excess. This creates a non-stick surface for clean release.
Opening the oven door too early
Why it happens Impatience or curiosity can cause the oven temperature to drop suddenly, making the cake collapse.
Fix Resist opening the oven until at least 20 minutes have passed. Use the toothpick test near the end to check doneness.
Variations
Add Espresso for Deeper Chocolate Flavor
Stir in 1 teaspoon of instant espresso powder with the cocoa powder to intensify the chocolate notes. This doesn't make the cake taste like coffee but enhances richness, making it taste more gourmet.
Note: Espresso powder dissolves easily in dry ingredients, so no changes to mixing or baking time are needed.
Use Greek Yogurt for Extra Moisture
Replace half the milk with plain Greek yogurt to add tangy flavor and extra moisture. This variation makes the cake even more tender and adds subtle creaminess.
Note: Greek yogurt’s acidity can react slightly with baking powder, so don’t increase leavening. The texture will be denser but still soft.
Gluten-Free Version with Almond Flour
Swap the all-purpose flour for a gluten-free almond flour blend. The cake will be denser and nuttier but still moist and delicious for gluten-free eaters.
Note: Baking time may increase by a few minutes; watch for doneness carefully as almond flour browns faster.
Add Chocolate Chips for Texture
Fold 1/2 cup of semi-sweet chocolate chips into the batter for pockets of melty chocolate. This adds a fun texture and boosts the chocolate experience.
Note: Add chips at the end of mixing to avoid melting and sinking to the bottom during baking.
Top with Fresh Berries and Whipped Cream
Serve the cooled cake with fresh raspberries or strawberries and a dollop of whipped cream. This lightens the richness and adds fresh, bright flavor contrast.
Note: No changes to baking; add toppings just before serving for best texture.
Nutrition
Per Serving:
Nutritional values are estimates and may vary based on specific ingredients used.
Storage & Tips
Room Temperature
This cake can safely sit covered at room temperature for up to two days. Keep it wrapped tightly with plastic wrap or in an airtight container to prevent it from drying out or absorbing odors from the environment.
Refrigerator
Store the cake in an airtight container for up to 5 days. Refrigeration may slightly dry the cake, so bring to room temperature or warm briefly before serving to restore softness.
Freezer
Wrap the cake tightly in plastic wrap and then aluminum foil to prevent freezer burn. Freeze for up to 3 months. Thaw overnight in the refrigerator or at room temperature. Avoid microwaving frozen cake directly to keep texture intact.
Reheating
Warm slices gently in the microwave for 15-20 seconds or in a low oven (300°F) for 5-7 minutes. Adding a small splash of milk or covering with foil helps retain moisture. Avoid overheating which can dry out the cake.
Make Ahead
You can mix the dry ingredients and store in an airtight container for up to 2 days before baking. Milk should be added fresh. Bake the cake the day of serving for best texture and flavor.
FAQ
Can I substitute the milk with a non-dairy option?
Yes, you can use almond, soy, or oat milk as a substitute. Keep in mind that non-dairy milks might slightly alter the flavor and texture, sometimes making the cake less tender. Choose unsweetened varieties to control sweetness.
What if I don’t have baking powder?
Baking powder is essential here for leavening. If you only have baking soda, you’ll need to add an acid like lemon juice or vinegar to activate it, which changes the recipe balance. It’s easier to use baking powder for this cake.
Why is my cake dry even though I followed the recipe?
Dry cake often results from overbaking or overmixing. Make sure to check doneness early with a toothpick and mix only until combined. Oven temperatures can vary, so consider using an oven thermometer.
Can I double this recipe for a larger cake?
Absolutely! Just double all ingredients and use a larger pan or two pans. Adjust baking time accordingly and check for doneness with a toothpick, as larger cakes take longer to bake through.
How do I store leftover cake?
Store leftovers in an airtight container at room temperature for up to two days or refrigerate for up to five days. For longer storage, freeze wrapped well to maintain moisture and flavor.
Can I add frosting to this cake?
Yes! This cake pairs beautifully with chocolate ganache, cream cheese frosting, or a simple dusting of powdered sugar. Make sure the cake is completely cooled before frosting to prevent melting.
Is this cake suitable for beginners?
Definitely! With only five ingredients and simple steps, it’s perfect for novice bakers. Just follow the tips about mixing and baking times, and you’ll have success on your first try.
What makes this cake so moist compared to other recipes?
The combination of careful mixing, the right amount of milk, and the balanced use of leavening ensures a tender crumb. Avoiding overmixing and properly sifting ingredients also helps lock in moisture.
Final Thoughts
I hope you enjoy making and eating this easy chocolate cake as much as I do! Be sure to share your baking wins and tweaks — I’d love to hear how it turns out for you.