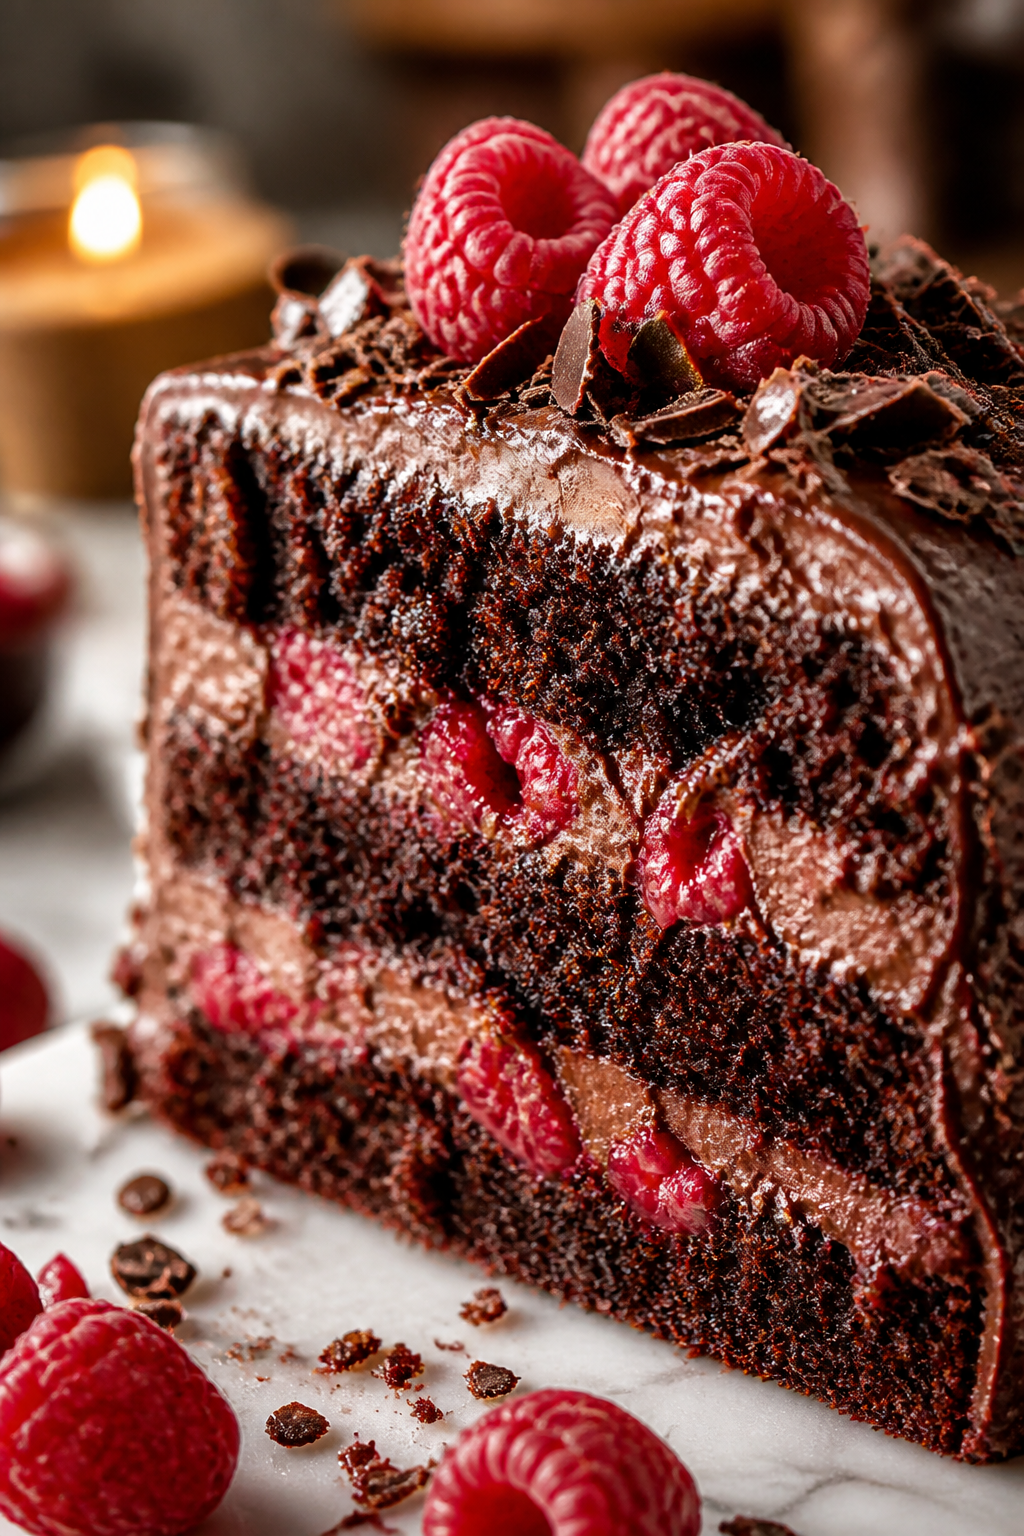
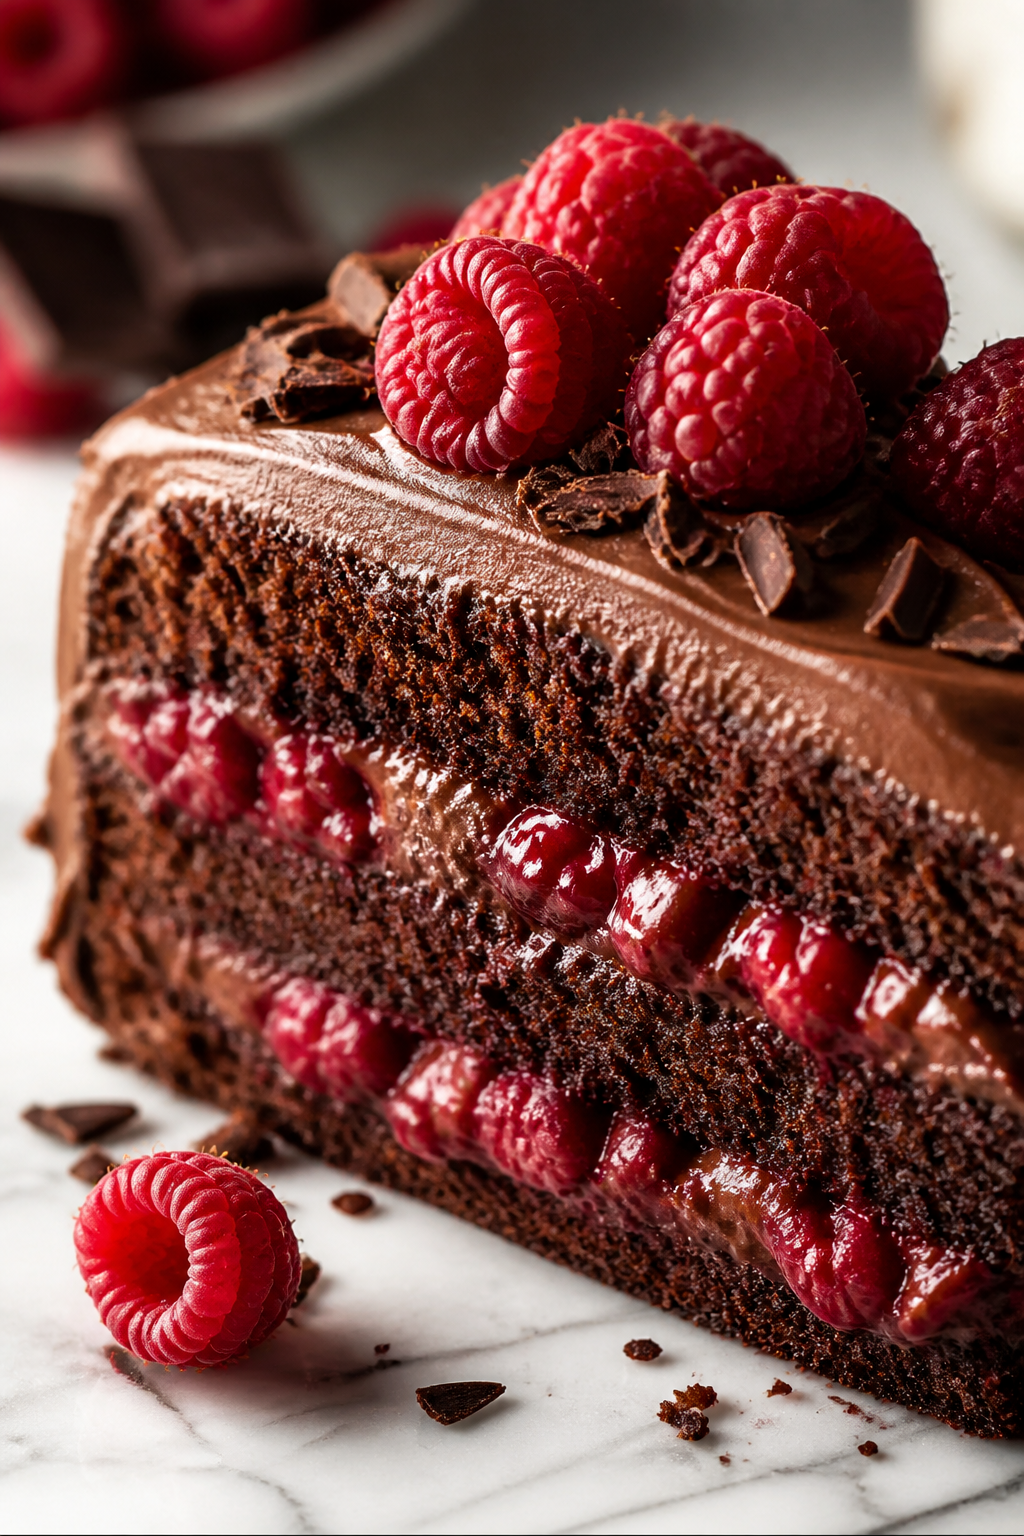
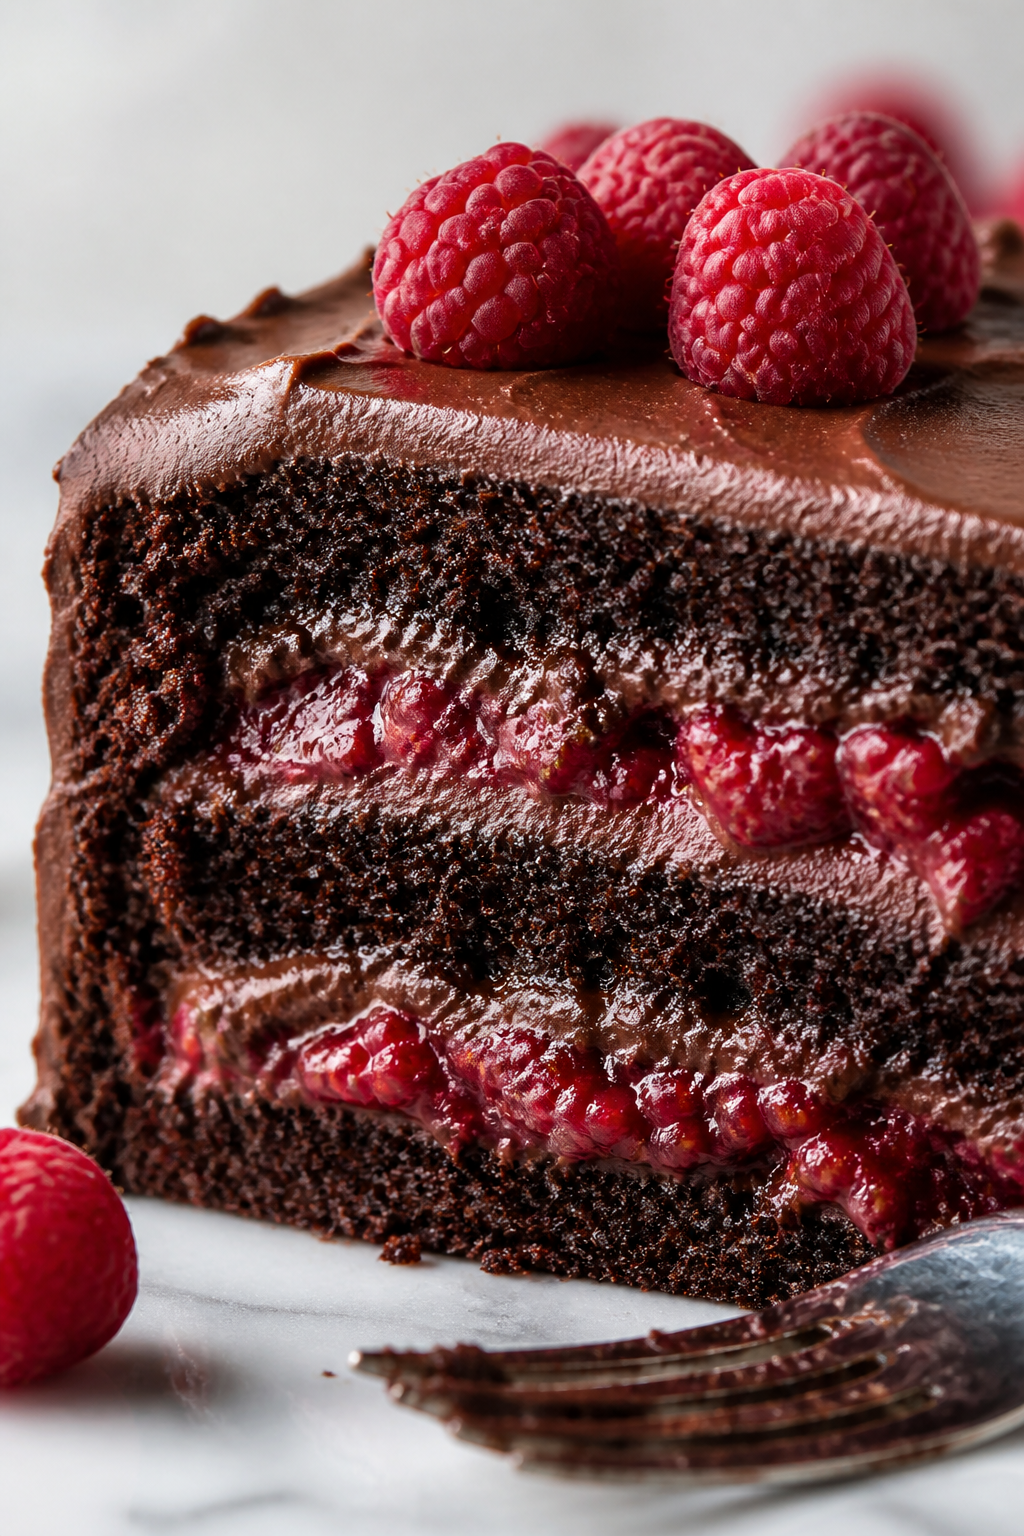
This chocolate layer cake is rich but easy to throw together, and the fresh raspberries add a juicy brightness that cuts through the cocoa. Perfect for last-minute celebrations or a cozy weekend treat!
Introduction
I first made this chocolate layer cake a few years ago when I needed a quick dessert for an unexpected dinner guest. I remember being surprised at how simple it was but still felt like a showstopper. The secret? Using boiling water in the batter to bloom the cocoa powder, which really deepens the chocolate flavor and keeps the cake moist. Also, folding fresh raspberries right into the whipped cream frosting adds a fresh, juicy pop that cuts through the richness. I’ve tried lots of chocolate cake recipes, but this one strikes the perfect balance between rich and light, and it’s forgiving enough to make with minimal fuss. The layers bake evenly, and the texture is tender yet sturdy enough to hold the luscious cream and berries. It’s become my go-to when I want something classic but with a little extra brightness. Whether for a birthday, a cozy weekend treat, or just because, this cake always hits the spot and gets rave reviews from friends and family. I’ve had my fair share of dry chocolate cakes, so I’m happy to share the tips that make this one reliably moist and flavorful every time.
What You'll Need
One 9-inch three-layer cake, 8 servings
- 2 cups all-purpose flour, sifted
- 2 cups granulated sugar
- 3/4 cup unsweetened cocoa powder, sifted
- 2 teaspoons baking powder
- 1.5 teaspoons baking soda
- 1 teaspoon salt
- 1 cup whole milk, room temperature
- 1/2 cup vegetable oil
- 2 large eggs, room temperature
- 2 teaspoons pure vanilla extract
- 1 cup boiling water
- 1.5 cups heavy cream, cold
- 3 tablespoons powdered sugar
- 1 teaspoon vanilla extract
- 1.5 cups fresh raspberries
How To Do It
Step 1
Preheat your oven to 350°F (175°C). Grease and flour three 9-inch round cake pans to ensure the cake layers release easily after baking. Properly preparing your pans prevents sticking and helps achieve even edges, which is especially important for layered cakes. Avoid skipping this step since it can lead to broken layers or uneven surfaces.
⏱ Time: 10 minutes
✓ Doneness: Pans should be evenly greased with no dry spots visible.
Step 2
In a large mixing bowl, whisk together the sifted flour, sugar, cocoa powder, baking powder, baking soda, and salt until evenly combined. Sifting removes lumps and aerates the dry ingredients, which helps create a lighter cake crumb. Mixing the leavening agents thoroughly ensures the cake will rise evenly without dense pockets.
⏱ Time: 5 minutes
✓ Doneness: Dry ingredients should be smooth and evenly mixed with no clumps.
Step 3
Add the milk, vegetable oil, eggs, and vanilla extract to the dry ingredients. Beat on medium speed with an electric mixer for about 2 minutes until the batter is smooth and homogenous. This step incorporates air and ensures all ingredients are well combined, which helps the cake rise and have a tender crumb. Be careful not to overmix, which can develop gluten and make the cake tough.
⏱ Time: 3 minutes
✓ Doneness: Batter looks smooth, thick but pourable, with no streaks of flour.
Step 4
Slowly pour the boiling water into the batter while mixing on low speed. The batter will be thin—that’s expected. The boiling water blooms the cocoa powder, intensifying the chocolate flavor and keeping the cake moist. Don’t skip this step or substitute with cold water, or you’ll lose that rich, deep chocolate taste.
⏱ Time: 2 minutes
✓ Doneness: Batter is thin and glossy, fully combined with no lumps.
Step 5
Divide the batter evenly between the three prepared pans. Tap the pans gently on the counter to release any air bubbles, which helps prevent tunnels or holes in the cake. Place the pans in the oven and bake for 28-32 minutes. Avoid opening the oven door too often, as that can cause the cakes to sink.
⏱ Time: 30 minutes
✓ Doneness: A toothpick inserted in the center comes out with a few moist crumbs but no wet batter.
Step 6
Remove the cakes from the oven and let them cool in the pans for about 10 minutes. Then invert them onto wire racks to cool completely. Cooling in the pans too long can cause sogginess, while removing them too soon can cause breakage. Proper cooling ensures layers stack neatly and frosting spreads smoothly.
⏱ Time: 1 hour
✓ Doneness: Cakes feel cool to the touch and release easily from pans.
Step 7
While the cakes cool, whip the cold heavy cream with powdered sugar and vanilla extract until stiff peaks form. Chilling the bowl and beaters beforehand helps the cream whip faster and stabilize better. Avoid overwhipping, or it will turn grainy and start to separate into butter.
⏱ Time: 10 minutes
✓ Doneness: Whipped cream holds firm peaks and looks glossy without graininess.
Step 8
Gently fold one cup of fresh raspberries into the whipped cream, being careful not to crush the berries. This adds a fresh fruity element and a bit of tartness that balances the rich cocoa layers. Be gentle so the cream stays fluffy and the berries remain whole.
⏱ Time: 5 minutes
✓ Doneness: Raspberries are evenly distributed without breaking down the cream.
Step 9
Assemble the cake by placing one layer on your serving plate, spreading a third of the raspberry whipped cream evenly on top. Repeat with remaining layers and finish by decorating the top with remaining whole raspberries. Chill the cake for at least 30 minutes before serving to help the layers set and flavors meld. This resting time also makes slicing cleaner and easier.
⏱ Time: 30 minutes
✓ Doneness: Cake is firm but moist, with distinct layers visible when sliced.
Pro Tips
Always sift your dry ingredients together.
Sifting aerates flour, cocoa, and leaveners, which helps eliminate lumps and creates a lighter cake texture. It also ensures even distribution of baking powder and soda, which is crucial for proper rising and avoiding dense or uneven crumb.
Use room temperature eggs and milk for the batter.
Room temperature ingredients blend more easily and trap air better, leading to a smoother batter and lighter cake. Cold ingredients can cause the batter to curdle or mix unevenly, resulting in a denser texture.
Don’t rush adding boiling water; pour it slowly while mixing.
Adding boiling water gradually allows it to bloom the cocoa powder evenly and prevents sudden temperature shocks that could curdle the batter. This step also thins the batter for even baking and deep chocolate flavor.
Chill your mixing bowl and beaters before whipping cream.
Cold equipment helps the fat in the cream stay solid longer, making it easier to whip to stiff peaks. Warm bowls or beaters cause the cream to whip slowly and may result in a runny or grainy texture.
Use a serrated knife to level cake layers if needed.
Even layers stack better and look more professional. A serrated knife allows you to trim domed tops without squashing the cake, ensuring neat, stable layers for frosting and assembly.
Let the cake cool completely before frosting.
Frosting warm cake causes the whipped cream to melt and slide off, ruining the appearance and texture. Cooling ensures the frosting sets properly and the cake layers stay intact.
Fold raspberries gently into the whipped cream.
Raspberries are delicate and can break down, releasing juice that thins the cream. Gently folding preserves berry shape and keeps the frosting light and fluffy.
Common Mistakes to Avoid
Not measuring flour correctly
Why it happens Many home bakers scoop flour directly with the measuring cup, packing it in and adding too much.
Fix Spoon flour into your measuring cup and level it off with a knife. This prevents dense, dry cake layers and keeps the crumb tender.
Skipping the boiling water step
Why it happens Some may think boiling water is unnecessary or forget to add it.
Fix Don’t skip it! The hot water blooms the cocoa for rich flavor and moist texture. Add it slowly while mixing for best results.
Overmixing the batter after adding flour
Why it happens Trying to fully mix or smooth batter can develop gluten.
Fix Mix just until combined. Overmixing makes the cake tough and dense instead of tender and soft.
Frosting warm cake layers
Why it happens Impatience or rushing leads to frosting a cake that’s not fully cooled.
Fix Allow cakes to cool completely on wire racks before frosting to prevent melting and sliding.
Overwhipping the cream
Why it happens Trying to get very stiff peaks often goes too far.
Fix Stop whipping as soon as stiff peaks form. Overwhipped cream becomes grainy and starts turning into butter.
Variations
Chocolate Cake with Mixed Berries
Swap out raspberries for a mix of strawberries, blueberries, and blackberries for a colorful berry burst. The combination adds varied textures and flavors, making the cake feel fresh and festive.
Note: Fold mixed berries gently into the whipped cream and adjust sweetness slightly if berries are tart.
Mocha Chocolate Cake
Add 1 tablespoon instant espresso powder to the boiling water for a subtle mocha flavor that enhances the chocolate. This twist adds complexity without overpowering the cake’s classic taste.
Note: Make sure espresso powder dissolves completely in hot water before mixing into batter.
Chocolate Cake with Chocolate Ganache
Replace the whipped cream frosting with a rich chocolate ganache for a glossy, decadent finish. This variation is perfect for chocolate lovers who want an extra indulgent treat.
Note: Allow ganache to cool slightly before pouring to avoid melting the cake layers.
Vegan Chocolate Cake
Use plant-based milk, flax eggs, and vegan butter to make this cake dairy-free and egg-free. It’s surprisingly moist and flavorful, suitable for anyone avoiding animal products.
Note: Adjust baking time slightly and check doneness with a toothpick, as vegan batters can bake differently.
Gluten-Free Chocolate Cake
Substitute gluten-free all-purpose flour blend for regular flour. This makes the cake accessible for gluten-sensitive eaters without sacrificing texture or flavor.
Note: Ensure the gluten-free flour blend contains xanthan gum or add it separately for structure.
Nutrition
Per Serving:
Nutritional values are estimates and may vary based on specific ingredients used.
Storage & Tips
Room Temperature
This cake can be kept at room temperature for up to 4 hours if covered loosely with a cake dome or plastic wrap. Avoid leaving it uncovered to prevent the whipped cream from drying out or absorbing odors.
Refrigerator
Store the cake in an airtight container or cover tightly with plastic wrap in the fridge for up to 3 days. The whipped cream frosting may firm up and the cake might dry out slightly, so let it sit at room temperature for 20 minutes before serving.
Freezer
Freeze the cake wrapped tightly in plastic wrap and then foil for up to 2 months. To thaw, transfer to the fridge overnight, then bring to room temperature before serving. Note that whipped cream texture may change slightly after freezing.
Reheating
Chocolate layer cake with whipped cream frosting is best served cold or at room temperature. Avoid reheating as the cream will melt. For a warm dessert, serve a slice alongside warm chocolate sauce or melted ice cream.
Make Ahead
You can bake the cake layers up to 2 days ahead and store them wrapped at room temperature. Whip the cream and fold in raspberries just before assembling to keep the frosting fresh and stable.
FAQ
Can I use frozen raspberries instead of fresh?
Frozen raspberries tend to release excess moisture when thawed, which can make the whipped cream frosting watery and less stable. If you must use frozen, thaw them completely and gently pat dry before folding into the cream. Fresh raspberries are best for texture and flavor.
Why is my cake dry even though I followed the recipe?
Dry cake can result from overbaking or inaccurate flour measurement. Make sure to check doneness with a toothpick early and avoid opening the oven door frequently. Also, spoon and level flour instead of scooping to prevent packing too much flour.
How do I prevent the whipped cream from deflating when adding berries?
Fold the berries gently with a spatula rather than stirring vigorously. This preserves the air whipped into the cream and keeps it light and fluffy.
Can I make this cake gluten-free?
Yes! Substitute all-purpose flour with a gluten-free blend containing xanthan gum. Baking times may vary slightly, so test doneness with a toothpick. The texture will be slightly different but still delicious.
What’s the best way to store leftover cake?
Keep leftover cake refrigerated in an airtight container for up to 3 days. Bring to room temperature before serving for best flavor and texture. Avoid freezing frosted cake unless wrapped tightly to prevent freezer burn.
Can I use a different frosting instead of whipped cream?
Absolutely! Chocolate ganache or buttercream can be used if you prefer a richer or more stable frosting. Keep in mind that whipped cream gives a lighter, fresher finish that balances the chocolate and berries nicely.
How do I make sure the cake layers bake evenly?
Use three pans of the same size and fill them equally. Tap out air bubbles before baking and avoid overfilling. Rotate pans halfway through baking if your oven has hot spots.
Is there a substitute for vegetable oil in this recipe?
You can use melted coconut oil or light olive oil, but avoid strongly flavored oils that might overpower the chocolate. Butter can be substituted but will change the texture and may require adjusting other liquids.
Final Thoughts
I hope you give this chocolate raspberry layer cake a try—it’s one of those recipes that feels special but is really easy to make. Let me know how it turns out and share your favorite tweaks!