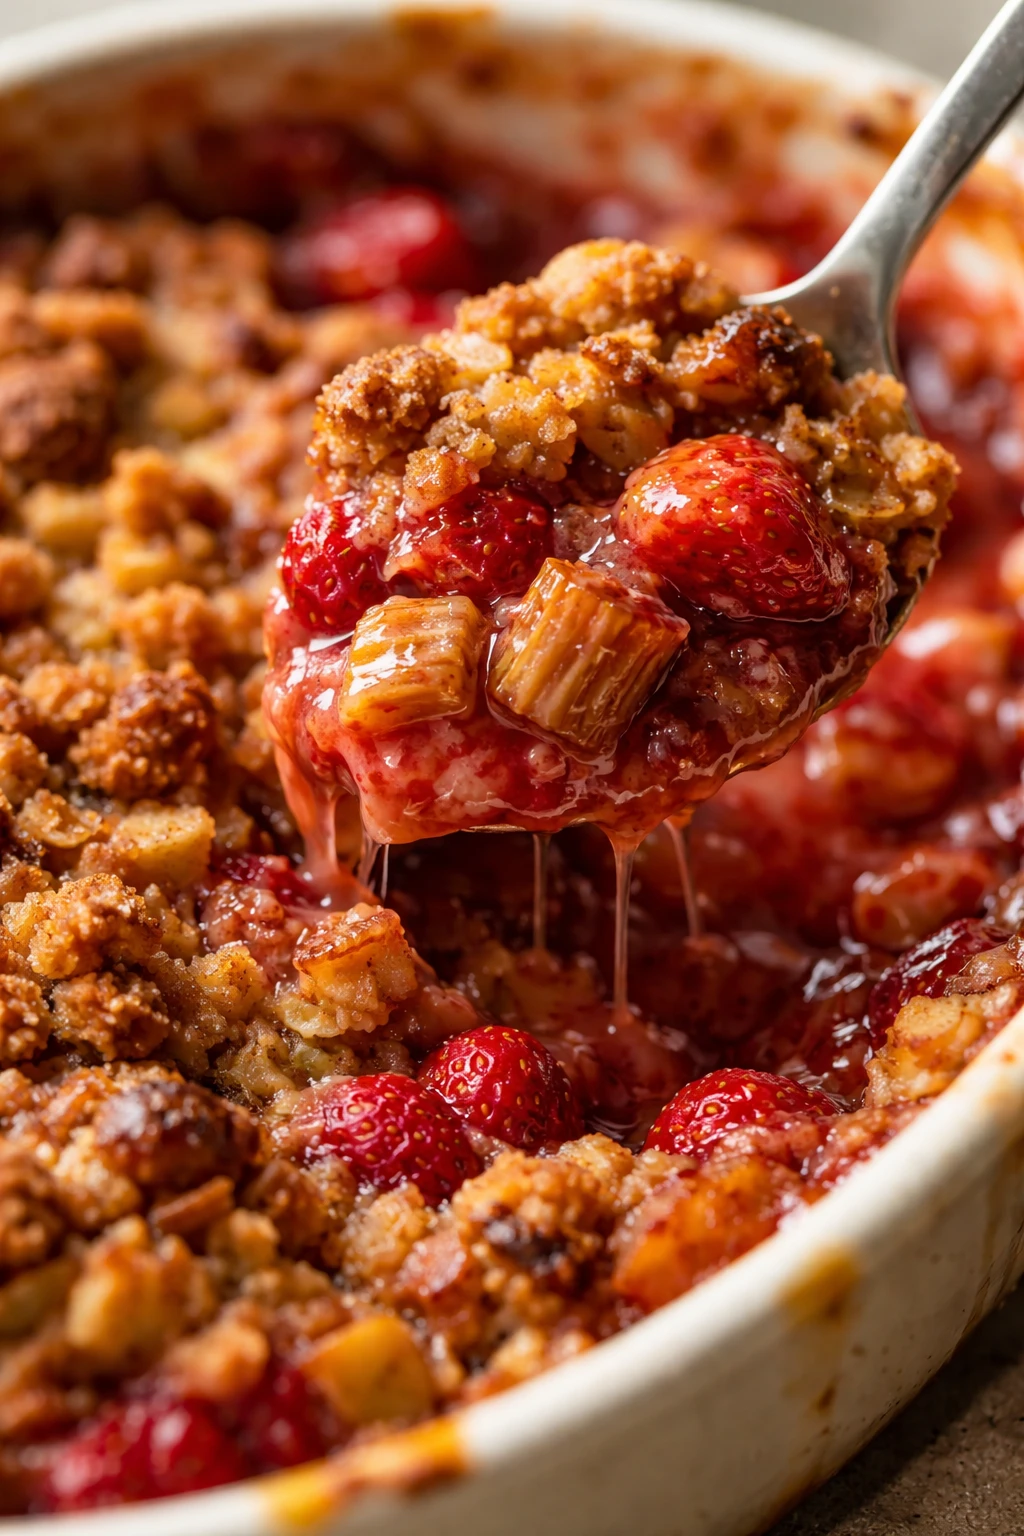
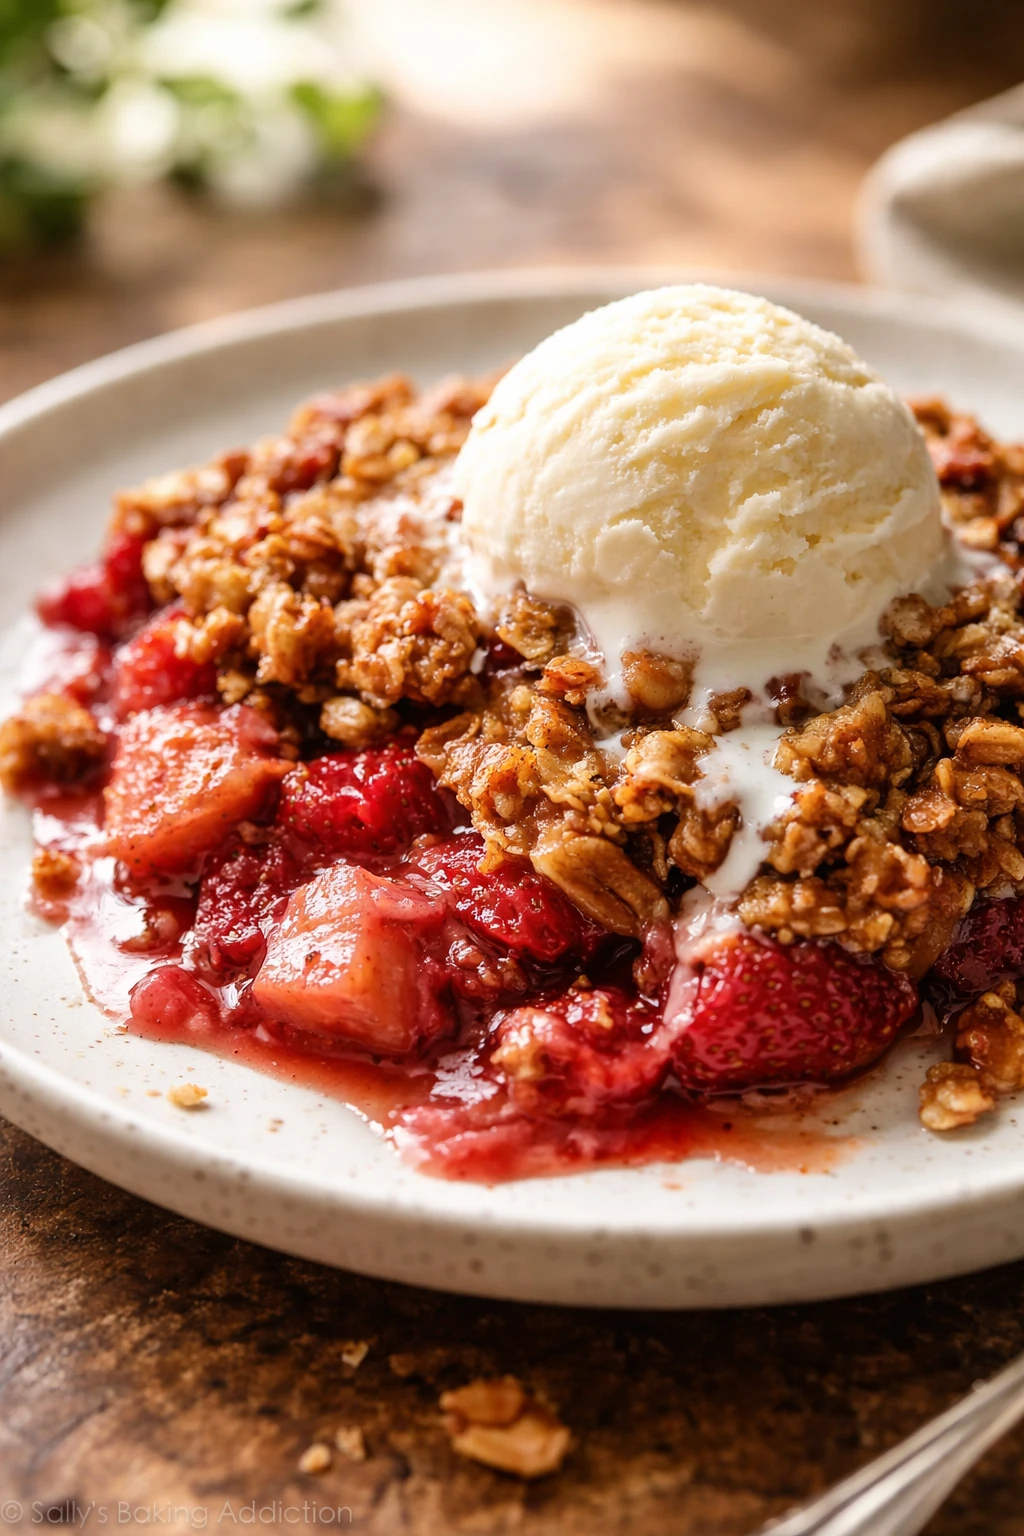
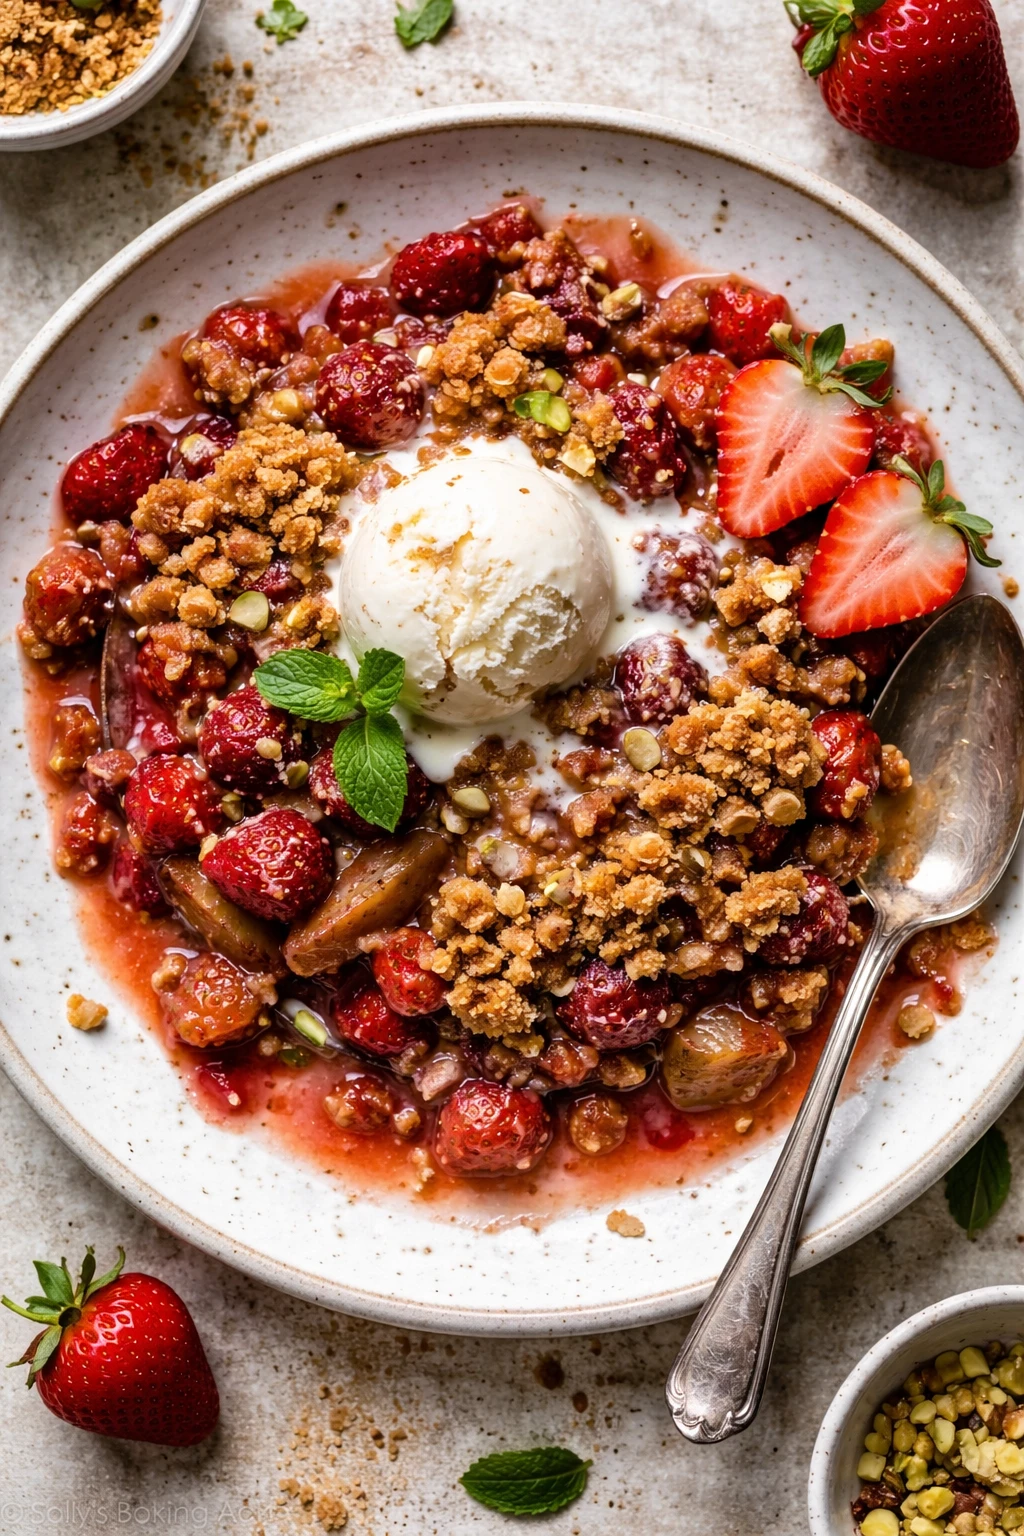
This rhubarb and strawberry crisp balances tangy fruit with a buttery oat topping for a cozy, crunchy dessert. Quick to make and perfect for weekends or surprise guests!
Introduction
I first made this rhubarb and strawberry crisp on a whim when I had a bunch of rhubarb from my neighbor and some strawberries from the farmer’s market. I wanted something quick but still comforting. The tartness of the rhubarb paired with the natural sweetness of strawberries creates the perfect balance, and the crisp oat topping adds a cozy, buttery crunch that makes it feel like a hug in dessert form. What sets this version apart is the simple oat crumble topping — it’s made with cold butter cut into the oats and flour, which creates that irresistible crumbly texture instead of a soggy mess. I’ve tried a few versions before where the topping was too mushy or too dry, but this one hits the sweet spot every time. When it comes out of the oven, the fruit bubbles up with sticky juices, and the oats turn golden and fragrant. It’s perfect for a weekend treat or even an easy dessert when friends drop by unexpectedly. Plus, it’s one of those recipes that’s forgiving and easy to tweak depending on what fruit you have on hand. I love serving it warm with a scoop of vanilla ice cream — total comfort food bliss!
How To Do It
Step 1
Preheat your oven to 375°F (190°C). This temperature is key because it’s hot enough to cook the fruit thoroughly and crisp the topping without burning. While the oven warms, prepare your fruit filling. The even heat ensures the rhubarb softens properly and the strawberries release their juices, which thickens the filling nicely during baking.
⏱ Time: 10
✓ Doneness: Oven reaches 375°F and stays steady
Step 2
In a large bowl, gently toss the chopped rhubarb and halved strawberries with the granulated sugar, cornstarch, and vanilla extract. The sugar sweetens and helps the fruit release juice, while the cornstarch thickens the filling to prevent it from being runny. Be careful not to overmix to avoid bruising the fruit.
⏱ Time: 5
✓ Doneness: Fruit pieces are evenly coated and mixture looks glossy
Step 3
Transfer the fruit mixture to a greased 9x13-inch baking dish, spreading it out evenly. This layer will bubble and thicken as it bakes, so make sure it’s level to promote even cooking. Avoid overcrowding the dish to ensure the topping crisps properly.
⏱ Time: 5
✓ Doneness: Fruit layer is flat and evenly distributed
Step 4
In a separate bowl, combine the rolled oats, flour, brown sugar, cinnamon, and salt. Mix these dry ingredients well so the sugar and spices are evenly distributed, which will create a balanced topping flavor. The oats provide texture, while cinnamon adds warmth.
⏱ Time: 5
✓ Doneness: Dry ingredients are uniformly mixed with no clumps
Step 5
Add the cold cubed butter to the oat mixture. Use a pastry cutter or your fingertips to cut the butter into the dry ingredients until the mixture resembles coarse crumbs. The cold butter creates pockets that melt during baking, resulting in a tender, crumbly texture rather than a greasy topping.
⏱ Time: 10
✓ Doneness: Mixture has pea-sized crumbs with visible butter bits
Step 6
Sprinkle the oat topping evenly over the fruit in the baking dish. Don’t press it down; leaving it loose helps it bake into a light, crunchy crust. Make sure the topping covers all the fruit to prevent it from drying out.
⏱ Time: 5
✓ Doneness: Topping evenly distributed with a crumbly appearance
Step 7
Place the baking dish on the middle rack of the oven and bake for 30 minutes. This allows the fruit to bubble and the topping to turn golden brown. Keep an eye on it near the end to avoid burning the oats, which can happen quickly if the oven runs hot.
⏱ Time: 30
✓ Doneness: Topping is golden brown and fruit filling is bubbling
Step 8
Remove the crisp from the oven and let it cool for at least 10 minutes before serving. Cooling helps the filling thicken up slightly for easier serving and enhances the flavors as they meld together. Serve warm with vanilla ice cream or whipped cream for extra indulgence.
⏱ Time: 10
✓ Doneness: Filling is slightly set but still juicy, topping crisp
Step 9
Store any leftovers uncovered at room temperature for up to 2 hours before refrigerating in an airtight container. Reheat gently when ready to enjoy again. This step preserves the texture and flavor without making the topping soggy.
⏱ Time: 5
✓ Doneness: Crisp cools to room temperature without condensation
Pro Tips
Use cold butter for the topping and cut it in quickly.
Cold butter creates small pockets of fat that melt during baking, producing a tender, crumbly texture. If the butter warms too much, the topping becomes greasy and dense instead of crisp and flaky.
Don’t overmix the fruit filling.
Overmixing can bruise the fruit, releasing too much juice prematurely and making the filling watery. Gently toss ingredients until just combined to keep fruit pieces intact for a better texture.
Let the crisp cool slightly before serving.
Cooling allows the filling to thicken and set, making it easier to serve and enhancing the flavor as the juices concentrate. Serving immediately can result in a runny filling.
Use old-fashioned rolled oats, not quick oats.
Rolled oats hold their shape and crisp up nicely, providing a satisfying texture contrast. Quick oats absorb more moisture and can create a denser, less crunchy topping.
Bake in the middle rack of the oven.
This position ensures even heat distribution so the fruit cooks through and the topping browns evenly without burning or undercooking.
Adjust sugar depending on fruit sweetness.
If your strawberries are extra sweet or rhubarb is less tart, you might reduce sugar slightly to keep the balance perfect and avoid an overly sweet dessert.
Serve with vanilla ice cream or whipped cream.
The creamy cold topping contrasts beautifully with the warm, tangy fruit and crisp oat topping, elevating the dessert experience.
Common Mistakes to Avoid
Using warm butter for the topping
Why it happens People sometimes soften butter to mix it quickly, but warm butter blends too thoroughly and loses its crumbly texture.
Fix Keep the butter cold and cut it into the dry ingredients using a pastry cutter or your fingertips, working quickly to preserve small butter chunks that create a crisp topping.
Overmixing the fruit filling
Why it happens In an attempt to coat the fruit evenly, it’s easy to stir too much and break down the berries and rhubarb.
Fix Gently toss the fruit with sugar and cornstarch just until combined to avoid bruising and excess juice release, which helps keep the filling from becoming watery.
Skipping the thickener in the fruit filling
Why it happens Some might think the fruit will naturally thicken during baking, but without cornstarch or similar, the filling can be runny.
Fix Always add a starch like cornstarch to trap juices and produce that perfect spoonable texture.
Baking at too high a temperature
Why it happens Trying to speed up baking can cause the topping to burn while the fruit remains undercooked.
Fix Bake at 375°F and use the middle rack for even cooking, allowing the fruit to soften and topping to brown slowly.
Not letting the crisp cool before serving
Why it happens Eagerness to dig in leads to serving the crisp immediately, resulting in a runny mess.
Fix Let it rest 10 minutes so the filling thickens and flavors meld for a better eating experience.
Variations
Add Almonds for Extra Crunch
Mix sliced almonds into the oat topping for a nutty crunch that complements the tart fruit beautifully. The almonds toast as the crisp bakes, adding depth and texture.
Note: Add 1/3 cup sliced almonds to the topping mixture before adding butter; watch closely near the end of baking to prevent burning.
Use Frozen Fruit When Fresh Isn’t Available
Swap fresh rhubarb and strawberries with frozen ones for a convenient option. Thaw and drain excess liquid before mixing to avoid a watery filling.
Note: Increase cornstarch by 1 tablespoon to compensate for extra moisture from frozen fruit.
Make It Vegan with Coconut Oil
Replace butter with solid coconut oil for a dairy-free version. This adds a subtle tropical note while keeping the topping crumbly and delicious.
Note: Use the same amount of coconut oil, chilled and cubed, and cut into the dry ingredients as you would butter.
Spice It Up with Ginger and Nutmeg
Add 1/2 teaspoon ground ginger and a pinch of nutmeg to the fruit filling for warm, spicy undertones that brighten the flavor profile.
Note: Mix spices with the sugar and cornstarch to ensure even flavor distribution.
Use Brown Butter in the Topping
Brown the butter before mixing it in to add a rich, nutty flavor to the oat crumble. This elevates the crisp with a deeper, caramel-like taste.
Note: Cool browned butter completely before cutting into the dry ingredients to maintain topping texture.
Nutrition
Per Serving:
Nutritional values are estimates and may vary based on specific ingredients used.
Storage & Tips
Room Temperature
You can safely keep the crisp uncovered at room temperature for up to 2 hours. Cover loosely with foil or a clean towel to protect from dust or insects if needed. Beyond this, refrigerate to maintain freshness.
Refrigerator
Store leftovers in an airtight container in the refrigerator for up to 4 days. The topping may soften slightly when chilled, but reheating in the oven helps restore crispness. Serving cold is fine but less texturally satisfying.
Freezer
Freeze the crisp for up to 2 months in a freezer-safe container or wrapped tightly with plastic wrap and foil. To prevent freezer burn, ensure it’s well-sealed. Thaw overnight in the fridge before reheating.
Reheating
Reheat leftovers in a 350°F oven for 15-20 minutes until warmed through and the topping crisps up again. Avoid microwaving as it can make the topping soggy. Add a splash of water if the filling looks dry.
Make Ahead
You can prepare the fruit filling and oat topping separately up to 1 day ahead. Keep the fruit covered in the fridge and the topping in an airtight container. Assemble and bake just before serving for best texture.
FAQ
Can I use frozen fruit instead of fresh?
Yes, frozen fruit works well, but thaw and drain excess liquid to avoid a soggy filling. You might need to add a bit more cornstarch to help thicken the extra moisture frozen fruit releases.
What can I substitute for cornstarch?
Arrowroot powder or tapioca starch are good substitutes for cornstarch and will thicken the filling similarly. Use the same amount, but be aware arrowroot can create a more glossy filling.
How do I prevent the topping from burning?
Bake at the recommended 375°F and place the dish on the middle rack. If the topping is browning too quickly, loosely cover it with foil partway through baking to protect it.
Can I make this crisp gluten-free?
Absolutely! Use gluten-free oats and substitute all-purpose flour with a gluten-free flour blend. The texture will be slightly different but still delicious.
How long does this crisp keep after baking?
It keeps well in the fridge for up to 4 days in an airtight container. The topping may soften but reheating in the oven restores some crispness.
Can I prepare this dessert ahead of time?
Yes, you can prepare the fruit filling and topping separately a day in advance and assemble just before baking. This keeps the topping from getting soggy.
What’s the best way to serve this crisp?
Serve it warm with a scoop of vanilla ice cream or whipped cream. The contrast of warm fruit and cold cream is heavenly and adds richness.
Why is my fruit filling too runny?
This usually happens if not enough thickener is used or the fruit was overmixed, releasing too much juice. Make sure to use cornstarch and mix gently.
Final Thoughts
I hope you enjoy making and eating this rhubarb and strawberry crisp as much as I do. Don’t forget to share your results and tweaks — happy baking!