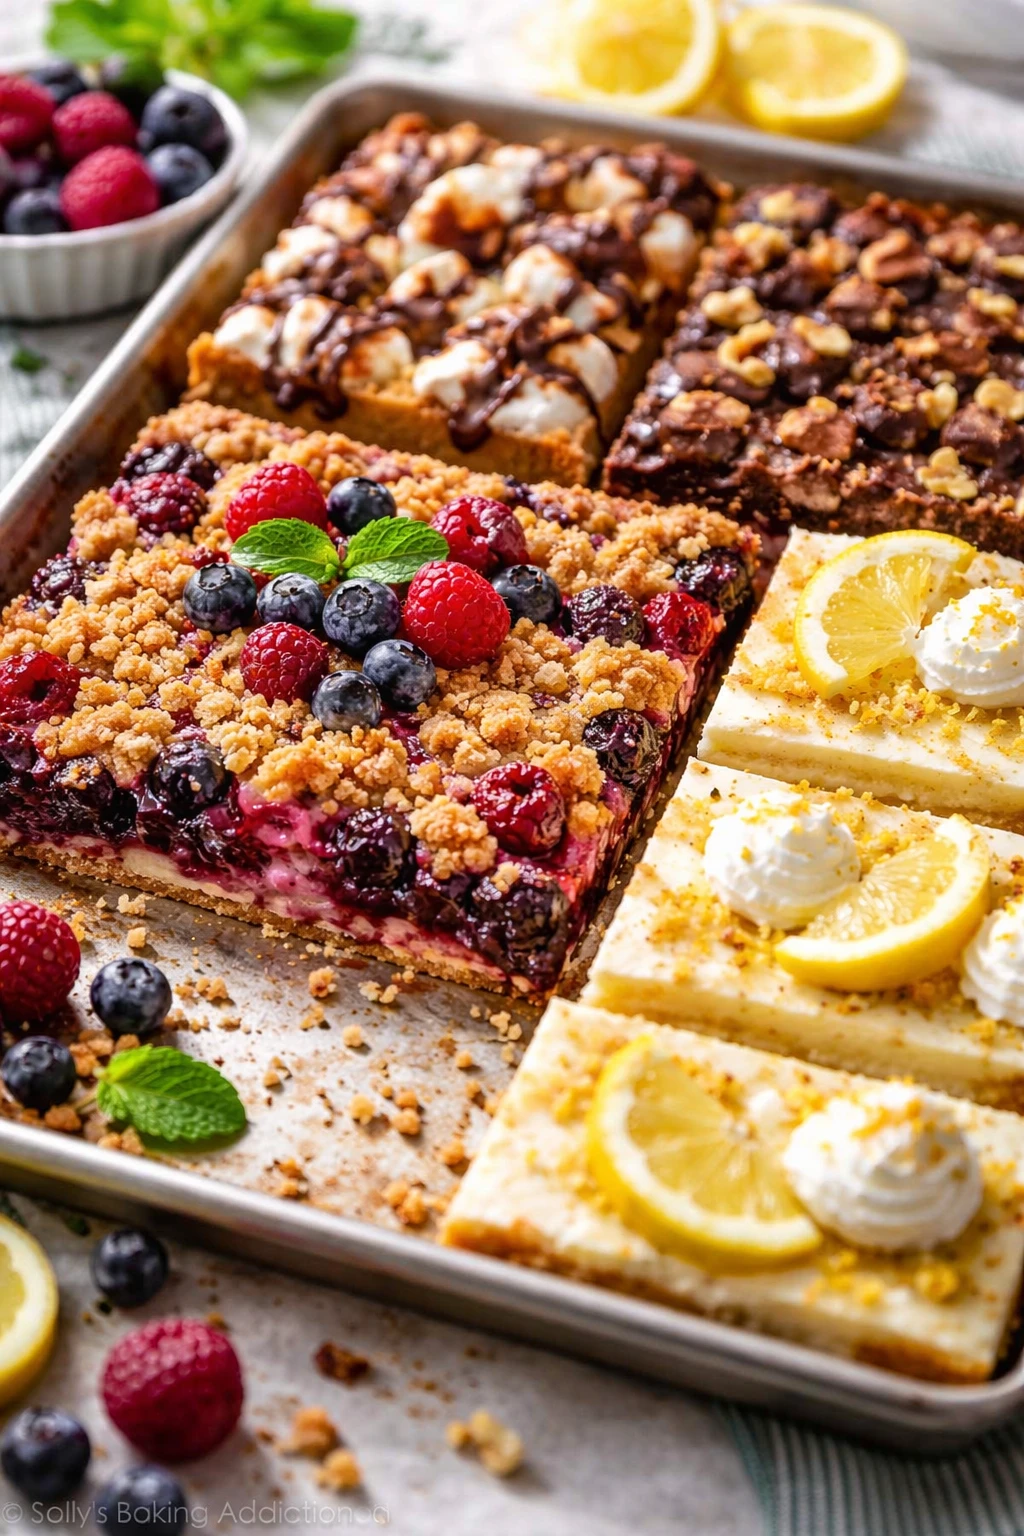
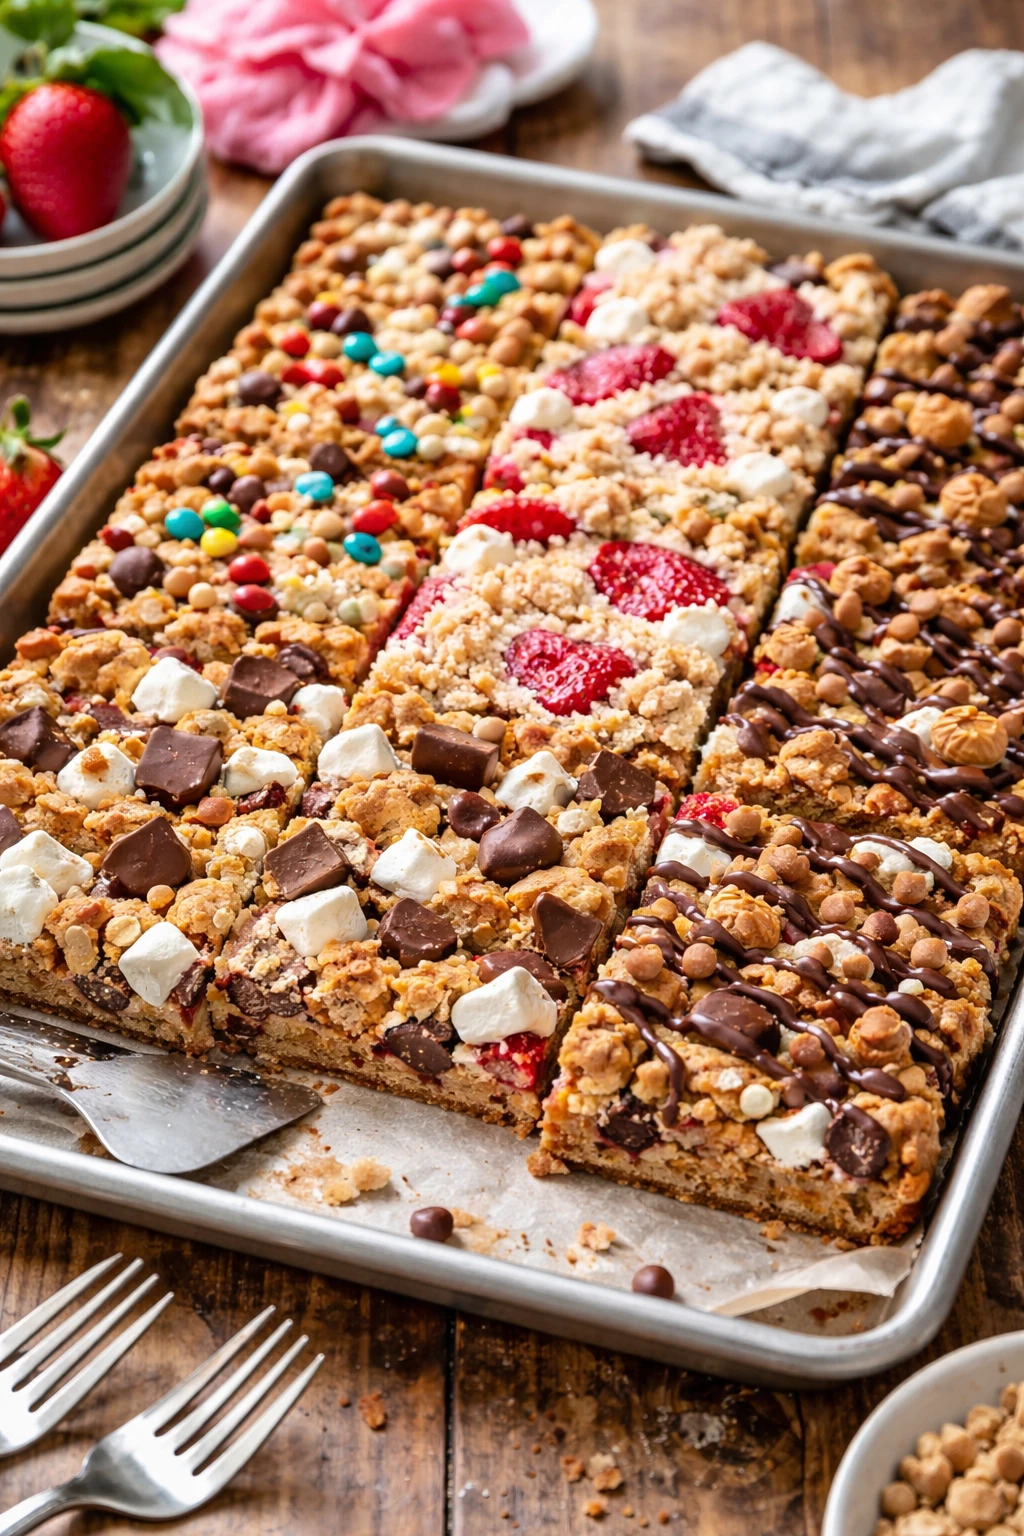
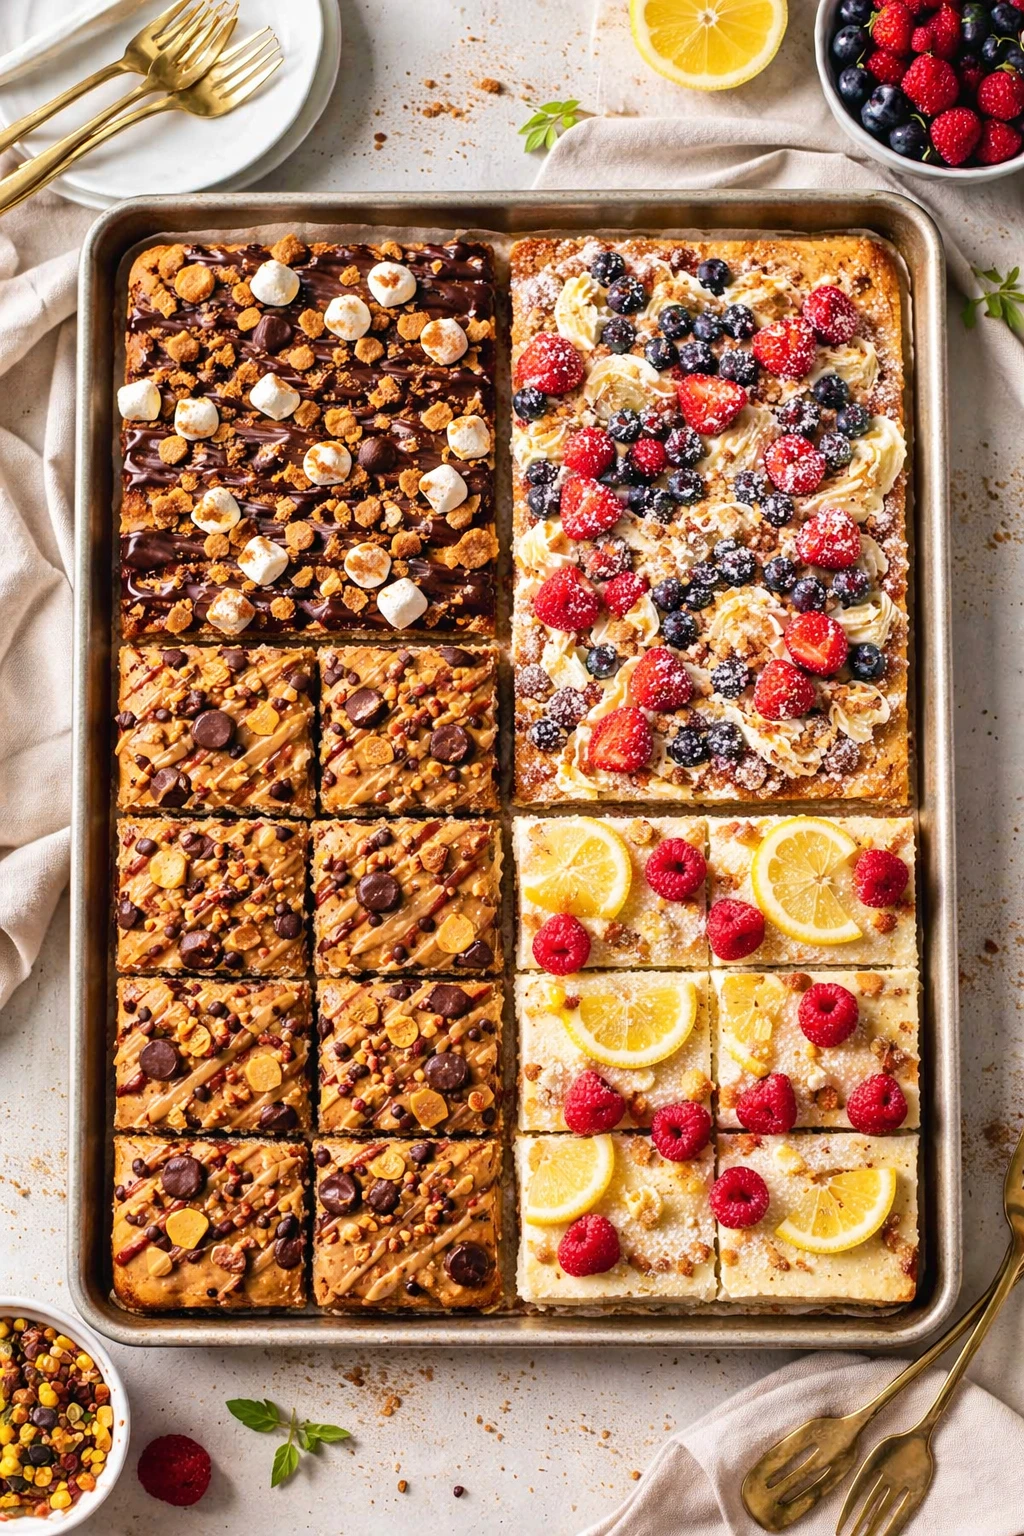
This sheet pan dessert brings together gooey chocolate, crunchy nuts, and juicy fruit in one easy bake. It’s perfect for sharing at casual get-togethers or family nights. The mix of textures and flavors is so comforting!
Introduction
I first stumbled upon this sheet pan dessert when I needed a last-minute treat for a family gathering. Honestly, it started as a bit of a happy accident—throwing together whatever I had on hand, and it turned out to be a total crowd-pleaser! What I love about this version is how it balances gooey chocolate with fresh, juicy berries and crunchy toasted nuts. The puff pastry base gives it a lovely flaky texture that holds everything together without being too heavy. I’ve tweaked the layering technique over time to make sure every bite has a bit of everything. The secret? Toasting the nuts separately to boost their flavor and adding a touch of brown sugar on top so the whole dessert caramelizes slightly in the oven. It’s perfect for casual get-togethers or when you want a comforting treat without fuss. Plus, it looks gorgeous spread out on a sheet pan, so it’s great for sharing. I think this rustic, no-fuss dessert really shines because it’s both simple and impressive—something I keep coming back to when I want to bake but don’t want a complicated recipe.
What You'll Need
One 9x12 inch sheet pan dessert, serves 6
- 2 cups mixed fresh berries (blueberries, raspberries, strawberries), washed and dried
- 1 cup chopped nuts (walnuts or pecans), toasted
- 1 cup semi-sweet chocolate chips
- 1 sheet puff pastry (about 9x12 inches), thawed
- 2 tablespoons brown sugar
- 1 teaspoon vanilla extract
- 1 tablespoon melted butter
- Pinch of salt
How To Do It
Step 1
Preheat your oven to 375°F (190°C). While the oven warms, toast the chopped nuts on a dry skillet over medium heat for about 5 minutes, stirring frequently. This step enhances their flavor and crunch, which really elevates the dessert. Watch carefully so they don’t burn; you want a golden color and a toasty aroma. Toasting nuts separately ensures they stay crisp after baking and adds a deep, nutty note that contrasts beautifully with the sweet fruit and chocolate.
⏱ Time: 10 minutes
✓ Doneness: Nuts are golden brown and smell fragrant but not burnt
Step 2
Roll out the thawed puff pastry on a parchment-lined baking sheet. Brush the pastry lightly with melted butter and sprinkle a pinch of salt evenly over the surface. This step adds flavor and helps the pastry brown nicely. Don’t skip the butter—it encourages that beautiful flaky crust. If you rush or skip this, the pastry might bake unevenly or be bland.
⏱ Time: 5 minutes
✓ Doneness: Pastry surface is evenly coated and slightly glossy from butter
Step 3
Scatter the toasted nuts evenly over the puff pastry, leaving a small border around the edges. This layering ensures each bite has a good crunch. Be gentle when spreading to avoid tearing the dough. If you pile too many nuts in one spot, the pastry may not cook evenly beneath it.
⏱ Time: 3 minutes
✓ Doneness: Nuts are evenly distributed without clumps
Step 4
Next, sprinkle the fresh mixed berries on top of the nuts. The berries should be dry to avoid soggy pastry. If using larger berries like strawberries, slice them thinly for even baking. This fresh fruit layer adds juiciness and a natural tartness that balances the sweetness of chocolate and sugar.
⏱ Time: 3 minutes
✓ Doneness: Berries are evenly spread and dry to the touch
Step 5
Sprinkle the chocolate chips evenly over the fruit. The chocolate melts during baking, creating gooey pockets of richness. Use semi-sweet chips to keep the dessert balanced and not overly sweet. Distribute them evenly so every slice has some melty chocolate goodness.
⏱ Time: 2 minutes
✓ Doneness: Chocolate chips cover the surface without clumping
Step 6
Lightly sprinkle 2 tablespoons of brown sugar over the whole dessert to encourage caramelization as it bakes. This step adds a subtle crunch and depth of flavor on top. Don’t overdo it, or the sugar can burn and taste bitter.
⏱ Time: 1 minute
✓ Doneness: Brown sugar is evenly scattered without thick piles
Step 7
Place the sheet pan in the preheated oven and bake for about 25-30 minutes. Keep an eye on the edges of the puff pastry—they should puff up and turn golden brown. The chocolate should melt and the fruit should soften, releasing juices without sogging the pastry. If the edges brown too quickly, loosely cover with foil.
⏱ Time: 25-30 minutes
✓ Doneness: Pastry is puffed and golden; chocolate melted; fruit bubbly
Step 8
Once baked, remove from oven and let cool for 10 minutes on the pan. This resting time allows the filling to set slightly so it’s easier to slice without everything falling apart. The dessert will still be warm and inviting but not too hot to eat.
⏱ Time: 10 minutes
✓ Doneness: Dessert is warm but filling is no longer runny
Step 9
Slice into squares or rectangles using a sharp knife. Serve warm or at room temperature. If you want, add a scoop of vanilla ice cream or a dollop of whipped cream for extra indulgence. This dessert is best enjoyed fresh but can be stored for later.
⏱ Time: 5 minutes
✓ Doneness: Slices hold shape cleanly with visible layers
Pro Tips
Make sure the berries are dry before adding them.
Excess moisture from wet berries can make the puff pastry soggy and prevent it from crisping properly. Dry berries help maintain the pastry’s flaky texture and keep the dessert from becoming mushy.
Toast the nuts separately over medium heat.
Toasting unlocks the nuts’ full flavor and crunch. If you add raw nuts directly, they may taste bland and become soft during baking. Toasting also reduces moisture, which helps keep the dessert’s texture balanced.
Brush the puff pastry with melted butter before baking.
Butter promotes even browning and adds rich flavor. It also helps create a crisp, flaky crust by encouraging the Maillard reaction. Skipping this step can lead to a pale, less flavorful crust.
Don’t overcrowd the sheet pan with toppings.
If the nuts, berries, or chocolate are piled too thickly, the pastry underneath won’t cook through fully. Even distribution ensures the puff pastry cooks evenly and the flavors meld properly.
Use a sharp knife to slice the dessert after resting.
A sharp knife cuts cleanly through the layers without smashing the delicate puff pastry or squishing the filling. This keeps the serving pieces neat and visually appealing.
Let the dessert cool slightly before slicing.
Allowing it to rest lets the melted chocolate and fruit juices set a bit, making it easier to cut and serve. Cutting too hot can cause the filling to spill and the pastry to break apart.
Serve with a scoop of vanilla ice cream for extra indulgence.
The cold creaminess balances the warm, rich dessert and adds an extra layer of texture and flavor that elevates the whole experience.
Common Mistakes to Avoid
Using wet or frozen berries without drying
Why it happens People often rinse berries and add them immediately or use frozen berries straight from the freezer, which adds excess moisture.
Fix Pat berries completely dry with paper towels before adding. If using frozen berries, thaw and drain thoroughly to remove excess liquid, preventing soggy pastry.
Skipping the nut toasting step
Why it happens Some assume raw nuts will toast in the oven, but they often remain bland or get soggy.
Fix Toast nuts in a dry skillet over medium heat until fragrant and golden before adding. This enhances flavor and crunch significantly.
Not brushing puff pastry with butter
Why it happens It’s easy to overlook this step thinking it’s optional.
Fix Always brush melted butter on the pastry surface before baking to ensure a flaky, golden crust with rich flavor.
Overloading the pan with toppings
Why it happens Trying to fit too much on the sheet pan to maximize servings.
Fix Distribute nuts, fruit, and chocolate evenly in a single layer, leaving a border so the pastry bakes properly and doesn’t become soggy.
Cutting dessert too soon after baking
Why it happens Impatience to serve leads to slicing while still too hot and soft.
Fix Let the dessert rest 10 minutes after baking to set the filling and cool slightly for cleaner cuts.
Variations
Tropical Sheet Pan Dessert
Swap the mixed berries for diced pineapple, mango, and shredded coconut. Use macadamia nuts instead of walnuts. The tropical fruits add a bright, juicy sweetness, and the coconut gives a nice chewy contrast. Expect a more exotic flavor profile and a slightly different texture from the coconut flakes.
Note: Because tropical fruits release more juice, bake a little longer or use a thicker pastry to prevent sogginess.
Apple Cinnamon Nut Sheet Pan Dessert
Use thinly sliced apples tossed with cinnamon and a touch of lemon juice instead of berries. Pecans or hazelnuts work well here. This variation offers a warm, cozy flavor perfect for fall, with a tender fruit layer and spiced aroma.
Note: Toss apples with a bit of cornstarch to absorb excess moisture and keep the pastry crisp.
Vegan Chocolate Berry Sheet Pan Dessert
Use vegan puff pastry and dairy-free chocolate chips. Replace butter with coconut oil for brushing. This keeps the dessert plant-based but just as tasty, with a slightly different mouthfeel from the coconut oil’s subtle flavor.
Note: Watch the baking time closely; vegan pastry may brown faster or slower depending on brand.
Salted Caramel Nut and Chocolate Sheet Pan
Drizzle salted caramel sauce over the chocolate and nuts before baking. The salty-sweet combo adds a decadent twist. Use almonds or pecans for crunch. Expect a richer, more indulgent dessert with sticky caramel pockets.
Note: Caramel can burn easily, so bake at a slightly lower temperature or cover loosely with foil if browning too fast.
Mini Sheet Pan Dessert Bites
Cut the puff pastry into smaller squares and top each with nuts, fruit, and chocolate chips. Bake as individual portions for easy serving at parties. These bites are perfect finger foods with the same delicious layers.
Note: Reduce bake time by 5-7 minutes since smaller pieces cook faster.
Nutrition
Per Serving:
Nutritional values are estimates and may vary based on specific ingredients used.
Storage & Tips
Room Temperature
This dessert can safely sit covered at room temperature for up to 4 hours. Cover loosely with foil or a clean towel to keep it fresh but avoid condensation that can sog the pastry.
Refrigerator
Store leftovers in an airtight container in the fridge for up to 3 days. The pastry may lose some crispness but reheats well. Serve warm or at room temperature for best texture.
Freezer
Freeze in an airtight container or wrapped tightly in plastic wrap and foil for up to 2 months. Thaw overnight in the fridge. Reheat gently to restore flakiness.
Reheating
Reheat slices in a 350°F oven for 8-10 minutes to crisp the pastry again. Avoid microwave reheating as it makes the pastry soggy. Add a small splash of water to the oven pan to keep fruit moist if needed.
Make Ahead
You can prepare the dessert assembly up to 1 day ahead, cover tightly, and refrigerate. Bake fresh the next day for best puff and crispness. Toast nuts and chop fruit just before assembling to keep flavors bright.
FAQ
Can I use frozen berries instead of fresh?
You can, but thaw and drain frozen berries well before using to avoid soggy pastry. Pat them dry with paper towels to remove excess moisture. Frozen berries tend to release more juice, which can affect the dessert’s texture.
What if I don’t have puff pastry?
You could try using a shortcrust or pie dough, but the texture will be different—less flaky and airy. Puff pastry’s layers create the signature crispiness that pairs well with the moist filling, so it’s best to use it if possible.
How do I prevent the pastry edges from burning?
If you notice the edges browning too fast, loosely cover them with foil partway through baking. This shields them from direct heat and allows the center to cook fully without burning the borders.
Can I prepare this dessert vegan?
Absolutely! Use vegan puff pastry and dairy-free chocolate chips, and substitute melted butter with coconut oil or vegan margarine. The texture and flavor remain delicious with these swaps.
How do I store leftovers to keep the pastry crisp?
Store leftovers in an airtight container in the fridge and reheat in the oven to crisp the pastry again. Avoid microwaving as it makes the pastry soggy and chewy.
Can I add other fruits like peaches or plums?
Yes! Just slice them thinly and adjust baking time if needed. Firmer fruits like peaches or plums work well but may release more juice, so use a bit of cornstarch to absorb moisture if you want a crisper crust.
Is it okay to use chopped chocolate instead of chips?
Chopped chocolate works fine but may melt unevenly. Chocolate chips are designed to hold their shape better and distribute consistently, so chips are preferred for even melting.
How can I make this dessert spicier or more aromatic?
Try adding a pinch of cinnamon, nutmeg, or ginger to the fruit before assembling. Vanilla extract in the butter brush also adds warmth and depth. These spices complement the chocolate and fruit beautifully.
Final Thoughts
I hope you give this sheet pan dessert a try—it’s such a simple way to impress friends and family! Let me know how it turns out and what your favorite fruit combo is.