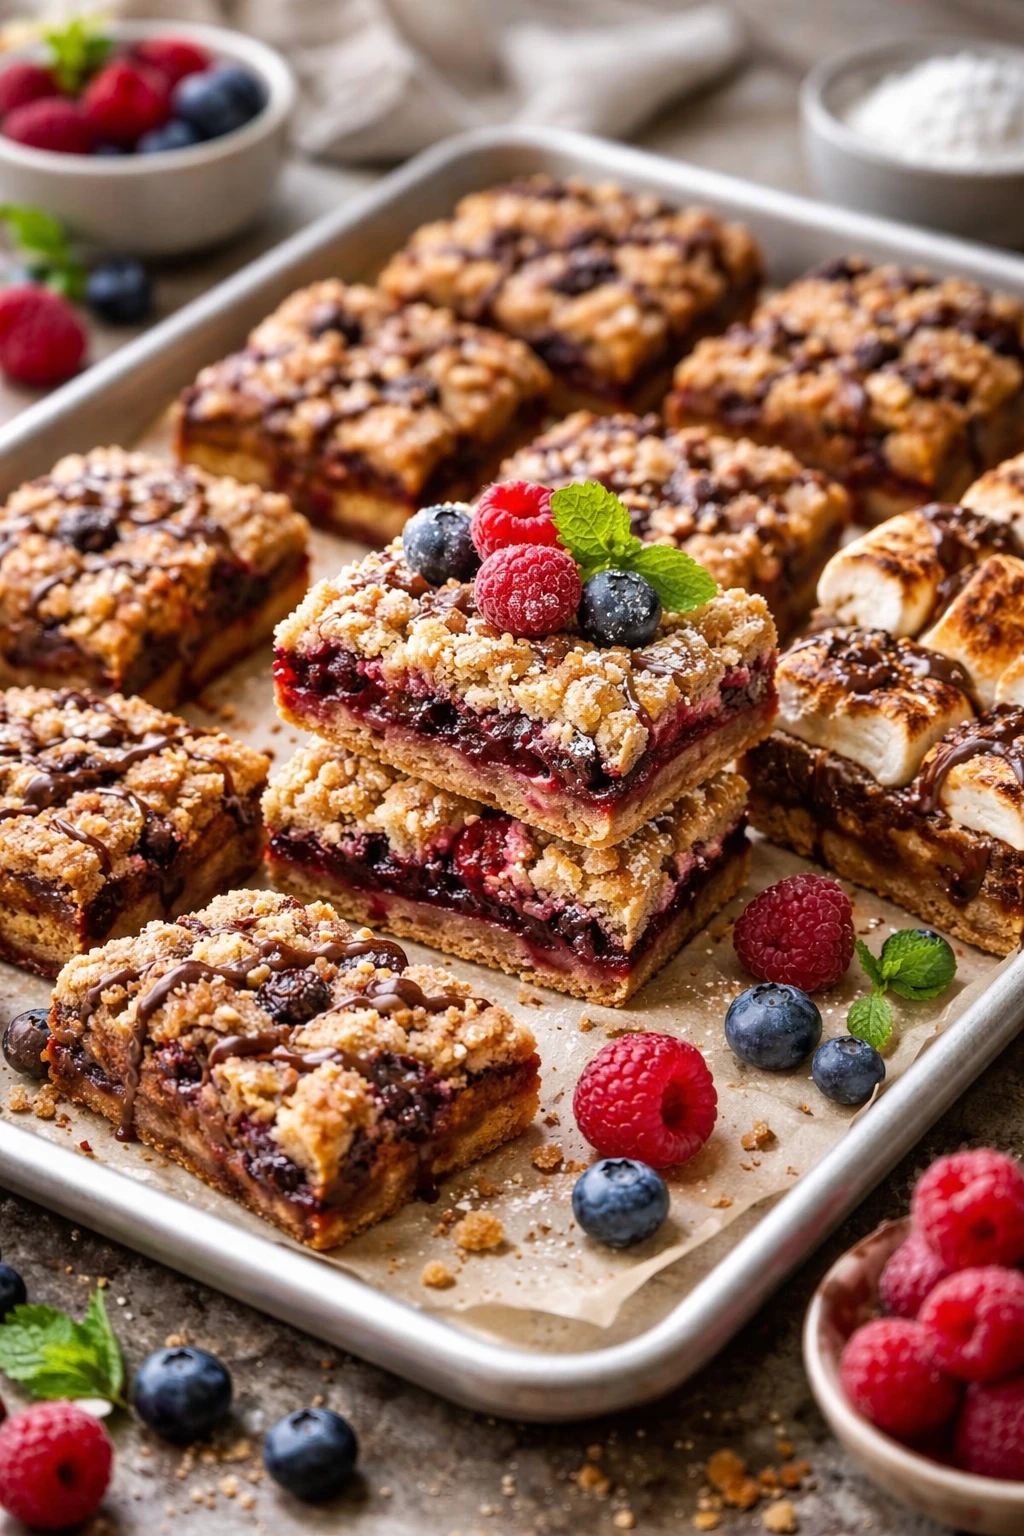
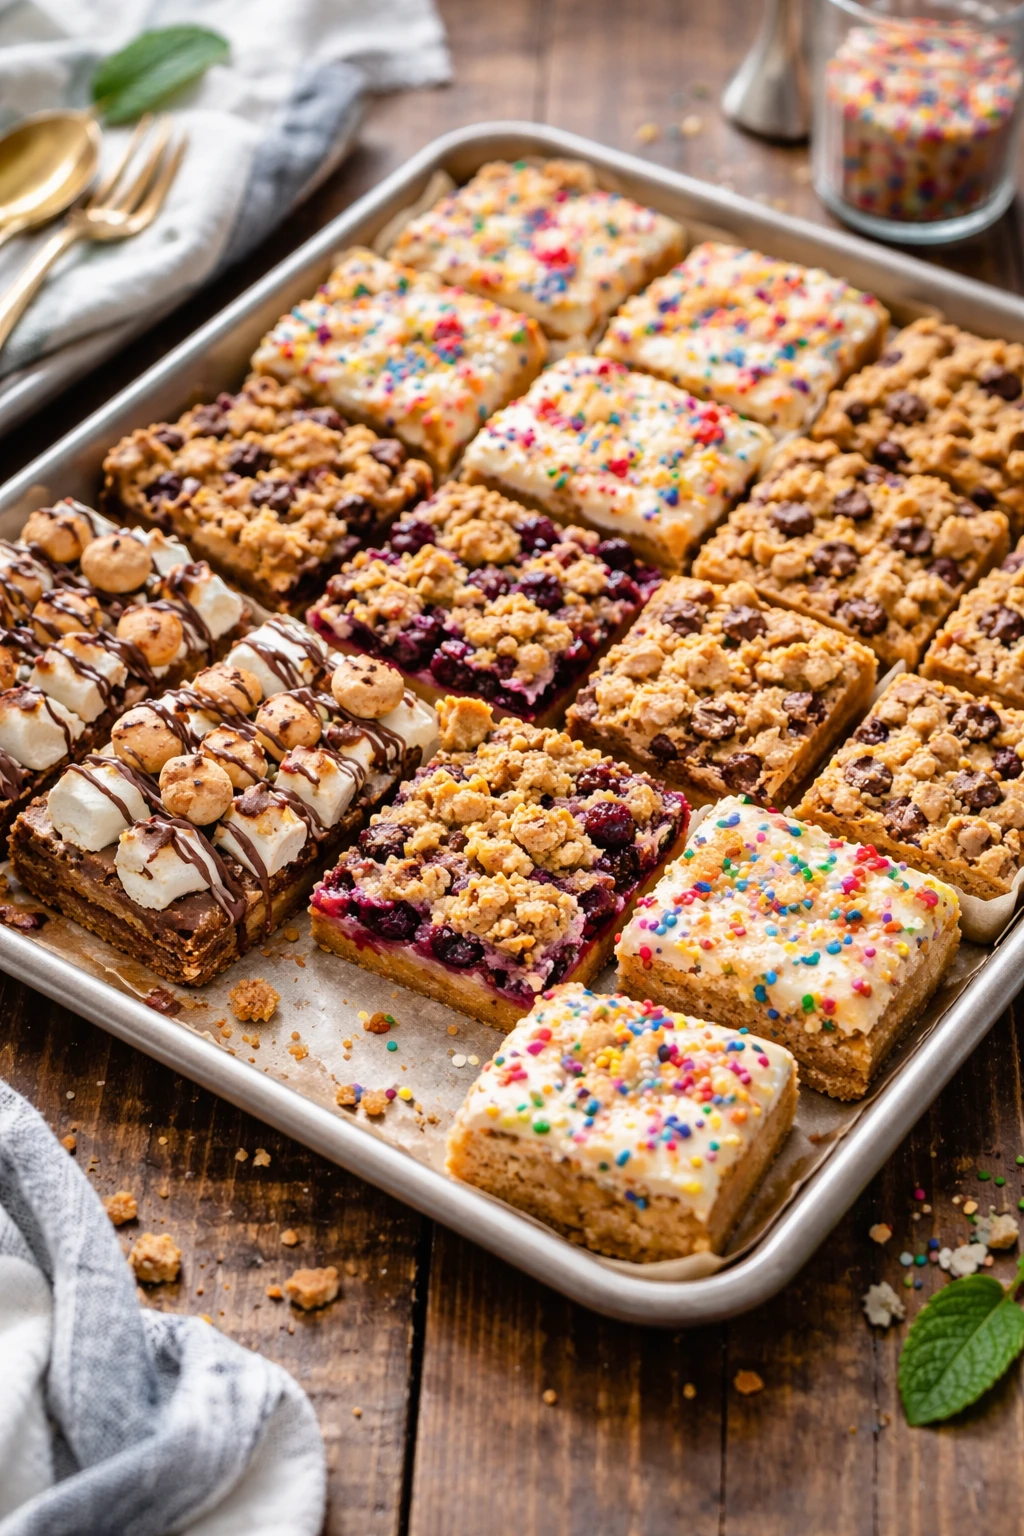
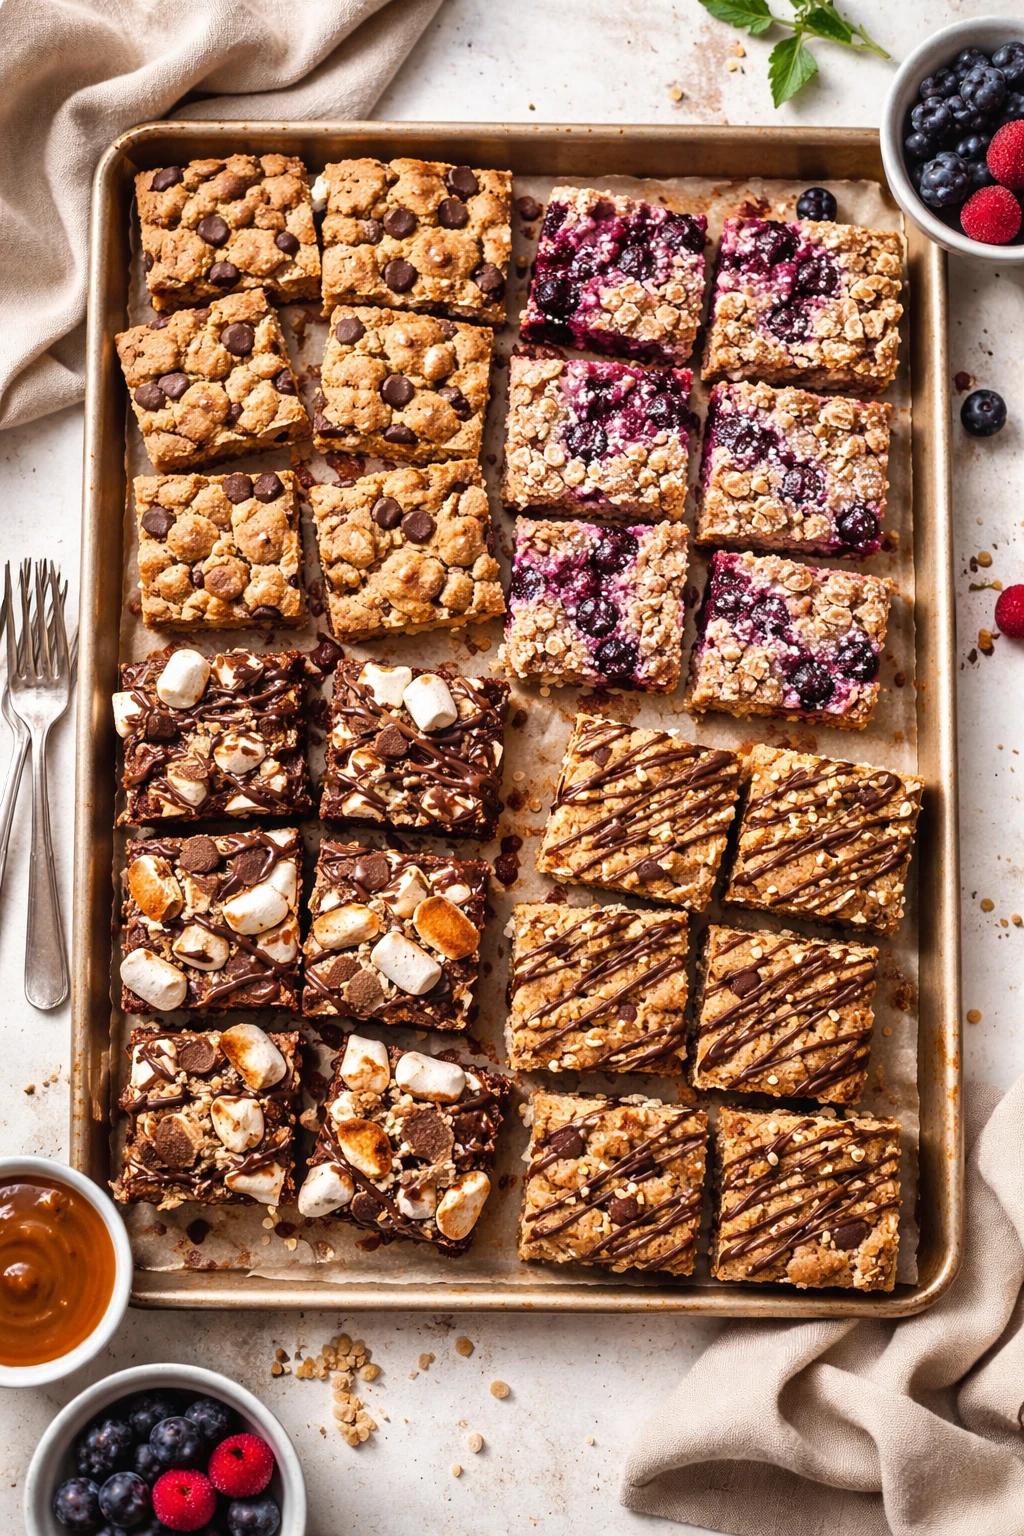
This sheet pan dessert combines a medley of flavors baked all at once, making it a breeze to prepare and clean up. I love how everything caramelizes together, perfect for casual nights or friendly gatherings.
Introduction
I stumbled upon this sheet pan sweets recipe on a lazy weekend when I wanted dessert without the usual mess. The idea of baking everything together on one tray sounded too good to be true, but it quickly became a favorite in my house. What I love most is how the berries, chocolate, and oats meld into this warm, slightly crispy, and chewy treat that feels both comforting and fresh. It’s not overly sweet, which is a big win for me since I like desserts that balance flavors naturally. The trick I discovered was to melt the butter and mix it with brown sugar and cinnamon before tossing everything on the pan; it helps everything caramelize beautifully. Plus, using frozen berries when fresh aren’t available works just as well and keeps it easy. This recipe is perfect for casual get-togethers or when you want a fuss-free dessert to enjoy with your family. It’s fast, forgiving, and always a crowd-pleaser. I think you’ll appreciate how simple yet satisfying it is, especially if you’re like me and hate doing a mountain of dishes afterward.
How To Do It
Step 1
Preheat your oven to 350°F (175°C). Line a large sheet pan with parchment paper or a silicone baking mat. This prevents sticking and makes cleanup a breeze. Taking the time to prep the pan properly means your dessert will come off easily and keep its shape, avoiding any broken bits when serving.
⏱ Time: 10
✓ Doneness: Pan is fully lined and smooth with no wrinkles that could affect baking
Step 2
In a large mixing bowl, combine the rolled oats, brown sugar, ground cinnamon, and a pinch of salt. Stir these dry ingredients well to distribute the flavors evenly. This step ensures each bite has a balanced sweetness and a hint of spice that complements the berries and chocolate perfectly.
⏱ Time: 5
✓ Doneness: Mixture looks evenly combined with no clumps of sugar or cinnamon
Step 3
Melt the unsalted butter gently in the microwave or on the stovetop, then stir in the vanilla extract. Pour this liquid mixture over the oat mixture and stir thoroughly until the oats are evenly coated. This coating helps the oats crisp up while baking and creates that irresistible golden crust.
⏱ Time: 5
✓ Doneness: Oats look moist and glossy with no dry patches
Step 4
Spread the oat mixture evenly across the prepared sheet pan, pressing down lightly to form a compact layer. This helps the oats bake evenly and hold together better once cooled. Don’t skip pressing it down—otherwise, the dessert might crumble too much when you cut it.
⏱ Time: 5
✓ Doneness: Oat layer is firm and evenly distributed on the pan
Step 5
Scatter the mixed berries evenly over the oat layer. If using frozen berries, there's no need to thaw them first; they’ll release juice as they bake, adding extra flavor and moisture. The berries provide bursts of freshness and balance the sweetness of the oats and chocolate.
⏱ Time: 5
✓ Doneness: Berries cover the oat layer uniformly without clumping
Step 6
Sprinkle the chopped dark chocolate over the berries. Using dark chocolate adds a rich bitterness that contrasts beautifully with the sweet and tart berries. You can use semi-sweet if you prefer it sweeter, but I find dark chocolate gives this dessert a nice depth.
⏱ Time: 3
✓ Doneness: Chocolate pieces are evenly scattered and not piled up
Step 7
Place the sheet pan in the oven and bake for about 25-30 minutes. Keep an eye on the edges; you want the oats to turn golden brown and the berries to bubble gently. Baking slowly allows the flavors to meld and the oats to crisp up without burning.
⏱ Time: 30
✓ Doneness: Edges are golden brown and berries are bubbling lightly
Step 8
Remove the pan from the oven and let it cool completely on a wire rack. Cooling helps the dessert set and makes it easier to cut into neat squares. If you try to cut it too soon, it might fall apart because the oats and berries are still soft.
⏱ Time: 20
✓ Doneness: Dessert feels firm to the touch and not sticky
Step 9
Once cooled, cut into squares or bars with a sharp knife. Serve as is or with a scoop of vanilla ice cream or a dollop of whipped cream for extra indulgence. This dessert is best enjoyed fresh but also keeps well for a few days.
⏱ Time: 5
✓ Doneness: Clean, neat squares that hold together without crumbling
Pro Tips
Press the oat mixture firmly into the pan before baking.
Compacting the oats ensures they bake into a cohesive crust rather than loose crumbs. This prevents the dessert from falling apart when cutting and creates that satisfying chewy texture.
Don’t thaw frozen berries before adding them to the pan.
Frozen berries release juices as they bake, which moistens the oats naturally. Thawing beforehand can make the dessert soggy and less structured.
Use parchment paper or a silicone mat to line your sheet pan.
This prevents sticking and makes cleanup super easy. It also helps the dessert release cleanly without breaking, preserving the neat bars.
Let the dessert cool completely before slicing.
Cooling allows the butter to solidify again, helping the bars hold their shape. Cutting too soon leads to crumbling and messy edges.
Use dark chocolate with at least 60% cocoa for balance.
Higher cocoa content provides a rich bitterness that offsets the sweetness of the oats and berries, creating a more complex flavor profile.
Add a pinch of salt to the oat mixture.
Salt enhances the sweetness and brings out the flavors of the berries and chocolate, making the dessert taste more balanced and less flat.
Serve with a scoop of vanilla ice cream or whipped cream.
The creamy cold topping contrasts the warm, chewy dessert, adding an extra dimension and making it feel more indulgent.
Common Mistakes to Avoid
Skipping the step of pressing the oats firmly.
Why it happens Many assume just spreading the mixture evenly is enough, but without pressing, the oats stay loose and fall apart after baking.
Fix Use the back of a spoon or your hands to press the oat mixture tightly into the pan before baking. This compacts the ingredients and helps them bind together during cooking.
Cutting the dessert while it’s still warm.
Why it happens Impatience or eagerness to eat can lead to slicing before the dessert sets, causing crumbling.
Fix Allow the dessert to cool completely at room temperature. This lets the butter re-solidify and the structure firm up for clean, neat slices.
Using quick oats instead of rolled oats.
Why it happens Quick oats cook faster but lose texture, often used by mistake to save time.
Fix Stick to old-fashioned rolled oats for the best texture. They provide chewiness and crisp edges that quick oats can’t deliver.
Adding too many berries.
Why it happens Overloading makes the dessert soggy because excess juice seeps into the oats.
Fix Use about 2 cups of mixed berries and spread them evenly. This maintains a good moisture balance without sogginess.
Not lining the pan.
Why it happens Skipping parchment or silicone lining to save time leads to sticking and breakage.
Fix Always line your pan to ensure easy removal and clean edges. It’s a small step that saves frustration later.
Variations
Nutty Crunch Sheet Pan Sweets
Add 1/2 cup chopped pecans or walnuts to the oat mixture before baking for extra crunch and a toasty flavor. Nuts add healthy fats and texture contrast that pairs wonderfully with the sweet berries and chocolate.
Note: Stir nuts into the oat mixture evenly to avoid clumping and ensure even toasting during baking.
Tropical Twist Sheet Pan Sweets
Swap mixed berries for diced pineapple and mango, and sprinkle shredded coconut on top before baking. This variation brings a fresh, tropical vibe with juicy sweetness and a hint of coconutty richness.
Note: Use fresh or frozen tropical fruits and reduce brown sugar slightly to balance their natural sweetness.
Spiced Apple Cinnamon Sheet Pan Sweets
Replace berries with thinly sliced apples and increase cinnamon to 1 teaspoon. Add a pinch of nutmeg for warmth. This cozy version tastes like fall in every bite and is perfect with a drizzle of caramel sauce.
Note: Toss apple slices in lemon juice to prevent browning before layering on the oats.
Chocolate Lover’s Sheet Pan Sweets
Double the chopped dark chocolate and add 1/4 cup cocoa powder to the oat mixture for a rich, fudgy dessert. This is a dream for anyone who can’t get enough chocolate in their sweets.
Note: Mix cocoa powder thoroughly with the dry oats to avoid clumps and ensure even chocolate flavor.
Vegan Sheet Pan Sweets
Use coconut oil instead of butter and maple syrup instead of brown sugar for a vegan-friendly version. The coconut oil adds a subtle tropical note while keeping the dessert moist and golden.
Note: Melt coconut oil gently and mix well with maple syrup to coat the oats evenly before baking.
Nutrition
Per Serving:
Nutritional values are estimates and may vary based on specific ingredients used.
Storage & Tips
Room Temperature
Store the sheet pan sweets covered at room temperature for up to 2 days. Keep them in an airtight container to maintain freshness and prevent the oats from drying out. They are best enjoyed within this time for optimal texture.
Refrigerator
Keep leftovers in an airtight container in the fridge for up to 5 days. The dessert may firm up and the oats become chewier when chilled. Warm slightly before serving or enjoy cold for a different texture experience.
Freezer
Freeze the dessert in individual portions wrapped tightly in plastic wrap and foil for up to 2 months. To thaw, leave overnight in the fridge or gently warm in the oven to restore texture.
Reheating
Reheat in a 325°F oven for 10-12 minutes until warm throughout. Adding a small splash of milk or cream before warming can help revive moisture. Avoid microwaving as it can make the oats soggy.
Make Ahead
You can prepare the oat mixture and line the pan a day ahead, keeping it covered in the fridge. Add berries and chocolate just before baking to keep them fresh and vibrant.
FAQ
Can I use quick oats instead of rolled oats?
Quick oats are thinner and cook faster, which can make the dessert mushy and less chewy. Rolled oats hold their shape and texture better, giving you that perfect chew and crispiness.
What if I don’t have dark chocolate?
You can use semi-sweet or milk chocolate instead, but keep in mind the dessert will be sweeter and less rich. Dark chocolate provides a nice balance of bitterness that enhances the overall flavor.
Can I make this dessert gluten-free?
Absolutely! Use certified gluten-free rolled oats to avoid cross-contamination. The rest of the ingredients are naturally gluten-free, making this recipe safe for gluten-sensitive eaters.
How do I prevent the dessert from being soggy?
Avoid adding too many berries and don’t thaw frozen berries before baking. Also, pressing the oat mixture firmly and baking until golden helps create a crisp texture that balances the moisture.
Can I substitute the butter with oil?
Yes, melted coconut oil works well and adds a subtle flavor. Vegetable oil can be used but may not give the same richness or crispness. Butter helps with browning and flavor depth.
How should I store leftovers?
Store in an airtight container at room temperature for up to 2 days or refrigerate for up to 5 days. For longer storage, freeze in portions for up to 2 months and thaw before serving.
Can I add nuts to this recipe?
Definitely! Chopped nuts like pecans or walnuts add crunch and flavor. Stir them into the oat mixture before baking for even distribution.
Is it necessary to line the baking pan?
Lining the pan with parchment or a silicone mat prevents sticking and makes cleanup easier. It also helps the dessert come out cleanly without breaking apart.
Final Thoughts
Give this sheet pan sweets recipe a try—you’ll love how easy and delicious it is! Don’t forget to share your results; I can’t wait to hear what you think.