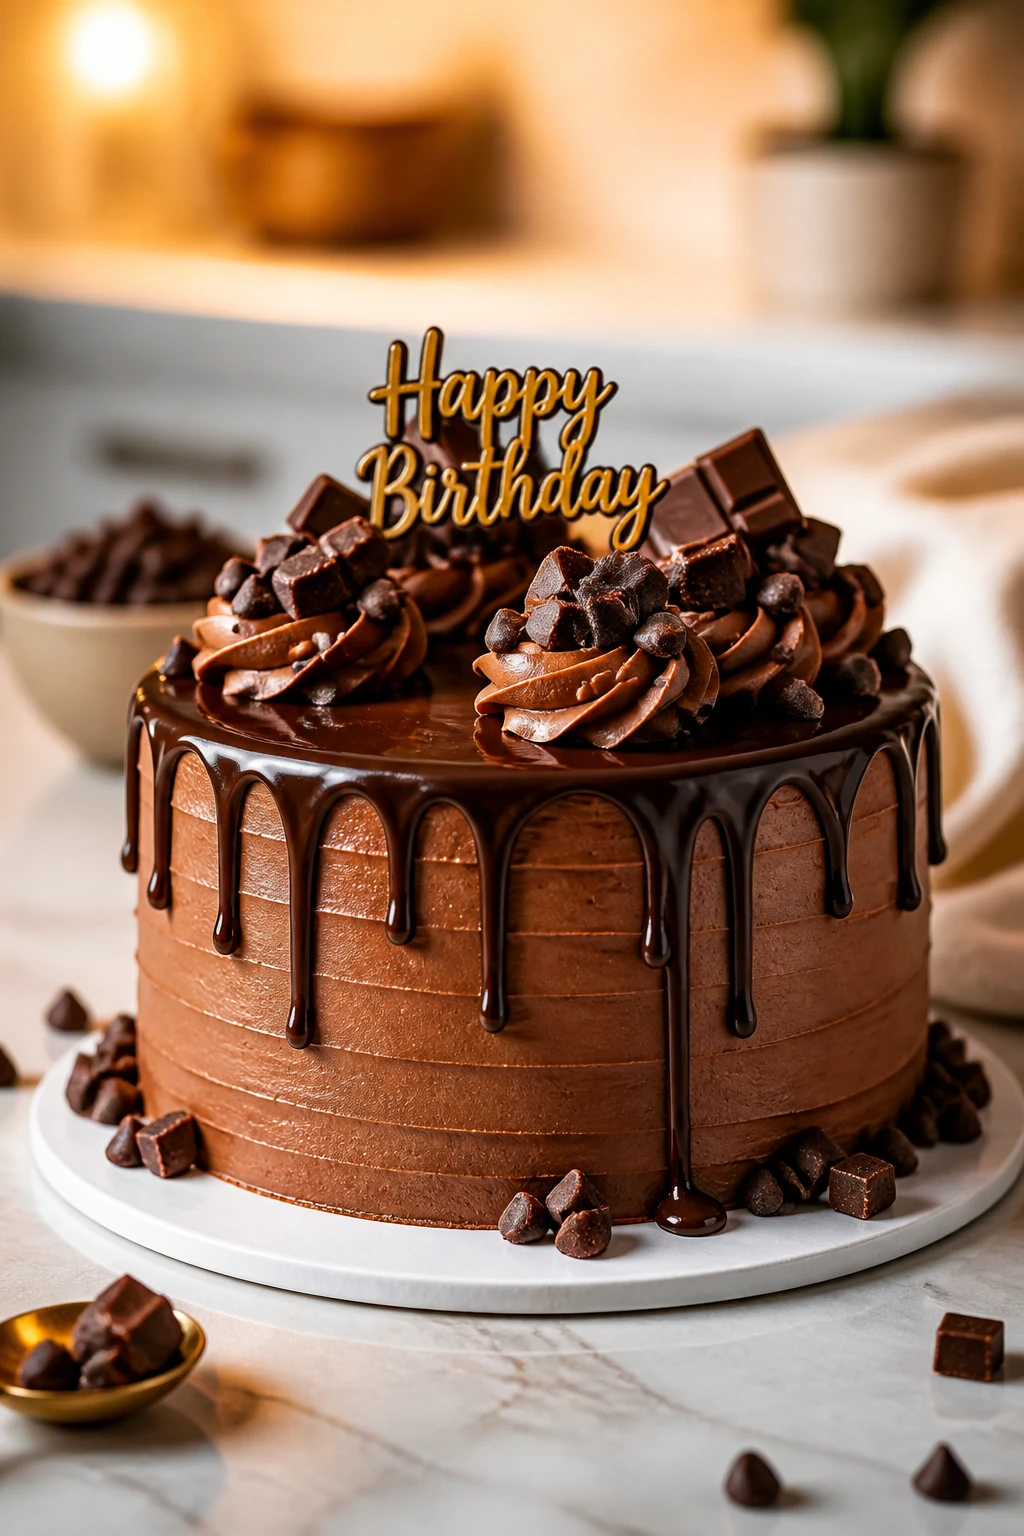
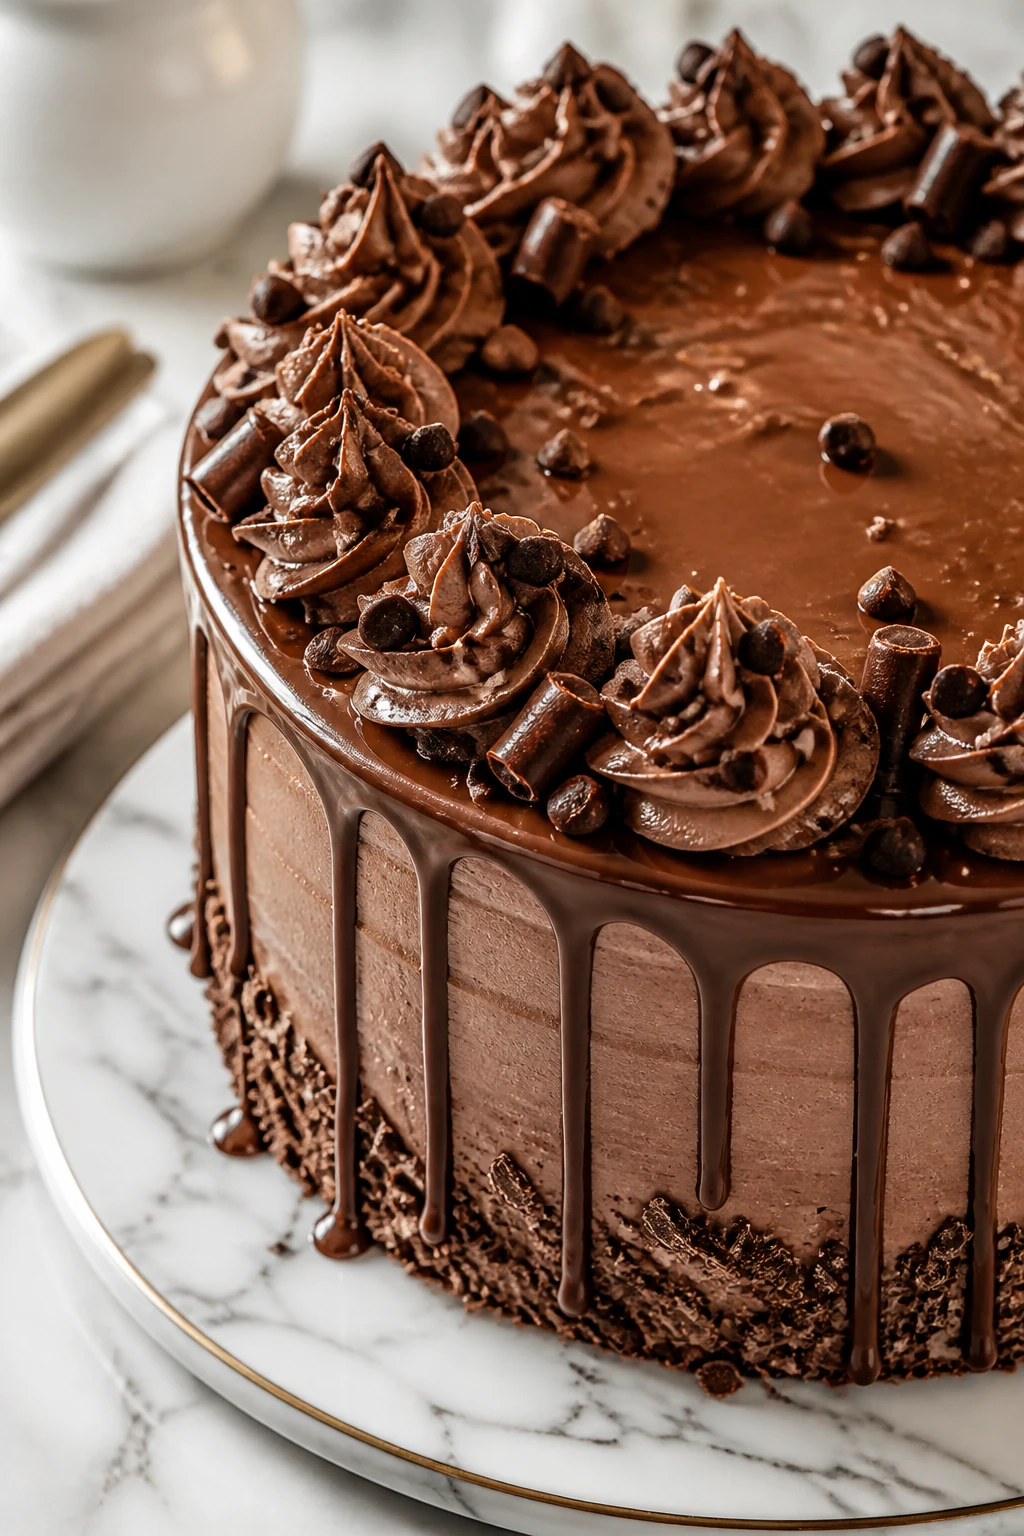
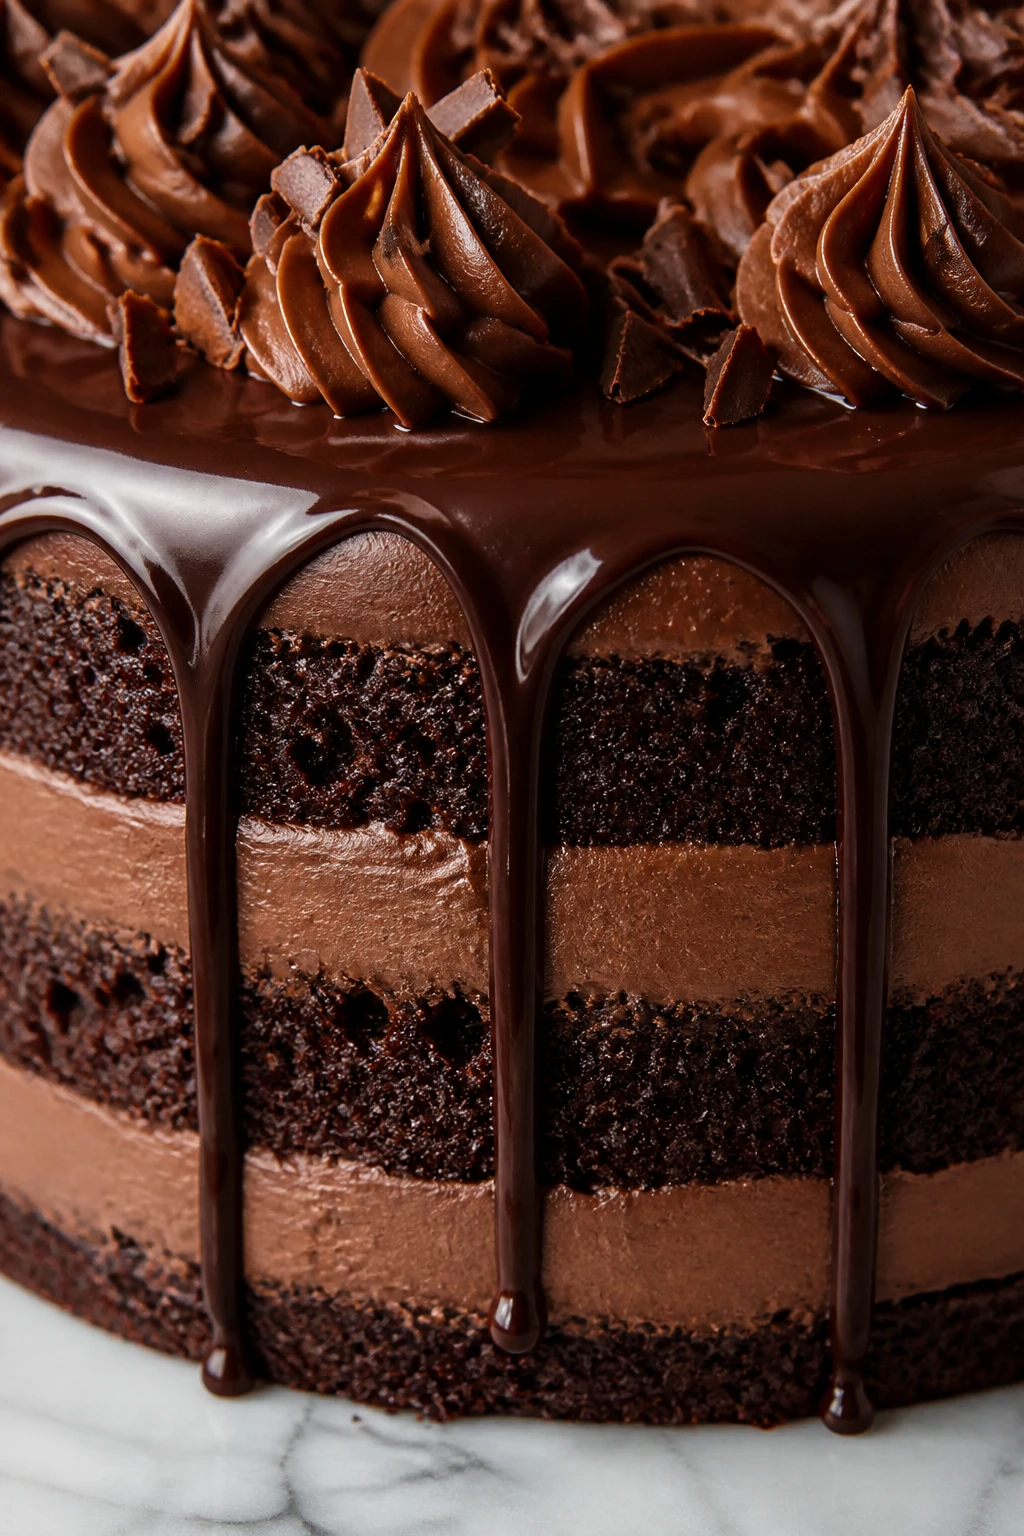
This chocolate drip birthday cake is a total lifesaver when you want something impressive but don’t have hours to bake. The rich ganache drip is the star here—super glossy and luscious. Great for those spontaneous sweet cravings or surprise parties!
Introduction
I first made this chocolate drip birthday cake when I was scrambling to put together a dessert for a friend’s surprise party. Honestly, I was nervous because I wanted it to look special but didn’t have a ton of time. This recipe saved the day! What makes it different from your typical chocolate cake is the rich ganache drip—super glossy and smooth—adding that wow factor without any complicated decorating skills. The trick I learned is to pour the ganache while it’s still warm but not too hot, so it gently drips down the sides perfectly. The cake itself is moist and tender, with a deep chocolate flavor that pairs beautifully with the creamy ganache. Whenever I serve this cake, it always disappears fast, and I love how it looks like you spent hours on it when it’s really quite simple. It’s perfect for birthdays, last-minute celebrations, or just when you want a decadent chocolate treat that’s both quick and impressive.
What You'll Need
One 9-inch two-layer cake, serves 8
- 1 and 3/4 cups all-purpose flour, sifted
- 2 cups granulated sugar
- 3/4 cup unsweetened cocoa powder
- 1 and 1/2 teaspoons baking powder
- 1 and 1/2 teaspoons baking soda
- 1 teaspoon salt
- 2 large eggs, room temperature
- 1 cup whole milk, room temperature
- 1/2 cup vegetable oil
- 2 teaspoons pure vanilla extract
- 1 cup boiling water
- For ganache drip:
- 1 cup heavy cream
- 8 ounces bittersweet chocolate, chopped
How To Do It
Step 1
Preheat your oven to 350°F (175°C). Grease and flour two 9-inch round cake pans, then line the bottoms with parchment paper for easy removal. This step is crucial to ensure your cakes come out cleanly without sticking or breaking. Greasing and flouring creates a barrier so the batter doesn’t cling, and the parchment adds extra insurance. Skipping this can cause your layers to tear, which ruins the cake’s presentation.
⏱ Time: 15
✓ Doneness: Cake pans are fully prepared with no bare spots visible, parchment fits snugly.
Step 2
In a large bowl, whisk together the flour, sugar, cocoa powder, baking powder, baking soda, and salt until well combined. This dry mix forms the base, and thoroughly mixing ensures even leavening and chocolate flavor distribution. If you rush or don’t sift the cocoa powder, you can end up with clumps that create dry spots in your cake.
⏱ Time: 5
✓ Doneness: Dry ingredients look evenly mixed with no visible pockets of cocoa or flour.
Step 3
Add eggs, milk, vegetable oil, and vanilla extract to the dry ingredients. Beat on medium speed for about 2 minutes until smooth and creamy. This emulsifies the fats and liquids, giving the batter a luscious texture. If you under-mix here, your cake might be dense or crumbly; over-mixing can make it tough. Aim for a smooth, slightly thick batter.
⏱ Time: 3
✓ Doneness: Batter looks silky with no lumps or streaks of flour.
Step 4
Slowly pour in the boiling water while stirring gently by hand. This step thins the batter and intensifies the cocoa flavor by 'blooming' the powder. It might look watery but that’s perfect—it creates a moist cake crumb. Don’t skip the slow addition or stir vigorously, or you’ll lose the air bubbles needed for rise.
⏱ Time: 3
✓ Doneness: Batter is thin but smooth and well combined.
Step 5
Divide the batter evenly between the prepared pans. Tap the pans gently on the counter to release any large air bubbles. This helps prevent big holes in the cake layers and promotes even baking. Make sure the batter is level for uniform layers.
⏱ Time: 5
✓ Doneness: Batter surface is smooth and even in both pans.
Step 6
Bake for 30-35 minutes, rotating pans halfway through for even heat distribution. Check doneness by inserting a toothpick in the center; it should come out clean or with a few moist crumbs. Avoid opening the oven door too often or too early to prevent the cake from sinking.
⏱ Time: 35
✓ Doneness: Toothpick comes out clean or with just a few crumbs attached.
Step 7
Let the cakes cool in the pans for 10 minutes, then invert onto wire racks to cool completely. Cooling in the pan traps steam and can make the cake soggy if left too long. Transferring to a rack lets air circulate, keeping the texture light. Make sure cakes are fully cool before frosting to avoid melting the ganache.
⏱ Time: 20
✓ Doneness: Cakes feel cool to the touch and are firm but tender.
Step 8
To make the ganache, heat the heavy cream in a small saucepan until it just begins to simmer. Pour it over chopped chocolate in a heatproof bowl and let sit for 5 minutes. Then stir gently until smooth and glossy. The warm cream melts the chocolate perfectly, creating a silky texture. If cream is too hot or cold, the ganache can seize or be grainy.
⏱ Time: 10
✓ Doneness: Ganache is shiny, smooth, and pourable without lumps.
Step 9
Place one cake layer on your serving plate, spread a thin layer of ganache or frosting, then top with the second layer. Pour the ganache slowly over the top, letting it drip naturally down the sides. Use a spoon to encourage drips if needed. The ganache should be warm but not hot to get that perfect drip effect. Too hot and it’ll run off too fast; too cool and it won’t drip smoothly.
⏱ Time: 10
✓ Doneness: Ganache drips are even, glossy, and cling lightly to the sides.
Pro Tips
Always sift your dry ingredients before mixing.
Sifting aerates the flour and cocoa powder, breaking up clumps and ensuring even distribution of leaveners. This results in a lighter, more uniform crumb and prevents pockets of dry ingredients in your cake.
Use room temperature eggs and milk.
Room temperature ingredients blend more easily, creating a smooth batter that traps air bubbles effectively. Cold ingredients can cause the batter to curdle or mix unevenly, leading to a dense cake.
Pour boiling water slowly into the batter and mix gently.
The hot water blooms the cocoa powder, enhancing flavor and dissolving lumps. Adding it slowly prevents deflating the batter, which keeps the cake light and moist.
Let the cake layers cool completely before frosting.
Frosting warm cake causes the ganache to melt and slide off, ruining the drip effect and texture. Cooling also helps the cake set properly, making it easier to handle.
Heat the cream just to a simmer for ganache.
If the cream is too hot, it can overheat the chocolate and cause it to seize or become grainy. Simmering ensures the chocolate melts gently, producing a smooth, glossy ganache.
Use a spoon or piping bag to control ganache drips.
Controlling the drip placement helps achieve a neat, professional look. Letting ganache drip naturally can be uneven; guiding it allows you to create consistent and attractive drips.
Chop your chocolate finely for the ganache.
Smaller pieces melt more evenly and quickly, preventing lumps and graininess in your ganache. This ensures a smooth texture and glossy finish.
Common Mistakes to Avoid
Not preparing pans properly
Why it happens Many home bakers assume greasing is enough or skip parchment paper, thinking it’s unnecessary.
Fix Always grease, flour, and line pans with parchment paper. This triple step ensures cakes release cleanly. If you skip parchment, cakes may stick, break, or crumble when removed.
Adding boiling water too fast
Why it happens In a rush, it’s tempting to pour water quickly, but this deflates batter.
Fix Add boiling water slowly while stirring gently. This blooms cocoa and thins batter without losing air bubbles that help rise.
Frosting warm cakes
Why it happens Impatience or not allowing enough time to cool leads to melted frosting.
Fix Wait until cakes are completely cool to the touch. This prevents ganache from sliding off and ensures a clean drip effect.
Overheating cream for ganache
Why it happens Not watching cream closely causes it to boil vigorously, overheating chocolate.
Fix Heat cream just to a simmer — small bubbles around edges. Remove from heat immediately to preserve smooth texture.
Using chocolate chips for ganache
Why it happens Chocolate chips are convenient but contain stabilizers that prevent smooth melting.
Fix Use chopped high-quality baking chocolate for ganache. It melts evenly and produces a glossy finish.
Variations
Mocha Chocolate Drip Cake
Add 2 teaspoons of instant espresso powder to the dry ingredients to give this cake a subtle coffee kick that enhances the chocolate flavor. The ganache can also be mixed with a splash of strong brewed coffee for added depth.
Note: Make sure espresso powder is fully dissolved in the dry mix to avoid gritty spots. The coffee-enhanced ganache may set slightly faster, so pour quickly.
Salted Caramel Drip Cake
Swap the chocolate ganache drip for a homemade salted caramel sauce. Drizzle the caramel over a vanilla or chocolate cake for a sweet-salty twist that’s irresistibly rich and gooey.
Note: Caramel drips are thinner and set differently than ganache, so pour when slightly cooled to control flow.
Vegan Chocolate Drip Cake
Use plant-based milk (like almond or oat) and flax eggs to make the cake vegan. For ganache, use coconut cream and dairy-free dark chocolate. The result is just as moist and indulgent, perfect for dairy-free diets.
Note: Vegan ganache may be softer; chill slightly before dripping to get better control.
Nutty Chocolate Drip Cake
Fold chopped toasted hazelnuts or walnuts into the batter before baking. Top the ganache with extra nuts for crunch and a nutty flavor that complements the chocolate beautifully.
Note: Be careful not to overmix once nuts are added to prevent dense texture.
Berry-Filled Chocolate Drip Cake
Add a layer of fresh raspberry or strawberry jam between the cake layers before ganache. The tart fruit cuts through the rich chocolate for a bright, fresh contrast.
Note: Use a thick jam or reduce fresh fruit to prevent sogginess.
Nutrition
Per Serving:
Nutritional values are estimates and may vary based on specific ingredients used.
Storage & Tips
Room Temperature
This cake keeps well at room temperature for up to 2 days if covered loosely with a cake dome or foil. Avoid airtight containers at room temp as ganache can sweat and become sticky.
Refrigerator
Store the cake in an airtight container or covered with plastic wrap for up to 4 days. The ganache may firm up and lose some gloss when chilled but will soften at room temperature before serving.
Freezer
Wrap the cake tightly in plastic wrap and then foil to freeze for up to 2 months. Thaw overnight in the fridge then bring to room temperature before serving to restore texture and flavor.
Reheating
If preferred warm, reheat single slices gently in the microwave for 10-15 seconds or briefly in a 300°F oven wrapped in foil. Avoid overheating to prevent drying out or melting ganache excessively.
Make Ahead
Bake the cake layers up to 2 days ahead and wrap well in plastic wrap. Prepare ganache on the day of serving for best drip texture and freshness. Assemble the cake a few hours before the event for optimal appearance.
FAQ
Can I use milk chocolate instead of bittersweet for the ganache?
You can use milk chocolate, but the ganache will be sweeter and less intense in chocolate flavor. Milk chocolate has more sugar and milk solids, which can affect the consistency, making it softer. You might need to chill the ganache longer to get the right drip texture.
What if I don’t have heavy cream for the ganache?
Heavy cream is best because of its high fat content, which helps create a smooth, shiny ganache. If unavailable, you can substitute with full-fat coconut milk or a mix of milk and butter, but results may vary. The ganache might be less glossy or set softer.
My cake layers sunk in the middle; what went wrong?
Sinking often happens if the cake is underbaked or the oven temperature is too low. Opening the oven door too early can also cause collapse. Make sure to bake fully and avoid checking until the minimum time has passed.
How do I prevent the ganache from dripping too much?
Let the ganache cool slightly until it thickens but is still pourable. If it’s too hot, it will run off quickly and pool at the bottom. Pour slowly and use a spoon to control drips for a neat look.
Can I make this cake gluten-free?
Yes, you can substitute the all-purpose flour with a gluten-free baking blend. Make sure it contains xanthan gum or another binder to provide structure. Baking time might vary slightly, so check doneness carefully.
How long does the ganache drip stay shiny?
Ganache is glossy when fresh and at room temperature. Refrigeration dulls the shine as the fats solidify. Bringing the cake to room temp before serving helps restore some glossiness.
Is it okay to use a hand mixer instead of a stand mixer?
Absolutely! A hand mixer works fine for this recipe. Just be sure to mix evenly and not overbeat. The goal is a smooth batter with good air incorporation.
Can I add decorations on top of the ganache?
Yes! Fresh berries, edible flowers, or sprinkles work beautifully. Wait until the ganache sets slightly but is still tacky so decorations stick well.
Final Thoughts
I hope you give this chocolate drip birthday cake a try—it’s such a fun, easy way to impress anyone with minimal fuss. Share how it turns out; I’d love to hear your tweaks and favorites!