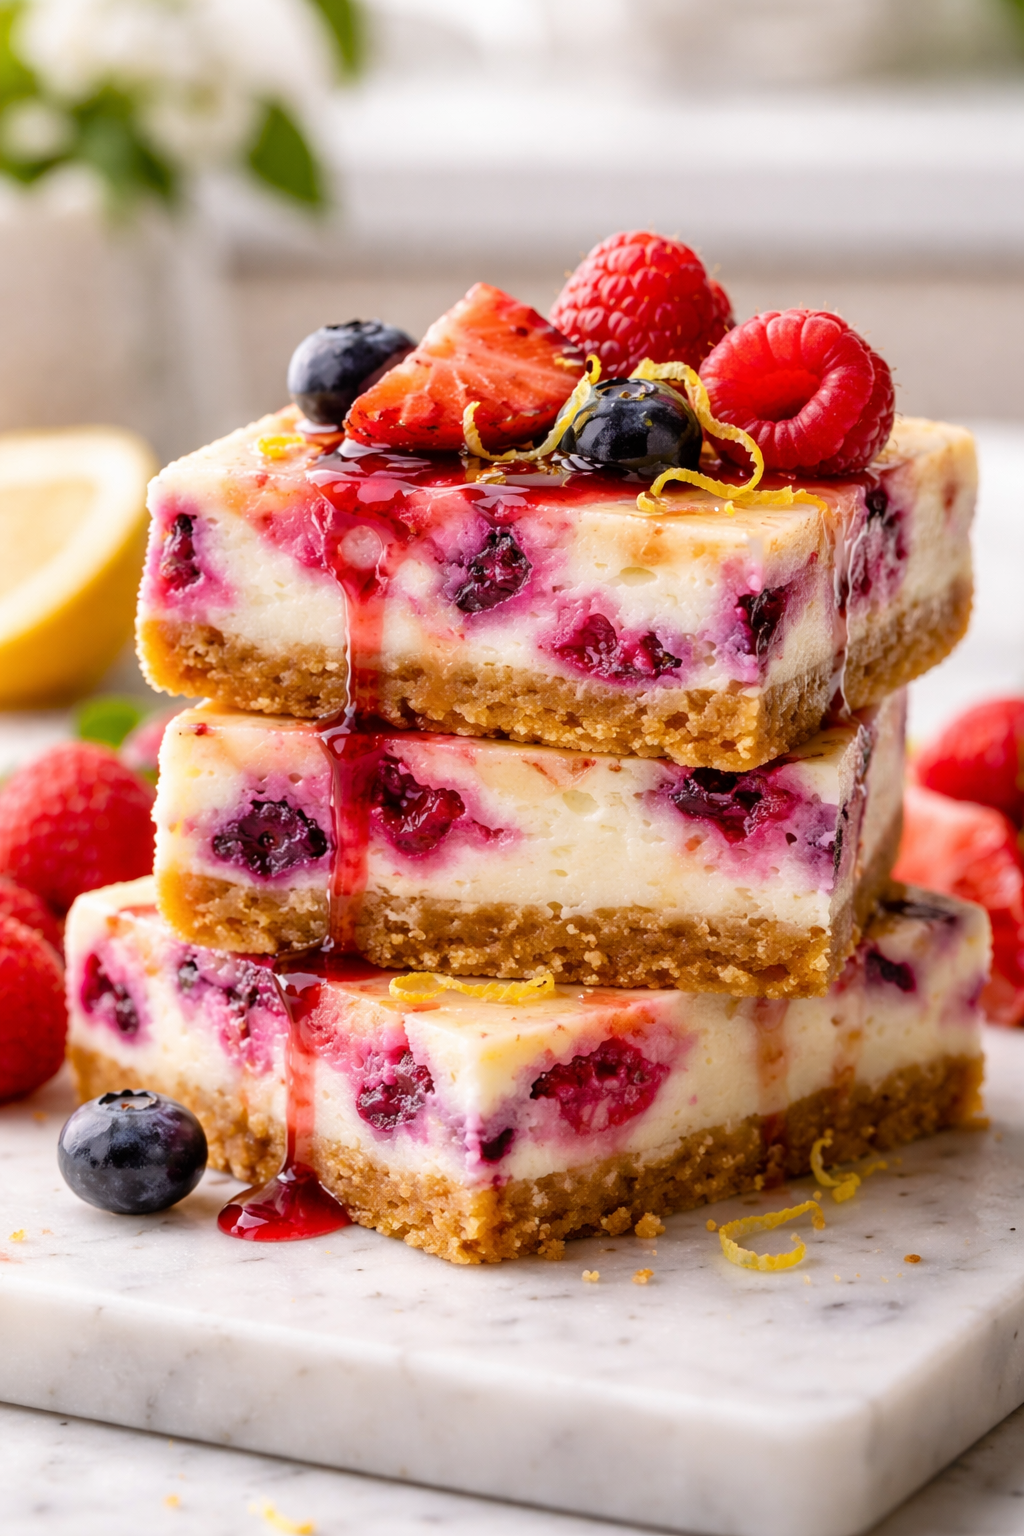
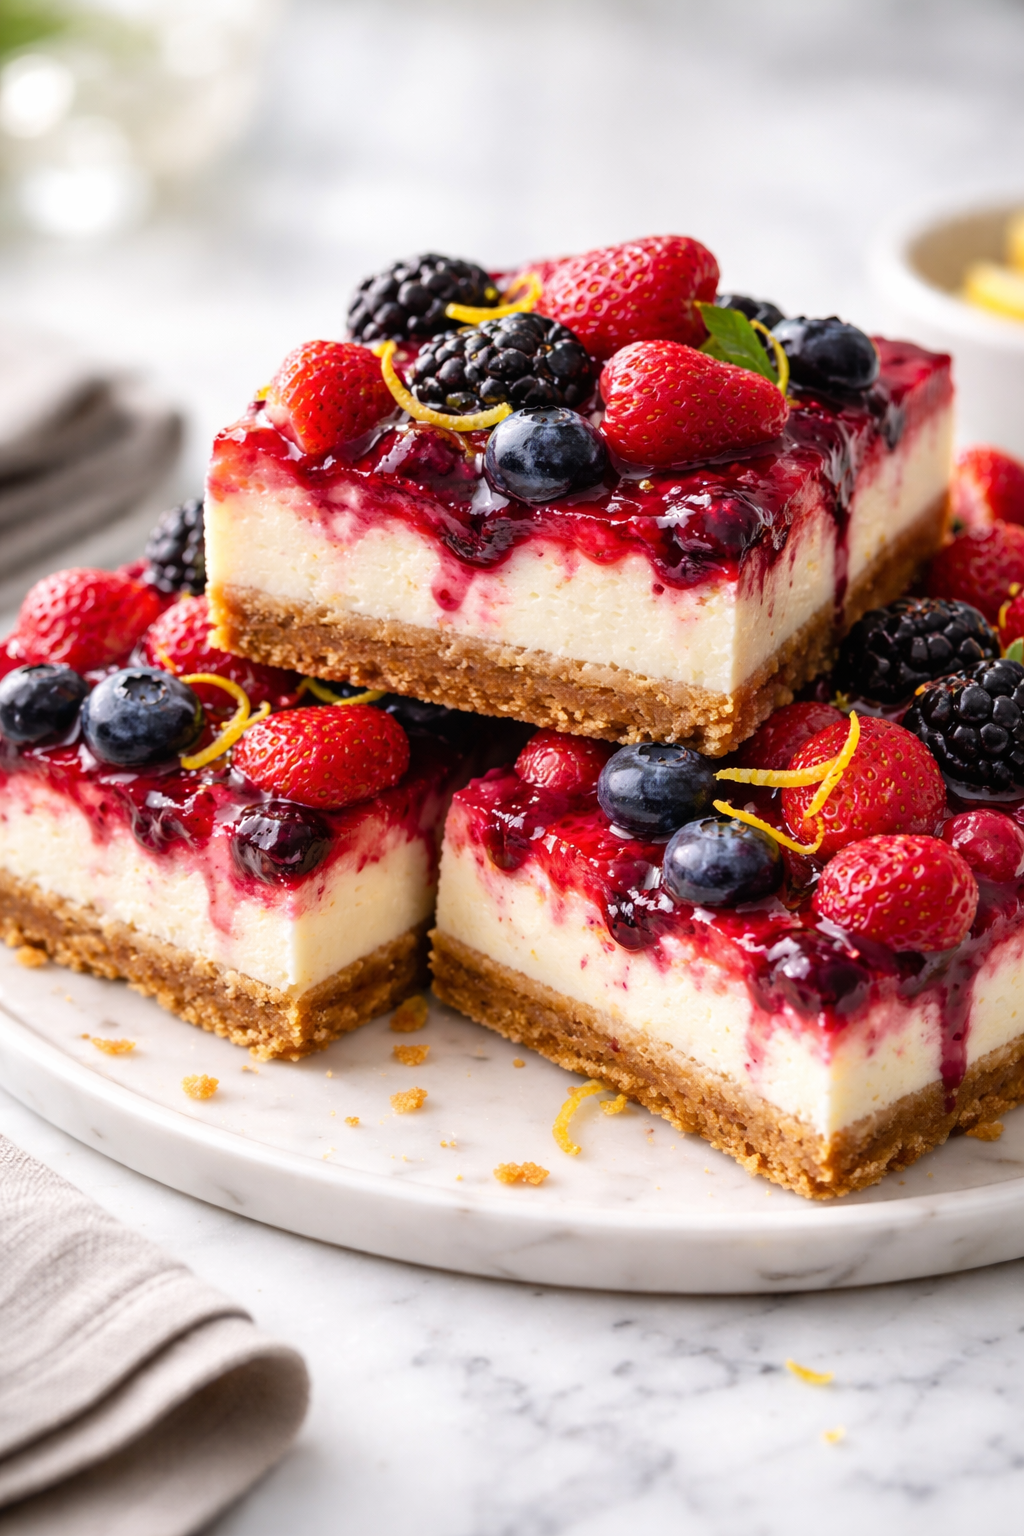
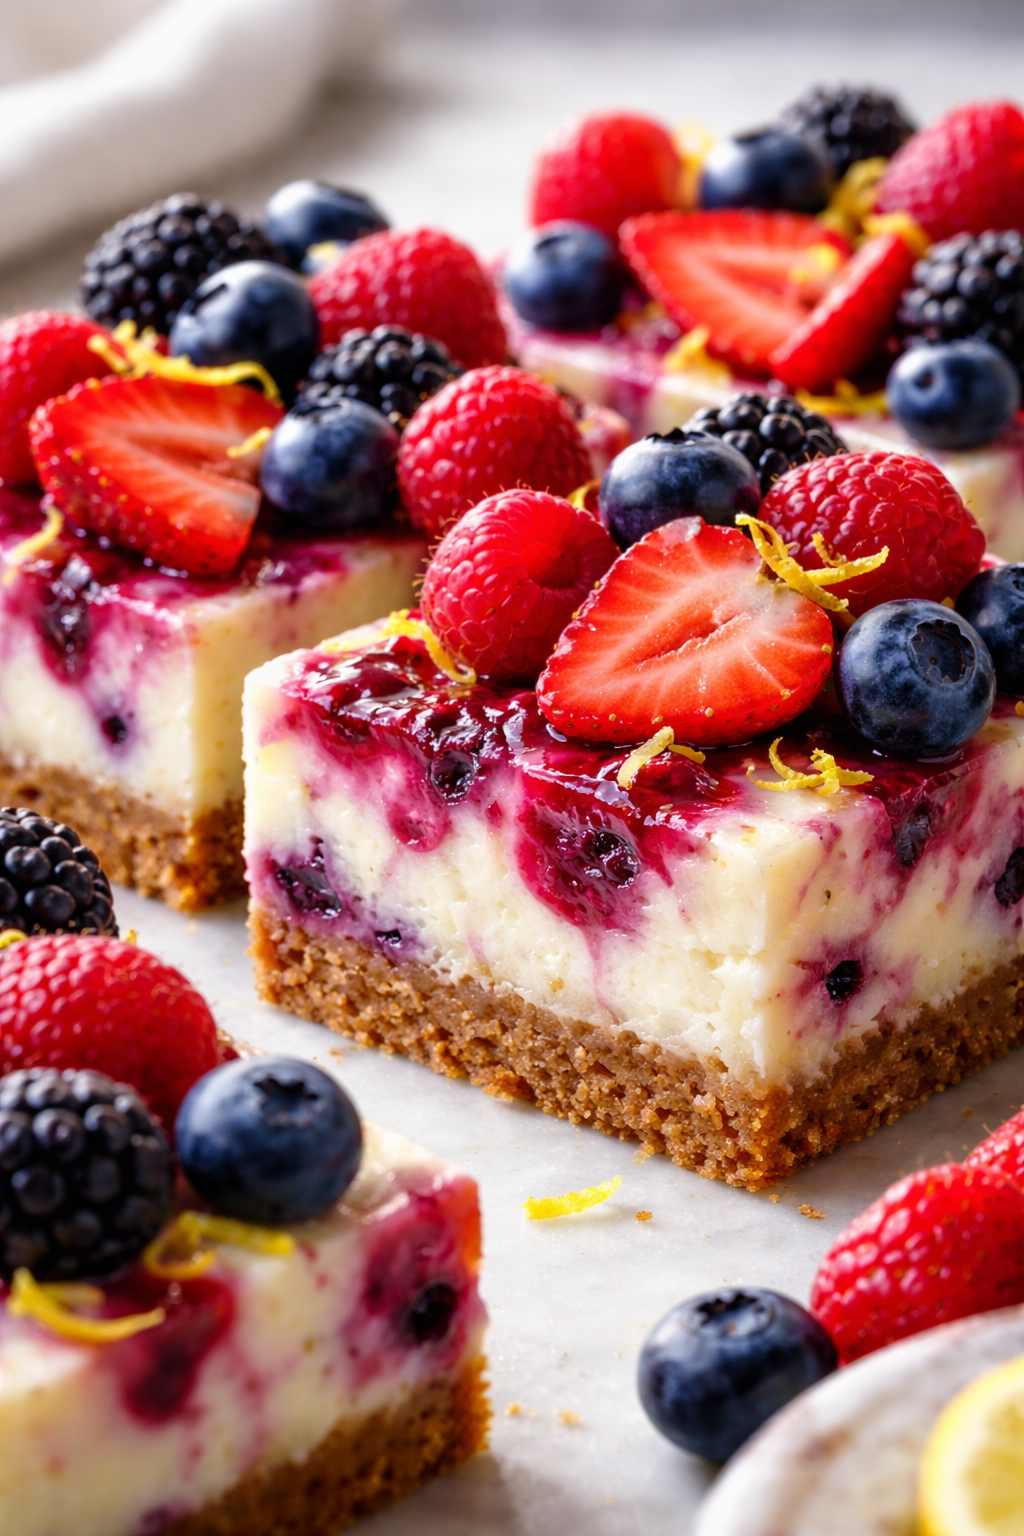
These cheesecake bars combine creamy tanginess with fresh berries and a bright splash of lemon zest. The buttery crust adds a delightful crunch. Perfect for a spring dessert or a sunny afternoon treat!
Introduction
I've always been a sucker for cheesecake, but sometimes the rich heaviness can be a bit much. A few years ago, I stumbled upon this cheesecake bar recipe that instantly became a favorite in my family. What sets it apart is the bright lemon zest mixed into the creamy filling, which cuts through the richness beautifully. Plus, the fresh berries on top add a natural sweetness and a pop of color that makes these bars look as good as they taste. I remember the first time I made them, I almost ruined the crust by overbaking it, but once I got the timing right, it turned out perfectly crisp and buttery. The trick I learned is to watch the crust closely during baking and pull it out when it just starts to brown. These bars are perfect for spring gatherings or when you want a dessert that feels fresh but still indulgent. The creamy texture combined with the zingy lemon and juicy berries makes every bite a little celebration. I hope you enjoy making and eating them as much as I do!
What You'll Need
9 bars, approximately 9 servings
- 1 1/2 cups graham cracker crumbs
- 1/3 cup unsalted butter, melted
- 2 tablespoons granulated sugar
- 16 ounces cream cheese, softened
- 2/3 cup granulated sugar
- 2 large eggs
- 1 teaspoon vanilla extract
- Zest of 1 lemon
- 2 tablespoons fresh lemon juice
- 3/4 cup mixed fresh berries (blueberries, raspberries, strawberries)
How To Do It
Step 1
Preheat your oven to 325°F (160°C). In a medium bowl, combine the graham cracker crumbs, melted butter, and 2 tablespoons of granulated sugar. Mix thoroughly until the crumbs are evenly coated and resemble wet sand. This mixture will form a buttery, crisp crust that supports the creamy filling. Press the mixture firmly and evenly into the bottom of a 9x9-inch baking pan lined with parchment paper. Pressing firmly helps the crust hold together after baking and prevents it from crumbling when serving. Avoid pressing too hard to keep some lightness. Bake the crust for about 10 minutes until it’s just starting to turn golden brown—this step pre-bakes the crust so it doesn’t get soggy once the filling is added.
⏱ Time: 10
✓ Doneness: Edges of the crust should be lightly browned and the surface should feel set but not hard.
Step 2
While the crust bakes, prepare the cheesecake filling. In a large mixing bowl, beat the softened cream cheese with 2/3 cup granulated sugar until smooth and creamy, about 2-3 minutes. Make sure there are no lumps for a silky texture. Then add the eggs one at a time, mixing well after each addition to fully incorporate air and ensure a smooth batter. Stir in vanilla extract, lemon zest, and fresh lemon juice. The lemon zest adds a bright citrus aroma, while the juice gives a subtle tang that balances the creaminess. Be careful not to overmix once eggs are added, or the filling might crack during baking.
⏱ Time: 8
✓ Doneness: Filling should be smooth and glossy with no lumps or streaks.
Step 3
Pour the cheesecake filling evenly over the pre-baked crust, smoothing the top with a spatula. Distribute the fresh mixed berries on top, gently pressing some into the filling but leaving others on the surface for a pretty presentation. The berries will soften and release juices while baking, adding natural sweetness and a lovely marbled effect. Resist the urge to stir them in too much, or you’ll lose the visual appeal. The contrast of creamy filling and juicy berries is what makes these bars special.
⏱ Time: 5
✓ Doneness: Filling is spread evenly and berries are evenly distributed without sinking.
Step 4
Bake the cheesecake bars in the preheated oven for 25-30 minutes. The goal is to bake until the edges are set but the center still has a slight jiggle, similar to a custard. Overbaking will cause cracks and a dry texture, so check at 25 minutes. To test, gently shake the pan; the center should wobble slightly but not be liquid. The residual heat will finish cooking the bars after removing from the oven, yielding a creamy, smooth texture.
⏱ Time: 25
✓ Doneness: Edges are firm and the center jiggles gently when the pan is shaken.
Step 5
Remove the bars from the oven and let cool completely in the pan on a wire rack. Cooling slowly prevents cracking and helps the filling set perfectly. Once cooled, cover the pan with plastic wrap and refrigerate for at least 3 hours or overnight. Chilling is essential as it firms up the cheesecake, making it easier to slice cleanly and enhancing the flavors. Don’t skip this step!
⏱ Time: 180
✓ Doneness: Bars are fully chilled, firm to touch, and flavors have melded.
Step 6
Once chilled, use the parchment paper to lift the cheesecake slab out of the pan. Place it on a cutting board and use a sharp knife to cut into 9 bars. For clean cuts, wipe the knife with a warm damp cloth between slices. This prevents the creamy filling from sticking and tearing. Serve bars chilled or at room temperature for a soft, creamy bite. These bars keep well, so feel free to store leftovers in the fridge.
⏱ Time: 10
✓ Doneness: Bars cut cleanly without crumbling or cracking.
Step 7
If desired, garnish each bar with a light dusting of powdered sugar or a few extra fresh berries before serving. This adds a pretty finishing touch and a hint of sweetness. I like to serve these with a cup of tea or fresh lemonade for a bright springtime dessert experience. The balance of creamy, tangy, and sweet makes these bars a real crowd-pleaser.
⏱ Time: 5
✓ Doneness: Bars look visually appealing with garnish enhancing presentation.
Step 8
For a twist, try swirling a spoonful of berry jam or lemon curd into the cream cheese filling before baking. This adds a marbled effect and an extra layer of flavor. Be gentle when swirling so you don’t overmix and lose the texture contrast. This technique is great for impressing guests with a pretty pattern and intensified berry or lemon flavor.
⏱ Time: 5
✓ Doneness: Filling shows visible swirls of jam or curd without blending completely.
Step 9
When serving these bars at a gathering, let them sit out for about 10 minutes before serving if chilled; this softens the texture slightly and releases the full lemon aroma. If you want a firmer bite, serve straight from the fridge. The versatility in texture is one reason I love this recipe—it works well for different preferences and occasions.
⏱ Time: 10
✓ Doneness: Bars have softened slightly and aroma is noticeable.
Pro Tips
Soften the cream cheese completely before mixing.
Softened cream cheese blends more easily with sugar and eggs, preventing lumps and ensuring a silky cheesecake filling. If the cream cheese is too cold, you’ll end up with clumps that ruin the smooth texture and can cause uneven baking.
Press the crust firmly but not too hard in the pan.
Pressing the crust evenly ensures it holds together during baking and slicing. Too light pressing results in a crumbly crust, while too hard pressing can make it overly dense and tough instead of crisp and tender.
Add lemon zest before lemon juice to maximize citrus aroma.
Zest contains essential oils that provide a bright, fresh lemon scent, while juice adds acidity. Adding zest first allows you to evenly distribute the aromatic oils throughout the filling before balancing with juice.
Bake cheesecake bars at a low temperature for gentle cooking.
Low and slow baking prevents cracks and curdling by allowing the eggs to set gradually. High heat causes rapid coagulation, leading to a cracked or dry texture.
Chill bars overnight for best flavor and texture.
Chilling firms up the filling and lets the flavors meld, resulting in cleaner slices and a more harmonious taste. Serving too soon can cause the bars to be too soft and flavors to seem flat.
Use fresh berries instead of frozen for topping.
Fresh berries retain their shape and texture during baking, adding a pleasant bite and visual appeal. Frozen berries release excess moisture that can make the filling watery and affect the crust’s texture.
Wipe your knife clean between cuts.
A clean knife prevents dragging and tearing the creamy filling, ensuring neat, attractive slices. This small step makes a big difference in presentation.
Common Mistakes to Avoid
Overbaking the cheesecake bars
Why it happens Many cooks assume the filling should be completely firm before removing from the oven, leading to overbaking. This dries out the bars and causes cracks.
Fix Remove the bars when the edges are set but the center still jiggles slightly. The residual heat will finish cooking during cooling, resulting in a creamy texture without cracks.
Using cold cream cheese directly from the fridge
Why it happens Rushing the preparation or forgetting to soften cream cheese leads to lumps in the filling.
Fix Plan ahead and let cream cheese sit at room temperature for at least 30 minutes before mixing. Beat until completely smooth before adding other ingredients.
Skipping prebaking the crust
Why it happens Some think the crust will bake fully with the filling, but this causes sogginess.
Fix Always prebake the crust until lightly golden and set. This step ensures a crisp base that supports the creamy filling.
Using frozen berries instead of fresh
Why it happens Frozen berries are convenient but release extra moisture when baked, making the bars watery.
Fix Use fresh berries for topping and avoid stirring them into the filling to maintain texture and prevent excess moisture.
Pressing the crust unevenly
Why it happens Uneven crust pressing leads to some areas being too thin or too thick, causing uneven baking and texture.
Fix Use the bottom of a flat measuring cup or glass to press the crust evenly and firmly across the pan.
Variations
Chocolate Swirl Lemon Berry Bars
Add 2 tablespoons of melted dark chocolate to the cream cheese filling and swirl it gently with a knife before baking. The rich chocolate pairs beautifully with the tart lemon and sweet berries, creating a decadent treat. Expect a marbled look and a bittersweet depth to the flavor.
Note: Swirl chocolate carefully without overmixing to preserve the marbled pattern and prevent flavor blending.
Gluten-Free Crust Version
Swap graham cracker crumbs for gluten-free almond flour or gluten-free cookie crumbs. This keeps the crust crisp and buttery while making the bars safe for gluten-sensitive eaters. Almond flour adds a subtle nuttiness that complements the lemon and berries nicely.
Note: Reduce butter slightly if using almond flour to avoid an oily crust; press firmly and prebake as usual.
Vegan Lemon Berry Cheesecake Bars
Use vegan cream cheese and replace eggs with flax eggs (1 tablespoon flaxseed meal + 3 tablespoons water per egg). Use coconut oil instead of butter for the crust. This version is dairy-free and still creamy with a bright lemon flavor, though texture will be slightly less dense.
Note: Chill bars longer to firm up due to absence of eggs and dairy fats.
Lemon Poppy Seed Cheesecake Bars
Add 1 tablespoon of poppy seeds to the filling for a subtle crunch and nutty flavor that pairs well with lemon zest. This variation adds texture and a delicate visual speckling throughout the bars.
Note: Fold seeds gently into the filling just before pouring over the crust to distribute evenly.
Berry Jam Swirled Bars
Before baking, dollop spoonfuls of your favorite berry jam on top of the filling and swirl it gently with a knife. This adds a concentrated berry sweetness and a pretty marbled effect.
Note: Don’t over-swirl to maintain visible jam streaks and prevent blending.
Nutrition
Per Serving:
Nutritional values are estimates and may vary based on specific ingredients used.
Storage & Tips
Room Temperature
These cheesecake bars can safely be kept at room temperature for up to 2 hours if covered loosely with foil or plastic wrap. Beyond this, refrigeration is recommended to maintain freshness and prevent spoilage.
Refrigerator
Store leftover bars in an airtight container in the fridge for up to 4 days. The texture firms up when chilled but softens slightly at room temperature. For best flavor, allow bars to sit out 10 minutes before serving.
Freezer
Wrap bars tightly in plastic wrap and then foil to prevent freezer burn. Freeze for up to 2 months. Thaw overnight in the refrigerator for best texture. Avoid thawing at room temperature to keep the filling stable.
Reheating
These bars are best served chilled or at room temperature and generally don’t require reheating. If you prefer them slightly warm, microwave a single bar for 10-15 seconds. Avoid overheating, which can cause the filling to become grainy.
Make Ahead
You can prepare the crust and filling a day ahead, assembling and baking the next day for fresher texture. Alternatively, bake fully and refrigerate overnight to enhance flavor melding. Just slice before serving.
FAQ
Can I use frozen berries instead of fresh?
I don’t recommend frozen berries here because they release extra moisture during baking, which can make the filling runny and the crust soggy. If you must use frozen, thaw and drain them thoroughly, then pat dry before adding on top to reduce moisture.
Why is my cheesecake filling lumpy?
Lumps usually happen if the cream cheese wasn’t softened enough or not beaten well before adding other ingredients. Make sure your cream cheese is at room temperature and beat it on medium speed until completely smooth before mixing in sugar and eggs.
How do I prevent cracks in my cheesecake bars?
Cracks often result from overbaking or rapid cooling. Bake until the edges are set but the center still jiggles slightly, then cool gradually at room temperature before chilling. Avoid opening the oven door frequently during baking to maintain even temperature.
Can I make these bars gluten-free?
Absolutely! Swap the graham cracker crust for gluten-free cookie crumbs or almond flour mixed with butter. Just adjust the butter slightly if using almond flour to keep the crust from becoming oily. The texture will be just as delicious.
What’s the best way to cut clean bars?
Use a sharp knife and wipe it clean with a warm damp cloth between cuts. This prevents the creamy filling from sticking and tearing, resulting in neat, attractive slices.
Can I prepare the bars ahead of time?
Yes! You can bake them a day in advance and store them covered in the fridge. Chilling overnight actually enhances the flavor and texture. Just slice and serve when ready.
What if I don’t have fresh lemons?
Fresh lemon zest and juice provide the best flavor and brightness. Bottled lemon juice can be used in a pinch but won’t be as vibrant. Avoid using dried lemon zest as it lacks the essential oils that brighten the filling.
How do I store leftover bars?
Keep leftovers in an airtight container in the refrigerator for up to 4 days. For longer storage, wrap tightly and freeze for up to 2 months. Thaw in the fridge overnight before serving.
Final Thoughts
I hope you enjoy these lemon berry cheesecake bars as much as my family does! Give them a try and let me know how they turn out — I’d love to hear your thoughts.