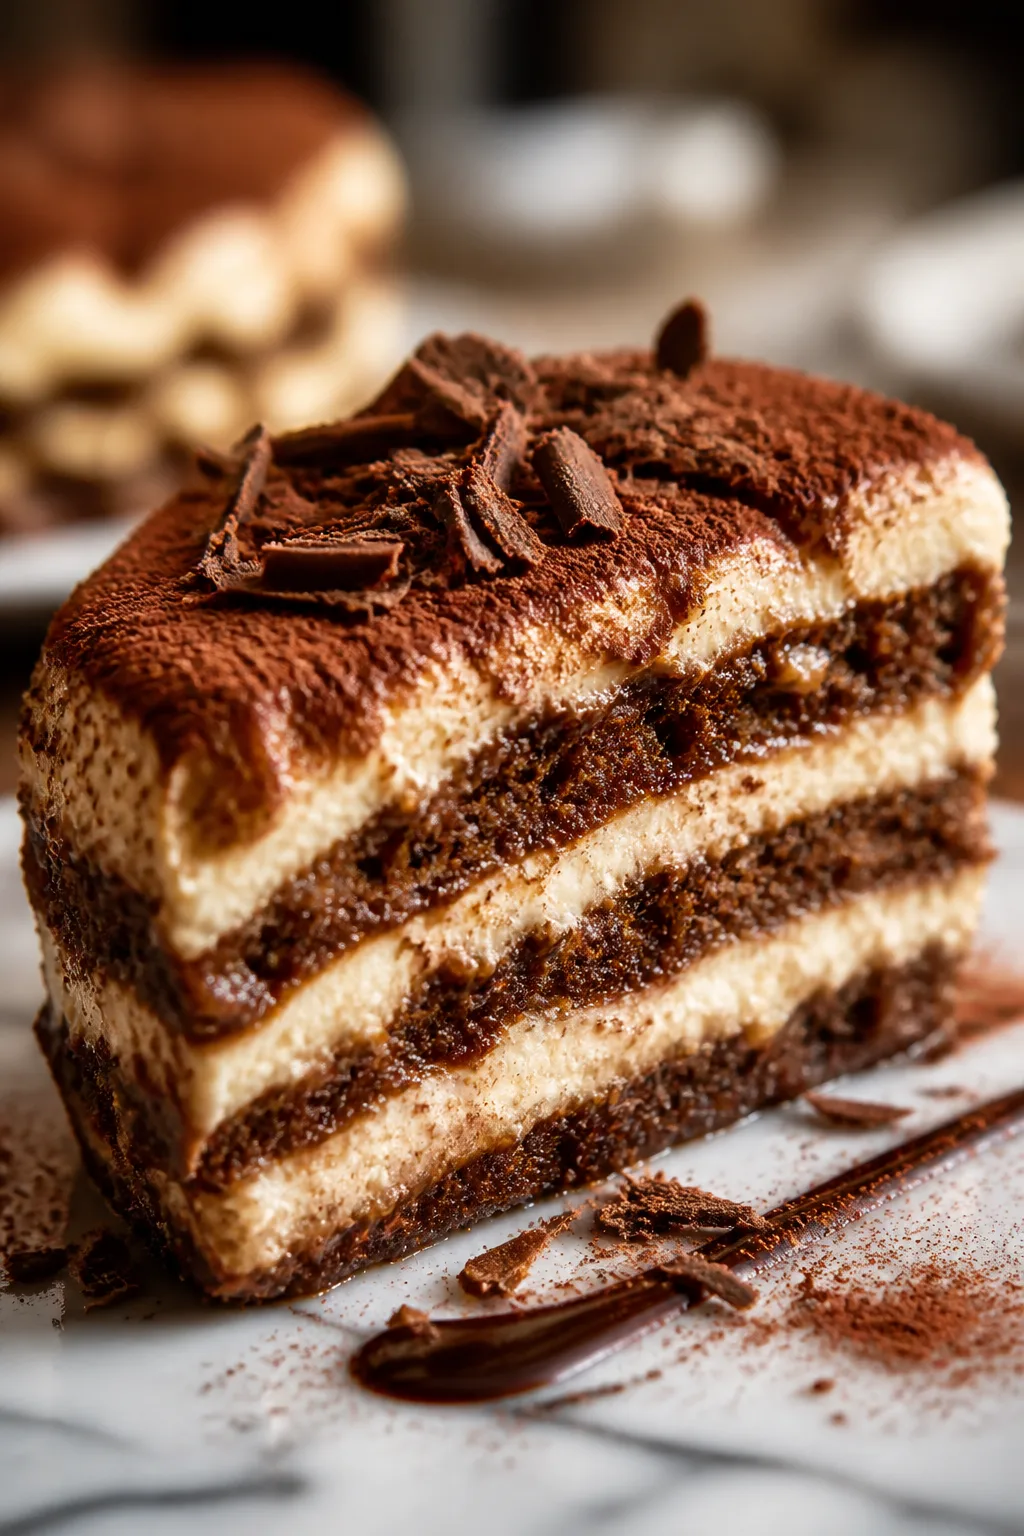
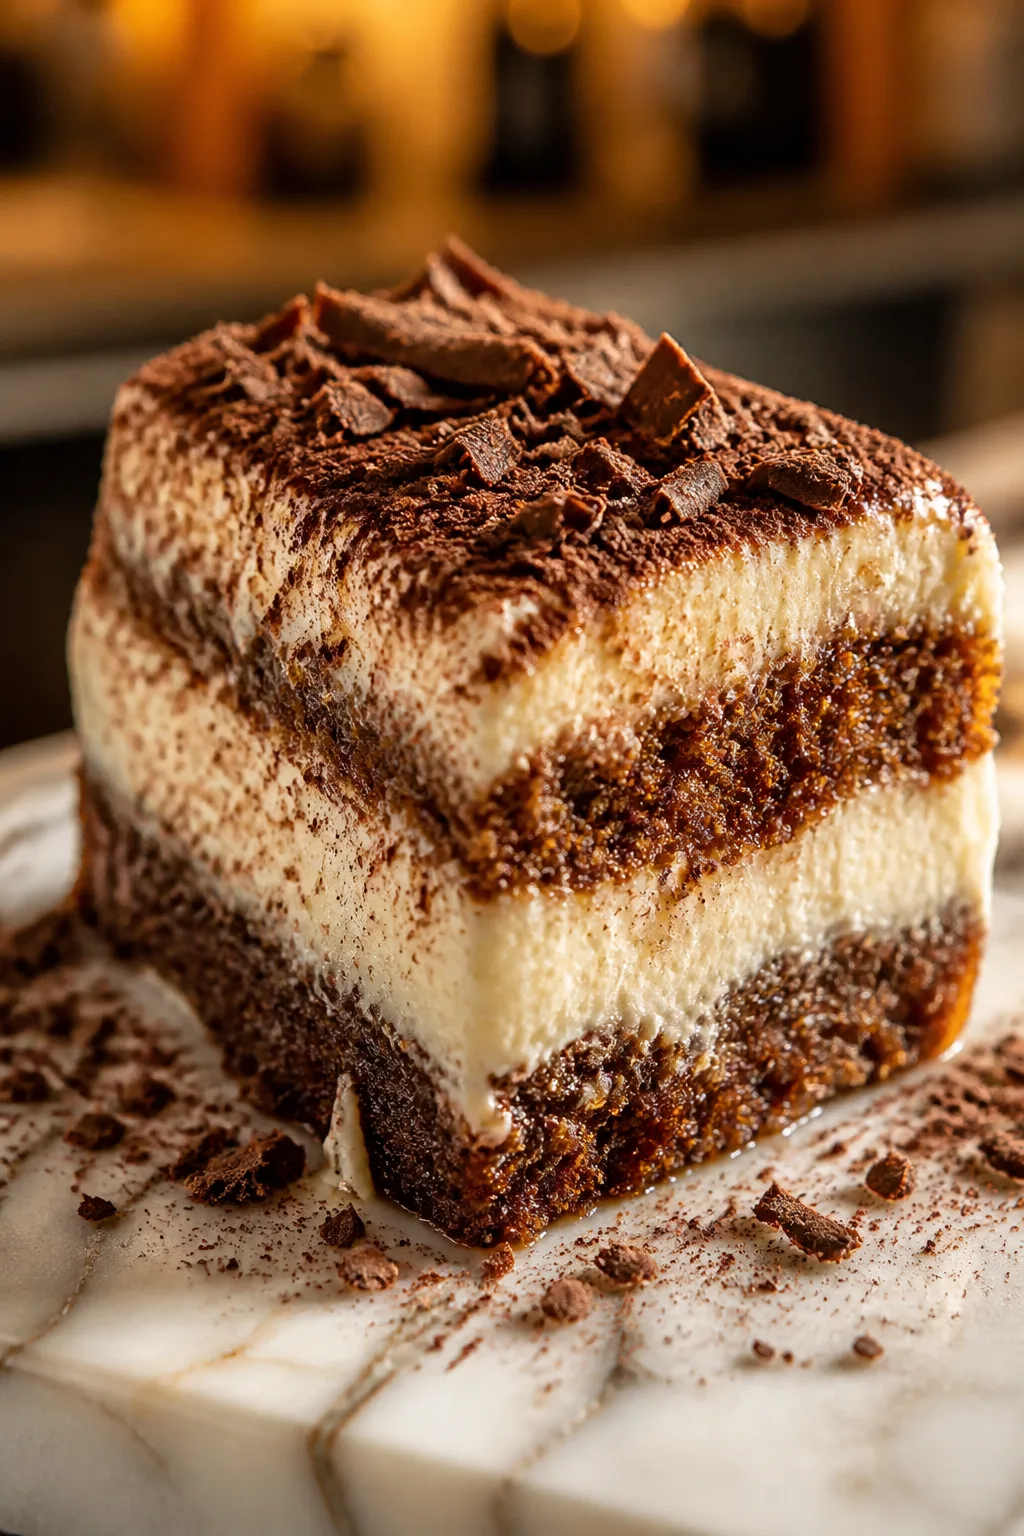
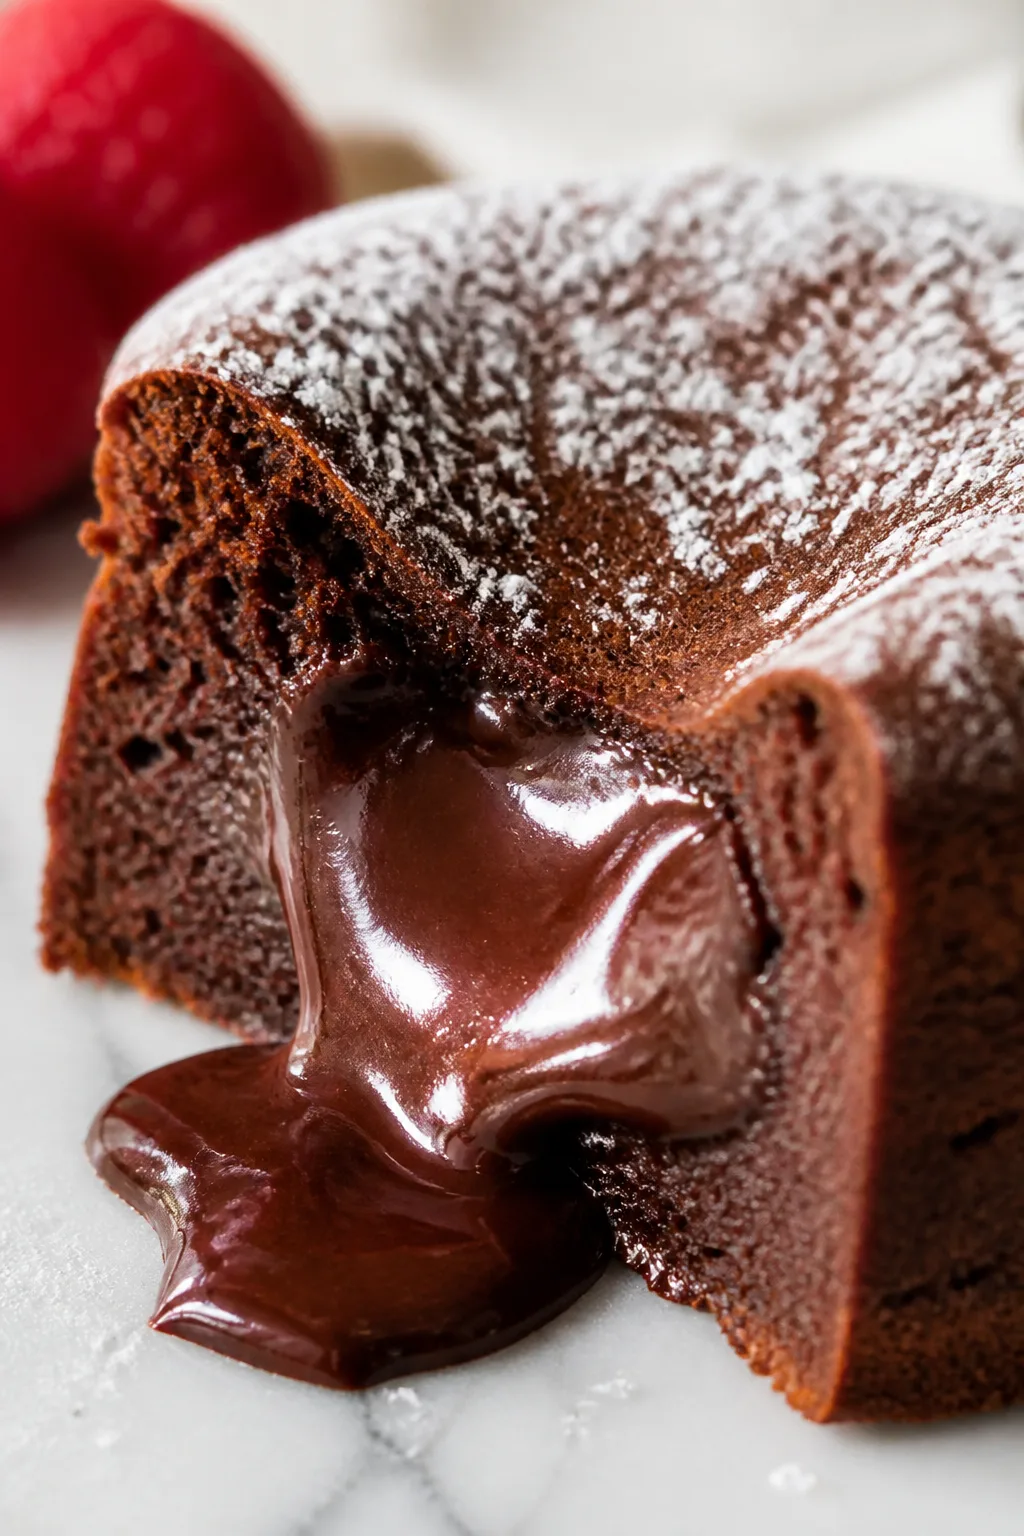
This apple crisp is pure comfort in a bowl—sweet, tart apples with a crunchy cinnamon oat topping. The secret is browning the butter in the crumble for a nutty depth. Perfect for cozy fall evenings or anytime you want a warm dessert.
Introduction
I remember the first time I made this apple crisp—it was a chilly autumn afternoon, and I wanted something warm and comforting but without a ton of fuss. The original recipe I tried was good, but it lacked that special something. After a few tweaks, I discovered that browning the butter before mixing it into the oat topping made all the difference. It adds this subtle nuttiness and depth that lifts the whole dish. Plus, I like using tart Granny Smith apples because their bright flavor balances the sweetness perfectly. This recipe is my go-to when I want a dessert that feels homemade and cozy but comes together quickly. The finished crisp is golden on top with a crunchy, buttery crumble and tender, juicy apples underneath. It’s great served warm, especially with vanilla ice cream or a dollop of whipped cream. Honestly, it’s the kind of dessert that brings back memories of family gatherings and lazy weekend afternoons. I love sharing it with friends and watching their faces light up after the first bite. If you want an easy, timeless dessert that never disappoints, this apple crisp is it.
How To Do It
Step 1
Preheat your oven to 350°F (175°C). Start by peeling, coring, and slicing your apples into roughly 1/4-inch thick pieces. Toss them in a large bowl with the lemon juice to prevent browning and to add a bit of brightness that balances the sweetness. This step is important because it keeps the apples fresh-looking and adds a subtle tang that cuts through the richness of the topping.
⏱ Time: 10 minutes
✓ Doneness: Apples are evenly coated with lemon juice and look fresh, slightly glossy.
Step 2
In a medium skillet, melt the butter over medium heat. Keep an eye on it and swirl the pan occasionally until the butter turns golden brown and gives off a nutty aroma—this should take about 5 minutes. Be careful not to burn it, which happens quickly once it starts browning. This browned butter is the secret to a rich, deep flavor in your oat topping.
⏱ Time: 5 minutes
✓ Doneness: Butter is golden brown with a nutty smell and small brown flecks form on the pan bottom.
Step 3
While the butter cools slightly, combine rolled oats, flour, brown sugar, cinnamon, nutmeg, and salt in a large mixing bowl. Stir them together so the spices and sugar are evenly distributed. This dry mixture forms the base of your topping, and even distribution ensures every bite has balanced flavor.
⏱ Time: 5 minutes
✓ Doneness: Dry ingredients are thoroughly mixed with no clumps.
Step 4
Pour the warm browned butter over the oat mixture and stir with a fork or spatula until everything is moistened and clumps start to form. The butter coats the oats and flour, which helps the topping crisp up beautifully in the oven. If you add the butter when it’s too hot, it can melt the sugar too much, so let it cool slightly first.
⏱ Time: 3 minutes
✓ Doneness: Topping looks crumbly but holds together when pressed lightly.
Step 5
Transfer the lemon-coated apples to a 9x13-inch baking dish and spread them out evenly. Pour any juice from the bowl over the apples to keep them moist during baking. This layering ensures the apples cook evenly and stay juicy underneath the crisp topping.
⏱ Time: 5 minutes
✓ Doneness: Apples are evenly spread with some juice visible at the bottom of the dish.
Step 6
Sprinkle the oat topping evenly over the apples, covering them completely. This even coverage allows the topping to bake into a crisp, golden crust that contrasts with the soft fruit beneath. Avoid pressing the topping down; letting it stay loose helps it crisp better.
⏱ Time: 2 minutes
✓ Doneness: Topping is spread evenly and looks crumbly and light.
Step 7
Bake the apple crisp in the preheated oven for 40-45 minutes. You want the topping to be golden brown and crisp, and the apples bubbling around the edges. Keep an eye on the color of the topping; if it browns too fast, tent loosely with foil to prevent burning while the apples finish cooking.
⏱ Time: 40-45 minutes
✓ Doneness: Topping is golden brown and apples are visibly bubbling along the edges.
Step 8
Once baked, let the crisp cool for at least 10 minutes before serving. This resting time allows the juices to thicken slightly so the dessert isn’t too runny. It also helps the topping set and stay crunchy rather than soggy.
⏱ Time: 10 minutes
✓ Doneness: Juices have thickened slightly and topping feels crisp but not hard.
Step 9
Serve warm, ideally with a scoop of vanilla ice cream or a dollop of whipped cream. The cold cream melts into the warm apple crisp, creating a perfect balance of temperatures and textures. Enjoy immediately for the best experience.
⏱ Time: Serve immediately
✓ Doneness: Ice cream softens slightly on contact, and the dessert is warm and inviting.
Pro Tips
Brown the butter slowly over medium heat, stirring constantly.
Browning butter releases nutty, rich flavors through the Maillard reaction. If the heat is too high or you walk away, the butter can burn and taste bitter, ruining the topping’s flavor. Stirring helps even browning.
Don’t press the topping down before baking.
Leaving the topping loose allows air to circulate and the oats to crisp up nicely. Pressing it down compacts the mixture, leading to a denser, less crunchy texture.
Use fresh, firm apples and toss them with lemon juice immediately after slicing.
Lemon juice prevents oxidation, keeping apples from turning brown and adding a subtle acidity that brightens the final dish. Fresh apples hold their shape better and taste vibrant.
Bake until apples are bubbling around the edges.
Bubbling juices indicate the apples have softened and released their natural sugars. This also means the filling has thickened, preventing a watery bottom.
Let the crisp rest 10 minutes after baking before serving.
Resting allows the juices to thicken and the topping to firm up, which prevents sogginess and makes serving cleaner and more enjoyable.
Use a glass or ceramic baking dish for even heat distribution.
These materials conduct heat gently and evenly, which helps the apples cook through without burning the topping. Metal pans can cause hot spots.
Add a scoop of vanilla ice cream or whipped cream when serving.
The contrast of cold, creamy ice cream with warm, crisp apples enhances texture and flavor, elevating a simple dessert to something special.
Common Mistakes to Avoid
Using overly ripe or soft apples
Why it happens People often grab whatever apples are on hand without considering texture, thinking all apples behave the same when baked.
Fix Choose firm, tart apples like Granny Smith. If you only have softer apples, mix them with firmer varieties to maintain structure and avoid a mushy filling.
Skipping the lemon juice toss
Why it happens Some don’t realize lemon juice prevents browning and adds flavor, so they skip it to save time.
Fix Always toss sliced apples in lemon juice immediately after cutting. This keeps the fruit bright and adds a nice balance to the sweet topping.
Not browning the butter properly
Why it happens Rushing or leaving butter unattended can lead to burning or not developing the rich flavor.
Fix Watch the butter closely over medium heat, stirring constantly. Remove from heat as soon as it turns golden brown and smells nutty.
Pressing down the oat topping
Why it happens Some think pressing the topping helps it stick better or look neater.
Fix Leave the topping loose to allow it to crisp up. Pressing makes it dense and soggy after baking.
Baking at too high a temperature
Why it happens Trying to speed up baking time by increasing oven temp can burn the topping before apples cook through.
Fix Bake at 350°F and be patient. If the topping browns too fast, loosely cover with foil to finish cooking the apples without burning.
Variations
Add chopped nuts to the topping
Mix in 1/2 cup chopped walnuts or pecans to the oat topping for extra crunch and flavor. Nuts add a toasty, earthy note that pairs beautifully with cinnamon and apples.
Note: Chop nuts uniformly for even toasting and incorporate them with the dry ingredients before adding butter.
Use a mix of apple varieties
Combine tart Granny Smith with sweeter Fuji or Honeycrisp apples for a more complex flavor and sweetness balance. This adds layers of taste and texture to the filling.
Note: Slice apples to a similar thickness so they cook evenly.
Make it gluten-free
Substitute all-purpose flour with a gluten-free blend and ensure oats are certified gluten-free. This keeps the crisp safe for those with gluten sensitivities without sacrificing texture.
Note: Check your gluten-free flour blend for xanthan gum, which helps bind the topping.
Add dried cranberries or raisins to the filling
Stir in 1/2 cup dried cranberries or raisins with the apples before baking for a pop of tartness and chewy texture contrast. It’s a nice twist that adds a festive touch.
Note: Soak dried fruit in warm water for 10 minutes if very dry to prevent them from absorbing too much moisture from the apples.
Use maple syrup instead of brown sugar
Replace brown sugar with 1/3 cup pure maple syrup in the topping for a different sweetness profile with rich, caramel notes. This creates a slightly stickier topping but delicious flavor.
Note: Reduce butter slightly to compensate for the extra liquid in maple syrup.
Nutrition
Per Serving:
Nutritional values are estimates and may vary based on specific ingredients used.
Storage & Tips
Room Temperature
This apple crisp can safely sit at room temperature for up to 2 hours covered loosely with foil or plastic wrap. Beyond that, the topping may lose crispness and the fruit can begin to ferment slightly.
Refrigerator
Store leftovers in an airtight container in the fridge for up to 4 days. The topping may soften, so reheat in the oven to restore crispness or enjoy cold with cream for a different experience.
Freezer
Freeze the crisp in a freezer-safe container for up to 3 months. Wrap tightly to prevent freezer burn. Thaw overnight in the fridge before reheating in the oven to crisp the topping back up.
Reheating
Reheat in a 350°F oven for 15-20 minutes until warmed through and the topping is crisp again. Avoid microwaving as it softens the topping. Add a splash of apple juice if the filling looks dry.
Make Ahead
Prepare the apple filling and topping separately up to 1 day ahead. Store filling in the fridge and topping in an airtight container at room temp. Assemble and bake just before serving for fresh results.
FAQ
Can I use other fruits besides apples?
Absolutely! Pears, peaches, or mixed berries work well in this crisp. Just adjust cooking time slightly since softer fruits cook faster. Combining fruits can add complexity but keep an eye on moisture levels to avoid a soggy topping.
How do I prevent the topping from burning?
If you notice the topping browning too quickly, tent the dish loosely with foil halfway through baking. This slows browning while allowing the apples to cook fully. Also, bake at 350°F rather than higher temps to ensure even cooking.
Can I make this recipe vegan?
Yes! Substitute the butter with a vegan butter or coconut oil. The topping will still crisp up nicely, though the flavor will be slightly different. Be sure to use a vegan brown sugar to keep it fully plant-based.
Why is browning the butter important?
Browning the butter creates additional flavor compounds through the Maillard reaction, giving the topping a rich, nutty taste that plain melted butter lacks. It makes a big difference in elevating the overall flavor.
What’s the best way to store leftovers?
Store leftovers in an airtight container in the fridge for up to 4 days. Reheat in the oven to restore topping crispness. Avoid storing at room temperature for long to keep the topping from becoming soggy or the fruit from fermenting.
Can I prepare this dessert ahead of time?
Yes, you can prep the apples and topping separately a day ahead. Keep the apples tossed in lemon juice refrigerated and the topping in an airtight container at room temperature. Assemble and bake just before serving.
How do I make the topping extra crunchy?
Use old-fashioned rolled oats and don’t press the topping down before baking. Also, browning the butter adds richness that helps the topping crisp better. Baking uncovered ensures moisture escapes, keeping the topping crunchy.
Can I use instant oats in the topping?
Instant oats tend to become mushy when baked and don’t provide the same texture as rolled oats. For the best crunch and chew, stick with old-fashioned rolled oats.
Final Thoughts
I hope you love this apple crisp as much as my family does. It’s simple, comforting, and always a hit—give it a try and share your cozy moments with it!