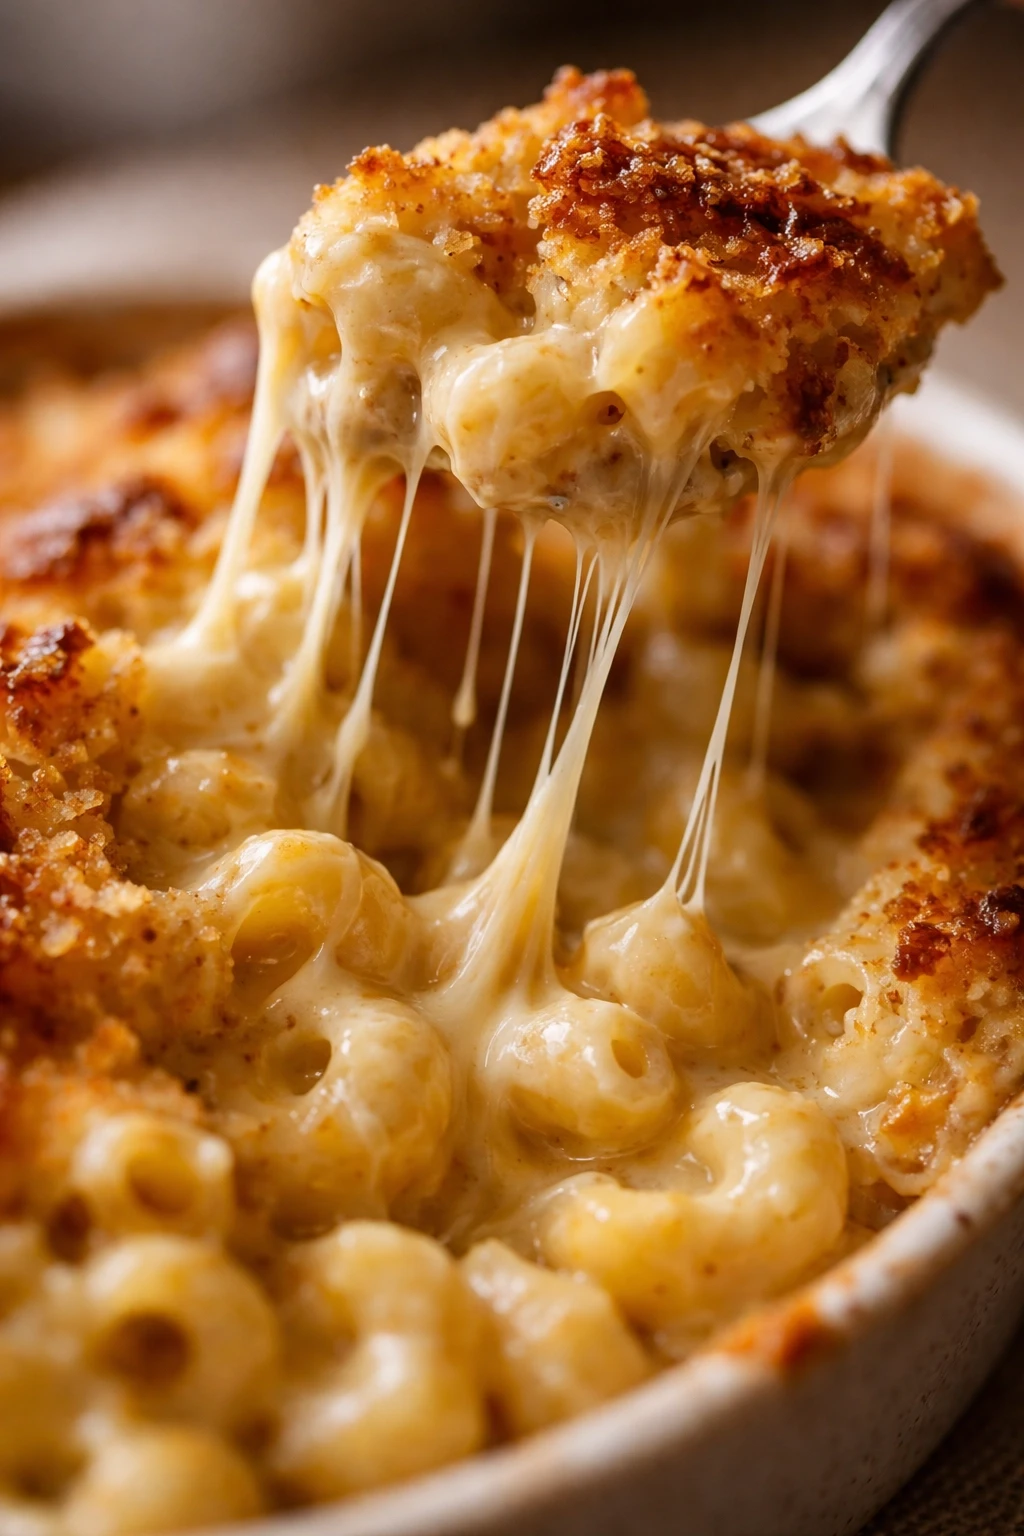
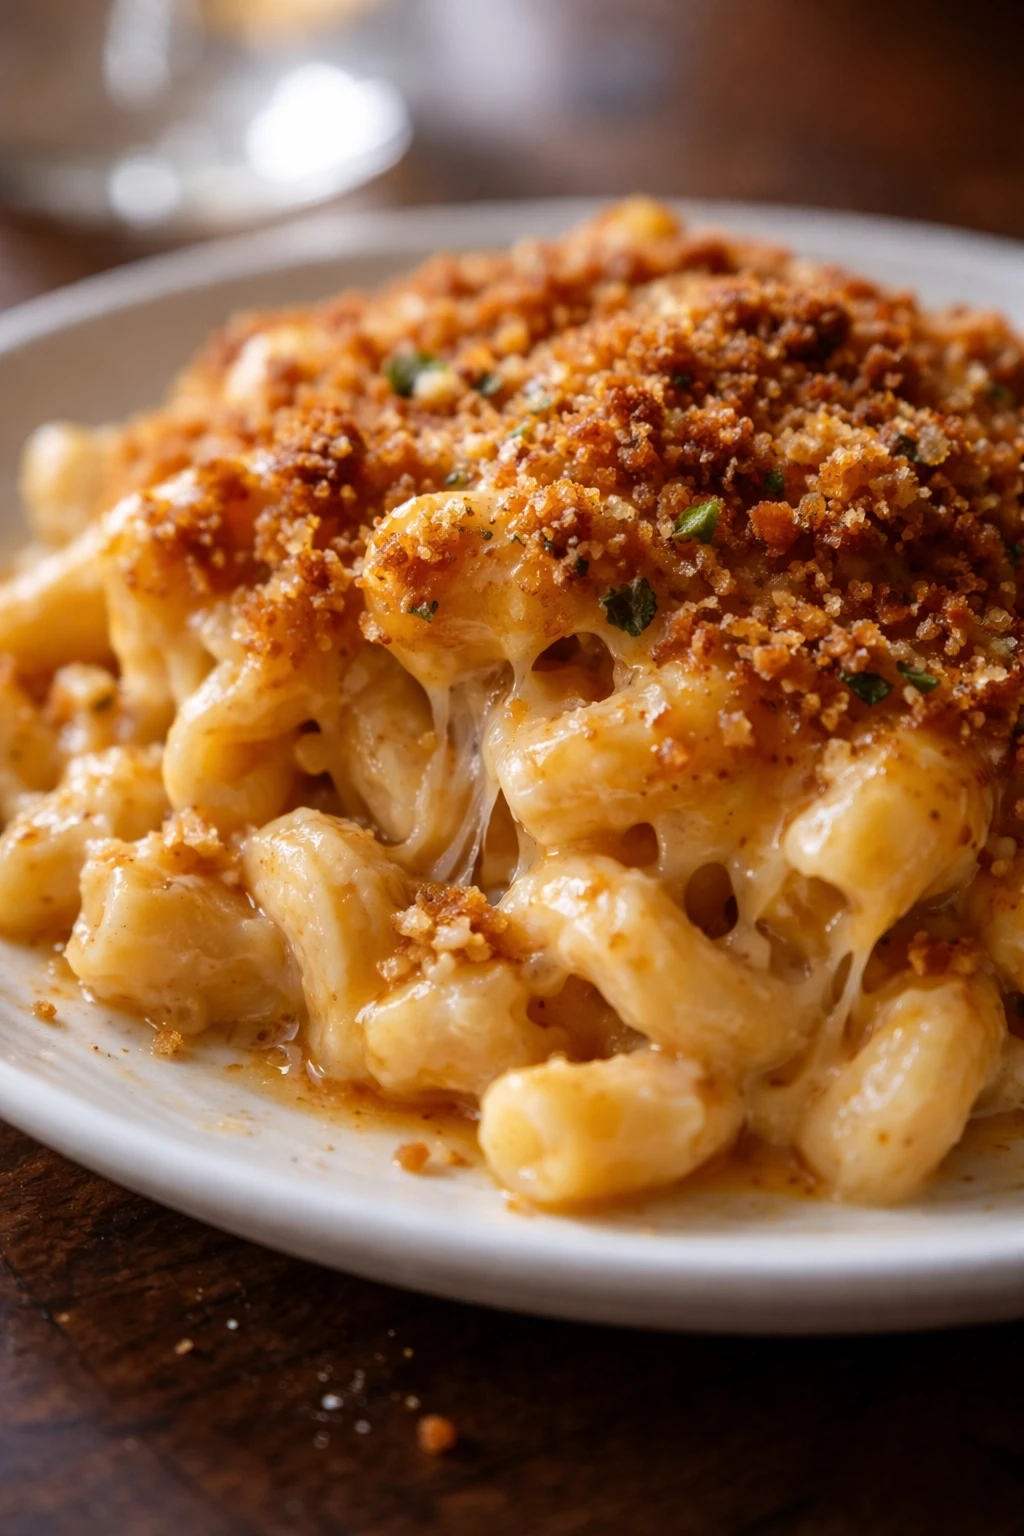
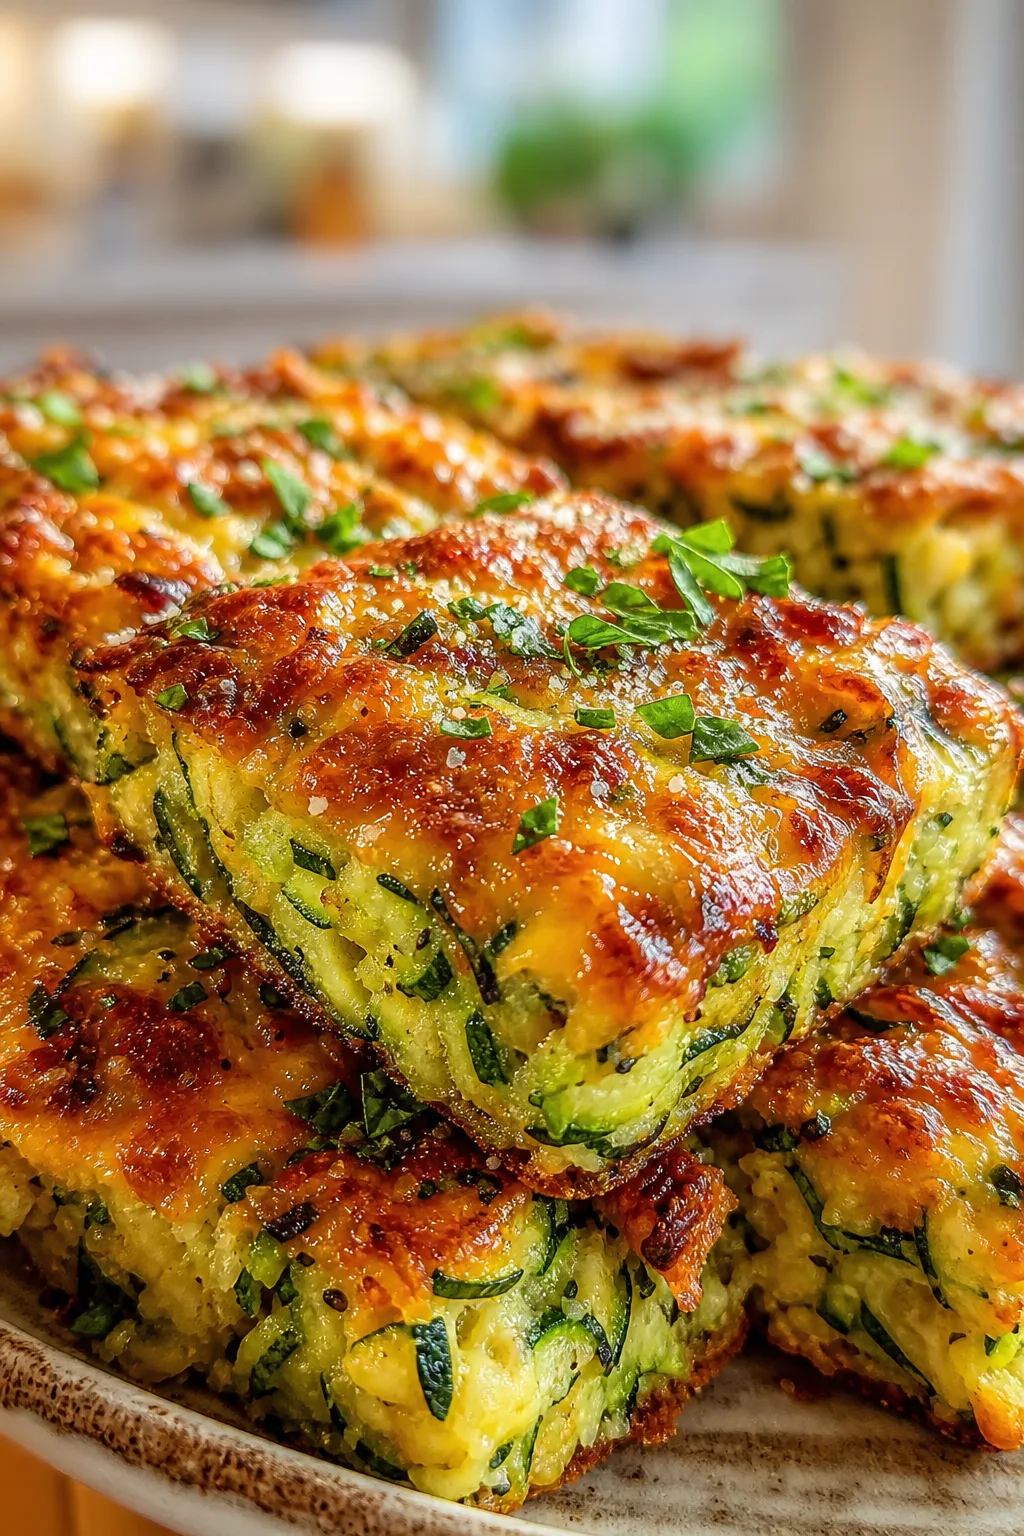
This mac and cheese is the ultimate comfort food—super creamy with a crispy, golden topping. The magic’s in the cheese blend and quick stovetop method. Perfect for cozy dinners or when you need a fast, satisfying meal.
Introduction
I've been making mac and cheese for years, but this stovetop version is a game changer. I first stumbled upon it watching a TikTok video that showed how to get creamy cheese sauce without baking for hours. What makes this recipe stand out is the blend of sharp cheddar and Gruyere cheeses, which gives a deep, rich flavor without being overpowering. Plus, the quick roux-based sauce thickens perfectly on the stovetop, so you don’t have to wait forever or dirty a ton of dishes. I also love adding a crispy panko topping tossed with olive oil—it adds this irresistible crunch that contrasts beautifully with the creamy pasta underneath. The first time I made it, I accidentally skipped warming the milk, and the sauce was lumpy, so warming your milk beforehand is a small step that really makes a difference. The final dish is creamy, cheesy, and comforting, with just the right amount of crispy texture on top. It’s perfect for busy weeknights when you want something warm and satisfying without fussing over the oven. Plus, it reheats beautifully for leftovers the next day, making it a total winner in my book.
How To Do It
Step 1
Bring a large pot of salted water to a boil and cook the elbow macaroni according to package instructions until just al dente, usually about 7 minutes. It’s important not to overcook the pasta here because it will continue absorbing sauce later. Drain the pasta and set it aside. Make sure to reserve a little pasta water in case you want to loosen the sauce later. Avoid rinsing the pasta to keep the starches that help thicken the sauce.
⏱ Time: 10
✓ Doneness: Pasta should be tender but still slightly firm to the bite, not mushy.
Step 2
In a large skillet or saucepan, melt the butter over medium heat. Once melted, whisk in the flour to create a roux. Keep whisking for about 2 minutes until the mixture is bubbly and slightly golden; this cooks out the raw flour taste. The roux acts as the thickening base for your cheese sauce, so don’t skip this step or rush it. If you skip cooking the roux properly, your sauce might taste floury or be grainy.
⏱ Time: 3
✓ Doneness: Roux should be smooth, bubbling, and lightly golden without any lumps.
Step 3
Slowly pour in the warmed milk while whisking constantly to avoid lumps. Keep whisking as the mixture thickens, about 5-7 minutes. This gradual addition and constant whisking help create a silky smooth sauce. If you add the milk too fast or stop whisking, you’ll end up with lumps or a sauce that doesn’t thicken evenly.
⏱ Time: 7
✓ Doneness: Sauce will thicken and coat the back of a spoon smoothly.
Step 4
Reduce heat to low and stir in the garlic powder, mustard powder, salt, and pepper. Adding these spices now allows their flavors to blend gently into the sauce without overpowering. Taste and adjust seasoning as needed. Don’t add too much salt before the cheese to avoid over-salting.
⏱ Time: 2
✓ Doneness: Sauce should be fragrant and well-seasoned but balanced.
Step 5
Add the shredded cheddar and Gruyere cheeses gradually, stirring after each addition until fully melted and smooth. Using two cheeses gives a complex flavor and a creamy texture that single-cheese sauces often lack. Be patient and keep the heat low to prevent the cheese from breaking or becoming stringy.
⏱ Time: 5
✓ Doneness: Cheese sauce should be creamy, glossy, and smooth without lumps.
Step 6
Add the cooked pasta to the cheese sauce and stir to fully combine. If the sauce is too thick, add a splash of reserved pasta water to loosen it up. This step ensures every macaroni is coated in that luscious sauce. Don’t skip mixing well or you’ll have dry spots.
⏱ Time: 2
✓ Doneness: Pasta should be evenly coated and creamy.
Step 7
Preheat your oven’s broiler on high or heat a small skillet over medium heat. Toss the panko breadcrumbs with olive oil until evenly coated. This oil coating helps the breadcrumbs crisp up beautifully without burning. If you skip this, the topping can dry out or burn quickly.
⏱ Time: 3
✓ Doneness: Breadcrumbs should be lightly coated and ready to crisp.
Step 8
Sprinkle the oiled breadcrumbs evenly over the mac and cheese in an oven-safe skillet or transfer to a baking dish. Place under the broiler for 2-4 minutes until the topping is golden brown and crunchy. Watch closely to avoid burning. Alternatively, toast the breadcrumbs separately in a skillet and add on top just before serving for a fresher crunch.
⏱ Time: 4
✓ Doneness: Topping should be golden brown and crisp without black spots.
Step 9
Serve your mac and cheese hot, straight from the skillet or dish. The contrast of creamy pasta and crunchy topping is what makes this recipe special. Let it cool slightly for easier serving but enjoy while still warm for the best texture and flavor.
⏱ Time: 1
✓ Doneness: Dish should be bubbly, creamy underneath with a crisp top layer.
Pro Tips
Warm your milk before adding it to the roux.
Warming the milk prevents shocking the roux with cold liquid, which can cause lumps. It helps the sauce thicken smoothly and evenly, resulting in a creamy texture without grainy bits.
Use a whisk when making the roux and adding milk.
Constant whisking breaks up flour clumps and ensures even mixing. This prevents lumps and creates a silky sauce that coats the pasta perfectly.
Don’t overcook the pasta; aim for al dente.
Pasta continues cooking slightly when mixed with the sauce, so starting with al dente pasta prevents mushiness. It keeps the pasta firm and enjoyable.
Toss panko breadcrumbs with olive oil before broiling.
The oil helps the breadcrumbs brown evenly and develop a golden, crunchy crust without burning. This step adds essential texture contrast.
Add cheese gradually over low heat.
Slowly melting cheese prevents it from breaking or becoming stringy. Low heat preserves the smooth, creamy consistency of the sauce.
Reserve pasta water to adjust sauce consistency.
The starchy pasta water helps loosen the cheese sauce if it becomes too thick, ensuring the perfect creamy texture.
Serve immediately after broiling the topping.
The contrast between the hot, crispy top and creamy pasta beneath is best enjoyed fresh. Waiting too long can soften the topping.
Common Mistakes to Avoid
Skipping warming the milk
Why it happens People often pour cold milk directly into the roux to save time, not realizing it leads to lumps.
Fix Warm the milk in a separate pan or microwave until just warm before slowly whisking it into the roux. This prevents clumping and creates a smooth sauce.
Overcooking the pasta
Why it happens Some assume softer pasta is better for casseroles, but it leads to mushy texture.
Fix Cook the pasta just until al dente, then drain immediately. The pasta will finish cooking when combined with the sauce.
Adding cheese to very hot sauce
Why it happens Rushing to melt cheese on high heat can cause it to seize or separate.
Fix Lower the heat and add cheese gradually, stirring gently to melt slowly and keep the sauce smooth.
Not stirring the roux while cooking
Why it happens Neglecting to whisk allows flour to clump and burn, ruining the flavor.
Fix Constantly whisk the butter and flour mixture until smooth and lightly golden to cook out raw flour taste.
Skipping the breadcrumb oil toss
Why it happens Some skip this step to save calories or time, but it causes uneven browning.
Fix Toss breadcrumbs with olive oil before broiling to ensure a crunchy, golden topping.
Variations
Spicy Jalapeño Mac and Cheese
Add diced jalapeños and a dash of cayenne to the cheese sauce for a spicy kick. This variation adds heat and a fresh crunch, perfect for those who like a little fire in their comfort food.
Note: Add jalapeños early in the sauce to soften them and infuse heat evenly. Adjust cayenne carefully to avoid overpowering the cheese.
Bacon and Chive Mac and Cheese
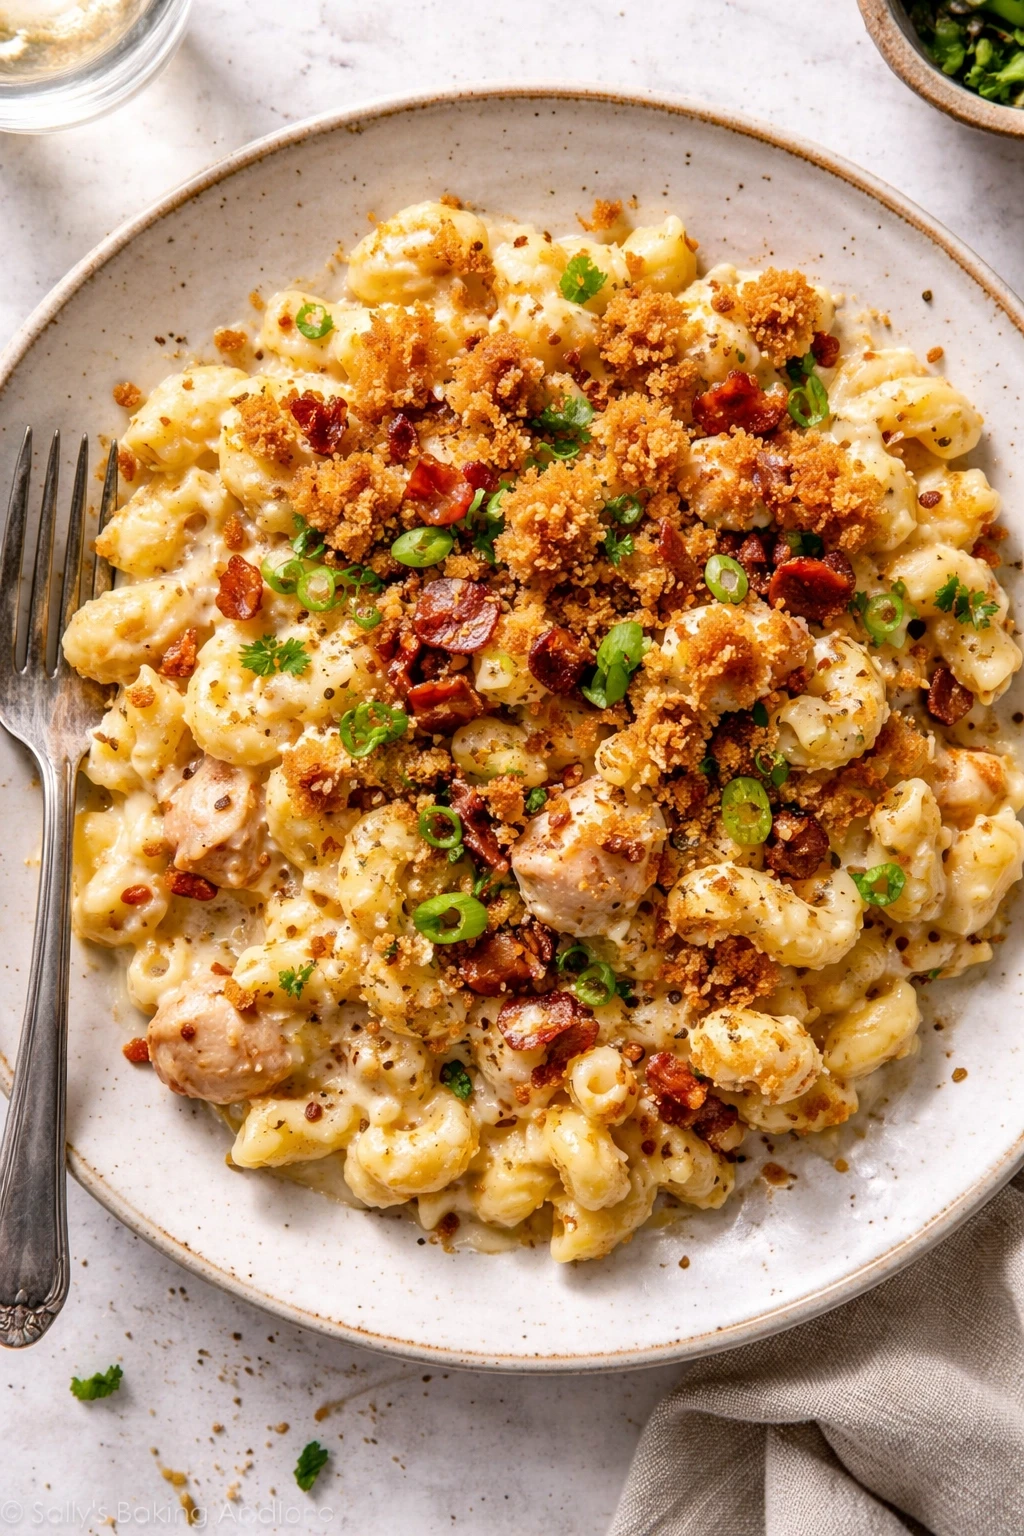
Stir crispy cooked bacon and fresh chopped chives into the finished mac and cheese. The smoky bacon and fresh herbs add savory depth and a nice texture contrast.
Note: Add bacon and chives off the heat to keep herbs bright and bacon crisp.
Gluten-Free Mac and Cheese
Use gluten-free pasta and substitute the flour with a gluten-free blend or cornstarch to make this recipe safe for gluten intolerance. The flavor remains rich and comforting.
Note: Adjust thickening time as gluten-free flours behave differently; cornstarch thickens faster.
Vegan Mac and Cheese
Replace dairy with plant-based milk and use vegan cheese alternatives. Nutritional yeast adds cheesy flavor, and a bit of tapioca starch helps create a stretchy sauce.
Note: Melting vegan cheese can be tricky; use low heat and stir constantly.
Four-Cheese Mac and Cheese
Add mozzarella and Parmesan to the cheddar and Gruyere blend for an ultra-rich, layered cheese flavor. The Parmesan adds a salty bite and the mozzarella a gooey stretch.
Note: Grate cheeses finely and add mozzarella last to avoid stringiness.
Nutrition
Per Serving:
Nutritional values are estimates and may vary based on specific ingredients used.
Storage & Tips
Room Temperature
Mac and cheese can safely sit covered at room temperature for up to 2 hours. Beyond that, bacteria growth increases, so refrigerate promptly. Cover with foil or a clean towel to prevent drying.
Refrigerator
Store leftovers in an airtight container for up to 3 days. The sauce firms up when cold; reheat gently on the stove or microwave with a splash of milk to restore creaminess. The topping may soften but still tastes great.
Freezer
Freeze mac and cheese in a sealed container for up to 2 months. Wrap tightly to prevent freezer burn. Thaw overnight in the fridge. Reheat slowly with added milk to regain creamy texture.
Reheating
Reheat on the stovetop over low heat, stirring frequently with a splash of milk to loosen sauce. Alternatively, microwave in short bursts, stirring in between. Avoid high heat to prevent sauce separation.
Make Ahead
Prepare the cheese sauce and pasta up to 1 day ahead and keep refrigerated separately. Combine and add breadcrumbs just before baking or broiling to keep topping crisp and fresh.
FAQ
Can I use different types of pasta for this recipe?
Yes! While elbow macaroni is classic, you can use shells, cavatappi, or penne. Just adjust cooking time slightly to ensure pasta is al dente. Larger shapes hold sauce well but may require a bit more sauce to coat evenly.
What’s the best way to prevent lumps in the cheese sauce?
The key is to cook the roux properly and add warmed milk slowly while whisking constantly. This gradual process helps the flour absorb liquid evenly, producing a smooth, lump-free sauce.
Can I make this mac and cheese vegan?
Definitely! Substitute plant-based milk and use vegan cheese or nutritional yeast for flavor. Tapioca starch can help mimic the stretchy texture. Melt vegan cheese slowly on low heat to avoid graininess.
How do I keep the breadcrumb topping crispy after reheating?
Breadcrumb topping tends to soften in the fridge. To refresh, reheat under the broiler for a minute or two or toast additional breadcrumbs in a pan and sprinkle on top just before serving.
Is it okay to use pre-shredded cheese?
You can, but pre-shredded often contains anti-caking agents that can affect melting. For the creamiest sauce, shred your own cheese from blocks if possible.
Why does my cheese sauce sometimes separate or become grainy?
This usually happens if the heat is too high or cheese is added too quickly. Adding cheese slowly over low heat and stirring gently prevents the proteins from breaking down and keeps sauce smooth.
Can I bake this mac and cheese instead of broiling the topping?
Yes, baking at 350°F for about 15-20 minutes will heat through and brown the topping, but the broiler gives a quicker, crispier crust. Keep an eye on it to avoid burning.
How can I make this recipe spicier?
Add chopped jalapeños, a pinch of cayenne, or hot sauce to the cheese sauce. Start with small amounts and adjust to taste to avoid overpowering the creamy flavor.
Final Thoughts
Give this creamy, crispy stovetop mac and cheese a try—you’ll love how quick and comforting it is! Don’t forget to share your variations and how it turned out.