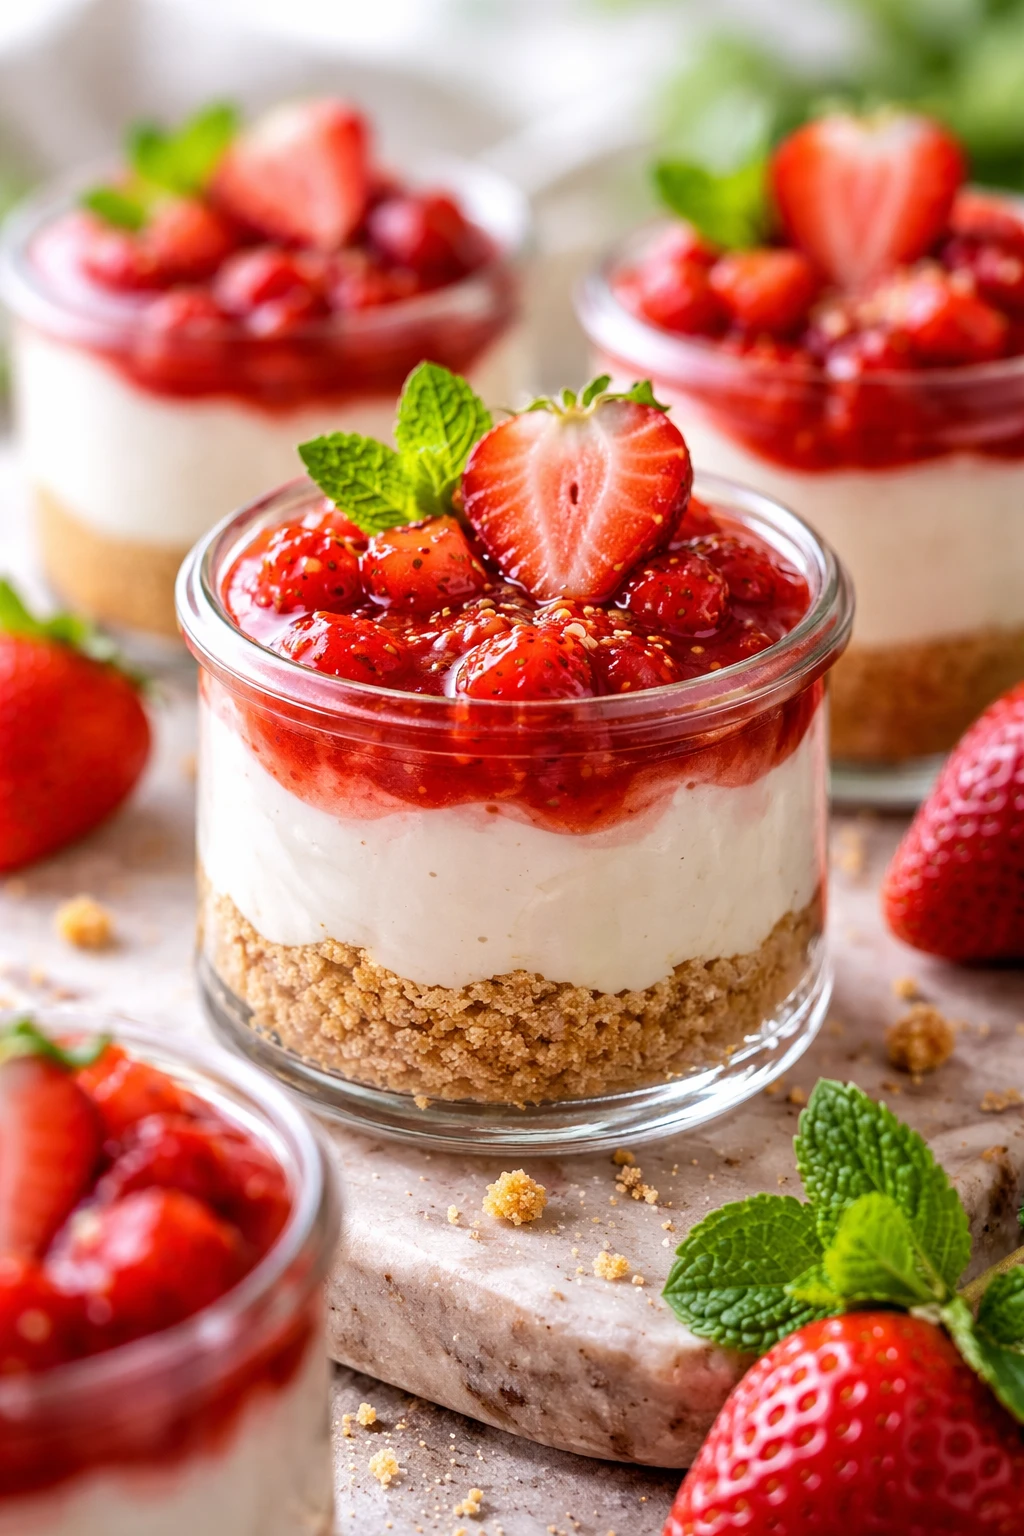
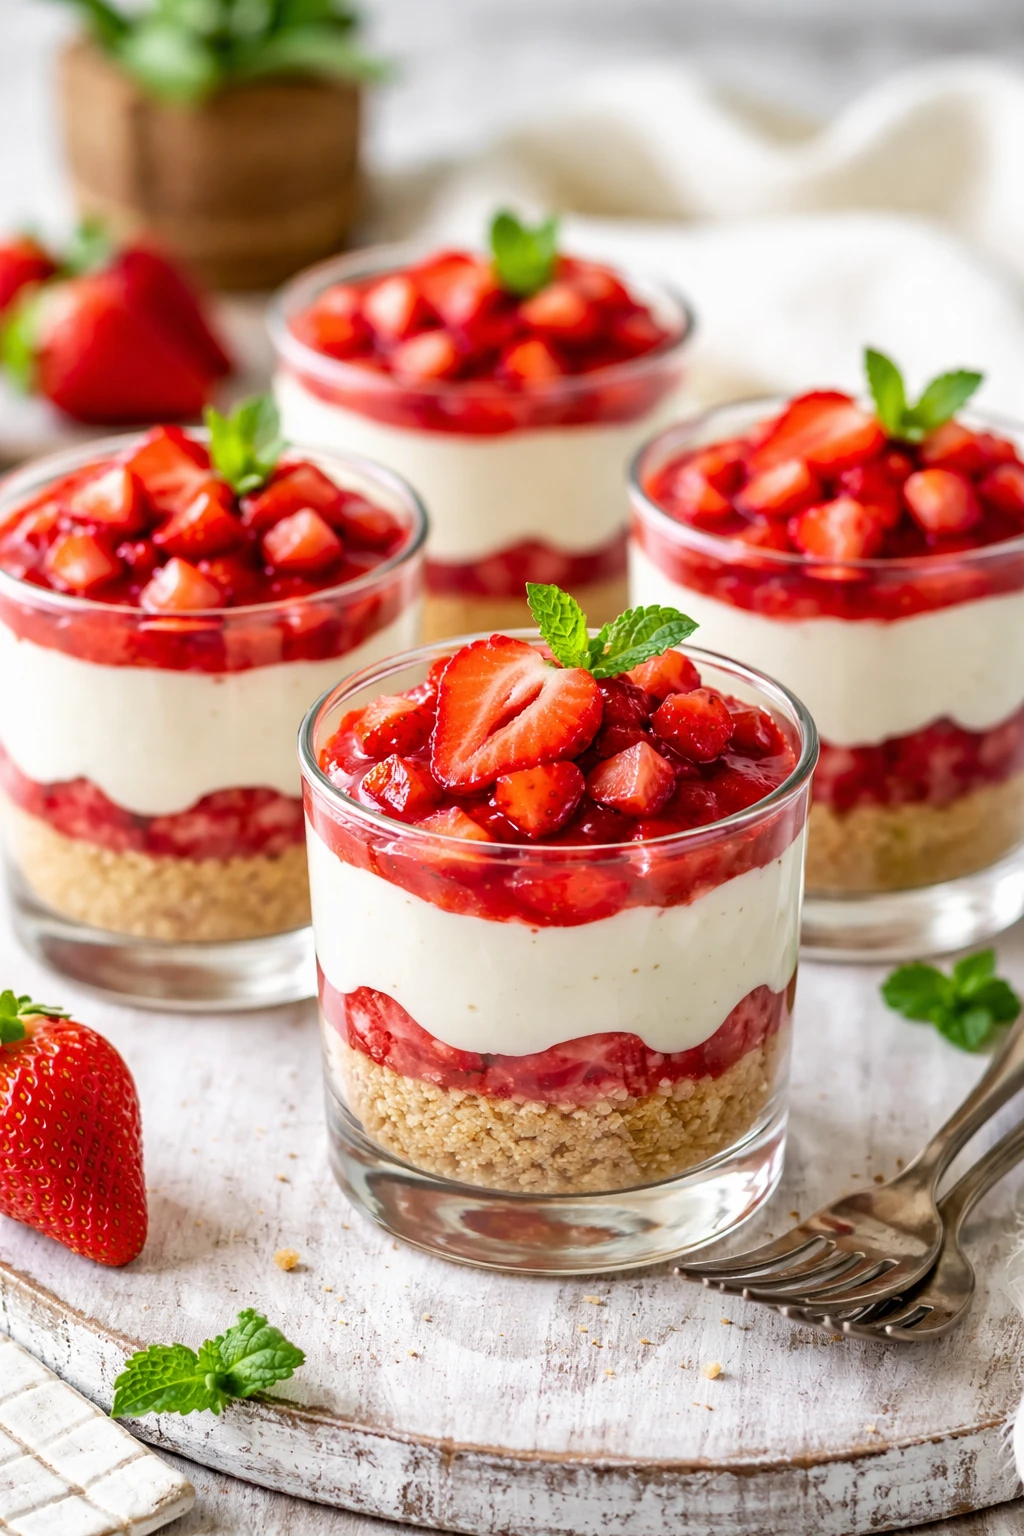
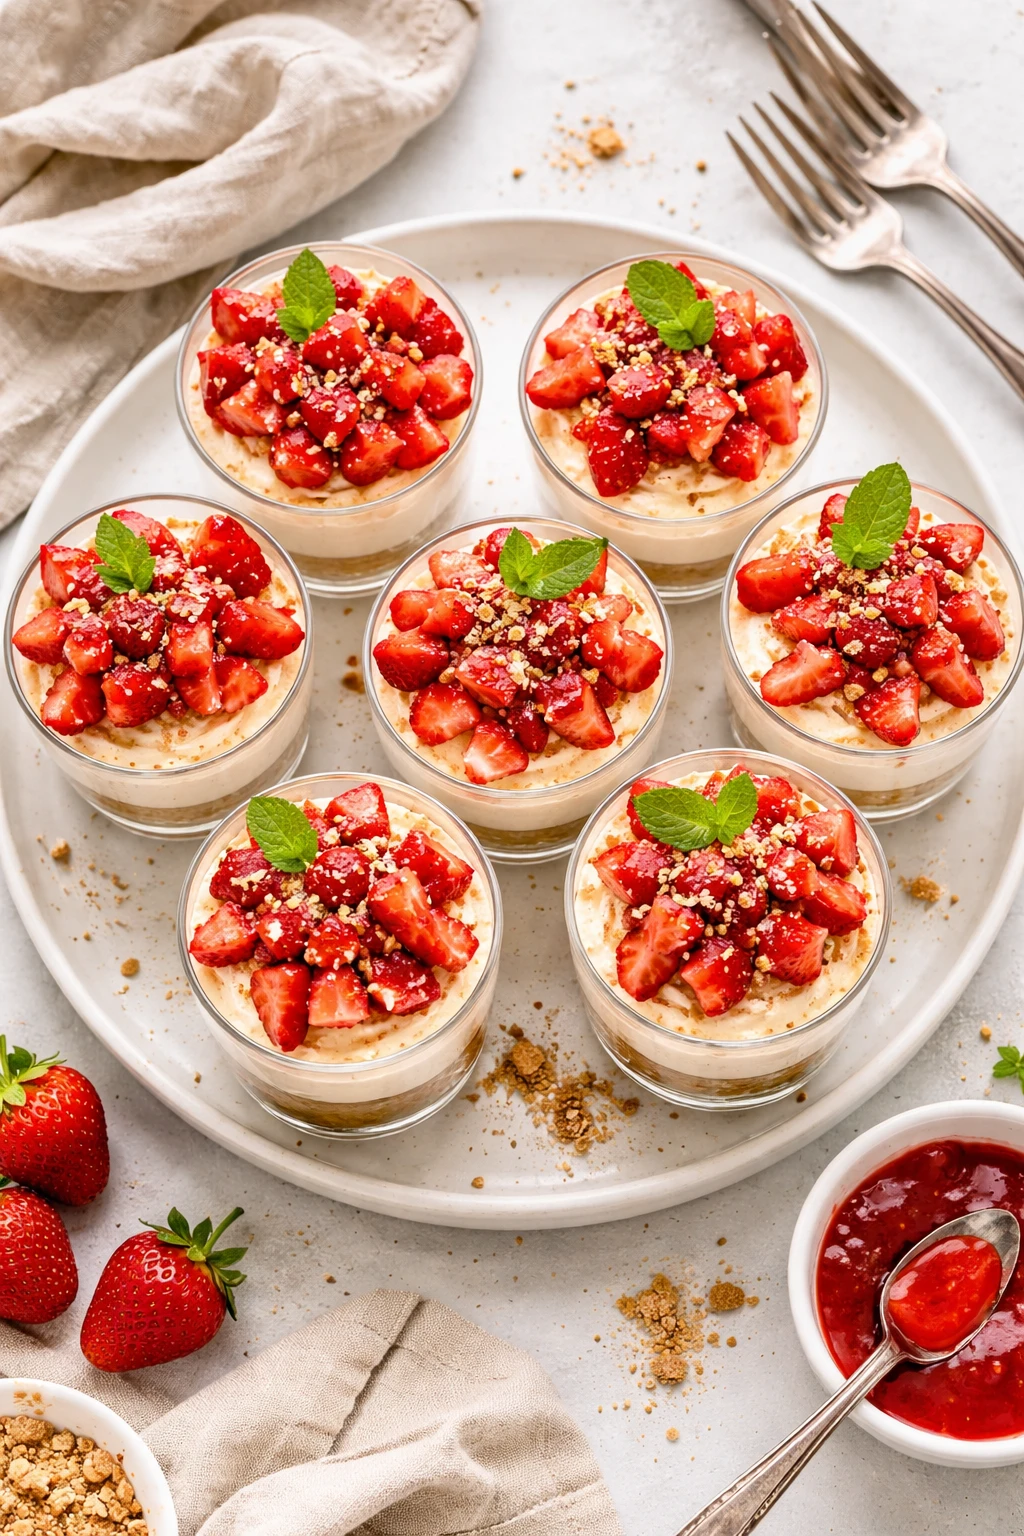
These no bake strawberry cheesecake cups are such a quick, creamy delight with fresh berries and a light cream cheese blend. They’re perfect for warm days or impromptu dessert cravings!
Introduction
I first stumbled upon this no bake strawberry cheesecake cups recipe on a sweltering summer day when I didn’t want to heat up my kitchen but still craved something sweet and refreshing. Over the years, I’ve tweaked it until it became my go-to dessert for warm weather and surprise guests. What sets this version apart is the whipped cream folded gently into the cream cheese mixture; it gives the filling a light, airy texture without sacrificing richness. Also, using cold heavy cream straight from the fridge really helps it whip up faster and hold its shape better. The graham cracker crust is buttery and crisp, balancing the creamy filling perfectly. When you spoon it into cups and top with fresh strawberries, it’s like a tiny summer celebration in every bite. I love how easy it is to prepare and how it always feels special despite the simple ingredients. Plus, no baking means it’s fuss-free and perfect for last-minute entertaining. Honestly, once you try these, you’ll want to keep the ingredients on hand all summer long!
What You'll Need
Approximately 6 cups, 6 servings
- 1 1/2 cups graham cracker crumbs
- 5 tablespoons unsalted butter, melted
- 16 ounces cream cheese, softened
- 1 cup heavy whipping cream, cold
- 2/3 cup powdered sugar
- 1 teaspoon vanilla extract
- 1 1/2 cups fresh strawberries, chopped
- Extra whole strawberries for garnish
How To Do It
Step 1
Start by making the crust. Combine the graham cracker crumbs with the melted butter in a bowl, stirring until the mixture looks evenly moistened and crumbly. This step is crucial because the butter binds the crumbs together, giving the crust its structure without baking. If you add too much butter, the crust will become soggy; too little, and it won't hold together. Press the mixture firmly into the bottoms of your serving cups or jars to form a compact crust layer. Firm pressure helps the crust set nicely, making it easier to eat without crumbling everywhere.
⏱ Time: 10 minutes
✓ Doneness: The crust should be evenly packed with no loose crumbs falling off.
Step 2
Next, whip the heavy cream until soft peaks form. Cold cream whips best because the fat is firmer at lower temperatures, trapping air more effectively. Watch carefully here: overwhipping will turn it grainy and eventually into butter, while underwhipping means the filling won’t be light and fluffy. Stop whipping once the cream holds gentle peaks that fold over softly when you lift the whisk.
⏱ Time: 5 minutes
✓ Doneness: Soft peaks that hold shape but droop slightly when whisk lifted.
Step 3
In a separate bowl, beat the softened cream cheese with powdered sugar and vanilla extract until smooth and creamy. This step is vital for a silky filling without lumps. Make sure your cream cheese is fully softened—if it’s too cold, you’ll get clumps and uneven texture. Use a hand mixer or stand mixer on medium speed for best results. The sugar balances the tang of the cream cheese, and the vanilla adds warmth and depth.
⏱ Time: 3-5 minutes
✓ Doneness: Smooth, lump-free cream cheese mixture with a glossy finish.
Step 4
Gently fold the whipped cream into the cream cheese mixture using a spatula. Folding, rather than stirring, is key here to keep the air bubbles intact, which makes the filling light and fluffy. Use gentle motions, scraping the sides and turning the bowl, until the mixture is uniform but still airy. If you stir too aggressively, the filling will deflate and become dense.
⏱ Time: 3 minutes
✓ Doneness: A light, airy mixture with no visible streaks of cream or cream cheese.
Step 5
Fold in the chopped strawberries gently into the filling. This adds fresh bursts of flavor and a slight texture contrast. Be careful not to overmix here because the strawberries release juice that can thin out the filling. If you want a more uniform pink color, you can mash some berries before folding, but I prefer the fresh chunks for texture.
⏱ Time: 2 minutes
✓ Doneness: Mixture speckled evenly with strawberry pieces, no excess liquid pooling.
Step 6
Spoon or pipe the cheesecake filling over the crust in each cup, filling almost to the top. Using a piping bag or zip-top bag with a corner cut makes for a neater presentation, but a spoon works just fine. Smooth the tops gently with a spatula or back of a spoon for a clean finish. This layering keeps the crust and filling distinct, so each bite has that perfect crunch followed by creamy sweetness.
⏱ Time: 5 minutes
✓ Doneness: Evenly filled cups with smooth filling surface, no gaps or air pockets.
Step 7
Add a few whole strawberries or slices on top for garnish. This not only makes the dessert look inviting but adds a fresh, juicy element right at the first bite. Choose firm, ripe strawberries for the best texture and flavor contrast. You can also sprinkle a little graham cracker crumb on top for extra crunch and visual appeal.
⏱ Time: 2 minutes
✓ Doneness: Attractive, colorful garnish that doesn’t sink into the filling.
Step 8
Chill the cups in the refrigerator for at least 2 hours before serving. This chilling step is essential to let the filling firm up and the flavors meld. If you try to eat them right away, the filling will be too soft and the crust might crumble too easily. Overnight chilling works great if you want to prepare ahead.
⏱ Time: 120 minutes
✓ Doneness: Filling is set but still creamy, crust is firm and holds together.
Step 9
Serve chilled straight from the fridge. These cups are best enjoyed cold to keep the creamy texture intact and the fresh strawberry flavor vibrant. If you prefer, let them sit at room temperature for 5-10 minutes to soften slightly, but don’t leave them out too long or the filling will lose structure.
⏱ Time: Serve immediately
✓ Doneness: Creamy, chilled dessert with a firm crust and fresh fruit aroma.
Pro Tips
Always chill your mixing bowl and beaters before whipping cream.
Cold equipment helps the cream stay cool, which allows fat molecules to crystallize and trap air better during whipping. This results in a more stable whipped cream that holds its shape longer. If you skip this, the cream may whip slowly or become grainy, affecting the filling's texture.
Fold the whipped cream into the cream cheese mixture gently and slowly.
Folding preserves the air bubbles whipped into the cream, which gives the filling a light, fluffy texture. Stirring vigorously deflates these bubbles, turning the filling dense and heavy. Taking your time here ensures the perfect mousse-like consistency.
Press the graham cracker crust firmly into the cups.
Firm pressure compacts the crumbs so they hold together well without baking. If the crust is loose, it will crumble when you serve the dessert. The butter coats the crumbs and acts as a glue, but packing is what really sets the base.
Don’t add strawberries too early into the filling.
Berries release juice when left mixed for too long, which can thin the filling and cause it to separate. Adding them last preserves the filling’s structure and keeps the dessert visually appealing with fresh fruit pieces.
Use full-fat cream cheese for best flavor and texture.
Low-fat alternatives contain more water and less fat, which can make the filling runny and less creamy. Full-fat cream cheese provides richness and a smooth, luscious mouthfeel essential to a perfect cheesecake cup.
Chill the assembled cups for at least 2 hours before serving.
Chilling allows the filling to set properly, improving texture and flavor melding. Serving too soon means the filling will be too soft and the crust won’t have time to firm up, resulting in a less satisfying bite.
Use powdered sugar instead of granulated sugar.
Powdered sugar dissolves quickly into the cream cheese, preventing a gritty texture in the filling. Granulated sugar can leave a grainy mouthfeel, which detracts from the smooth, creamy experience.
Common Mistakes to Avoid
Using cold cream cheese without softening it first.
Why it happens Many cooks try to speed up the process by mixing straight from the fridge, but cold cream cheese resists smooth mixing and forms lumps.
Fix Always let cream cheese soften at room temperature for at least 30 minutes or warm gently in the microwave for 10 seconds at a time, stirring in between. This ensures a smooth, lump-free filling.
Overwhipping the heavy cream.
Why it happens It’s easy to keep mixing once stiff peaks form and accidentally turn the cream grainy and eventually into butter.
Fix Stop whipping as soon as soft or medium peaks form, depending on the recipe. Watch closely and test by lifting the whisk to see how the peaks hold.
Not pressing the crust firmly enough.
Why it happens Rushing or using light pressure leaves the crust loose and crumbly.
Fix Use the bottom of a glass or your fingers to press the crumb mixture firmly and evenly into the cups. This helps the crust hold together when eating.
Mixing strawberries too early into the filling.
Why it happens Adding berries too soon releases juice that thins the filling and can cause separation.
Fix Fold in strawberries last, just before assembling. Use firm, ripe berries to minimize excess juice.
Skipping the chilling step.
Why it happens Impatience or last-minute serving leads to serving before the filling sets.
Fix Plan ahead and chill for at least 2 hours or overnight. This helps the filling firm up and the crust to set, improving texture and flavor.
Variations
Mixed Berry No Bake Cheesecake Cups
Swap out strawberries for a mix of blueberries, raspberries, and blackberries for a colorful, tangy twist. The combination offers a more complex flavor profile and a vibrant look. Use fresh or thawed frozen berries, but drain excess liquid to keep the filling firm.
Note: Because mixed berries release different amounts of juice, fold them in gently and consider adding a teaspoon of cornstarch to the filling if it seems too loose.
Chocolate Crust and Strawberry Cheesecake Cups
Use chocolate cookie crumbs (like Oreos without filling) instead of graham crackers for a richer, chocolatey base. This variation pairs wonderfully with the fresh strawberries and adds a bit of indulgence to the dessert.
Note: Chocolate crumbs tend to be finer and denser, so press firmly but watch that the crust doesn’t become too hard after chilling.
Lemon Zest Strawberry Cheesecake Cups
Add a teaspoon of fresh lemon zest to the cream cheese mixture for a bright, citrusy note that elevates the strawberry flavor. This adds freshness and a subtle tang that balances the sweet creaminess beautifully.
Note: Zest is best added with the cream cheese and sugar to evenly distribute the citrus oils for maximum flavor impact.
Vegan No Bake Strawberry Cheesecake Cups
Use vegan cream cheese and coconut whipped cream to make this dessert dairy-free. The texture will be slightly different—more coconut flavor and less tang—but still creamy and delicious. Use a plant-based butter substitute for the crust.
Note: Vegan creams may not whip as stiffly, so chill everything well and fold carefully to maintain some airiness.
Peanut Butter Swirl Strawberry Cheesecake Cups
Swirl in a few tablespoons of creamy peanut butter into the cream cheese mixture before folding in the whipped cream. The salty peanut butter adds a surprise depth and pairs surprisingly well with the sweetness of strawberries.
Note: Warm peanut butter slightly to soften it for easier swirling, but don’t overmix or you'll lose the marble effect.
Nutrition
Per Serving:
Nutritional values are estimates and may vary based on specific ingredients used.
Storage & Tips
Room Temperature
These cheesecake cups should not be left out at room temperature for more than 2 hours as the dairy filling can spoil. Cover them loosely with plastic wrap if storing briefly before serving.
Refrigerator
Store in an airtight container or cover tightly with plastic wrap in the fridge for up to 3 days. The crust may soften slightly over time, but the flavor remains delicious. Serve chilled for best texture.
Freezer
You can freeze the assembled cups for up to 1 month. Wrap each cup tightly with plastic wrap and place in a freezer-safe container. Thaw overnight in the refrigerator before serving. Note the texture may be slightly less creamy after freezing.
Reheating
No reheating needed or recommended. Serve these cheesecake cups cold or at room temperature for the best flavor and texture.
Make Ahead
Prepare the crust and filling separately 1-2 days ahead. Store crust crumbs and filling in airtight containers in the fridge. Assemble and garnish shortly before serving to keep fresh fruit vibrant.
FAQ
Can I use low-fat cream cheese for this recipe?
While you can use low-fat cream cheese, it will affect the texture and richness of the filling. Low-fat versions contain more water and less fat, which can make the cheesecake cups less creamy and more watery. For the best taste and texture, full-fat cream cheese is recommended.
How long can I store these cheesecake cups in the fridge?
You can store the cheesecake cups in the refrigerator for up to 3 days. Make sure they are covered tightly to prevent them from absorbing fridge odors. After this time, the crust may start to soften and the filling’s texture may change.
Can I prepare these cups without fresh strawberries?
Yes! You can substitute fresh strawberries with other berries like blueberries or raspberries, or even use a strawberry compote. Just be mindful that cooked or thawed fruits may release more liquid, so fold them in gently and consider adjusting the filling consistency if needed.
What’s the best way to soften cream cheese quickly?
To soften cream cheese quickly, cut it into small cubes and let it sit at room temperature for about 30 minutes. If you’re in a hurry, microwave it on low power for 10 seconds at a time, stirring in between, until smooth but not melted.
Can I make this recipe vegan?
Absolutely! Use vegan cream cheese and coconut-based whipped cream alternatives. Replace the butter in the crust with a plant-based butter or coconut oil. The texture and flavor will be slightly different but still delicious.
Why didn’t my whipped cream hold stiff peaks?
If your whipped cream didn’t hold peaks, it could be because the cream wasn’t cold enough, the bowl or beaters weren’t chilled, or the cream was ultra-pasteurized. Use fresh, cold heavy cream and chill your tools beforehand for best results.
Is it okay to use granulated sugar instead of powdered sugar?
Powdered sugar dissolves more easily and creates a smoother filling, so it’s preferred. Using granulated sugar may result in a grainy texture because it doesn’t dissolve fully into the cream cheese mixture.
How do I prevent the crust from becoming soggy?
Press the crust firmly into the cups and chill the assembled dessert well before serving. Also, avoid adding overly juicy fruit directly on top of the crust layer. The butter in the crust acts as a barrier, but proper packing and chilling are key to keeping it crisp.
Final Thoughts
I hope you give these no bake strawberry cheesecake cups a try — they’re such a fun, easy way to enjoy a creamy, fresh dessert without heating up your kitchen. Let me know how yours turn out!