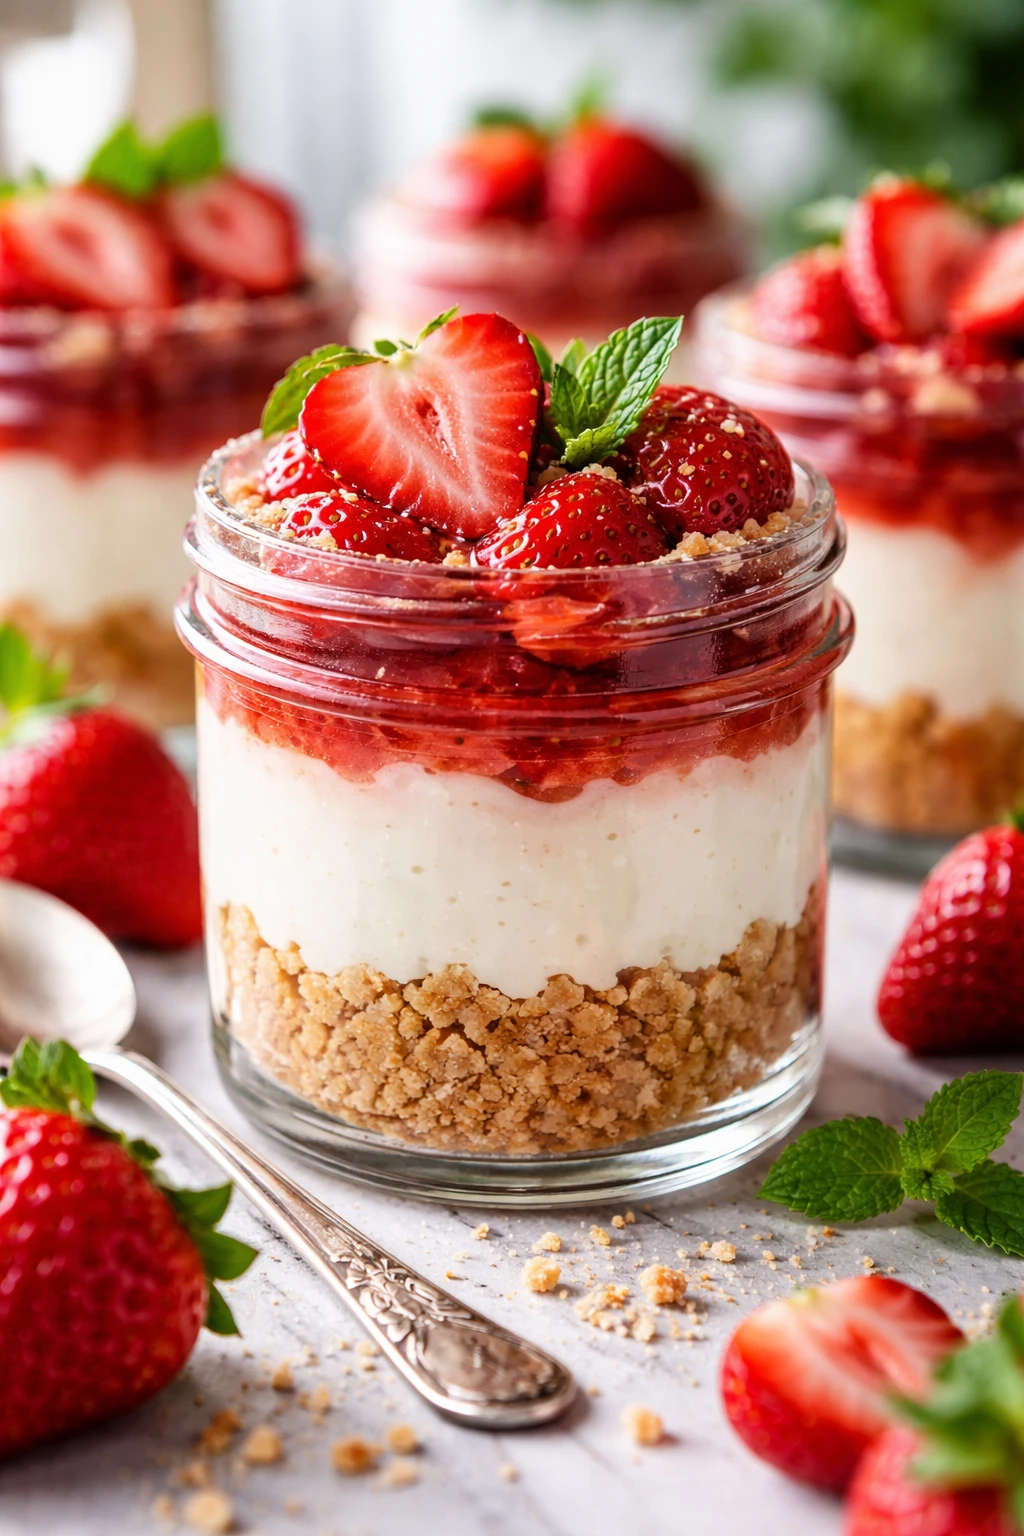
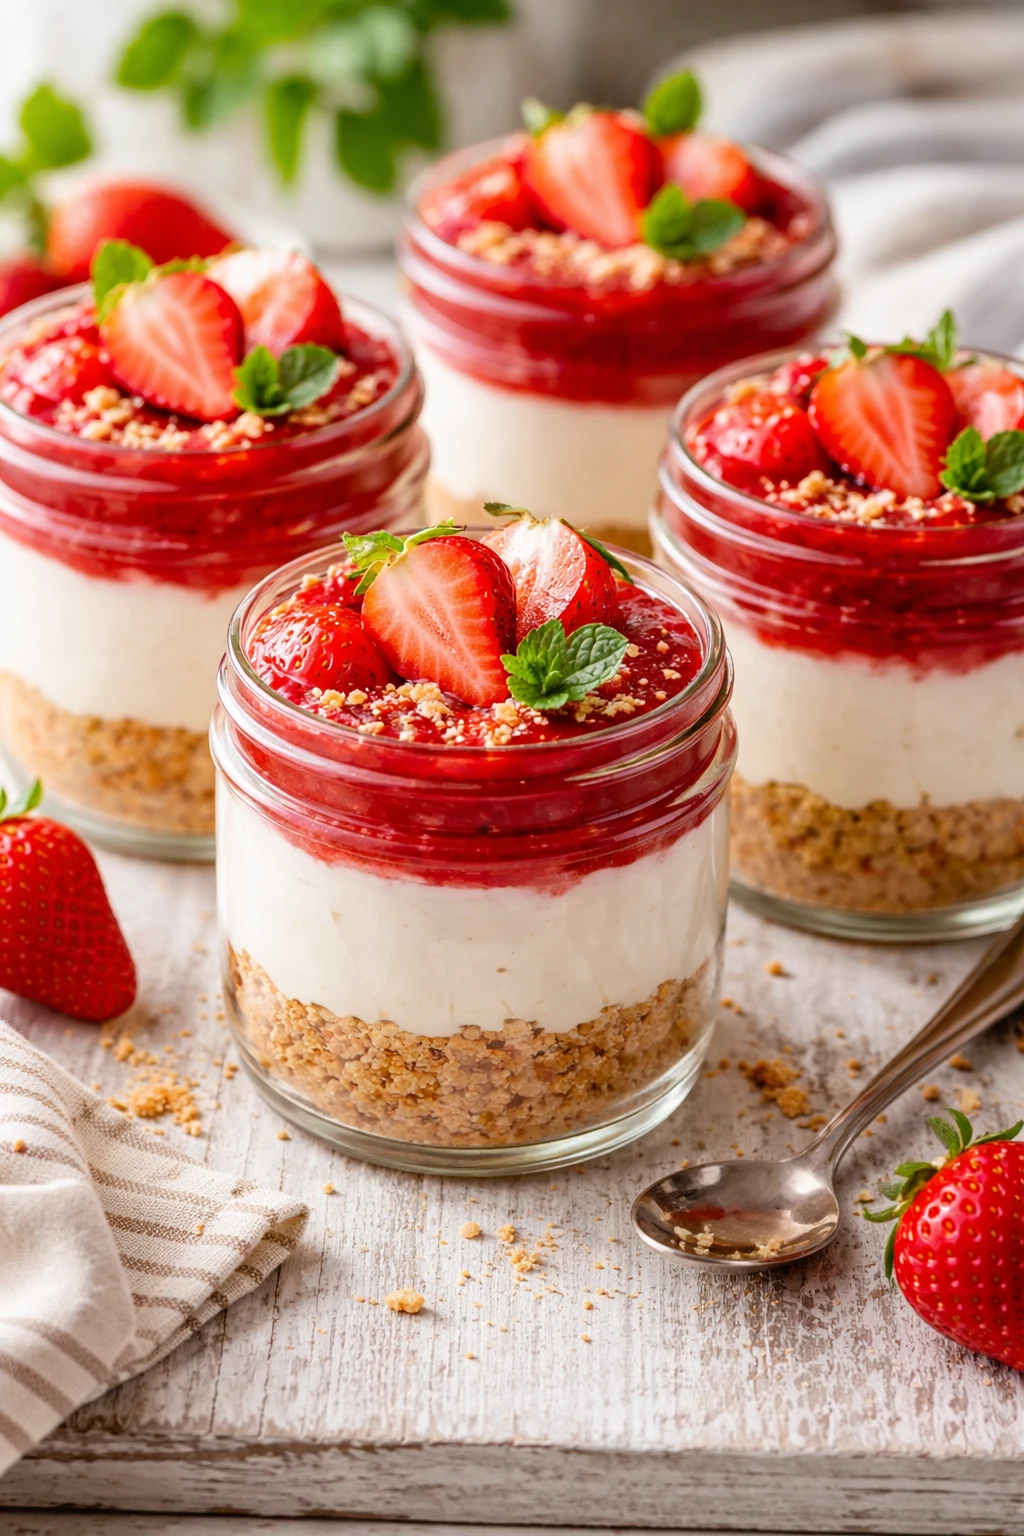
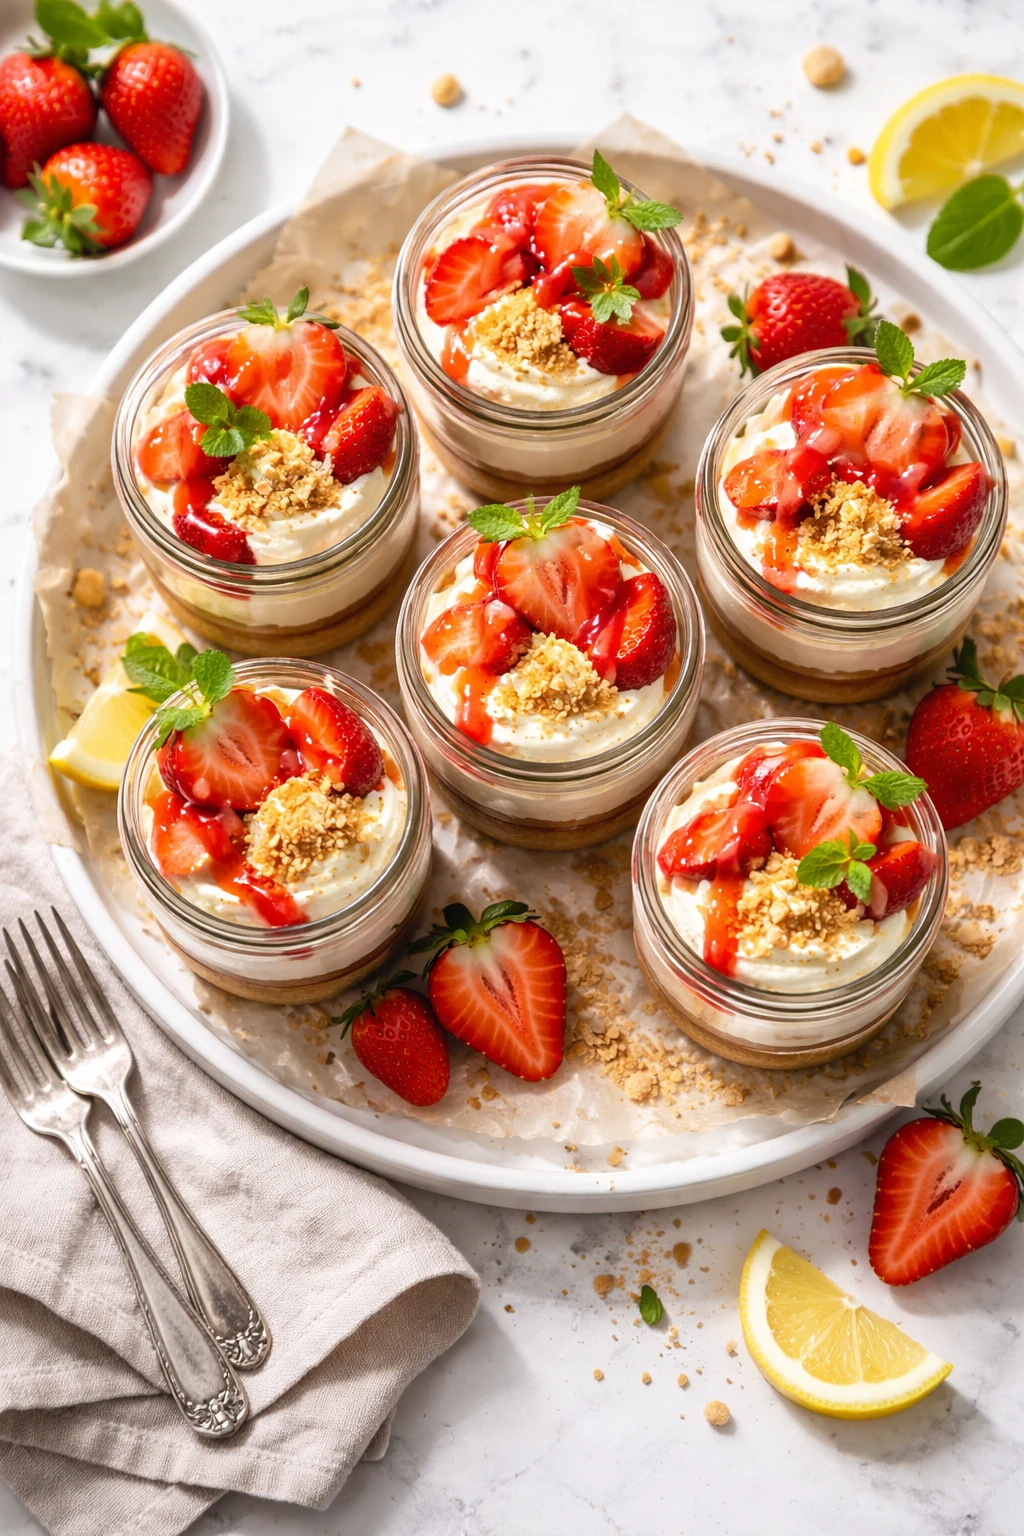
These no bake strawberry cheesecake jars are my go-to fresh dessert for spring. The creamy filling paired with a crunchy base and juicy strawberries makes them totally irresistible. Perfect for casual get-togethers or a quick sweet treat anytime!
Introduction
I first stumbled upon this no bake strawberry cheesecake jars recipe a few springs ago when I wanted a light dessert that didn’t require turning on the oven. It quickly became a favorite in my family because it’s fresh, creamy, and super easy to throw together last minute. What makes this version special is the crunchy graham cracker base that adds a perfect texture contrast to the silky cream cheese filling. I love how the fresh strawberries on top bring a juicy burst of flavor and natural sweetness. One trick I learned is to whip the cream just right — not too stiff but firm enough to fold gently into the cream cheese mixture. This keeps the filling light and airy without it collapsing. When you scoop into these jars, you get that lovely mix of crunchy, creamy, and fruity all at once. It’s really a dessert that feels indulgent without being heavy, and it’s great for springtime gatherings or anytime you want a quick homemade treat. I admit I used to over-sweeten my filling, but this balance of tart cream cheese and fresh berries is just right. I hope you enjoy making and sharing these as much as I do!
How To Do It
Step 1
Start by making the crust. Combine the graham cracker crumbs, melted butter, and granulated sugar in a bowl. Mix well until the crumbs are evenly coated and hold together when pressed. This step is crucial because it forms the crunchy base that contrasts beautifully with the creamy filling. Press the crust mixture firmly into the bottom of your serving jars or glasses. Pressing firmly helps the crust set and prevents it from falling apart when you scoop into the dessert later. Avoid pressing too hard or it will be too dense.
⏱ Time: 10
✓ Doneness: Crust should be compact, even, and slightly shiny from the butter coating
Step 2
In a separate mixing bowl, beat the softened cream cheese with the powdered sugar and vanilla extract until smooth and creamy. This ensures there are no lumps and the sweetness is evenly distributed. Be patient and scrape down the sides of the bowl to incorporate everything. Rushing this step can leave lumps and uneven sweetness in your filling.
⏱ Time: 5
✓ Doneness: Mixture should be smooth, thick, and glossy with no lumps
Step 3
Next, whip the heavy cream until soft peaks form. Soft peaks mean when you lift the whisk, the cream holds its shape but the peaks gently fold over. This texture is key because stiff peaks can make the filling heavy and whipped cream that’s too loose won’t hold the filling together. Whipping the cream properly gives the cheesecake its airy, light texture.
⏱ Time: 5
✓ Doneness: Cream holds shape but peaks gently curl over when whisk lifted
Step 4
Gently fold the whipped cream into the cream cheese mixture. Use a spatula and fold carefully to keep as much air in the mixture as possible. This folding technique is what keeps the filling light and fluffy instead of dense. Avoid stirring vigorously or you’ll deflate the cream and lose that airy texture.
⏱ Time: 5
✓ Doneness: Filling is smooth, airy, and homogenous without streaks
Step 5
Spoon or pipe the cheesecake filling over the pressed crust in each jar. Filling them evenly ensures every bite has a perfect crust-to-cream ratio. Take your time to avoid mixing the layers. You want a clean, distinct base and creamy top.
⏱ Time: 5
✓ Doneness: Jars are filled evenly with a smooth top layer
Step 6
Wash and slice fresh strawberries to top each jar generously. Fresh strawberries add natural sweetness and a juicy texture that brightens the dessert. Don’t skip this step as it lifts the flavor and makes the jars look inviting and fresh.
⏱ Time: 5
✓ Doneness: Strawberries are bright red, juicy, and evenly sliced
Step 7
Chill the jars in the refrigerator for at least 3 hours or overnight. This chilling time lets the crust set firmly and the filling thicken to a perfect sliceable consistency. Rushing this step can result in a runny filling that doesn’t hold its shape.
⏱ Time: 180
✓ Doneness: Filling is firm to the touch and crust is solid
Step 8
Before serving, you can add an extra strawberry slice or a small mint leaf for garnish if you like. This adds a fresh aroma and a pretty pop of color. Small touches like this make it feel special without extra effort.
⏱ Time: 2
✓ Doneness: Garnish looks fresh and enhances presentation
Step 9
Serve chilled directly in the jars with spoons. The layers should hold nicely, giving you a perfect bite of crunchy crust, creamy filling, and juicy strawberry every time. If the filling seems too firm after chilling, let jars sit at room temperature for 5 minutes before serving to soften slightly.
⏱ Time: 2
✓ Doneness: Dessert holds shape when scooped and tastes fresh and creamy
Pro Tips
Use room temperature cream cheese for smooth mixing.
Cold cream cheese is stiff and doesn’t blend easily, causing lumps in the filling. Letting it soften allows it to whip smoothly with the sugar and vanilla, creating a creamy base that blends well with the whipped cream. This step ensures a silky texture without graininess.
Don’t overwhip the cream; stop at soft peaks.
Overwhipping heavy cream turns it grainy and buttery, ruining the smooth texture needed for the filling. Soft peaks mean the cream holds shape but is still pliable, which helps keep the filling light and airy. This balance is crucial for a fluffy cheesecake texture.
Press the crust firmly into jars for a stable base.
Firmly pressing the crust helps it compact and stick together. If it’s loose, the crust will crumble when you scoop the dessert. A well-pressed crust also contrasts nicely with the creamy filling, providing a satisfying crunchy layer.
Chill the jars at least 3 hours before serving.
Chilling allows the filling to firm up and the crust to set properly. Without enough chilling, the dessert will be runny and won’t hold its shape well. The cold also enhances flavor melding and improves texture.
Fold whipped cream gently to keep airiness.
Folding instead of stirring preserves the air bubbles whipped into the cream, which lightens the dense cream cheese mixture. Stirring vigorously deflates the cream, resulting in a heavier, less fluffy filling.
Use fresh strawberries on top for best flavor.
Fresh berries add natural sweetness and juicy texture that balances the richness of the cheesecake filling. Frozen or overly ripe berries can be mushy and watery, which negatively impacts texture and appearance.
Add a splash of lemon juice to the filling for brightness.
A bit of acidity from lemon juice can enhance the tanginess of the cream cheese and brighten the overall flavor, making the dessert taste fresher and less heavy.
Common Mistakes to Avoid
Using cold cream cheese straight from the fridge.
Why it happens Many people rush the process and skip softening the cream cheese, thinking it will blend fine.
Fix Always let cream cheese soften at room temperature for at least 30 minutes before mixing. This prevents lumps and ensures a smooth, creamy filling.
Overwhipping the heavy cream.
Why it happens It’s easy to get carried away when whipping cream and push it past soft peaks.
Fix Stop whipping as soon as soft peaks form, where the cream holds shape but folds over slightly. This keeps the filling light and airy.
Not pressing the crust firmly enough.
Why it happens People often just sprinkle crumbs loosely, thinking it will be fine.
Fix Use the bottom of a glass or spoon to press the crust firmly and evenly. This helps it set and hold together when eating.
Skipping chilling time.
Why it happens Impatience or thinking the dessert is ready right after assembly.
Fix Plan ahead and chill for at least 3 hours or overnight to allow the filling to firm and flavors to meld.
Using frozen or watery strawberries.
Why it happens Convenience or out-of-season berries tempt cooks to skip fresh fruit.
Fix Use fresh, ripe strawberries washed and patted dry. Frozen berries release water that can make the dessert soggy.
Variations
Lemon Blueberry No Bake Cheesecake Jars
Swap strawberries for fresh blueberries and add a teaspoon of lemon zest to the filling for a citrusy twist. The blueberries add a slight tartness and the lemon zest brightens the creamy filling. Great for summer!
Note: Blueberries can release more juice, so use fresh and drain any excess liquid before topping to avoid sogginess.
Chocolate No Bake Cheesecake Jars
Add 2 tablespoons of cocoa powder to the cream cheese mixture and top with chocolate shavings. The chocolate adds richness and depth, pairing beautifully with the crunchy crust. Perfect for chocolate lovers.
Note: Sift cocoa powder into the cream cheese to avoid lumps and adjust sugar slightly to balance bitterness.
Vegan No Bake Cheesecake Jars
Use vegan cream cheese and coconut cream whipped to soft peaks. Replace butter with coconut oil in the crust. This version is dairy-free but still creamy and delicious with a hint of coconut.
Note: Chill coconut cream overnight and whip the solid part only for best texture.
Peach and Ginger No Bake Cheesecake Jars
Top the jars with diced fresh peaches mixed with a pinch of ground ginger for a warm, spicy note that complements the creamy filling. A unique flavor combo for late summer.
Note: Make sure peach pieces are drained well to avoid excess moisture.
Salted Caramel No Bake Cheesecake Jars
Drizzle homemade or store-bought salted caramel sauce over the cheesecake filling before adding strawberries. The salty-sweet contrast elevates the dessert and adds a gourmet touch.
Note: Add caramel just before serving to keep crust from getting soggy.
Nutrition
Per Serving:
Nutritional values are estimates and may vary based on specific ingredients used.
Storage & Tips
Room Temperature
These cheesecake jars should not be left at room temperature for more than 2 hours due to the dairy content. Always cover them loosely with plastic wrap if setting out briefly at a party.
Refrigerator
Store the jars in an airtight container or cover tightly with lids or plastic wrap. They keep well for up to 3 days. The crust may soften slightly over time, but the flavor remains fresh. Serve chilled for best texture.
Freezer
You can freeze the jars for up to 1 month. Wrap tightly in plastic wrap and place in a freezer-safe container to prevent freezer burn. Thaw overnight in the refrigerator before serving. Texture may be slightly softer after freezing.
Reheating
These jars are best served cold and should not be reheated. If softened too much, chill again briefly before serving. Avoid microwaving as it can cause separation.
Make Ahead
Prepare the crust and filling up to 2 days in advance and assemble the jars before chilling. Keep them refrigerated until ready to serve. This makes last-minute hosting stress-free.
FAQ
Can I use regular granulated sugar instead of powdered sugar?
Powdered sugar dissolves more easily than granulated sugar, preventing a gritty texture in the filling. If you only have granulated sugar, try grinding it briefly in a blender to make it finer, or dissolve it in a small amount of cream before mixing. Otherwise, the filling might feel grainy.
What if I don’t have graham crackers for the crust?
You can substitute with digestive biscuits, vanilla wafers, or even crushed pretzels for a salty twist. Just make sure to finely crush them and adjust the sugar in the crust if your substitute is less sweet or salty.
How long can I store these cheesecake jars in the fridge?
They keep well for up to 3 days when stored in airtight containers. After that, the crust may become soggy and the filling may lose some of its fresh texture. For best taste and texture, enjoy within this timeframe.
Can I make these jars ahead of time for a party?
Absolutely! You can prepare and assemble the jars up to 2 days before your event. Just keep them refrigerated and add fresh strawberries right before serving to keep them bright and juicy.
What’s the best way to soften cream cheese quickly?
If you forget to take it out early, cut the cream cheese into small cubes and let it sit at room temperature for 15-20 minutes. Alternatively, microwave it in short 5-second bursts at low power, checking frequently to avoid melting.
Can I substitute heavy cream with whipping cream?
Heavy cream has a higher fat content which helps it whip better and hold structure. Whipping cream can work, but it may not hold peaks as well and your filling might be softer. For best results, use heavy cream.
How do I know when the whipped cream is at soft peaks?
Lift your whisk out of the cream and look at the peaks that form. Soft peaks will hold their shape but the tips will curl over gently instead of standing straight up. This texture is ideal for folding into the filling.
Can I add gelatin to make the filling firmer?
Yes, adding a small amount of gelatin can help stabilize the filling, especially if you want it firmer or to hold shape longer. Dissolve powdered gelatin in warm water and fold it in with the cream cheese mixture before adding whipped cream.
Final Thoughts
Give these no bake strawberry cheesecake jars a try — they’re simple, fresh, and always a crowd-pleaser. I’d love to hear how yours turn out!