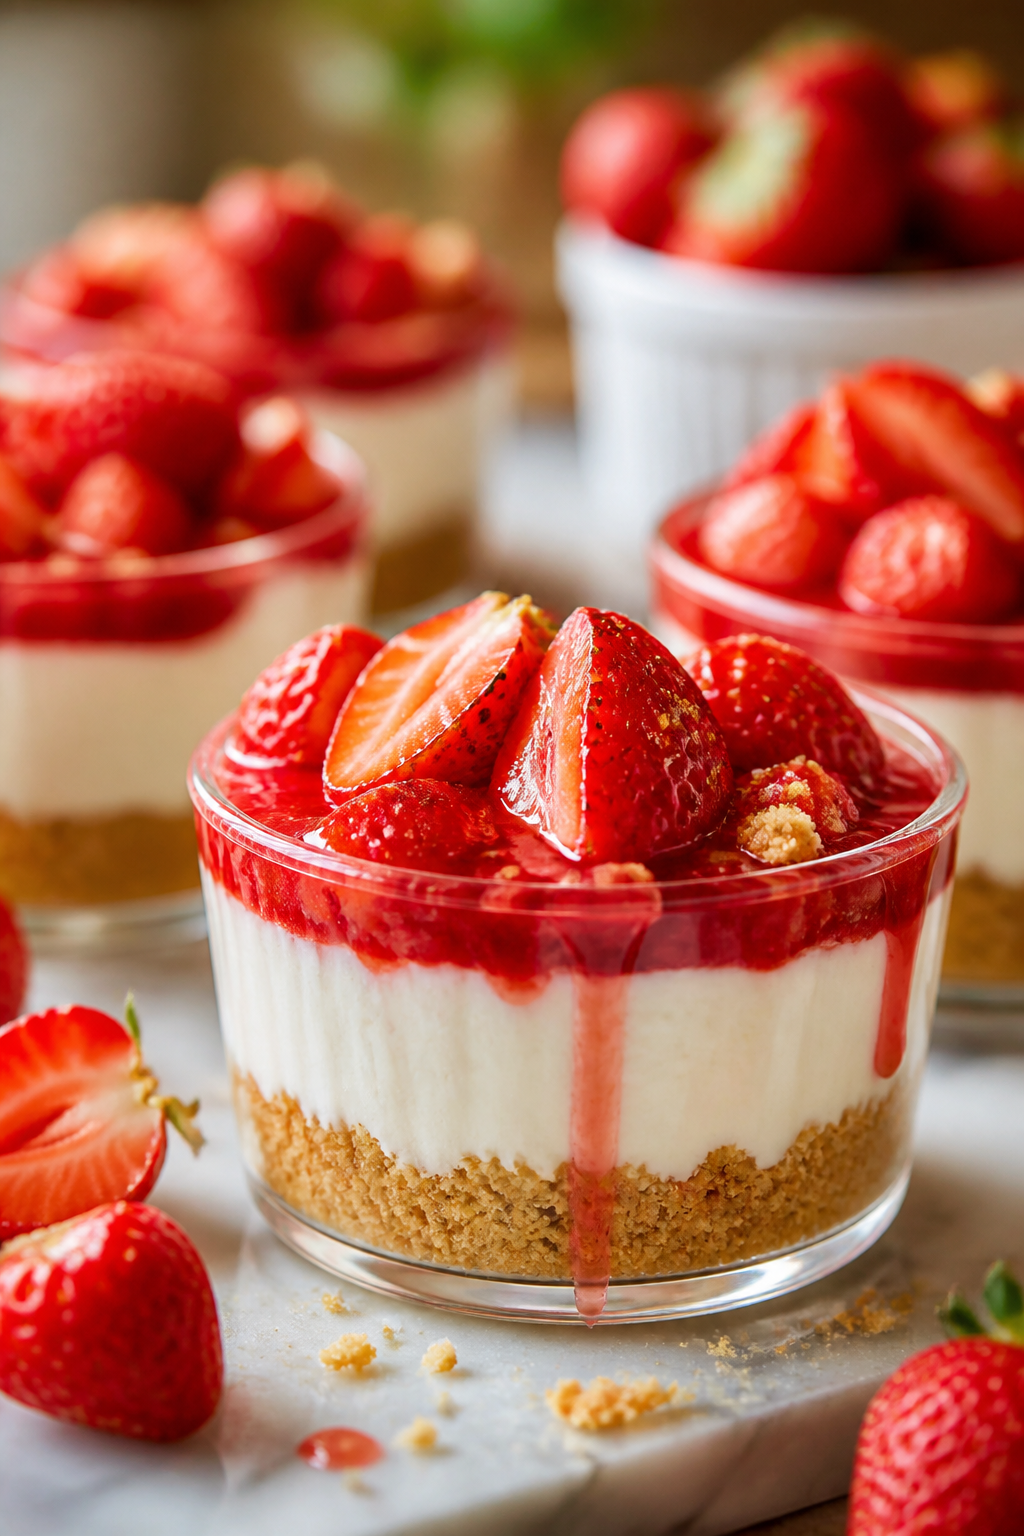
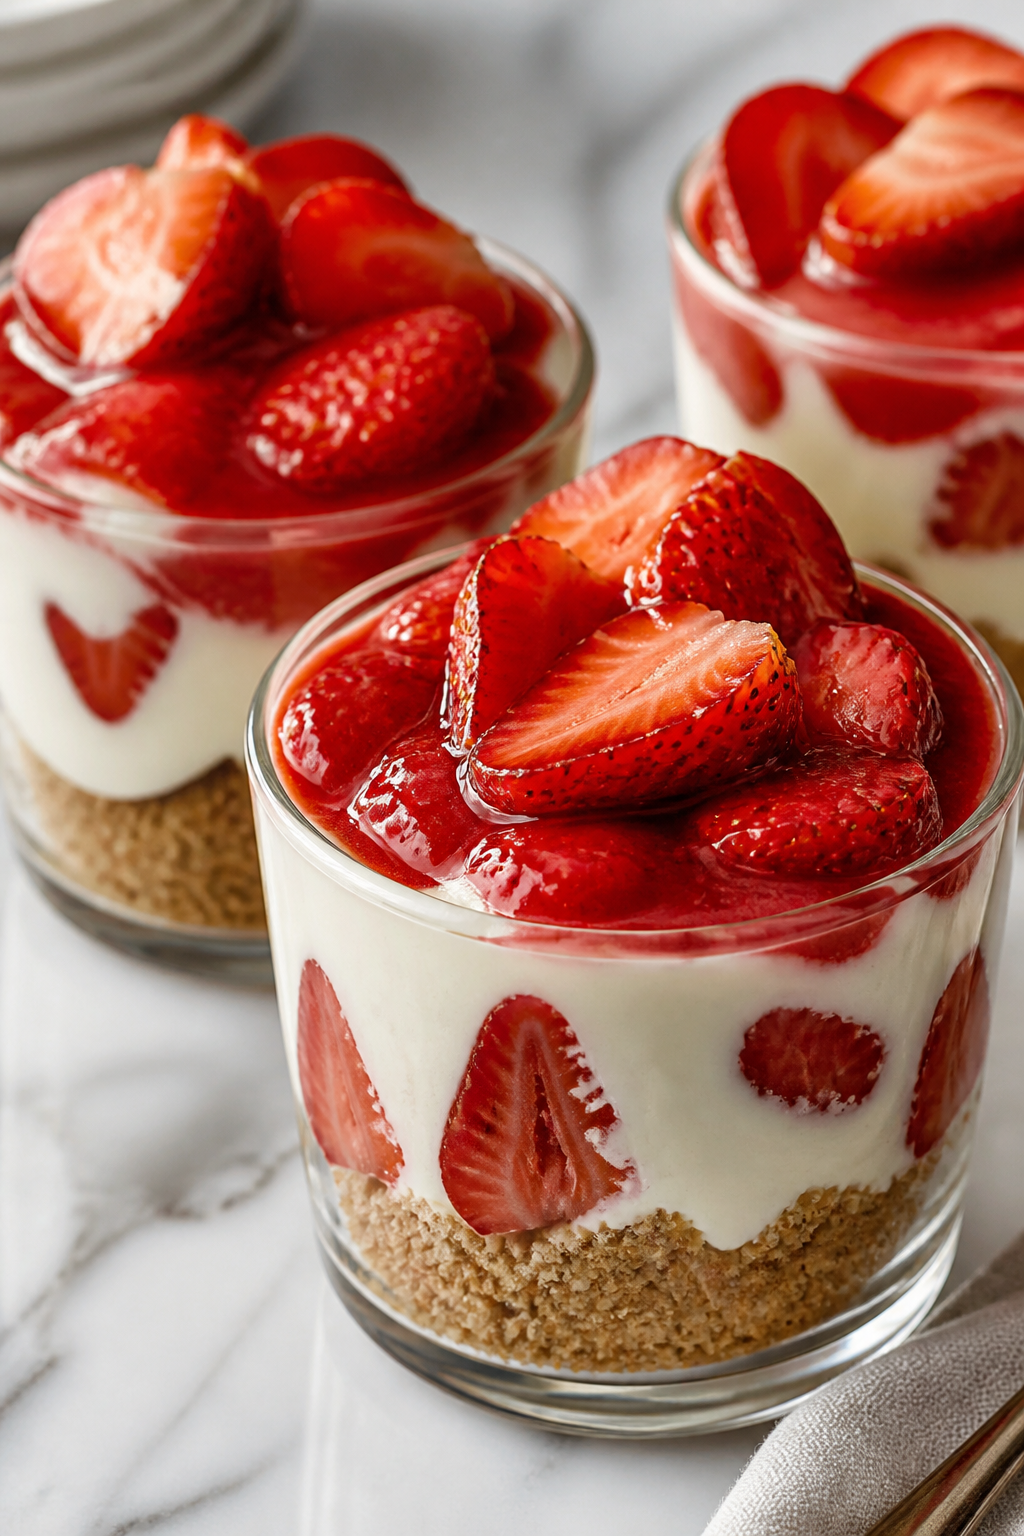
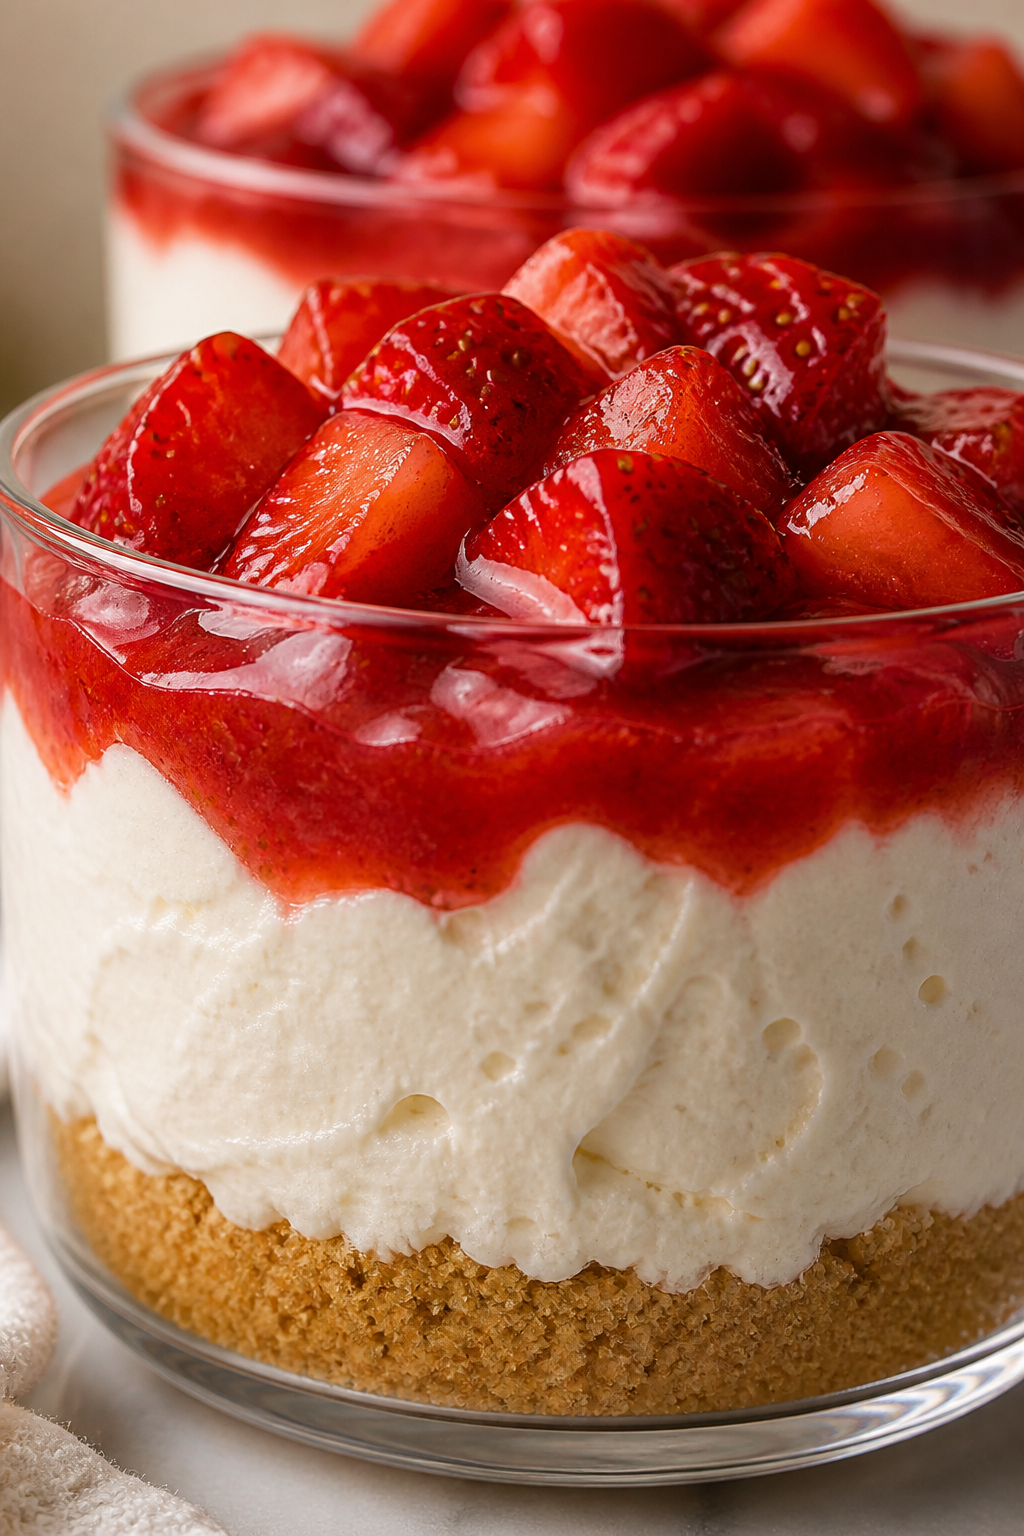
These no bake strawberry cheesecake cups are my go-to when I want something creamy and fresh without turning on the oven. The fresh strawberry layers add a bright pop, making them perfect for summer get-togethers or anytime you crave a light dessert.
Introduction
I first made these no bake strawberry cheesecake cups on a sweltering summer afternoon when I desperately wanted something sweet but couldn’t bear to heat up the kitchen. The result was this super creamy, fruity dessert that’s both light and indulgent. What I love about this version is how quick and fuss-free it is—no oven needed, just a good whisk and fresh strawberries. I discovered that whipping the cream cheese and powdered sugar thoroughly before folding in the whipped cream makes the texture perfectly smooth and fluffy, which really elevates the dessert. Plus, layering it in clear cups with fresh strawberry pieces adds a pretty pop of color that’s so inviting. These cups are perfect for summer BBQs, casual get-togethers, or just a simple treat to brighten your day. They’re refreshingly sweet without being heavy, and the graham cracker crumbs add just the right crunch. Honestly, once you try these, you’ll find yourself making them again and again.
How To Do It
Step 1
Start by softening your cream cheese to room temperature. This is crucial because it allows the cream cheese to whip up smoothly without lumps. Use a hand mixer or stand mixer to beat the cream cheese until it’s creamy and smooth. If it’s too cold, you’ll end up with clumps that are hard to incorporate later. Take your time here—this step sets the foundation for a silky cheesecake filling.
⏱ Time: 5
✓ Doneness: Cream cheese looks smooth, soft, and lump-free
Step 2
Add powdered sugar and vanilla extract to the cream cheese, then beat again until fully combined. The powdered sugar sweetens gently and helps stabilize the mixture. Don’t rush; beating well ensures the sugar dissolves and the vanilla flavor is evenly spread throughout, giving your filling a balanced sweetness.
⏱ Time: 3
✓ Doneness: Mixture looks glossy and homogenous with no sugar grit
Step 3
In a separate chilled bowl, whip the heavy cream until stiff peaks form. This means when you lift the whisk, the cream holds its shape firmly. The cold cream whips better and helps create that light, airy texture in the final dessert. Be careful not to overwhip or it will turn grainy and start to separate.
⏱ Time: 5
✓ Doneness: Cream holds stiff peaks, no liquid pooling
Step 4
Gently fold the whipped cream into the cream cheese mixture using a spatula. Folding (rather than stirring) keeps the air in the whipped cream, resulting in a light and fluffy filling. Use slow, careful motions to combine without deflating the mixture.
⏱ Time: 2
✓ Doneness: Mixture is smooth, airy, and uniform in color
Step 5
Prepare your serving cups by adding a layer of graham cracker crumbs at the bottom. This adds a crunchy, buttery contrast to the creamy filling. You can use pre-made graham cracker cups or crush crackers yourself. Press crumbs lightly to create an even base.
⏱ Time: 3
✓ Doneness: Even layer of crumbs covers the bottom of each cup
Step 6
Add a layer of the cheesecake filling on top of the crumbs, filling about half the cup. Spread gently with the back of a spoon or spatula to keep the surface even. This layering makes the dessert visually appealing and balances textures in every bite.
⏱ Time: 2
✓ Doneness: Smooth, even layer of filling atop crumbs
Step 7
Add a layer of chopped fresh strawberries over the cheesecake filling. The fresh fruit adds brightness and a juicy burst of flavor that cuts through the richness. Make sure the strawberries are ripe and sweet for the best taste.
⏱ Time: 3
✓ Doneness: Visible, vibrant strawberry layer covering filling
Step 8
Repeat with another layer of cheesecake filling and top with a few more strawberry pieces for garnish. This double layering makes the cups look elegant and ensures each spoonful has a mix of creamy and fruity flavors.
⏱ Time: 2
✓ Doneness: Final layer smooth with strawberry garnish on top
Step 9
Refrigerate the cups for at least 2 hours or until firm. Chilling helps the cheesecake filling set and the flavors meld together beautifully. Resist the urge to dig in too soon—this wait really makes a difference in texture and taste.
⏱ Time: 120
✓ Doneness: Filling is set but still creamy, strawberries chilled
Pro Tips
Make sure your cream cheese is fully softened before mixing.
Softened cream cheese blends more smoothly with powdered sugar and whipping cream, preventing lumps and ensuring a silky texture. If it’s too cold, you’ll struggle to mix and end up with a clumpy filling.
Chill your mixing bowl and beaters before whipping the cream.
Cold equipment helps the heavy cream whip faster and hold stiff peaks better. Warm bowls can cause the cream to turn runny or separate, ruining the light texture you want.
Fold whipped cream gently into the cream cheese mixture.
Folding preserves the air bubbles in the whipped cream, which keeps the filling light and fluffy. Stirring aggressively deflates the mixture, resulting in a dense, heavy texture.
Use fresh, ripe strawberries for the best flavor and texture.
Ripe strawberries add natural sweetness and juiciness that brighten the dessert. Underripe or watery berries can make the cups soggy and dull the overall taste.
Press graham cracker crumbs firmly into the bottom of each cup.
This creates a stable base that won’t fall apart when you scoop into the dessert. It also helps balance the creamy filling with a satisfying crunch.
Let the assembled cups chill for at least 2 hours before serving.
Chilling allows the filling to set properly and the flavors to meld. Eating too soon means the texture will be loose and less satisfying.
Use powdered sugar instead of granulated sugar for smooth sweetness.
Powdered sugar dissolves completely in the cream cheese mixture, preventing gritty texture and ensuring even sweetness throughout.
Common Mistakes to Avoid
Using cold cream cheese without softening
Why it happens Many assume cream cheese can be mixed straight from the fridge, but it’s too firm and causes lumps.
Fix Allow cream cheese to sit at room temperature for at least 30 minutes before mixing. If short on time, microwave in 5-second bursts until soft but not melted.
Overwhipping the heavy cream
Why it happens It’s easy to go past stiff peaks and end up with grainy, separated cream.
Fix Stop whipping as soon as stiff peaks form. The cream should hold shape but still look smooth and glossy.
Stirring instead of folding in whipped cream
Why it happens Some try to mix quickly, but this deflates the air bubbles.
Fix Use a spatula to gently fold the whipped cream into the cream cheese mixture with slow, sweeping motions.
Using underripe or watery strawberries
Why it happens Sometimes people pick berries that aren’t fully ripe or juicy, which affects flavor and texture.
Fix Choose bright red, fragrant strawberries. Drain or pat dry if very juicy to avoid soggy dessert.
Skipping the chilling step
Why it happens Impatience or not planning ahead leads to serving before the filling sets.
Fix Plan to refrigerate at least 2 hours so the filling firms up and flavors meld for the best experience.
Variations
Blueberry No Bake Cheesecake Cups
Swap strawberries for fresh blueberries or a mix of berries for a different fruity twist. Blueberries add a slightly tart flavor and beautiful deep color that pairs wonderfully with the creamy filling.
Note: Blueberries release less juice than strawberries, so the texture remains stable. No timing changes needed.
Chocolate Swirl Cheesecake Cups
Add a swirl of melted dark chocolate into the cream cheese mixture before folding in whipped cream. This gives a rich, decadent chocolate flavor that contrasts nicely with the fresh fruit topping.
Note: Cool melted chocolate slightly to avoid melting whipped cream. Fold gently to preserve texture.
Lemon Zest No Bake Cheesecake Cups
Add fresh lemon zest and a tablespoon of lemon juice to the cream cheese mixture for a bright, tangy flavor that cuts through the richness and enhances the fruitiness.
Note: Adjust powdered sugar slightly to balance added acidity. No other changes needed.
Vegan No Bake Strawberry Cheesecake Cups
Use vegan cream cheese and coconut cream whipped to stiff peaks instead of heavy cream. This version is dairy-free and still creamy and delicious with fresh strawberries.
Note: Chill coconut cream overnight for best whipping results. Texture will be slightly different but still satisfying.
Graham Cracker Crust with Toasted Nuts
Mix crushed toasted almonds or pecans into the graham cracker crumbs for extra crunch and a nutty flavor that complements the creamy filling perfectly.
Note: Toast nuts lightly before mixing to enhance aroma. No change in layering or chilling times.
Nutrition
Per Serving:
Nutritional values are estimates and may vary based on specific ingredients used.
Storage & Tips
Room Temperature
These cheesecake cups should not be left at room temperature for more than 2 hours due to the dairy content. Cover them with plastic wrap or lids to prevent drying out if kept briefly.
Refrigerator
Store in an airtight container in the fridge for up to 3 days. The texture remains creamy but the crust may soften slightly. Best served chilled; no reheating needed.
Freezer
You can freeze the cups for up to 1 month. Wrap each cup tightly with plastic wrap and place in a freezer-safe container. Thaw overnight in the fridge before serving. Texture may soften slightly after freezing.
Reheating
No reheating required or recommended. Serve chilled for the best creamy texture and fresh flavor.
Make Ahead
Prepare the filling and chop strawberries a day ahead, storing separately in the fridge. Assemble cups a few hours before serving to keep the crust crisp and strawberries fresh.
FAQ
Can I use low-fat cream cheese for this recipe?
You can, but the texture won’t be as rich or creamy. Full-fat cream cheese provides the smooth, indulgent texture that makes this dessert so delicious. Low-fat versions tend to be runnier and less stable.
What if I don’t have graham crackers?
You can substitute with digestive biscuits, vanilla wafers, or even crushed shortbread cookies. Just make sure to crush them finely and press firmly to create a good base.
How long can I store these cheesecake cups?
Store them in an airtight container in the fridge for up to 3 days. After that, the crust may become soggy and the strawberries lose freshness, so it’s best to enjoy them within that timeframe.
Can I make these gluten-free?
Absolutely! Use gluten-free graham crackers or cookies for the crust. The rest of the ingredients are naturally gluten-free, so it’s an easy swap.
Is it okay to use frozen strawberries?
Frozen strawberries tend to be watery when thawed, which can make the dessert soggy. If you use frozen, drain them well and pat dry before layering to minimize moisture.
Can I prepare these in large bowls instead of cups?
Yes, you can layer the ingredients in a trifle dish or glass bowl for a family-style dessert. Just keep the same layering and chilling times.
What’s the best way to soften cream cheese quickly?
If you forgot to take it out early, microwave it in 5-second bursts, checking and stirring in between until it’s soft but not melted. This helps avoid lumps in your mixture.
Can I add gelatin to make it firmer?
You can, but it’s not necessary. The whipped cream and cream cheese create enough structure. Adding gelatin changes the texture, making it more like a mousse.
Final Thoughts
I hope you love these no bake strawberry cheesecake cups as much as I do! Give them a try and let me know how they turn out — I bet they’ll become a favorite in your house too.