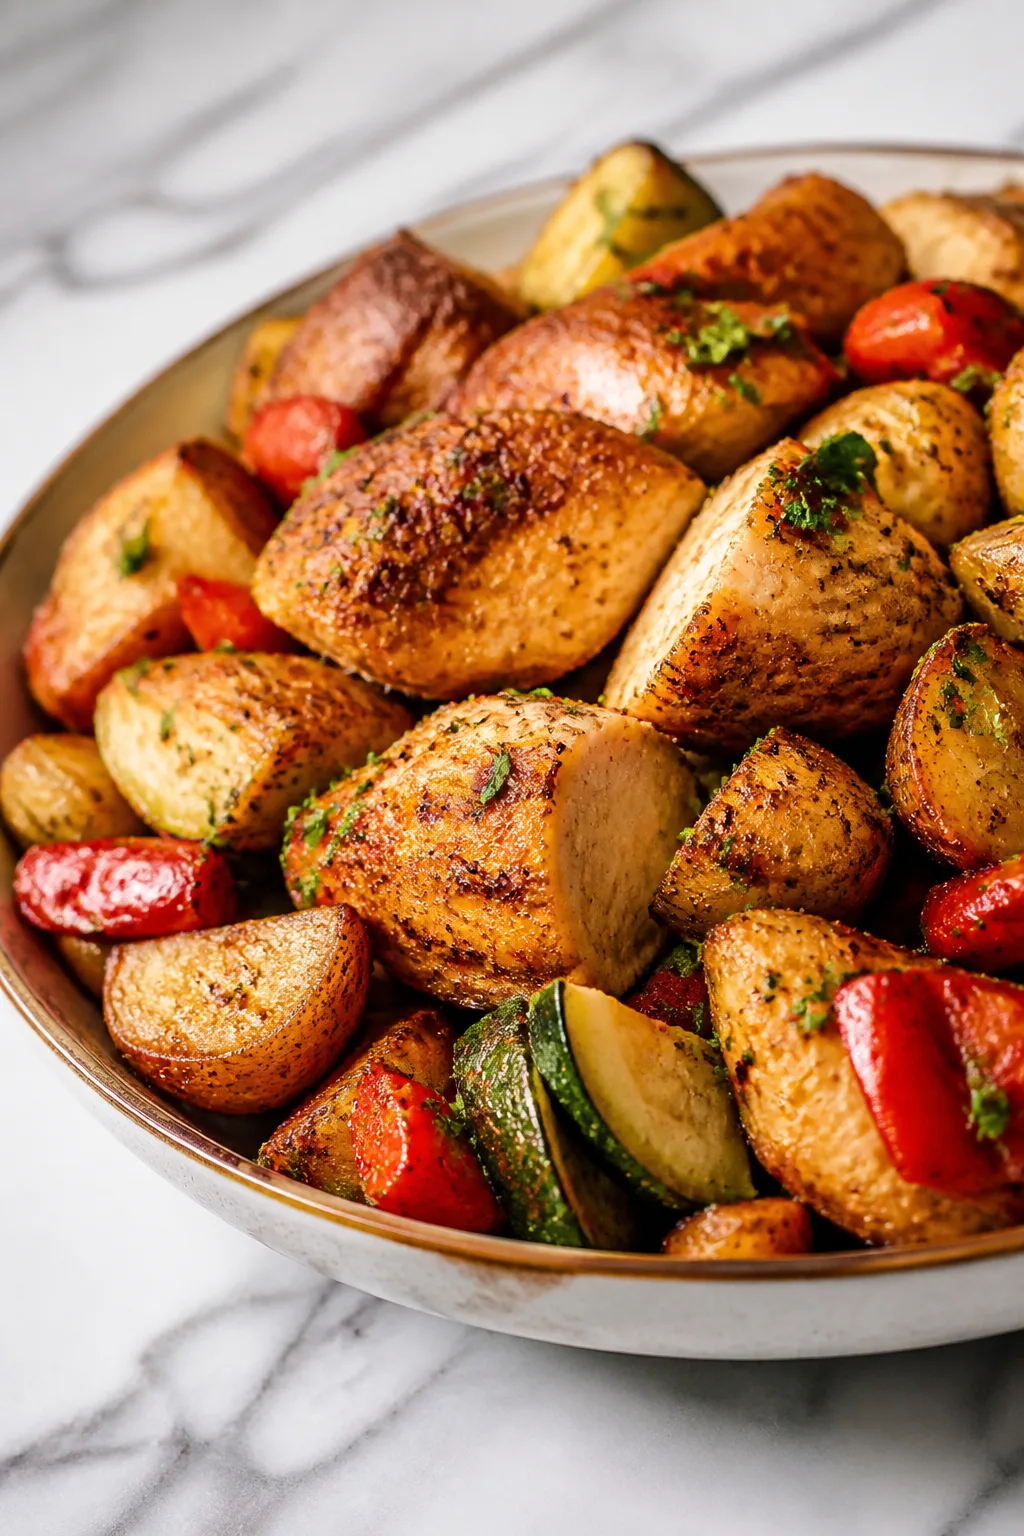
This honey mustard chicken is a quick, flavorful dinner that’s perfect for busy weeknights. The honey’s sweetness pairs beautifully with tangy mustard, creating juicy, tender chicken everyone loves. Super simple and fast!
Introduction
I stumbled on this honey mustard chicken on a night when I had zero time but still wanted something homemade and delicious on the table. What I love about this recipe is how few ingredients it needs—just five! The combo of honey and mustard creates this perfect balance of sweet and tangy that makes the chicken juicy and flavorful every time. I used to overcook chicken breasts until they were dry, but the trick here is cooking them gently in a hot pan with honey mustard sauce, which keeps them tender and moist. Plus, it’s ready in about 15 minutes, which is a lifesaver after a long day. I usually serve this with simple steamed veggies or a quick salad. It’s become a family favorite, especially because it feels fancy but is so easy to make. Honestly, I think the honey is the real star—it caramelizes just enough to add a subtle glaze without burning. If you’re like me and want a fuss-free recipe that delivers big on flavor, you’ll love this one!
How To Do It
Step 1
Start by patting the chicken breasts dry with paper towels. This step is crucial because moisture on the surface will steam the chicken instead of searing it, which means you won’t get that lovely golden crust. Season both sides generously with salt and freshly ground black pepper. Preheating the pan over medium-high heat before adding the oil ensures the chicken sears properly and locks in juices. Avoid overcrowding the pan; cook in batches if needed to maintain heat.
⏱ Time: 5
✓ Doneness: Chicken surface is golden brown and releases easily from the pan
Step 2
Add olive oil to the hot skillet and place the chicken breasts in. Cook undisturbed for about 5 minutes to develop a golden crust. Flip carefully and cook the other side for 4-5 minutes. Cooking times can vary slightly depending on thickness, so use a meat thermometer to check for 165°F internal temperature. Rushing this step or flipping too often will prevent proper browning and can dry out the chicken.
⏱ Time: 10
✓ Doneness: Chicken is golden on both sides and registers 165°F inside
Step 3
Lower the heat to medium and whisk together Dijon mustard and honey in a small bowl. Pour this sauce over the chicken in the pan, making sure to coat each piece evenly. The heat will thicken the sauce and create a sticky glaze that clings to the chicken. Stir gently and spoon the sauce over the chicken as it cooks for another 2-3 minutes. Watch closely to avoid burning the honey; the sauce should be glossy and slightly thickened when done.
⏱ Time: 3
✓ Doneness: Sauce is thickened and glossy, coating the chicken evenly
Step 4
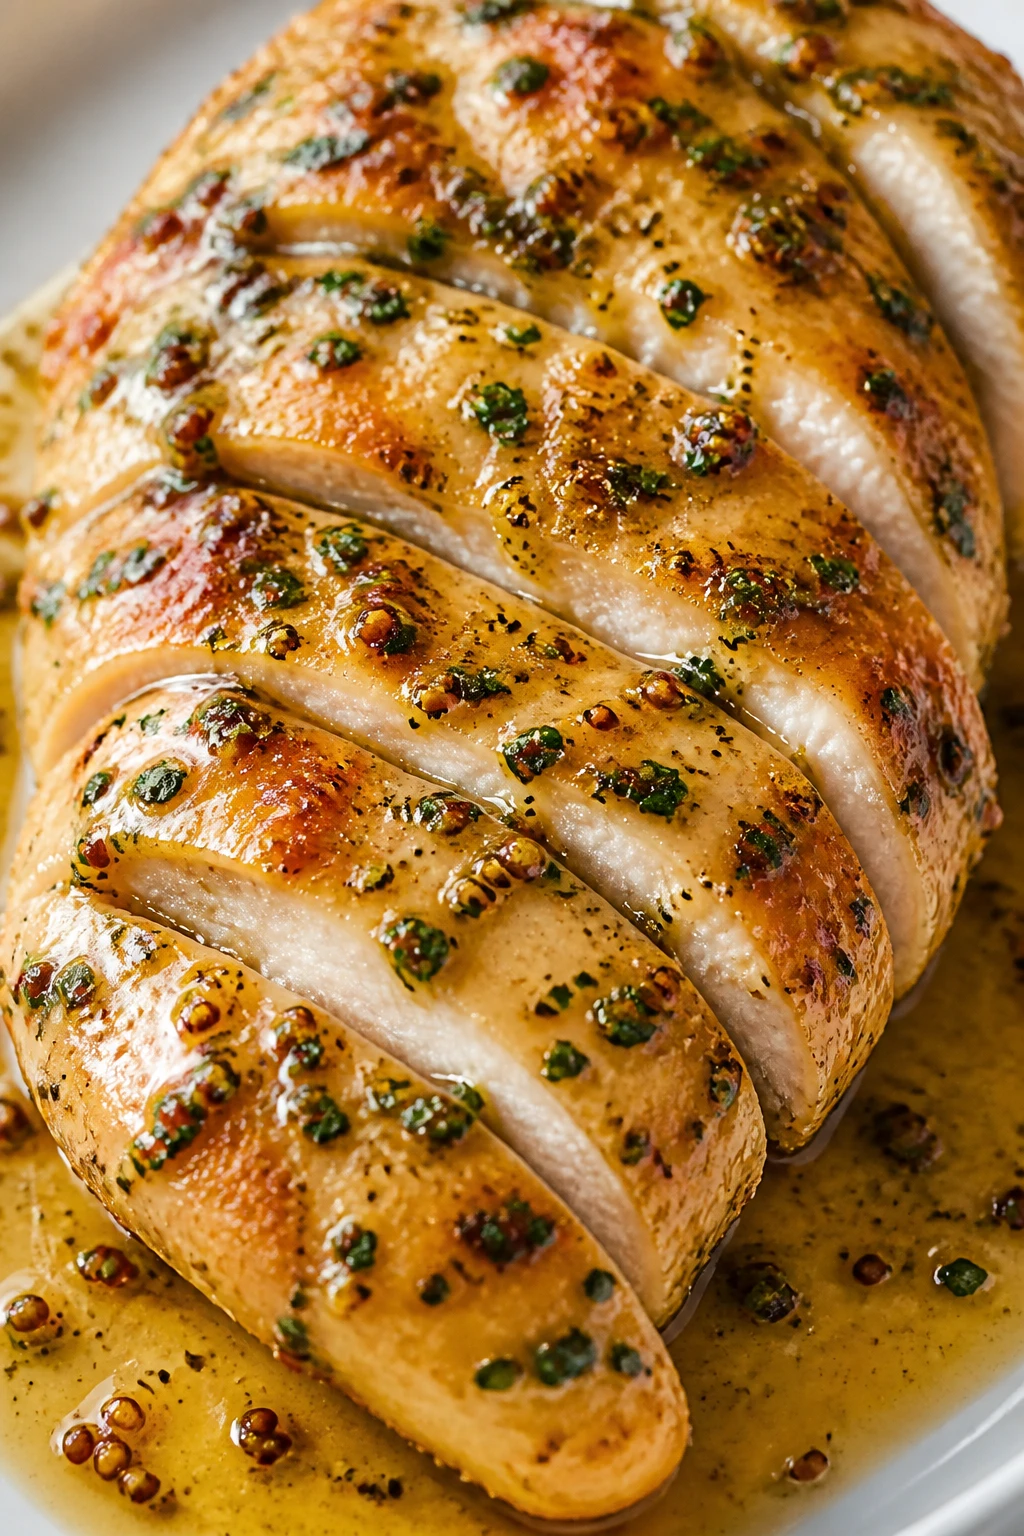
Once the chicken is cooked through and the sauce has thickened, remove the pan from heat. Let the chicken rest for 5 minutes before slicing. Resting allows juices to redistribute throughout the meat, keeping it moist and tender. Cutting immediately will cause juices to run out, resulting in dry chicken.
⏱ Time: 5
✓ Doneness: Juices run clear when chicken is sliced after resting
Step 5
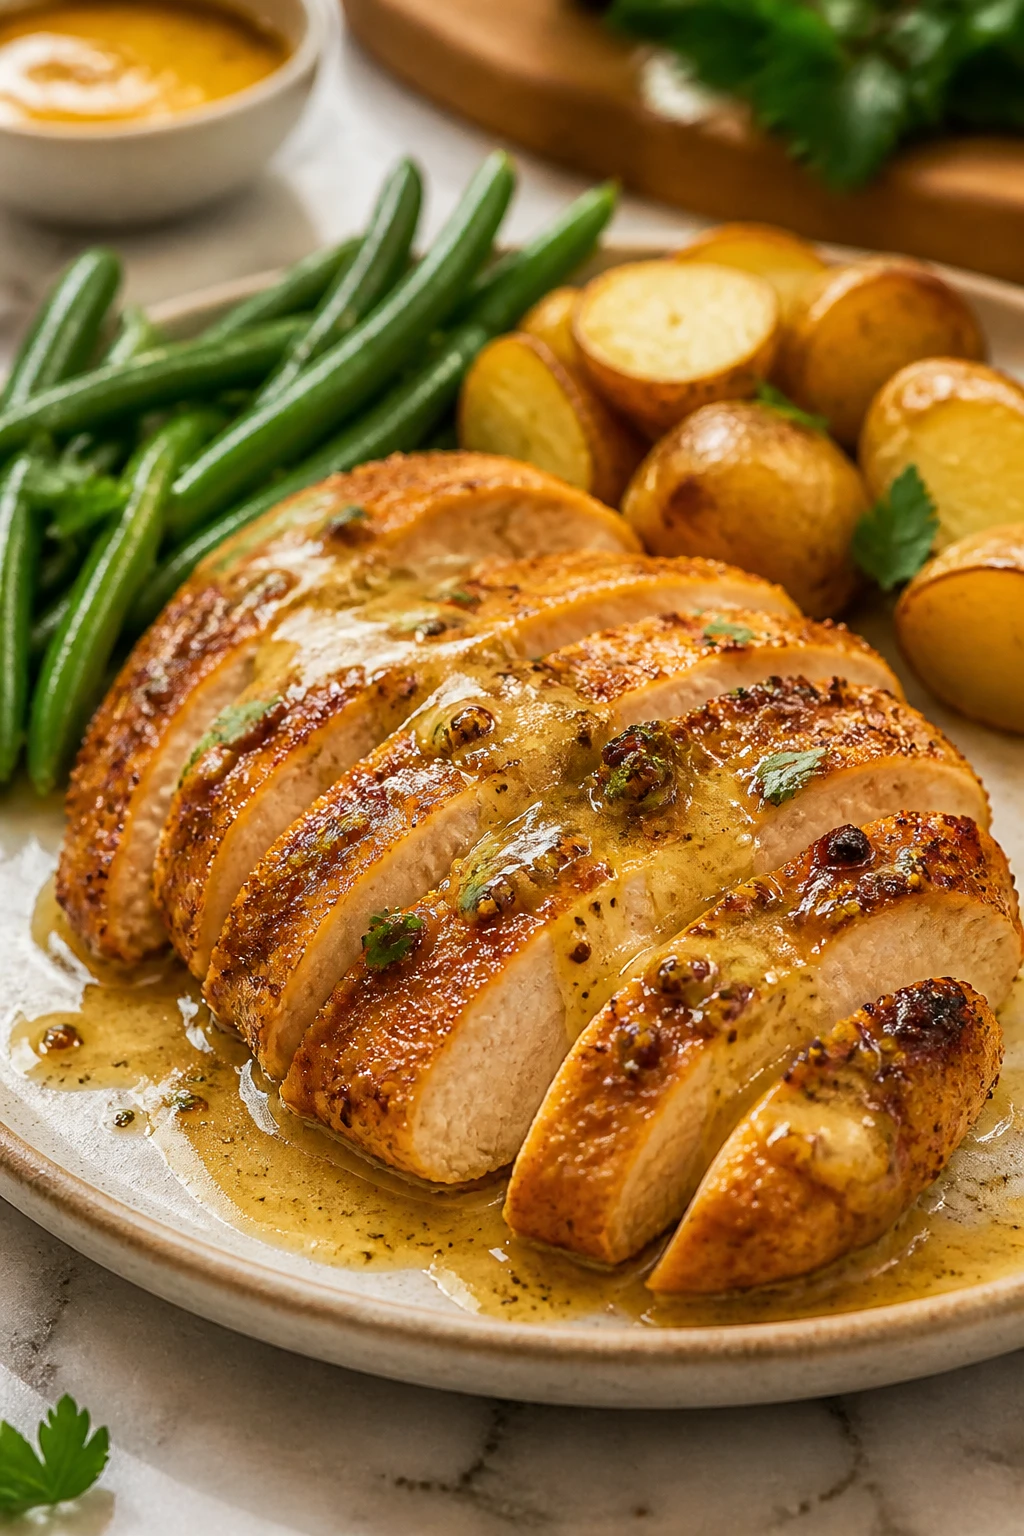
Serve the chicken breasts whole or sliced, spooning any remaining honey mustard glaze from the pan over the top. This extra sauce adds a burst of flavor and keeps each bite juicy. Pair with your favorite sides like steamed veggies, rice, or a fresh salad for a complete meal that feels effortless but impressive.
⏱ Time: 2
✓ Doneness: Chicken is glossy and sauced, ready to enjoy
Step 6
For meal prepping, let cooked chicken cool completely before storing in an airtight container. This prevents condensation which can make the sauce watery. Reheat gently in a skillet or microwave with a splash of water to refresh the glaze. Avoid overheating to keep the chicken tender.
⏱ Time: 0
✓ Doneness: Chicken warmed through but still moist
Step 7
If you want to add extra flavor, sprinkle some fresh chopped herbs like parsley or thyme over the chicken before serving. Herbs brighten the dish and add a fresh contrast to the sweet glaze. This is an easy way to elevate the presentation and taste without much effort.
⏱ Time: 1
✓ Doneness: Herbs look fresh and vibrant on the chicken
Step 8
Make sure to use a non-stick or well-seasoned skillet to prevent sticking and burning. A stainless steel pan works too but requires careful temperature control and enough oil. The right pan helps you get that perfect sear and prevents frustration with food sticking.
⏱ Time: 0
✓ Doneness: Chicken sears evenly without sticking
Step 9
Keep an eye on the sauce as it cooks; honey can burn quickly if the heat is too high. Adjust the heat down if you notice the sauce darkening too fast. The goal is a shiny glaze, not a burnt coating. This careful attention makes all the difference in taste.
⏱ Time: 0
✓ Doneness: Sauce remains glossy and sweet, not bitter or burnt
Pro Tips
Always pat your chicken dry before cooking.
Removing surface moisture prevents steaming and encourages browning through the Maillard reaction, which creates a flavorful crust and locks in juices. Skipping this step can make your chicken soggy and less tasty.
Use a meat thermometer to check doneness.
Chicken breasts can dry out if overcooked. The perfect internal temperature is 165°F. A thermometer ensures safety and juiciness without guesswork, preventing dry or undercooked meat.
Add honey and mustard sauce after searing.
Searing first locks in moisture and flavor. Adding sauce too early can prevent browning and cause the honey to burn. This sequencing ensures a glossy glaze that’s sweet but not bitter.
Let the chicken rest before slicing.
Resting allows juices to redistribute inside the meat, making each bite moist and tender. Cutting immediately causes juices to spill out, resulting in dry chicken.
Cook in batches if your pan is small.
Overcrowding lowers pan temperature and causes steaming instead of searing. Cooking in batches preserves heat, ensuring a golden crust and even cooking.
Use a non-stick or well-seasoned skillet.
This prevents sticking and burning, helping maintain the chicken’s texture and appearance. Stainless steel pans require more attention to temperature and oil.
Adjust heat carefully when cooking the sauce.
Honey can burn quickly at high temperatures. Lowering heat when adding sauce thickens it gently, creating a perfect glaze without bitterness.
Common Mistakes to Avoid
Skipping the drying step before cooking
Why it happens Many cooks underestimate the importance of removing moisture and think seasoning alone is enough. This leads to steaming rather than searing.
Fix Always pat chicken dry with paper towels before seasoning. This simple step ensures a better crust and more flavorful chicken.
Cooking chicken at too low heat
Why it happens Some believe low heat prevents drying out, but it actually prevents browning and can result in rubbery texture.
Fix Preheat your pan to medium-high heat to get a good sear, then lower heat when adding sauce to avoid burning.
Adding honey too early
Why it happens Honey burns easily if exposed to high heat too soon, making the sauce bitter.
Fix Sear chicken first, then add honey and mustard mixture on medium heat to gently thicken the glaze.
Cutting chicken immediately after cooking
Why it happens Impatience to eat can make you slice too soon, causing juices to escape and dry meat.
Fix Let chicken rest 5 minutes off heat to keep it juicy.
Overcrowding the pan
Why it happens Trying to cook all chicken at once lowers pan temperature, leading to steaming instead of searing.
Fix Cook in batches if needed to maintain high heat and proper browning.
Variations
Spicy Honey Mustard Chicken
Add a pinch of cayenne pepper or a dash of hot sauce to the honey mustard glaze for a spicy kick. This variation adds warmth without overpowering the sweet and tangy balance, making it great for those who like a little heat.
Note: Be cautious adding spice; start small and adjust as the honey can amplify heat quickly.
Creamy Honey Mustard Chicken
Stir in 1/4 cup of sour cream or Greek yogurt into the sauce at the end for a creamy texture and mellow flavor. This version is richer and pairs wonderfully with mashed potatoes or buttered noodles.
Note: Add dairy off the heat to prevent curdling and maintain a smooth sauce.
Honey Mustard Chicken Thighs
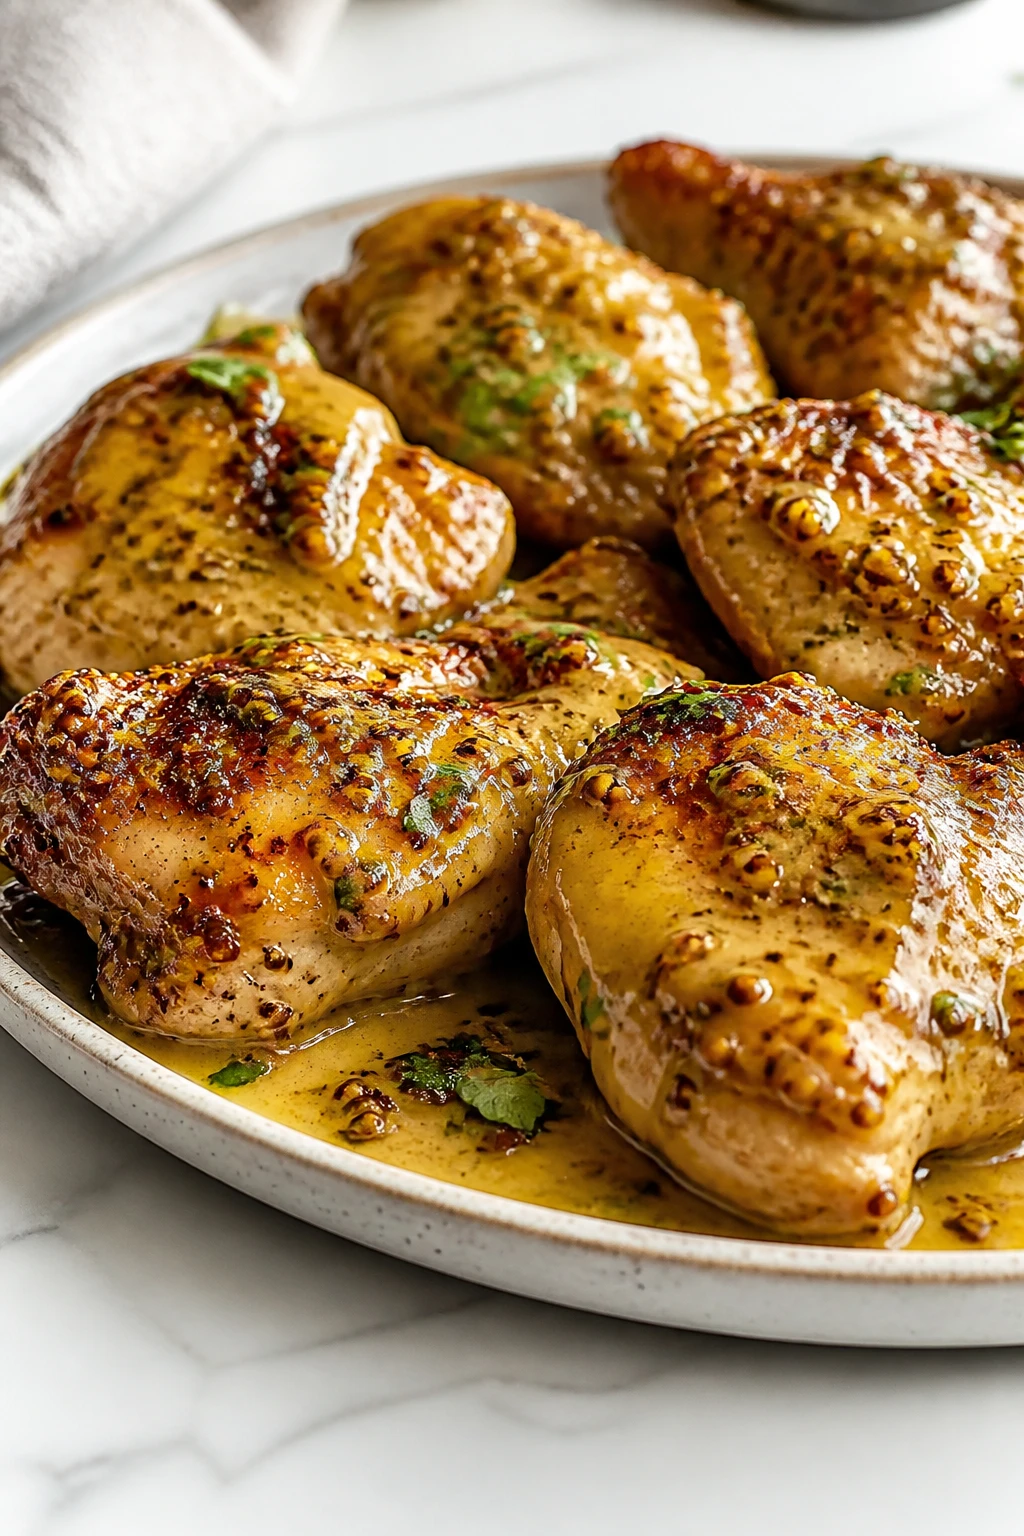
Use boneless, skinless chicken thighs instead of breasts for juicier meat with more flavor. Thighs are forgiving and stay tender even if slightly overcooked, making them perfect for this recipe.
Note: Adjust cooking time slightly longer due to thicker thighs; check internal temperature.
Herb-Infused Honey Mustard Chicken
Add fresh herbs like thyme, rosemary, or tarragon to the pan while cooking. The herbs infuse the sauce with aromatic notes, elevating the dish’s complexity and freshness.
Note: Add herbs early in the sauce step for maximum flavor infusion.
Honey Mustard Chicken Salad
Slice cooked honey mustard chicken and toss it over mixed greens with cherry tomatoes, cucumber, and avocado for a light, flavorful salad lunch or dinner. The sweet glaze doubles as a dressing base.
Note: Cool chicken completely before slicing to prevent wilting greens.
Nutrition
Per Serving:
Nutritional values are estimates and may vary based on specific ingredients used.
Storage & Tips
Room Temperature
Honey mustard chicken can safely sit at room temperature for up to 2 hours if covered loosely to avoid contamination. Beyond that, bacteria growth increases, so refrigerate promptly.
Refrigerator
Store leftovers in an airtight container in the fridge for up to 3 days. The sauce may thicken and chicken firms up when cold, so reheat gently to restore tenderness and glaze texture.
Freezer
Freeze cooked chicken in a sealed container or freezer bag for up to 2 months. Wrap tightly to prevent freezer burn. Thaw overnight in the fridge before reheating for best texture.
Reheating
Reheat gently in a skillet over medium-low heat with a splash of water or broth to loosen the sauce. Microwave on medium power in short intervals works too. Avoid overheating to prevent drying out.
Make Ahead
You can prepare the honey mustard sauce and marinate chicken breasts 1-2 days in advance in the fridge. Cook just before serving for best freshness and texture.
FAQ
Can I use chicken thighs instead of breasts?
Absolutely! Chicken thighs are juicier and more forgiving if slightly overcooked. Just increase cooking time by a few minutes and ensure they reach an internal temperature of 165°F. The honey mustard glaze works wonderfully with thighs too.
What if I don’t have Dijon mustard?
You can substitute with yellow mustard, but the flavor will be milder and less tangy. For a closer match, mix a small amount of dry mustard powder with yellow mustard. Avoid spicy brown mustard as it will change the flavor profile significantly.
How do I prevent the honey from burning?
Add the honey and mustard mixture after searing the chicken and reduce the heat to medium or medium-low. Honey caramelizes quickly and can burn if exposed to high heat too long, so watch closely and stir gently.
Can I bake this instead of cooking on the stove?
Yes, you can bake at 375°F for 20-25 minutes, then brush with honey mustard sauce and broil for a few minutes to caramelize. However, stovetop cooking gives better control over the glaze consistency and browning.
Is this recipe gluten-free?
Yes, as long as you use gluten-free Dijon mustard and check that your honey and other ingredients are pure, this recipe is naturally gluten-free and safe for those with gluten intolerance.
How can I make this recipe spicier?
Try adding a pinch of cayenne pepper or a dash of hot sauce to the honey mustard glaze. Start with a little and taste as you go to avoid overpowering the sweet and tangy balance.
Can I prepare this recipe ahead of time?
You can mix the sauce and marinate the chicken up to 2 days in advance. Cook just before serving for best texture and flavor. Leftover cooked chicken can be stored in the fridge for 3 days.
What sides go well with honey mustard chicken?
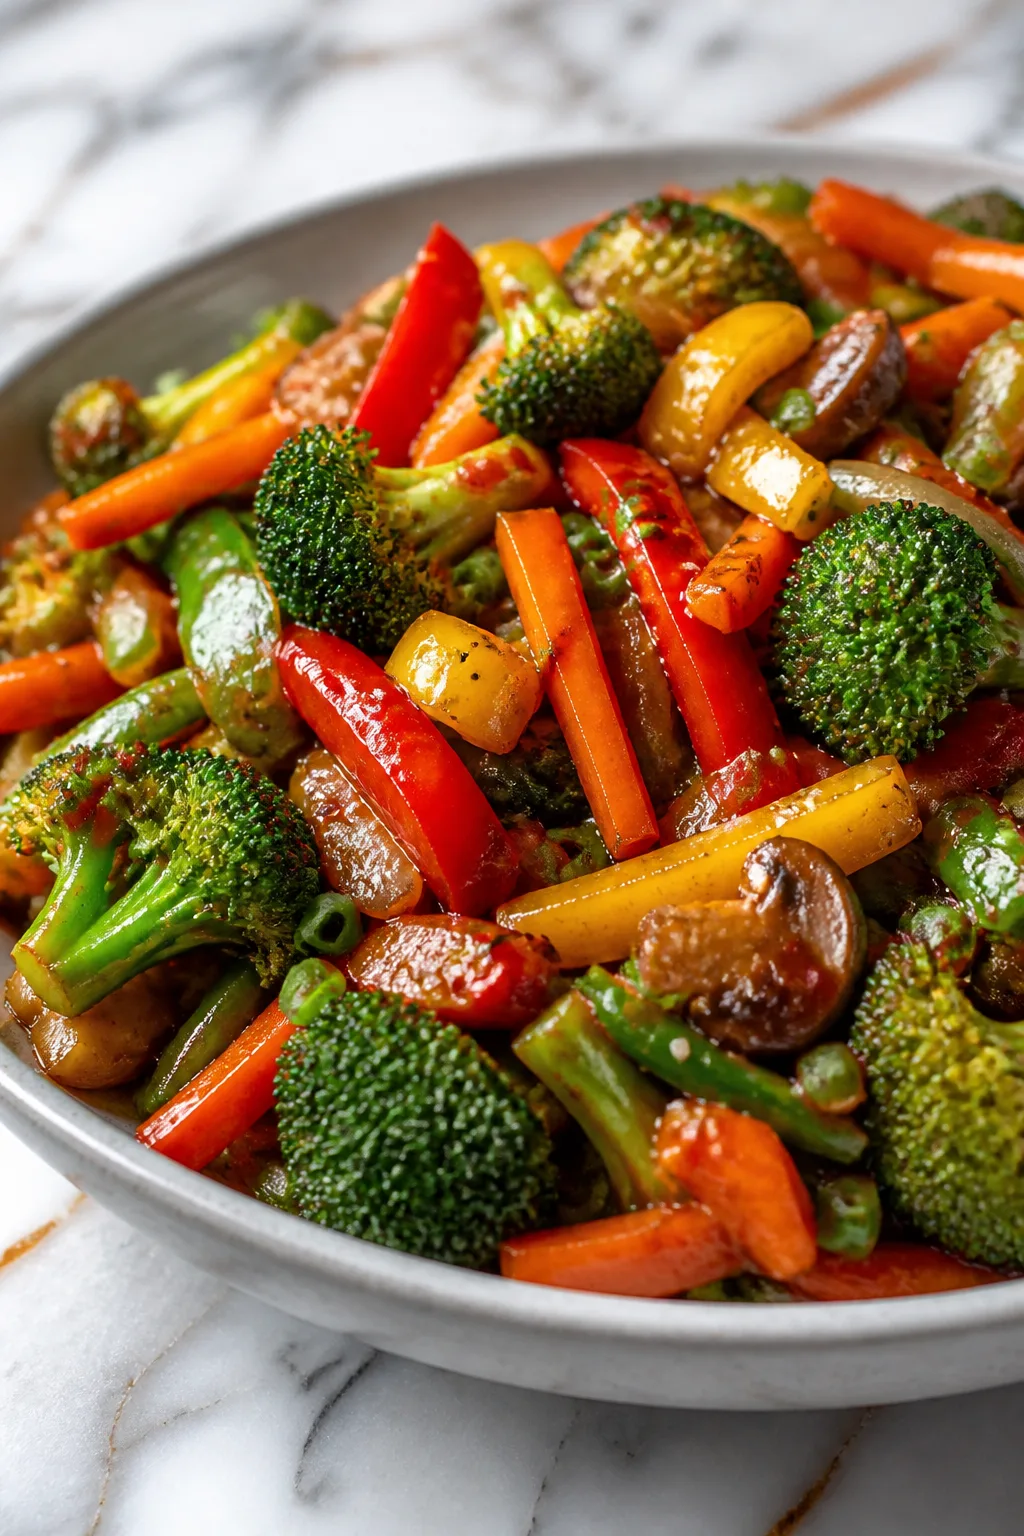
Steamed veggies, rice, quinoa, or simple salads pair beautifully. Mashed potatoes or roasted vegetables also complement the sweet and tangy flavors.
Final Thoughts
I hope you give this honey mustard chicken a try — it’s one of those easy recipes that just works every time. Don’t forget to share how it turns out for you!