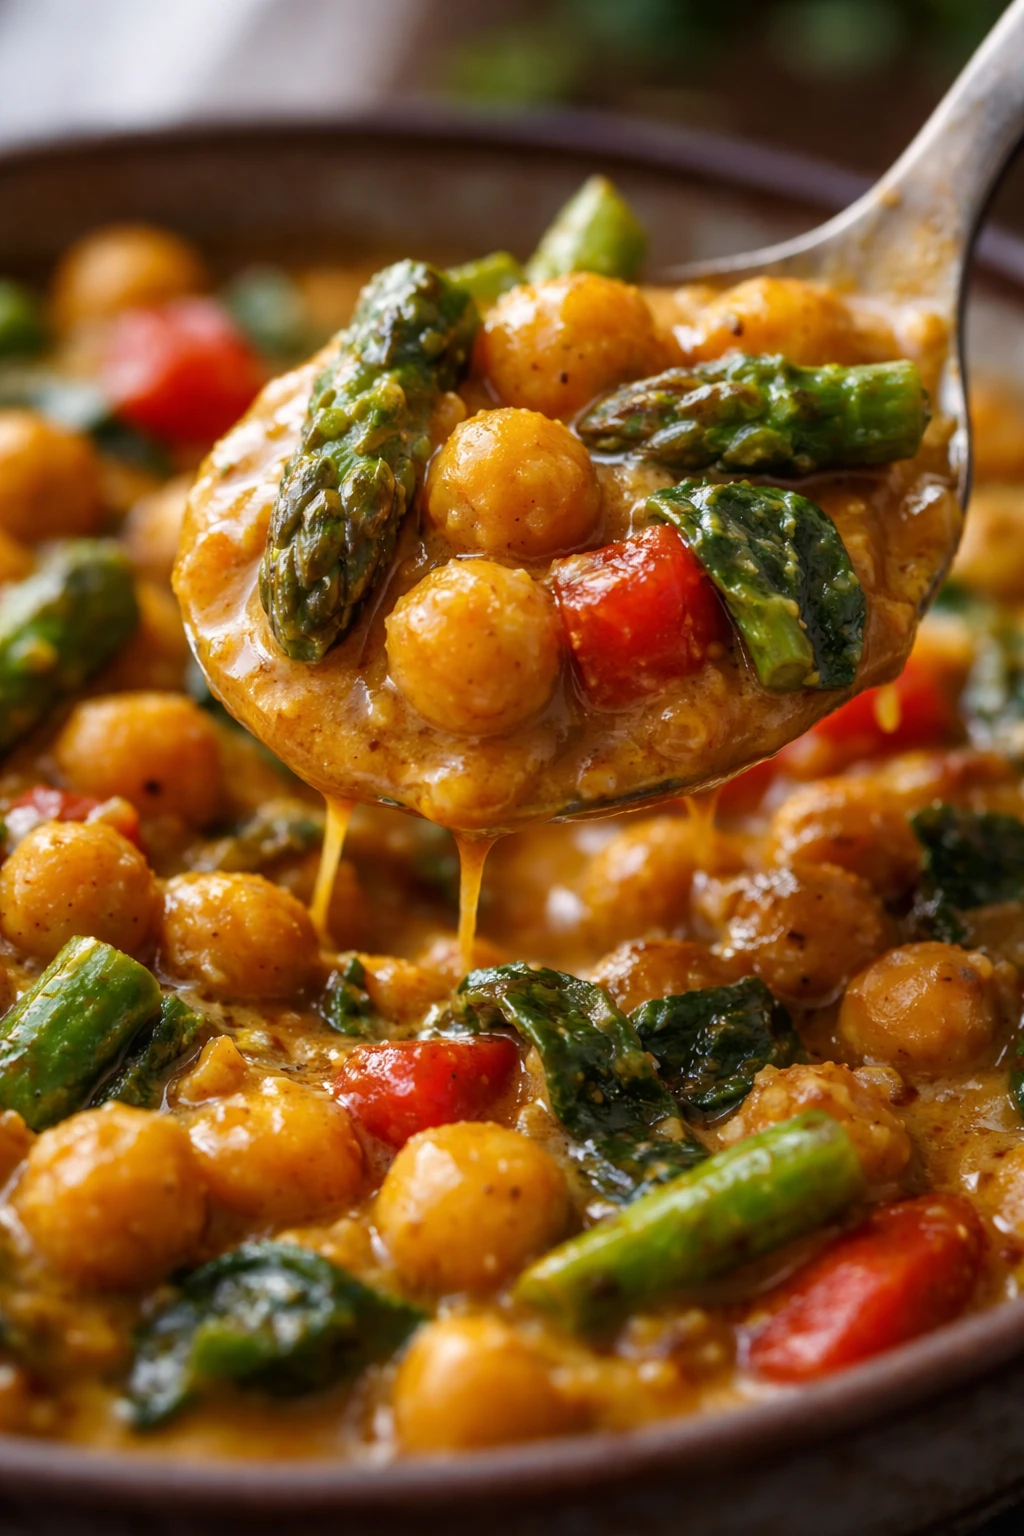
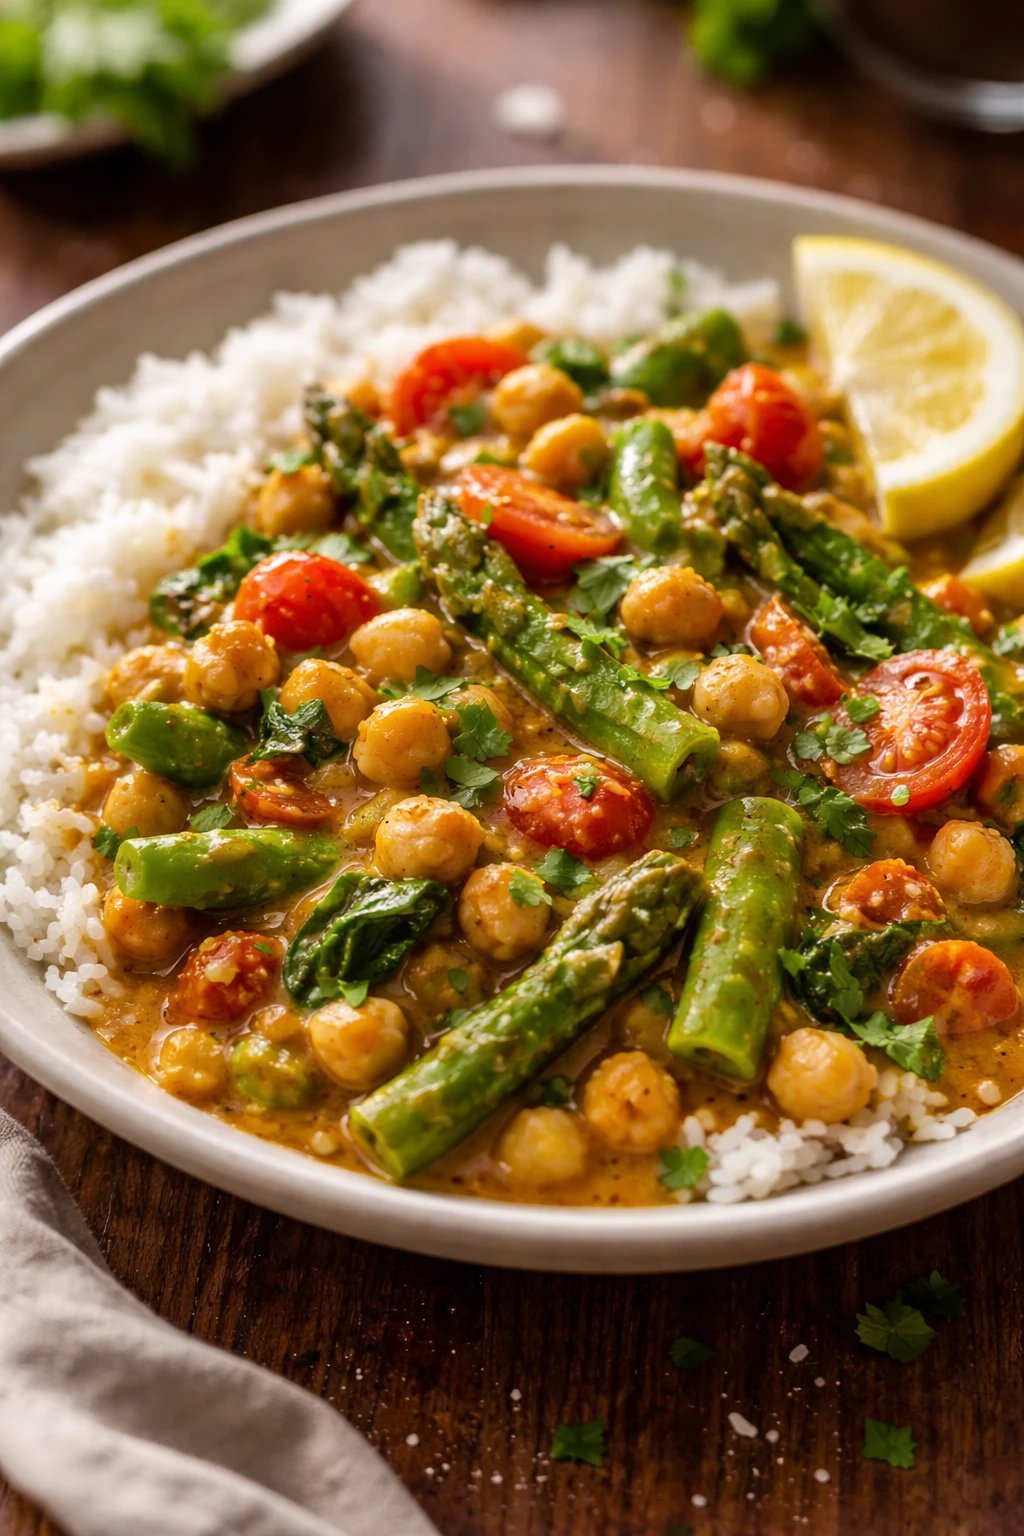
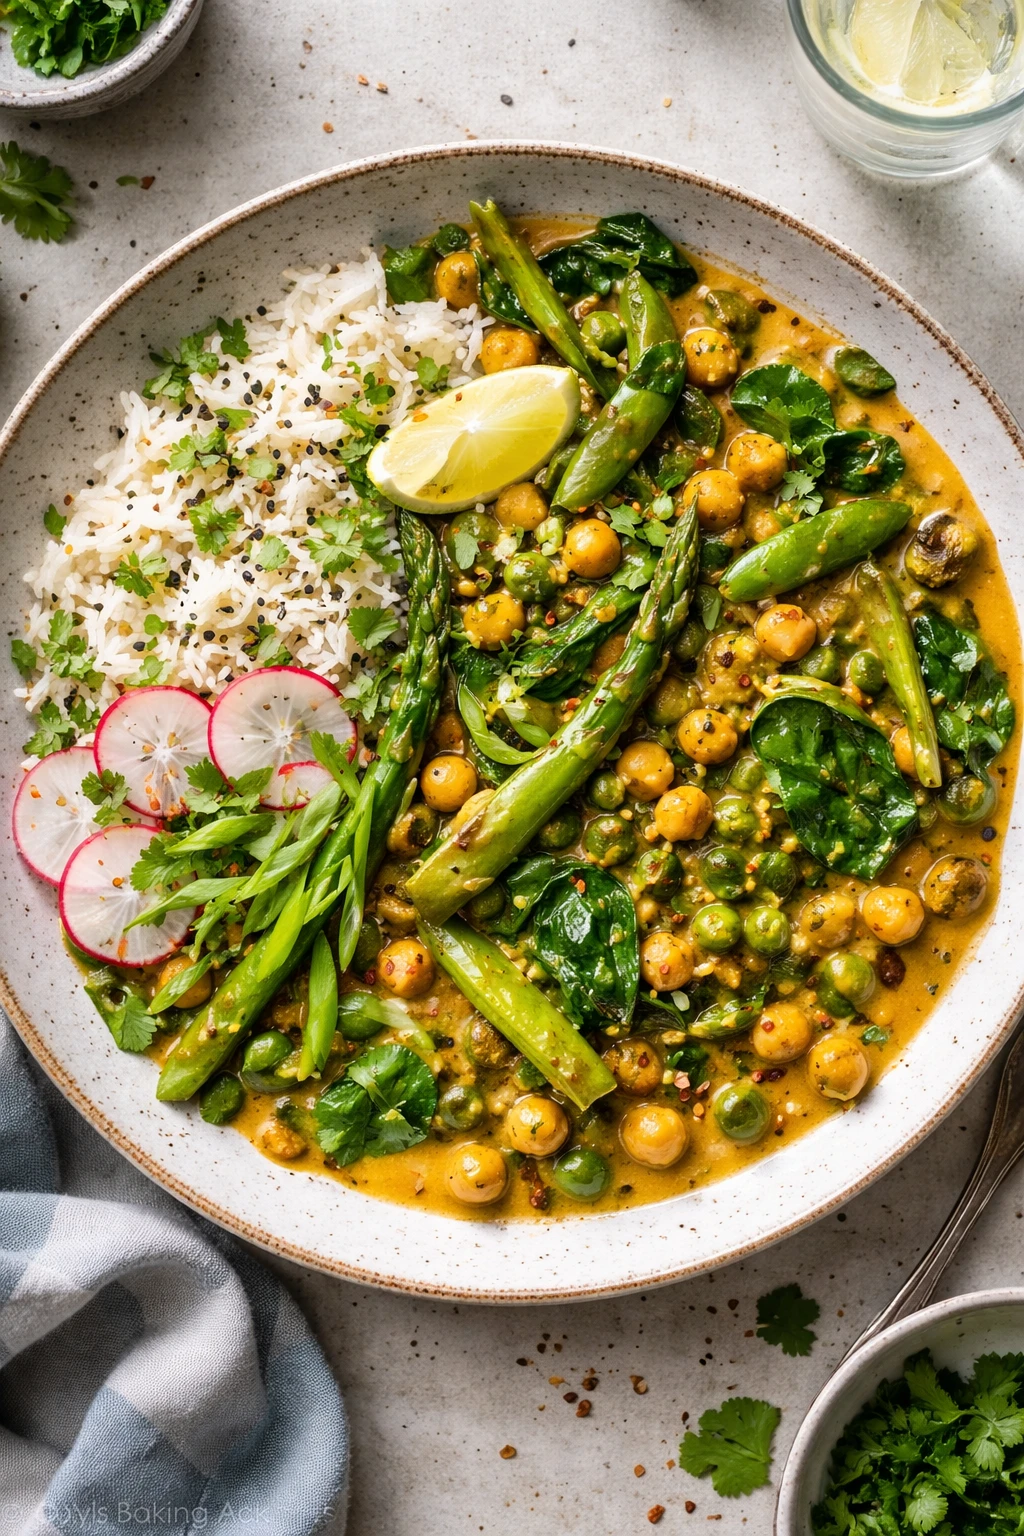
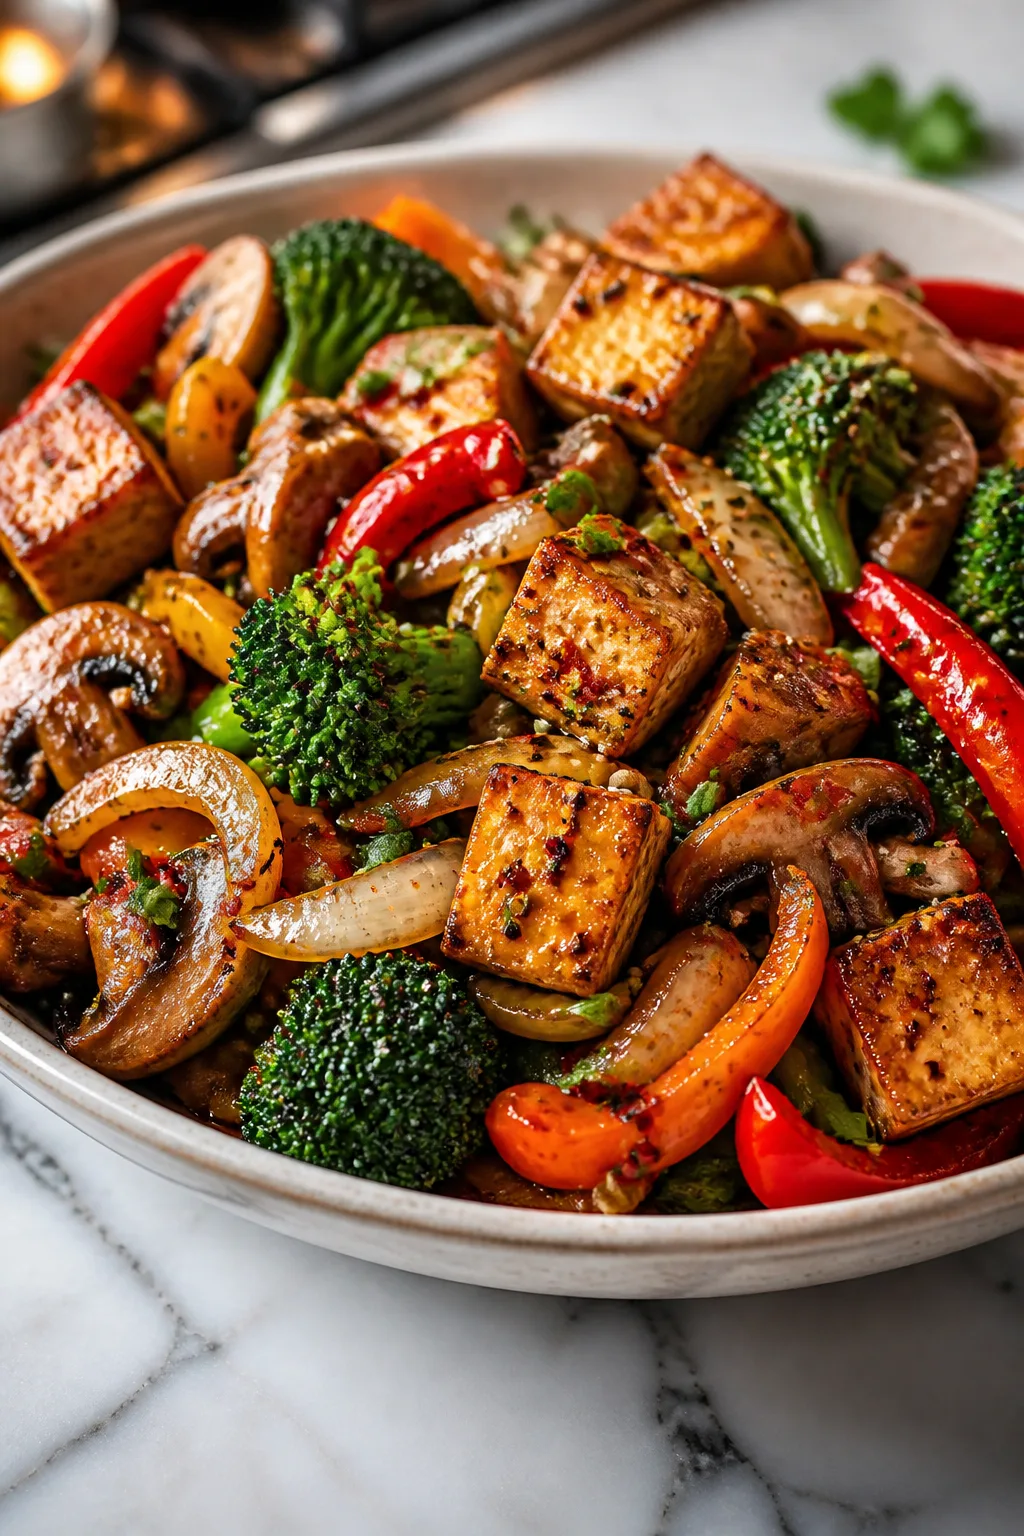
This vegan chickpea curry is a colorful, hearty meal packed with fresh spring vegetables and warming spices. It’s a go-to for busy nights when you want comfort without the hassle. Plus, the coconut milk adds a lovely creaminess!
Introduction
I stumbled upon this vegan chickpea curry on a hectic weeknight when I wanted something nourishing but easy. I’ve made curries before, but this one stands out because of its fresh spring vegetables and the way the spices bloom in coconut milk. What really makes it special is how the snap peas and asparagus add a crisp, bright texture that balances the creamy sauce perfectly. I remember the first time I rushed through a curry and ended up with bland flavors, but the trick here is to gently toast the spices and take your time with the aromatics. The result is a curry that’s comforting, vibrant, and full of life. It’s a great meal to warm you up but still feel light and fresh. Plus, it’s all done in about 45 minutes, which is a win when you’re juggling a busy schedule. I love serving it with fluffy basmati rice or warm naan, and it always gets a thumbs-up from family and friends. If you’ve been intimidated by curries before, this recipe will make you feel right at home in the kitchen.
How To Do It
Step 1
Heat the coconut oil in a large skillet or saucepan over medium heat. Once hot, add the chopped onion and sauté gently until translucent and soft, about 5-7 minutes. This slow cooking draws out the onion’s natural sweetness and forms the flavor base for the curry. Avoid rushing or turning the heat too high, as burnt onion will give a bitter taste. Stir occasionally to prevent sticking and check that the onions are evenly softened before moving on.
⏱ Time: 7
✓ Doneness: Onions should be soft, slightly golden, and fragrant without browning too much.
Step 2
Add the minced garlic and grated ginger to the softened onions. Cook for about 1-2 minutes, stirring constantly to prevent burning, until the mixture is aromatic. Then sprinkle in the curry powder, cumin, turmeric, and chili flakes if using. Toast the spices gently in the oil for another 1-2 minutes to unlock their full flavor and deepen the curry’s complexity. If you skip this step or cook too quickly, the spices won’t bloom properly and the curry will taste flat.
⏱ Time: 4
✓ Doneness: The mixture should smell fragrant and spicy, with the oil slightly colored by the spices.
Step 3
Pour in the coconut milk and vegetable broth, stirring to combine everything. Bring the mixture to a gentle simmer over medium heat. This liquid base will carry the spices and help cook the vegetables and chickpeas evenly. Simmering gently allows flavors to meld without curdling the coconut milk. Avoid boiling too hard, as it can break the creaminess and separate the sauce.
⏱ Time: 5
✓ Doneness: The sauce should be smooth, creamy, and just bubbling gently around the edges.
Step 4
Add the drained chickpeas to the simmering curry base. Stir well so they’re fully coated. Chickpeas add hearty texture and protein, making the dish filling and nutritious. Let them cook in the sauce for about 10 minutes, which lets them absorb the flavors while softening further. Stir occasionally to prevent sticking and ensure even cooking.
⏱ Time: 10
✓ Doneness: Chickpeas should be tender but still hold their shape, infused with curry flavors.
Step 5
Toss in the snap peas, asparagus, and sliced carrot. These spring veggies add a fresh crunch and vibrant color. Cook everything together for another 5-7 minutes until the vegetables are tender-crisp. Overcooking will make them mushy and dull the bright flavors. Keep the heat moderate and stir gently to maintain texture and prevent breaking the delicate veggies.
⏱ Time: 7
✓ Doneness: Vegetables should be bright in color and just tender enough to bite through easily.
Step 6
Season the curry with salt and pepper to taste. Then squeeze in the juice of half a lime to add brightness and balance the richness of the coconut milk. The acidity lifts the entire dish and rounds out the flavors beautifully. Taste carefully and adjust seasoning if needed before serving.
⏱ Time: 2
✓ Doneness: The curry should taste balanced — creamy, spicy, and slightly tangy.
Step 7
Remove from heat and sprinkle chopped fresh cilantro over the top. This herb adds an herbal freshness that complements the spices and elevates the presentation. Always add fresh herbs at the end to keep their flavor vibrant and not cooked off.
⏱ Time: 1
✓ Doneness: Cilantro should look bright green and fresh, not wilted.
Step 8
Serve the curry hot over steamed basmati rice or with warm naan bread. The rice soaks up the creamy sauce while naan adds a chewy texture contrast. This pairing makes the meal satisfying and comforting. Garnish with extra lime wedges for those who like an extra citrus kick.
⏱ Time: 2
✓ Doneness: Dish should be steaming and inviting, with vibrant colors and a creamy sauce.
Step 9
Store any leftovers in an airtight container once cooled. Reheat gently on the stove or microwave, adding a splash of water or broth if the sauce thickens too much. This curry tastes even better the next day as the flavors deepen. Just make sure to reheat to a safe temperature and stir occasionally to maintain creaminess.
⏱ Time: 3
✓ Doneness: Reheated curry should be warm throughout and saucy, not dry or separated.
Pro Tips
Toast your spices in oil before adding liquids.
Heating spices in oil releases their essential oils, which dramatically boosts aroma and flavor. Skipping this step results in a flat, less vibrant curry. The oil acts as a flavor carrier, helping spices infuse the whole dish evenly.
Don’t overcook the spring vegetables.
These veggies are best when tender-crisp to provide contrast to the creamy sauce. Overcooking makes them mushy and dulls their bright flavor and color. Adding them late and cooking briefly preserves their freshness and nutrients.
Use full-fat coconut milk for creaminess.
Full-fat coconut milk thickens the sauce and adds richness without dairy. Lighter versions can make the curry watery and less satisfying. The fat also helps mellow the spices and creates a luscious mouthfeel.
Simmer gently, don’t boil hard.
Boiling aggressively can cause coconut milk to separate and curdle, ruining texture. A gentle simmer lets flavors meld smoothly and keeps the sauce creamy and cohesive.
Add lime juice at the end.
Acid brightens flavors and balances richness but loses potency if cooked. Adding lime juice just before serving preserves its fresh, tangy punch that lifts the entire dish.
Rinse canned chickpeas well before use.
Rinsing removes excess sodium and any canned flavor, resulting in a cleaner, fresher taste. It also improves texture by washing off the starchy liquid.
Serve with basmati rice or naan.
These accompaniments soak up the creamy sauce and add texture contrast. Basmati rice is aromatic and light, while naan adds a chewy, buttery element that complements the curry’s flavors.
Common Mistakes to Avoid
Burning the onions or spices.
Why it happens Rushing the sauté step or cooking over too high heat can cause onions or spices to burn, creating bitterness.
Fix Cook onions slowly over medium heat until soft and golden, stirring often. Add spices once onions are translucent and toast gently for 1-2 minutes.
Overcooking vegetables until mushy.
Why it happens Adding spring vegetables too early or cooking too long destroys their texture and bright color.
Fix Add snap peas and asparagus near the end and cook just until tender-crisp, about 5-7 minutes.
Skipping toasting spices in oil.
Why it happens Some cooks add spices directly to liquid, missing the flavor boost from toasting.
Fix Toast spices in oil with aromatics before adding liquids to unlock full flavor.
Using light coconut milk.
Why it happens Light coconut milk lacks fat and thins the sauce, making it less creamy.
Fix Use full-fat coconut milk for rich texture and flavor.
Boiling the curry too hard.
Why it happens High heat breaks down coconut milk and spices, causing separation and loss of creaminess.
Fix Keep a gentle simmer and stir occasionally to maintain a smooth sauce.
Variations
Spicy Red Lentil and Chickpea Curry
Add red lentils along with chickpeas for extra protein and a thicker texture. Increase chili flakes or add fresh chili for heat. Lentils cook quickly and absorb flavors, making the curry heartier and spicier.
Note: Add lentils with chickpeas and adjust cooking time to ensure lentils are tender but not mushy.
Thai-Inspired Coconut Curry with Lime and Basil
Swap curry powder for Thai red curry paste and add fresh basil instead of cilantro. Use kaffir lime leaves and a splash of fish sauce or soy sauce for umami depth. This variation is fragrant and bright with a Southeast Asian twist.
Note: Simmer gently to preserve the delicate herbs and balance the stronger curry paste flavors.
Creamy Pumpkin Chickpea Curry
Add pumpkin puree or roasted pumpkin cubes for a sweet, velvety twist. Pumpkin pairs beautifully with warming spices and coconut milk, creating a creamy, comforting dish perfect for cooler months.
Note: Add pumpkin early with the coconut milk to allow flavors to meld and pumpkin to soften.
Chickpea and Spinach Curry
Stir in fresh spinach leaves at the end for a nutritious green boost. Spinach wilts quickly, adding color and nutrients without overpowering the curry’s flavor.
Note: Add spinach last and cook just until wilted to keep vibrant color and texture.
Chickpea Curry with Roasted Cauliflower
Roast cauliflower florets until golden and add as a topping or mix-in. Roasting brings out nutty flavors and adds texture contrast to the creamy curry base.
Note: Roast cauliflower separately at 425°F for 20-25 minutes before adding to the finished curry.
Nutrition
Per Serving:
Nutritional values are estimates and may vary based on specific ingredients used.
Storage & Tips
Room Temperature
This curry can safely sit at room temperature for up to 2 hours if covered well. Beyond that, refrigerate promptly to avoid bacterial growth.
Refrigerator
Store leftovers in an airtight container for up to 4 days. Flavors deepen overnight but sauce may thicken; stir in a splash of broth or water when reheating to loosen.
Freezer
Freeze in airtight containers for up to 2 months. Use freezer-safe bags or containers, removing excess air to prevent freezer burn. Thaw overnight in fridge before reheating.
Reheating
Reheat gently on stovetop over medium-low heat, stirring frequently. Add a splash of vegetable broth or water to restore creaminess if sauce thickens. Avoid high heat to prevent coconut milk separation.
Make Ahead
Prepare the curry base and chickpeas 1-2 days ahead, refrigerate, then add fresh vegetables and finish cooking just before serving to keep veggies crisp and vibrant.
FAQ
Can I use dried chickpeas instead of canned?
Yes! If using dried chickpeas, soak them overnight and cook until tender before adding to the curry. This adds a fresher flavor and better texture, but requires more prep time. Canned chickpeas are a convenient shortcut without sacrificing much taste.
What can I substitute for coconut milk?
You can use cashew cream or a blend of almond milk and a tablespoon of coconut oil for richness. Avoid thin plant milks alone, as they lack the fat needed for creamy texture. Keep in mind the flavor will be less coconut-forward.
How spicy is this curry? Can I adjust it?
The recipe is mildly spiced with optional chili flakes. You can increase or omit chili to suit your heat preference. Adding fresh chili or cayenne powder will boost heat, while leaving it out keeps it gentle.
Can I make this curry ahead of time?
Absolutely! The curry base and chickpeas can be made 1-2 days ahead and refrigerated. Add fresh vegetables and cook them just before serving to keep their texture. Flavors often improve after resting overnight.
What’s the best way to store leftovers?
Store in airtight containers in the fridge for up to 4 days. When reheating, add a little broth or water to loosen the sauce and heat gently to avoid coconut milk separation.
Can I freeze this vegan chickpea curry?
Yes, freeze in airtight containers or freezer bags for up to 2 months. Thaw overnight in the fridge before reheating gently. The texture of the vegetables may soften slightly after freezing.
What rice pairs best with this curry?
Basmati rice is ideal due to its fragrant aroma and fluffy texture. Jasmine rice or brown rice also work well depending on your preference for nuttiness or chewiness.
How do I prevent the coconut milk from curdling?
Simmer the curry gently rather than boiling vigorously. High heat can cause the coconut milk to separate. Stir often and keep the heat moderate to maintain a creamy sauce.
Final Thoughts
Give this vibrant vegan chickpea curry a try—I’d love to hear how it turns out for you! It’s a simple way to bring fresh flavors and cozy comfort to your weeknight meals.