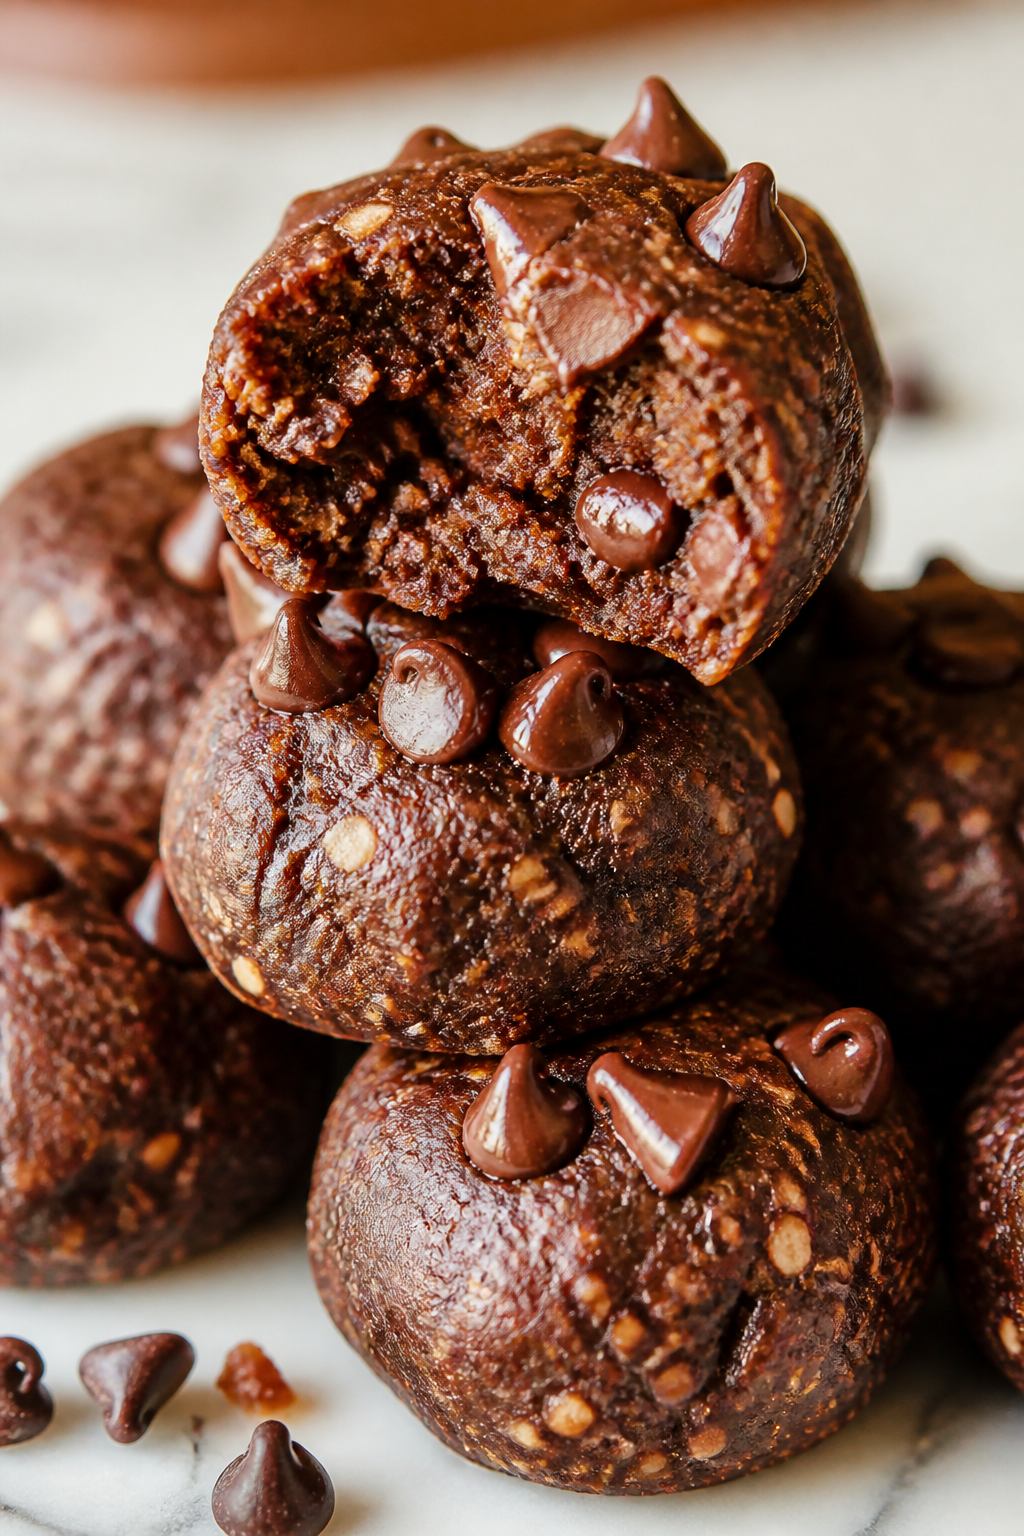
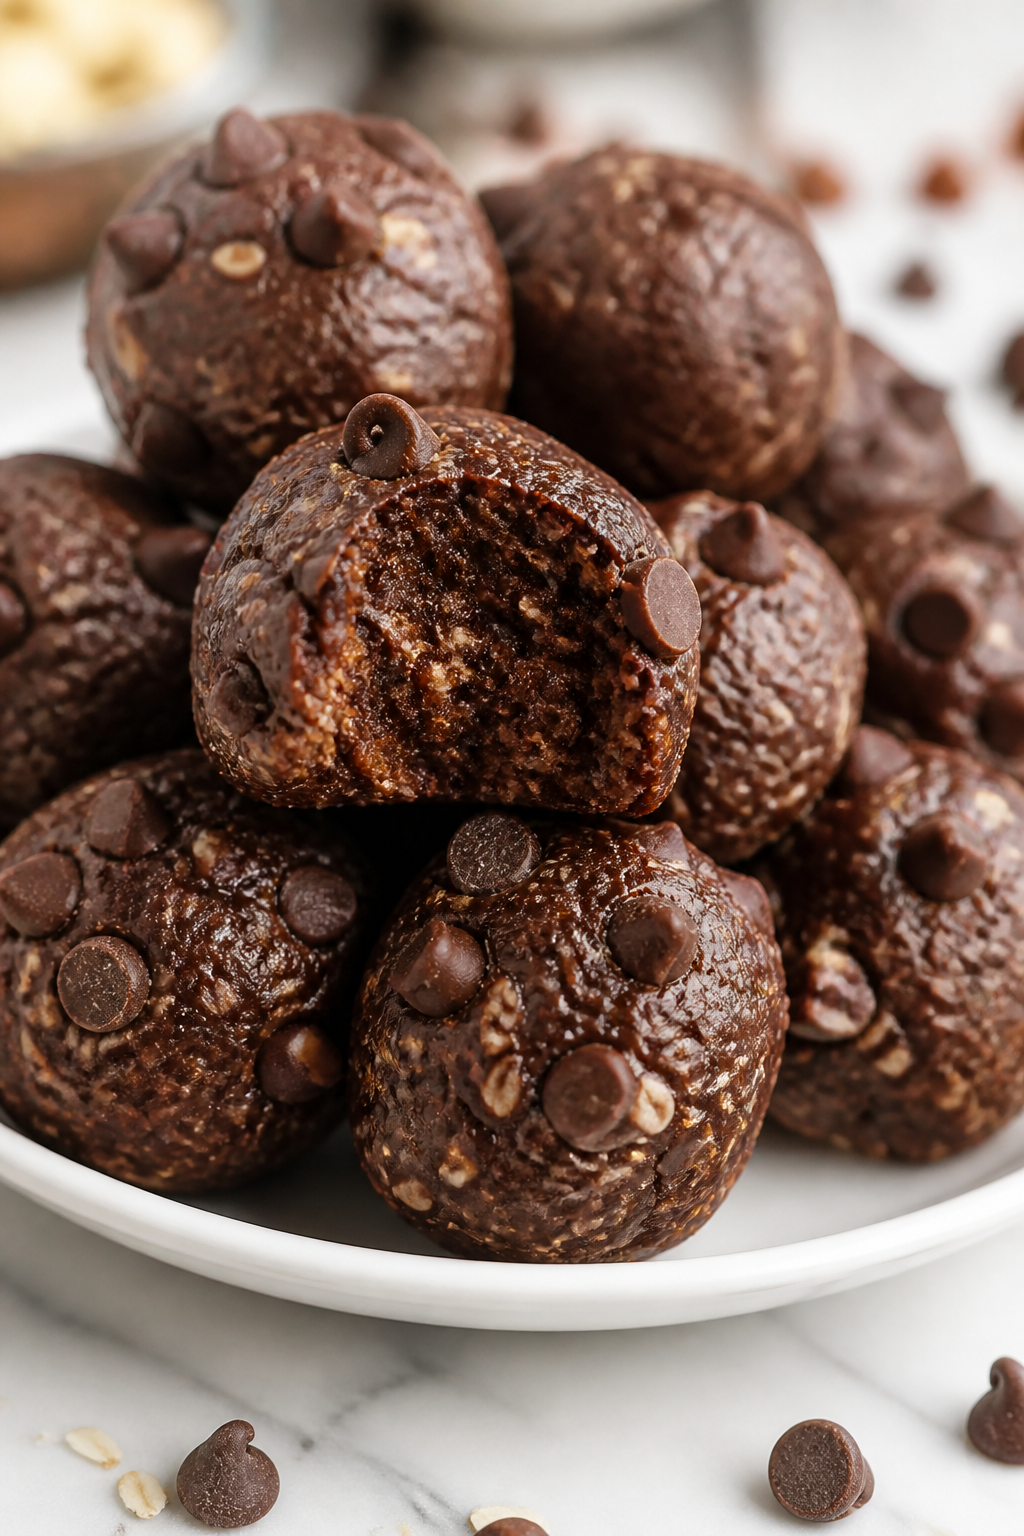
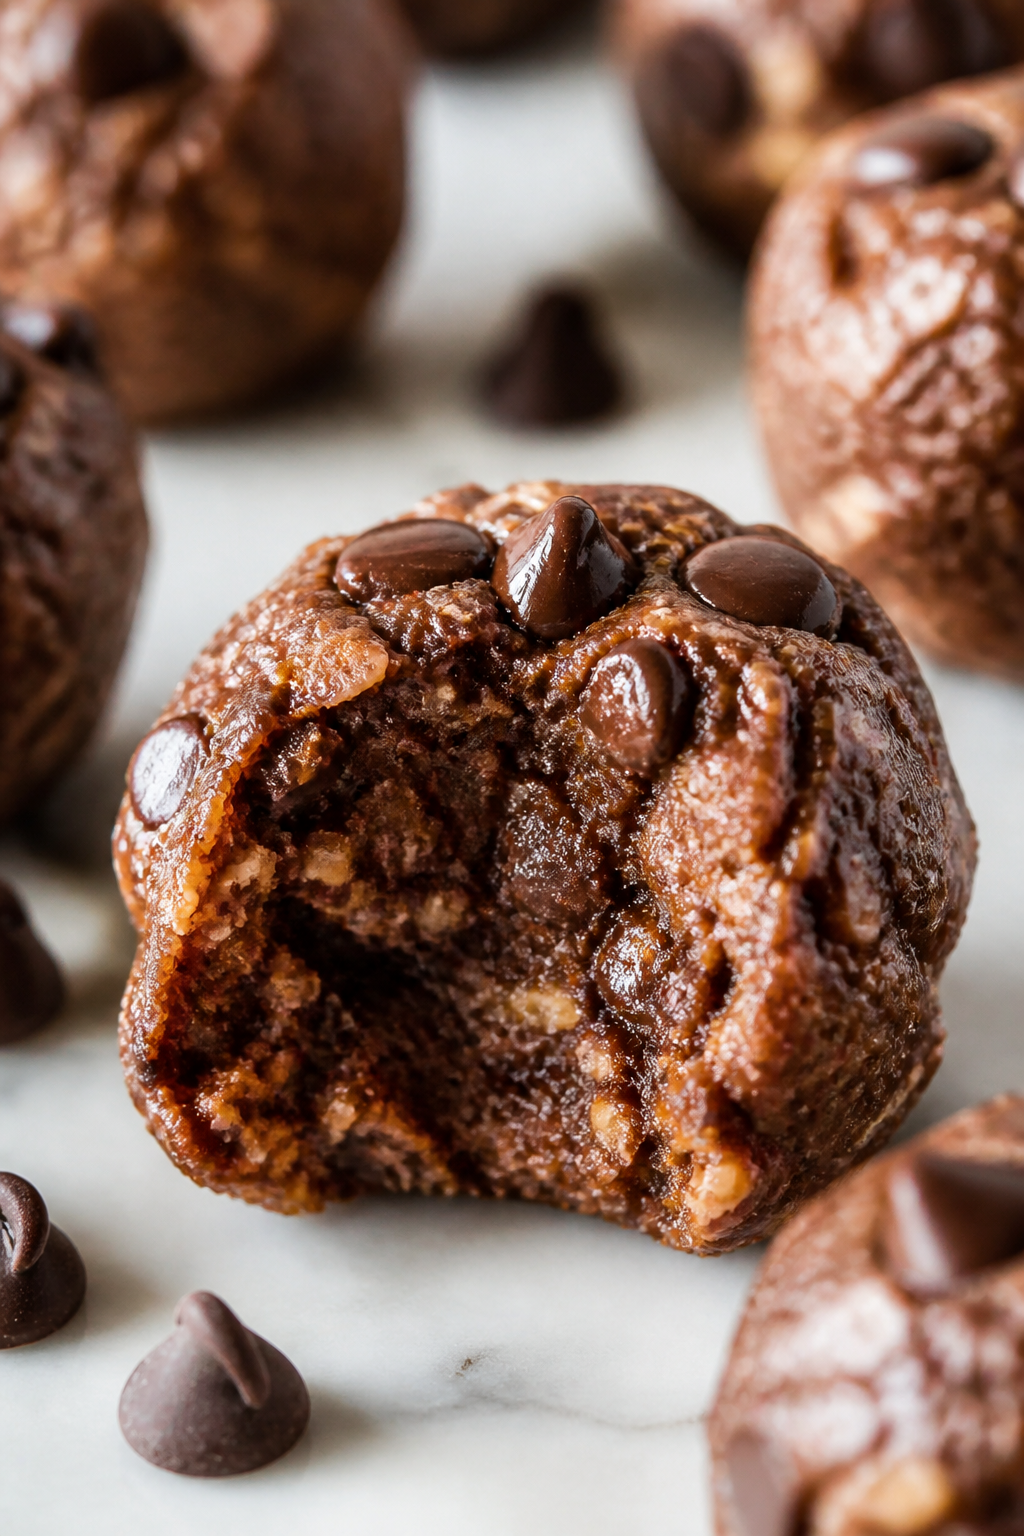
These no-bake brownie bites are a lifesaver when you want rich, chewy chocolate without heating up the kitchen. Loaded with melty chocolate chips, they come together in minutes and are perfect for an afternoon snack or surprise dessert.
Introduction
I stumbled upon this no-bake brownie bites recipe on a particularly hot summer day when I absolutely didn’t want to turn on the oven but was craving something rich and chocolaty. After a few experiments, I found the perfect balance of chewy texture and deep chocolate flavor, all without any baking. What makes these bites stand out is the use of almond flour and rolled oats, which give them a hearty chewiness that feels indulgent but not heavy. Plus, the peanut butter adds a natural richness and helps bind everything together without needing any eggs or butter. I love whipping these up when friends pop by unexpectedly or when I want a quick afternoon treat that won’t leave me waiting. The melty chocolate chips folded in at the end are my favorite surprise—each bite has that little gooey hit of chocolate that feels like a hug. Honestly, these bites have become my go-to for a fuss-free dessert or snack, especially when time is tight or it’s too warm to bake. Give it a try—you might just find your new favorite chocolate fix too!
What You'll Need
Approximately 12 brownie bites
- 1 cup old-fashioned rolled oats
- 1/2 cup almond flour
- 1/4 cup unsweetened cocoa powder
- 1/2 cup peanut butter, smooth
- 1/3 cup pure maple syrup
- 1 teaspoon vanilla extract
- 1/4 teaspoon salt
- 1/2 cup mini chocolate chips
How To Do It
Step 1
Start by combining the rolled oats, almond flour, cocoa powder, and salt in a large mixing bowl. Stir them together thoroughly to distribute the cocoa and salt evenly throughout the dry ingredients. This step is important because it ensures every bite has consistent flavor and texture. If you skip this, you might end up with pockets of dry powder or uneven sweetness.
⏱ Time: 5 minutes
✓ Doneness: The dry ingredients should be evenly mixed with a uniform chocolate color and no clumps.
Step 2
Next, add the peanut butter, maple syrup, and vanilla extract to the dry mixture. Use a sturdy spoon or your hands to mix everything until well combined. The peanut butter acts as a binder, so make sure it’s fully incorporated to hold the bites together. Rushing this step can cause the mixture to be crumbly and hard to shape.
⏱ Time: 5 minutes
✓ Doneness: The mixture should be sticky and hold together when pressed between your fingers.
Step 3
Fold in the mini chocolate chips gently but thoroughly. This step adds the melty chocolate pockets that make each bite special. Be careful not to overmix, as chocolate chips can begin to melt and lose their shape.
⏱ Time: 2 minutes
✓ Doneness: Chocolate chips evenly distributed but still intact.
Step 4
Using your hands, form the mixture into small bite-sized balls, about 1 inch in diameter. Press them firmly so they hold their shape but don’t compact them too tightly, or they’ll be dense instead of chewy. If the mixture feels too sticky, chill it for 10 minutes before shaping.
⏱ Time: 5 minutes
✓ Doneness: Bites hold their shape without crumbling or sticking excessively to your hands.
Step 5
Place the formed brownie bites on a parchment-lined tray or plate. Refrigerate them for at least 30 minutes to firm up and let the flavors meld. This chilling step is key for the perfect chewy texture and to prevent them from falling apart.
⏱ Time: 30 minutes
✓ Doneness: Bites feel firm but still soft to the touch.
Step 6
Once chilled, the bites are ready to enjoy! Store leftovers in an airtight container in the fridge to keep them fresh and chewy. They’re great served cold or at room temperature.
⏱ Time: 0 minutes
✓ Doneness: Brownie bites maintain shape and chewy texture when handled.
Step 7
If you want a slightly different texture, try rolling the bites in a little cocoa powder or finely chopped nuts before chilling. This adds a nice finishing touch and extra flavor without much effort.
⏱ Time: 3 minutes
✓ Doneness: Bites have a light coating and look evenly covered.
Step 8
For an extra chocolate boost, warm a few bites for 10 seconds in the microwave before serving. This makes the chocolate chips melty and the bites wonderfully soft, almost like freshly baked brownies.
⏱ Time: 1 minute
✓ Doneness: Chocolate chips glisten and bites feel soft but not melted.
Step 9
Experiment with mix-ins like chopped nuts, shredded coconut, or dried fruit to customize your bites. Just fold them in after the wet ingredients are combined and before shaping. This keeps the texture balanced and adds a personal twist.
⏱ Time: 2 minutes
✓ Doneness: Add-ins evenly distributed without making the mixture too loose.
Pro Tips
Chill the mixture before shaping if it feels too sticky.
Cooling the mixture firms up the peanut butter and syrup, making it easier to handle without sticking to your hands. If you skip this, you might struggle to shape neat bites and end up with a messier texture.
Use parchment paper when chilling to prevent sticking.
Placing the bites on parchment ensures they don’t stick to the tray or each other, preserving their shape and making clean-up easier. Without it, you risk damaging the bites when removing them.
Don’t overmix after adding chocolate chips.
Overmixing can cause the chocolate chips to melt prematurely, losing their shape and texture. Gently folding them in preserves those melty pockets that make the bites special.
Use a cookie scoop to make evenly sized bites.
Consistent size means even chilling and uniform texture. Smaller or larger bites may chill unevenly, affecting the chewiness or firmness.
Add a pinch of salt to balance sweetness.
Salt enhances the chocolate and peanut butter flavors, preventing the bites from tasting flat or overly sweet. It creates a more complex and satisfying flavor profile.
Store bites in an airtight container in the fridge.
Keeping them sealed prevents drying out and maintains their chewy texture. Exposure to air can harden the bites or make them crumbly.
Try warming bites slightly before eating.
A brief microwave zap softens the bites and melts the chocolate chips just enough to enhance gooeyness without making them too soft or messy.
Common Mistakes to Avoid
Skipping the chilling step
Why it happens People often want to eat their treats immediately and skip refrigeration, assuming the bites will hold shape.
Fix Chill the bites for at least 30 minutes to firm up the fats and binders. This step solidifies the structure, making them easier to handle and improving texture.
Using runny peanut butter
Why it happens Some peanut butters are oil-separated or very liquidy, which can throw off the recipe’s balance.
Fix Use smooth, well-stirred natural peanut butter or a thicker variety. If using runny, reduce other liquids slightly or add more almond flour to compensate.
Adding chocolate chips too early
Why it happens Mixing chips before wet ingredients can cause uneven distribution or melting.
Fix Always fold chocolate chips in last, after the batter is fully combined, to keep their shape and texture intact.
Not measuring ingredients accurately
Why it happens Eyeballing dry and wet ingredients can lead to too wet or dry mixtures.
Fix Use proper measuring cups and spoons. Consistency in measurements ensures the right texture and binding.
Overpacking the bites
Why it happens Pressing the mixture too firmly can make bites dense and tough.
Fix Shape bites gently but firmly; avoid compressing excessively to keep a soft, chewy texture.
Variations
Nut-Free Brownie Bites
Swap almond flour for oat flour and use sunflower seed butter instead of peanut butter for a nut-free version. The texture will be slightly softer but still chewy and delicious.
Note: Oat flour absorbs moisture differently, so you may need to chill the mixture longer before shaping.
Mint Chocolate Brownie Bites
Add 1/2 teaspoon peppermint extract and use dark chocolate chips for a refreshing minty twist. This variation is perfect for holiday treats or when you want something a bit different.
Note: Peppermint extract is potent—start with a small amount to avoid overpowering the chocolate.
Coconut Chocolate Brownie Bites
Mix in 1/4 cup shredded unsweetened coconut before chilling for a tropical flavor and a bit of texture contrast. Toasted coconut on top adds an extra layer of nuttiness.
Note: Toasting coconut requires careful monitoring to avoid burning; watch for golden edges.
Espresso Brownie Bites
Stir in 1 teaspoon instant espresso powder with the dry ingredients for a mocha flavor that intensifies the chocolate. Great for coffee lovers craving a caffeine kick with dessert.
Note: Espresso powder dissolves best when mixed with dry ingredients to distribute flavor evenly.
Vegan Brownie Bites
Ensure all ingredients like chocolate chips and peanut butter are vegan-friendly. Use maple syrup as the sweetener and you’ve got a delicious plant-based treat that everyone will enjoy.
Note: Check labels carefully as some chocolate chips contain milk derivatives.
Nutrition
Per Serving:
Nutritional values are estimates and may vary based on specific ingredients used.
Storage & Tips
Room Temperature
These brownie bites can safely sit at room temperature for up to 2 hours if covered to prevent drying out. Longer exposure risks softening and spoilage, especially in warm environments.
Refrigerator
Store in an airtight container in the fridge for up to 5 days. They may firm up more chilled but can be left out for 10-15 minutes before serving to soften slightly.
Freezer
Freeze bites in a single layer on parchment, then transfer to a freezer-safe container for up to 2 months. Thaw overnight in the fridge or at room temperature for an hour before eating to restore texture.
Reheating
Warm bites gently in the microwave for 10-15 seconds to soften and melt chocolate chips slightly. Avoid overheating or they’ll become too soft or oily.
Make Ahead
Prepare the mixture and shape bites up to 2 days ahead, then refrigerate. Alternatively, freeze shaped bites and chill on serving day for best texture and freshness.
FAQ
Can I use peanut butter alternatives?
Absolutely! Almond butter, cashew butter, or sunflower seed butter work well. Just keep in mind the flavor and fat content differences may slightly alter texture and taste. Use natural, smooth versions for best binding.
What if my mixture is too dry or crumbly?
If the mixture doesn’t stick together, add a small drizzle of maple syrup or a teaspoon of peanut butter and mix again. Sometimes measuring differences or ingredient moisture can cause dryness.
How long do these brownie bites last?
Stored properly in the fridge, they last about 5 days. Freezing extends shelf life to 2 months. Always keep them in airtight containers to maintain freshness and texture.
Can I add other mix-ins?
Definitely! Chopped nuts, dried fruit, or shredded coconut all work well. Add them right before shaping to keep the texture balanced and avoid overmixing.
Why don’t I need baking powder or soda?
These bites aren’t baked, so leavening agents aren’t necessary. The texture comes from the binding of wet ingredients and the chewiness of oats and almond flour.
Can I skip the chocolate chips?
You can, but the chocolate chips provide melty pockets that make the bites extra special. Without them, the bites will be denser and less gooey.
Why is chilling important?
Chilling firms up the fats and syrup, helping the bites hold their shape and develop the perfect chewy texture. Skipping this step results in a sticky, fragile mixture.
Can I make the bites larger or smaller?
Yes! Just adjust chilling time accordingly. Smaller bites chill faster and might be firmer; larger bites need more time and can be softer inside.
Final Thoughts
I hope you love these chewy no-bake brownie bites as much as I do! They’re perfect for anytime you want chocolate without fuss—give them a try and let me know how they turn out.