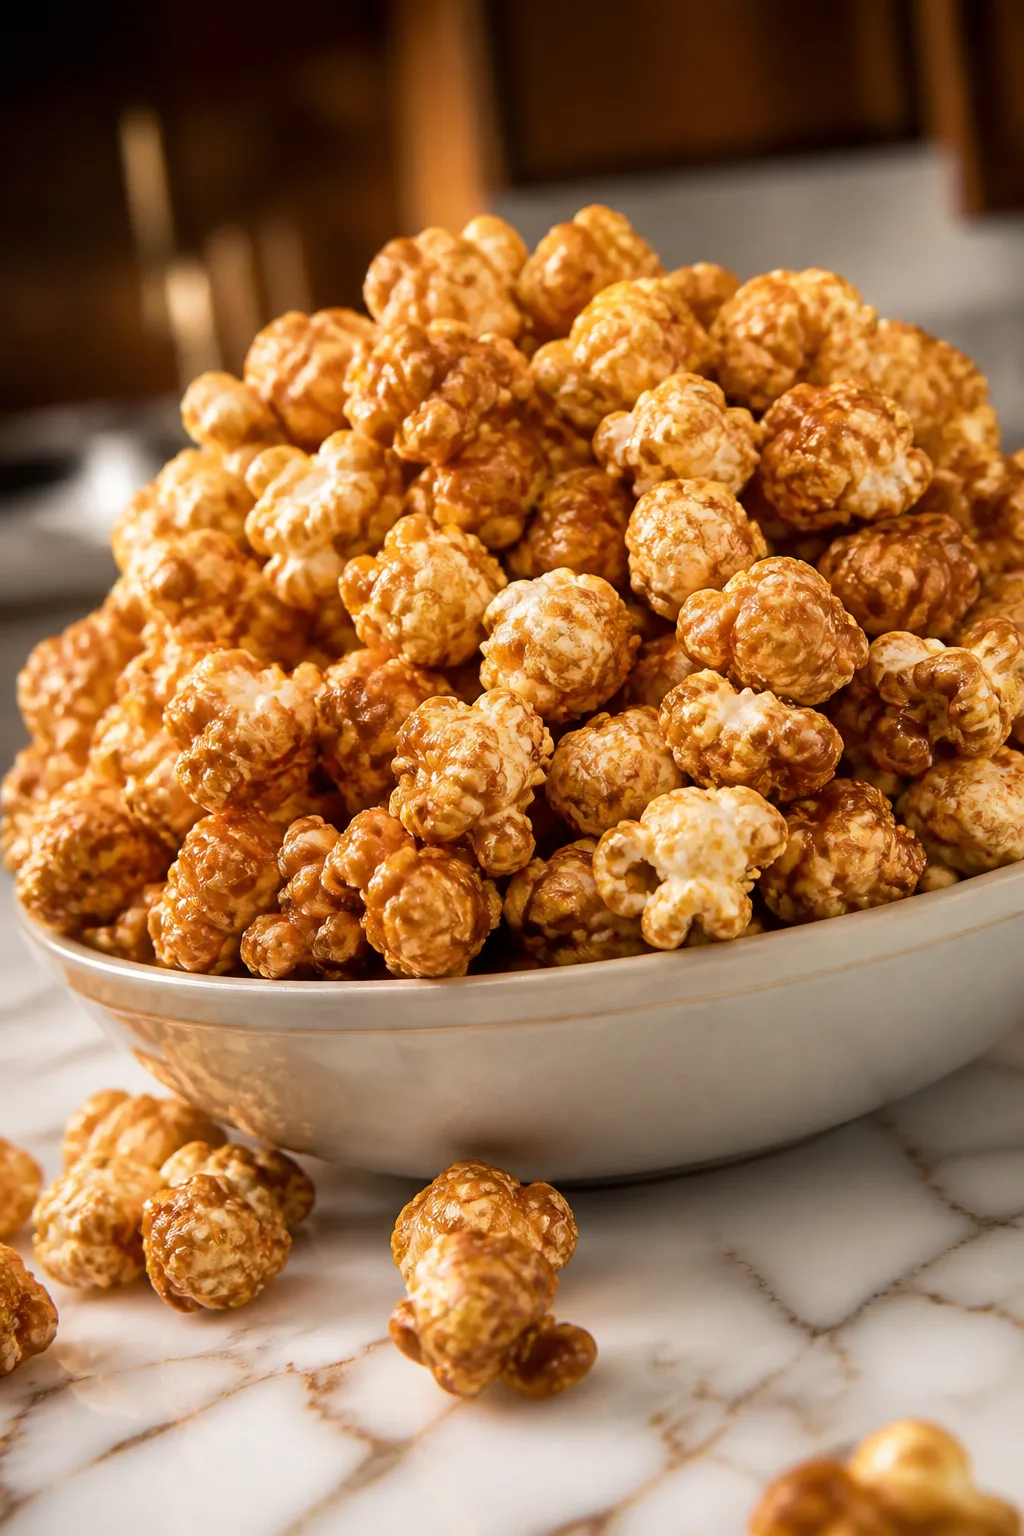
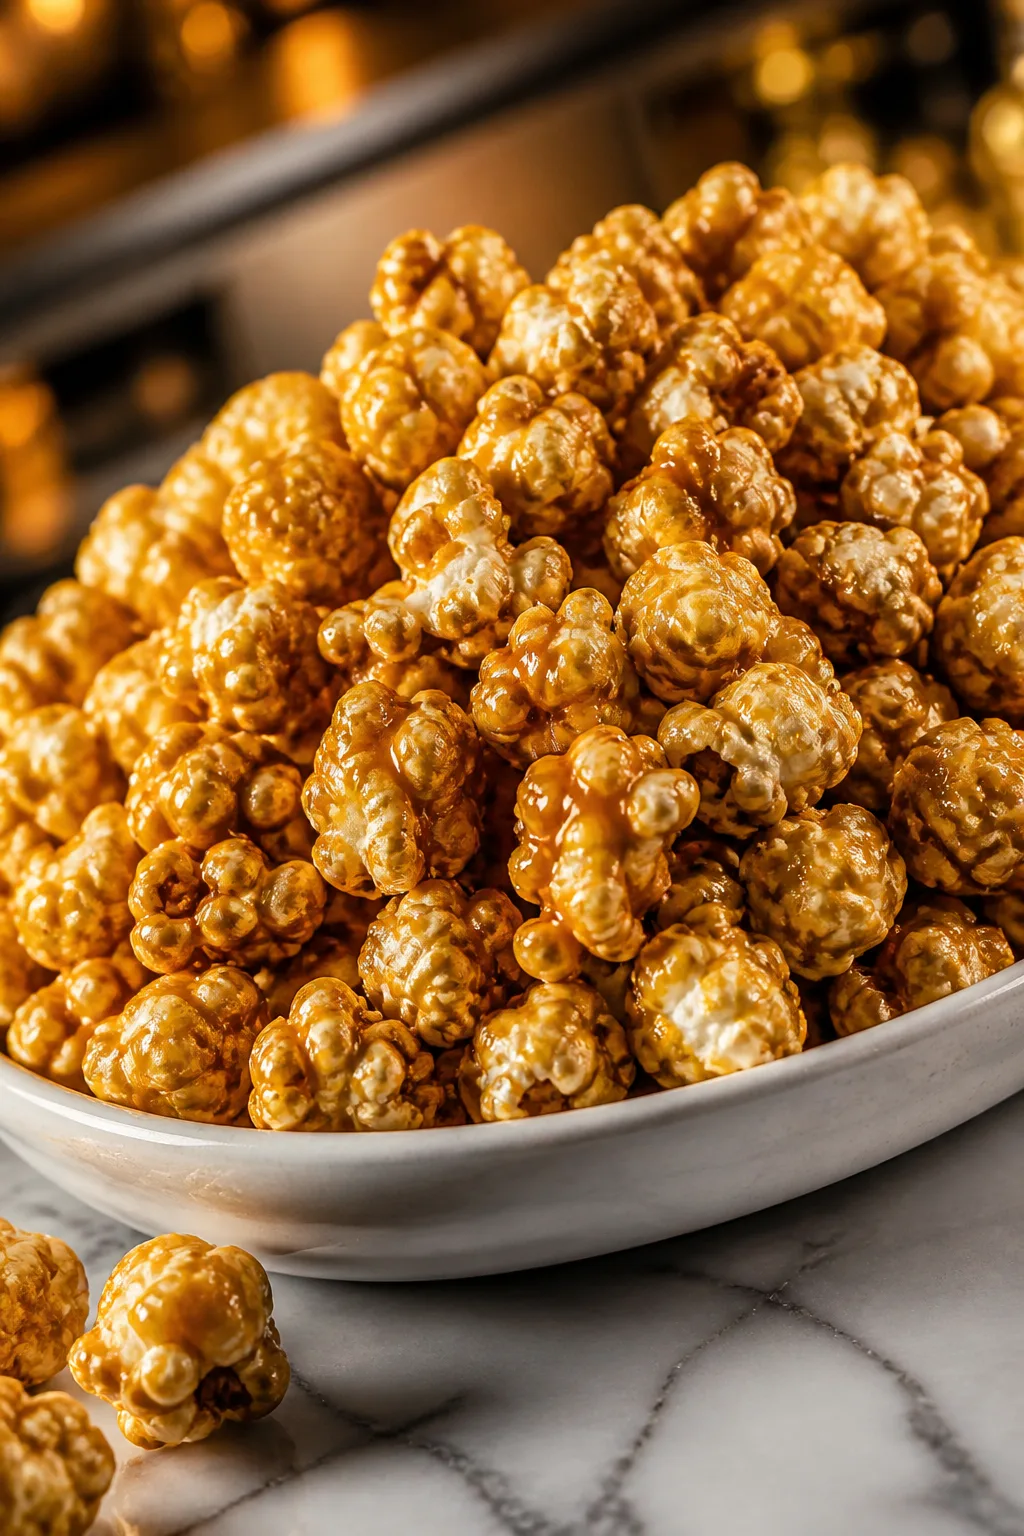
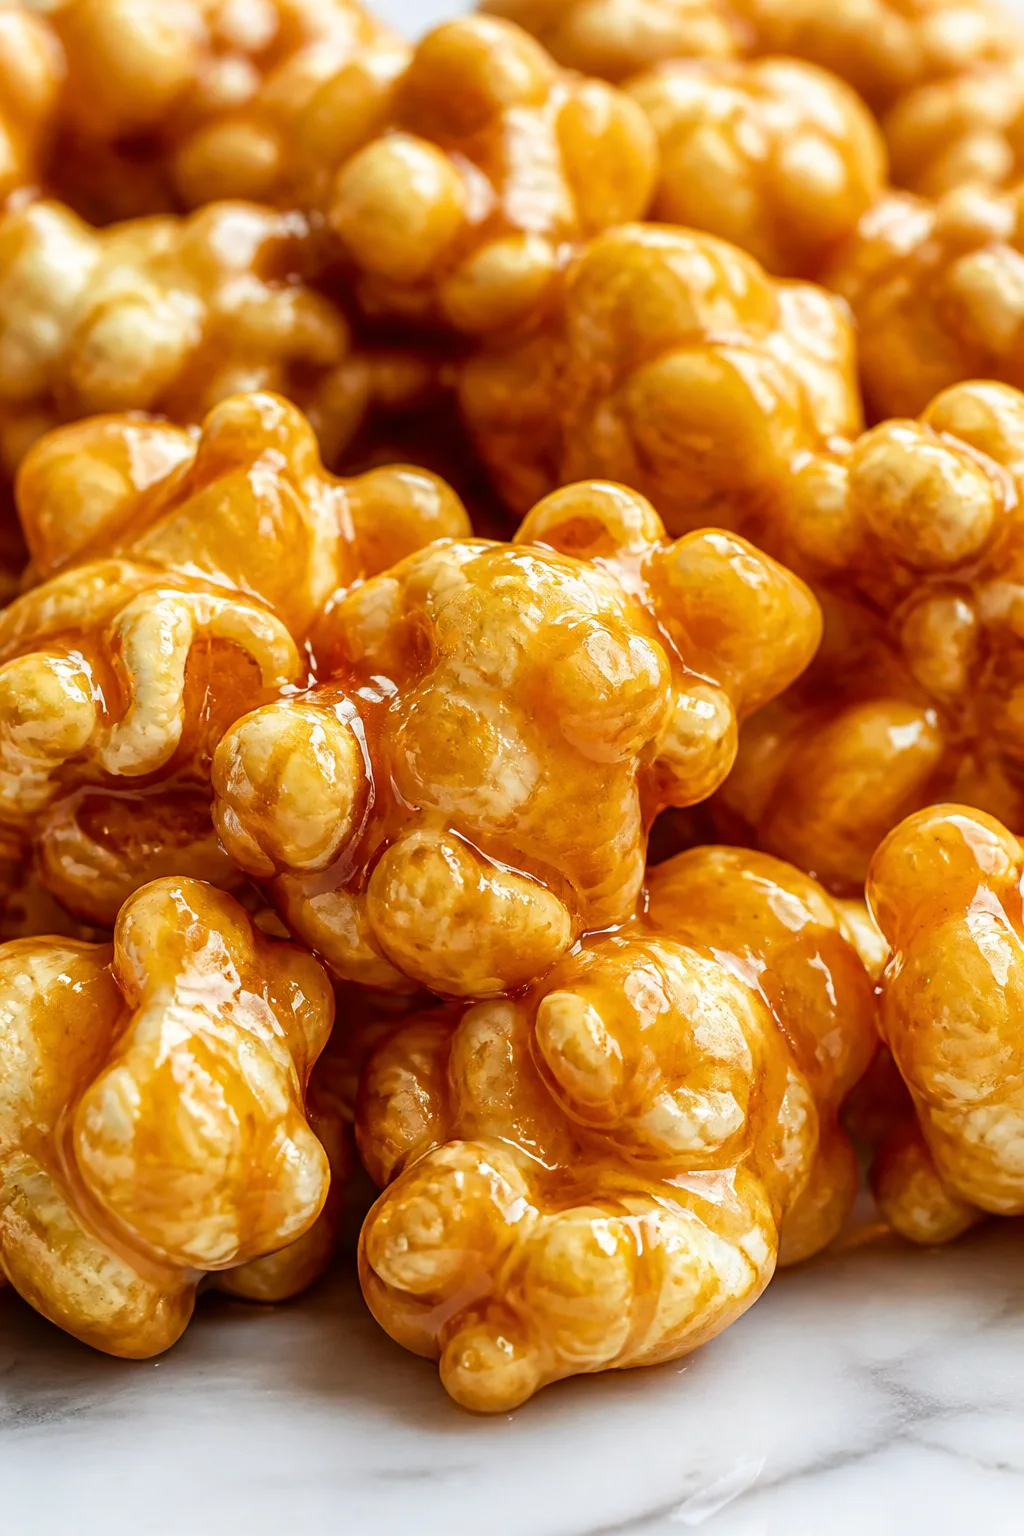
This caramel corn is everything you want in a nostalgic snack—sweet, crunchy, and buttery. The secret? A slow-cooked caramel glaze that coats every kernel perfectly. Great for movie nights or holiday treats!
Introduction
I first made this caramel corn years ago when I wanted a nostalgic treat that reminded me of fairs and movie nights as a kid. I tried a few recipes, but they either came out too sticky or not crunchy enough. Then I discovered the trick: slowly cooking the caramel glaze until it’s just right before tossing it with the popcorn. This method ensures every kernel gets a perfect, even coating without clumping or sogginess. I love that the baking soda added in at the end lightens the caramel texture, giving it that signature melt-in-your-mouth crunch. It’s such a crowd-pleaser whether you’re serving it at a holiday party or just craving a sweet snack on a lazy afternoon. Plus, making it at home means you avoid all the weird preservatives and get to enjoy that fresh, buttery caramel aroma filling your kitchen. I promise, once you try this, you’ll want to make it again and again. Just be ready with a big bowl because it disappears fast!
What You'll Need
Approximately 12 cups, 8 servings
- 12 cups popped popcorn (about 1/2 cup unpopped kernels)
- 1 cup unsalted butter (2 sticks)
- 2 cups packed light brown sugar
- 1/2 cup light corn syrup
- 1 teaspoon kosher salt
- 1/2 teaspoon baking soda
- 1 teaspoon vanilla extract
How To Do It
Step 1
Start by popping about half a cup of unpopped kernels to yield roughly 12 cups of popcorn. Use an air popper or stovetop method with a light coating of oil. Make sure to remove any unpopped kernels after popping, as they can be a choking hazard and won’t coat well. Having fresh, crisp popcorn is key to getting the best texture in the final caramel corn.
⏱ Time: 10 minutes
✓ Doneness: Popcorn should be fully popped, light, and fluffy with minimal unpopped kernels.
Step 2
Preheat your oven to 250°F (120°C) and line two large baking sheets with parchment paper. This low oven temp will help dry out the caramel corn, making it extra crunchy. Getting the oven ready early means you can move quickly once the caramel is made, which helps avoid soggy popcorn.
⏱ Time: 5 minutes
✓ Doneness: Oven is preheated to a steady 250°F and baking sheets are fully prepared.
Step 3
In a large saucepan over medium heat, melt 1 cup of unsalted butter. Stir gently to prevent burning. Butter is the base for the caramel sauce, and melting it slowly ensures it doesn’t brown prematurely, which could give a bitter taste. Keep an eye on it to maintain a smooth consistency before adding the sugars.
⏱ Time: 5 minutes
✓ Doneness: Butter is fully melted and bubbling lightly without browning.
Step 4
Add 2 cups packed light brown sugar, 1/2 cup light corn syrup, and 1 teaspoon kosher salt to the melted butter. Stir constantly until the mixture comes to a boil. The sugar and corn syrup create the caramel’s sweetness and glossy texture, while the salt balances the flavor. Stirring prevents sugar crystals from forming, which can ruin the smoothness.
⏱ Time: 3 minutes
✓ Doneness: Mixture reaches a steady boil and becomes thick and syrupy.
Step 5
Let the caramel mixture boil without stirring for 4-5 minutes. This step is crucial for cooking the caramel to the right temperature and consistency. Boiling without stirring encourages even cooking and prevents crystallization. Use a candy thermometer if you have one; the mixture should reach about 250°F (hard-ball stage).
⏱ Time: 5 minutes
✓ Doneness: Caramel reaches hard-ball stage, thick and bubbling steadily.
Step 6
Remove the saucepan from heat and quickly stir in 1/2 teaspoon baking soda and 1 teaspoon vanilla extract. The baking soda reacts with the acidic caramel, creating tiny bubbles that lighten the texture and make the coating crisp but airy. Vanilla adds a warm depth of flavor. Stir briskly but carefully to avoid splattering.
⏱ Time: 2 minutes
✓ Doneness: Caramel turns lighter in color and foams slightly.
Step 7
Immediately pour the caramel sauce over the popped popcorn in a large mixing bowl. Use a sturdy spatula or wooden spoon to gently fold and toss the popcorn, ensuring every kernel is evenly coated. Work quickly so the caramel doesn’t harden before coating the popcorn. Avoid stirring too aggressively to prevent breaking the popcorn.
⏱ Time: 5 minutes
✓ Doneness: Popcorn is fully coated with a shiny caramel glaze.
Step 8
Spread the caramel-coated popcorn evenly onto the prepared baking sheets. Try to keep it in a single layer so the heat can circulate and dry out the coating evenly. This step is what makes the caramel corn crispy instead of sticky. Use a spatula to spread and break up any large clumps.
⏱ Time: 5 minutes
✓ Doneness: Popcorn is spread in an even layer without thick clumps.
Step 9
Bake the popcorn at 250°F for 45-60 minutes, stirring every 15 minutes. This slow bake allows the caramel to dry and harden, creating that perfect crunch. Don’t skip the stirring, or you’ll end up with unevenly coated clumps. Once done, let it cool completely on the baking sheets before storing.
⏱ Time: 45-60 minutes
✓ Doneness: Caramel corn is dry to the touch, crisp, and golden brown.
Pro Tips
Use a candy thermometer to monitor caramel temperature precisely.
The temperature controls when the sugar reaches the hard-ball stage needed for crisp caramel. Without a thermometer, it’s easy to under- or overcook the caramel, resulting in sticky or burnt coating, respectively.
Stir the caramel mixture constantly until it boils, then stop stirring.
Stirring initially dissolves the sugar evenly. Once boiling, stopping stirring prevents sugar crystals from forming, which can cause grainy caramel instead of smooth.
Remove unpopped kernels before coating popcorn.
Unpopped kernels can be hard and unpleasant to bite. They also don’t get coated well and can damage teeth or cause choking hazards, so it’s safer and more enjoyable to discard them.
Bake the coated popcorn at a low temperature and stir regularly.
Slow baking dries out the caramel glaze, turning it crisp instead of sticky. Stirring prevents clumps and ensures even drying, which is crucial for texture.
Use parchment paper on baking sheets to prevent sticking.
Caramel is sticky and can bond with metal surfaces. Parchment paper makes cleanup easier and helps keep the caramel corn intact when transferring or storing.
Cool the caramel corn completely before storing.
Cooling allows the caramel to harden fully, preserving crunch. Storing it warm traps moisture and results in soggy popcorn.
Store caramel corn in an airtight container away from humidity.
Exposure to air and moisture softens the caramel coating. Airtight containers keep it fresh and crunchy longer.
Common Mistakes to Avoid
Skipping the baking soda in the caramel mixture.
Why it happens Sometimes people think baking soda isn’t necessary or worry it will affect flavor negatively.
Fix Always add baking soda after removing caramel from heat. It’s essential for aerating the caramel and achieving a light, crisp texture. Without it, the caramel becomes dense and sticky.
Cooking caramel at too high or too low a temperature.
Why it happens Without a candy thermometer, it’s easy to misjudge the sugar’s doneness by sight alone.
Fix Use a candy thermometer to reach the hard-ball stage (~250°F). Under-cooked caramel will be sticky and soft; over-cooked caramel can burn and taste bitter.
Not stirring the popcorn during baking.
Why it happens People may want to save time or think it’s unnecessary.
Fix Stir every 15 minutes to break up clumps and ensure even drying. Skipping this step leads to uneven texture and sticky clusters.
Using old or oily popcorn.
Why it happens Sometimes leftover popcorn is used to save time or money.
Fix Always use freshly popped popcorn without excess oil. Old or oily popcorn won’t coat well and results in soggy caramel corn.
Pouring caramel onto popcorn too slowly.
Why it happens Some try to drizzle the caramel carefully to avoid clumps.
Fix Pour the caramel quickly over popcorn and toss immediately. This ensures even coating before the caramel hardens.
Variations
Spicy Cinnamon Caramel Corn
Add 1 teaspoon ground cinnamon and a pinch of cayenne pepper to the caramel sauce before mixing with popcorn. This gives a warm, spicy kick balancing the sweetness. Expect a slightly different aroma and a cozy flavor profile that’s perfect for fall.
Note: The extra spices don’t affect cooking times but add complexity. Stir well to evenly distribute the spices.
Chocolate Drizzled Caramel Corn
After baking and cooling, drizzle melted dark chocolate over the caramel corn and let it set. The combination of rich chocolate and buttery caramel adds decadence and a fun twist to the classic recipe.
Note: Allow caramel corn to cool fully before adding chocolate to prevent melting the caramel coating.
Nutty Caramel Corn Mix
Toss 1 cup of roasted pecans or almonds with the popcorn before adding caramel. The nuts add crunch and a toasty flavor that complements the caramel beautifully. It’s a great way to add texture and protein.
Note: Ensure nuts are dry and roasted to avoid sogginess. Mix nuts with popcorn before coating for even coverage.
Salted Caramel Corn
Sprinkle flaky sea salt over the caramel-coated popcorn immediately after baking. The salty contrast enhances the caramel’s sweetness and adds a gourmet touch.
Note: Use coarse flakes for texture. Add salt right after baking while caramel is still warm for best adherence.
Maple Caramel Corn
Replace the corn syrup with pure maple syrup for a natural, earthy sweetness. The flavor will be richer and less processed tasting. Great for those who prefer natural sweeteners.
Note: Maple syrup may change the caramel’s consistency slightly; cook carefully to avoid burning.
Nutrition
Per Serving:
Nutritional values are estimates and may vary based on specific ingredients used.
Storage & Tips
Room Temperature
Caramel corn keeps well at room temperature for up to 3 days if stored in an airtight container away from humidity. Avoid leaving it uncovered as moisture will soften the coating.
Refrigerator
You can refrigerate caramel corn in an airtight container for up to 1 week. Keep in mind refrigeration may cause slight softening of the caramel coating, so it’s best served at room temperature. Let it sit out for 15 minutes before serving.
Freezer
Freeze caramel corn in a sealed freezer-safe bag or container for up to 2 months. To prevent freezer burn, remove as much air as possible. Thaw at room temperature before eating; avoid microwaving as it can melt the caramel.
Reheating
Reheat caramel corn in a low oven (250°F) for 5-8 minutes to restore crispness if it has softened. Avoid microwave reheating as it can make the coating sticky and chewy.
Make Ahead
You can pop the popcorn and prepare the caramel sauce a day ahead separately, then combine and bake on the day you want to serve. This keeps the popcorn fresh and the caramel coating crisp.
FAQ
Can I use microwave popcorn instead of popping kernels?
While you can use microwave popcorn, it often contains added oils and flavors that can interfere with the caramel coating process and make the final product greasy or less crisp. For best results, use freshly popped kernels without added butter or salt.
What if my caramel turns grainy or crystallizes?
Crystallization happens when sugar crystals form during cooking. To avoid this, stir the sugar mixture only until it boils, then stop stirring and let it cook undisturbed. Using corn syrup also helps prevent crystals. If it happens, start over with fresh ingredients.
How do I store leftover caramel corn?
Store caramel corn in an airtight container at room temperature for up to 3 days to maintain crispness. Avoid humidity and direct sunlight. For longer storage, freezing is recommended.
Can I make this recipe vegan?
You can substitute the butter with a vegan margarine or coconut oil, and use a vegan-friendly corn syrup. Keep in mind this may slightly change the flavor and texture, but it will still be delicious.
Why do I need to bake the caramel corn after coating?
Baking dries out the caramel coating, turning it from sticky to crisp. Without baking, the caramel remains soft and sticky, causing clumps and less enjoyable texture.
What’s the purpose of adding baking soda?
Baking soda reacts chemically with the acidic caramel, creating tiny bubbles that aerate the coating. This makes the caramel lighter and crispier rather than dense and chewy.
Can I add nuts or other mix-ins?
Yes! Adding nuts like pecans or almonds before coating is a great way to add crunch and flavor. Just make sure the nuts are dry and roasted to avoid sogginess.
How do I fix burnt caramel?
If your caramel smells bitter or looks very dark, it’s burnt and should be discarded. Burnt caramel tastes unpleasant and ruins the snack’s flavor. Always cook on medium heat and watch the thermometer closely.
Final Thoughts
I hope you enjoy making and sharing this classic caramel corn as much as I do. It’s a simple treat that brings back sweet memories and tastes incredible every time—give it a try and let me know how it turns out!