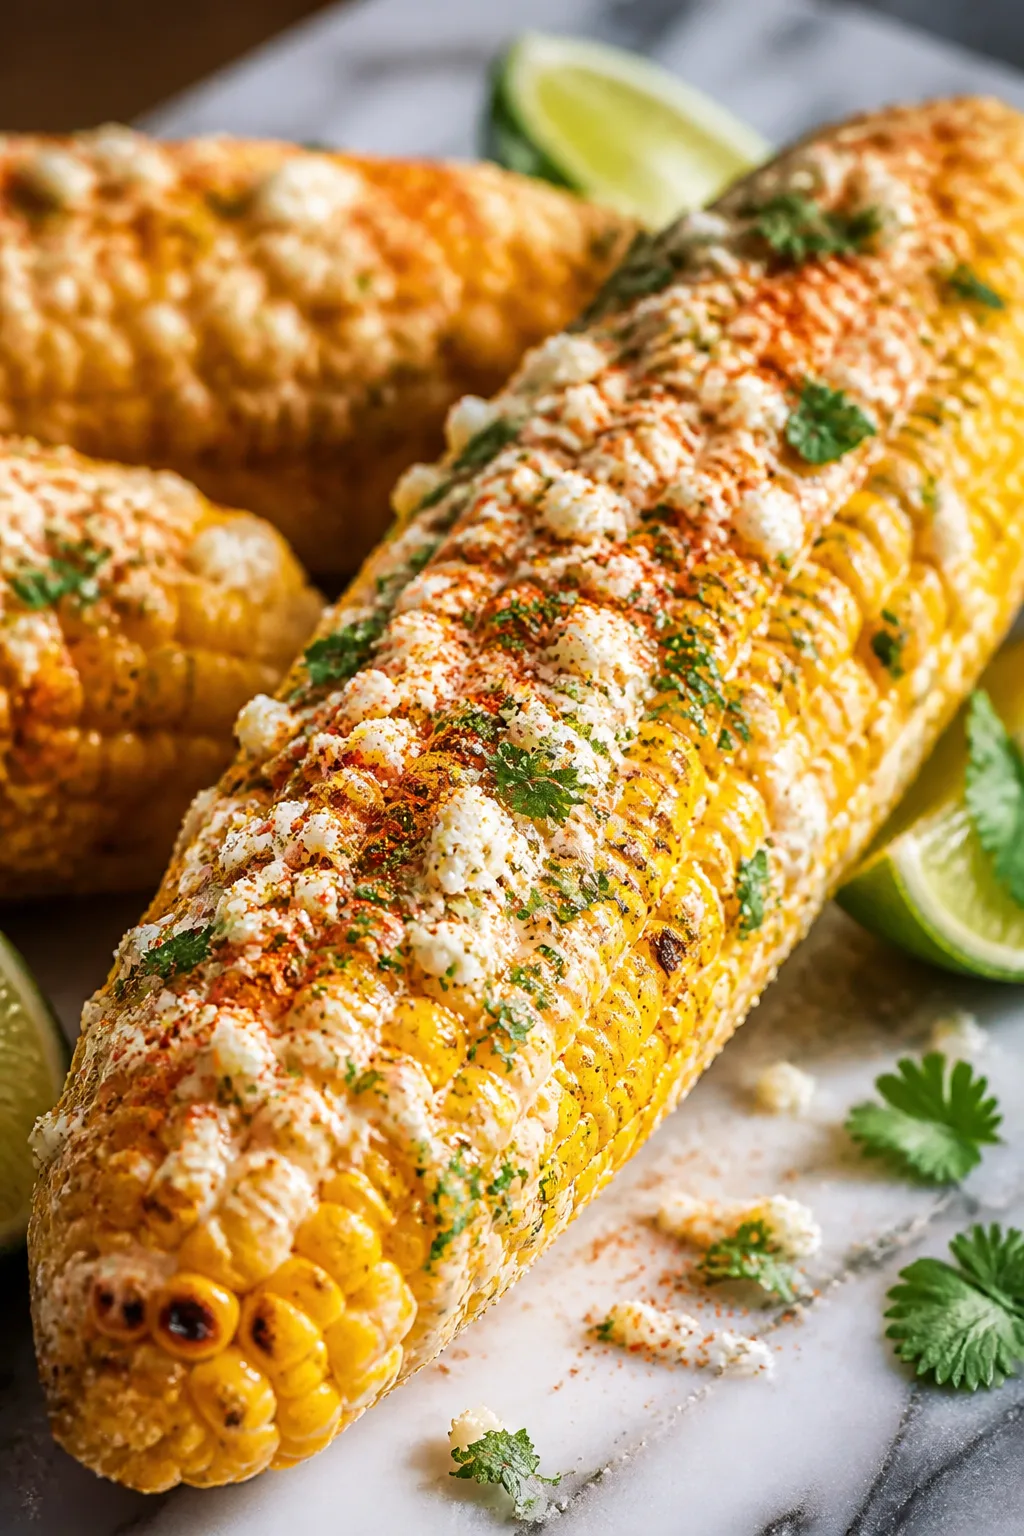
This fresh corn on the cob is the easiest way to enjoy summer's best flavors. Just fresh corn, butter, and a pinch of salt make it tender, juicy, and perfect for any backyard meal. So good and simple!
Introduction
I remember the first time I really appreciated fresh corn on the cob—it was at a family cookout, and the corn was so sweet and tender it felt like summer on a plate. Since then, I’ve been hooked on this simple side dish. What I love about this recipe is how it highlights fresh corn’s natural sweetness without drowning it in too many extras. The trick I learned is to boil the corn just long enough to keep it juicy and tender but not mushy, then slather it with butter while it’s still hot so it melts perfectly into every crevice. It’s a little bit nostalgic, a little bit magic. When you bite in, you get that satisfying pop of juice followed by the creamy richness of butter and a gentle hint of salt. Perfect for weeknight dinners or weekend barbecues, it’s a side that always feels like a celebration of simple, fresh ingredients. I’ve tried roasting and grilling corn too, but sometimes, the classic boiled method just wins for ease and pure corn flavor. Give it a go—you’ll feel like you’re tasting summer itself.
How To Do It
Step 1
Fill a large pot with water, enough to cover the corn completely, and bring it to a rolling boil over high heat. Boiling is the quickest way to cook corn evenly and lock in its natural sugars. Avoid adding salt to the water because it can toughen the kernels. Once boiling, reduce the heat slightly to maintain a gentle boil, which prevents the corn from cooking too aggressively and losing tenderness.
⏱ Time: 5 minutes
✓ Doneness: The corn kernels should be bright yellow and tender when pierced with a fork but still snap slightly when bitten.
Step 2
Carefully add the husked corn ears into the boiling water using tongs. Let them cook uncovered for about 7-10 minutes depending on the size and freshness of your corn. Fresh corn cooks faster, so start checking around 7 minutes. Overcooking can lead to mushy kernels, so timing is key. Keep an eye on the water to ensure it stays boiling gently.
⏱ Time: 7-10 minutes
✓ Doneness: The kernels will be plump, juicy, and easily pierced by a fork without resistance.
Step 3
Using tongs, remove the corn from the water and let it drain briefly. While still hot, spread softened butter evenly over each ear. The heat helps the butter melt smoothly into every kernel, enriching the flavor and texture. If the butter is too cold, it won’t coat the corn properly, so make sure it’s softened beforehand.
⏱ Time: 2 minutes
✓ Doneness: Butter should be visibly melted and glistening over the corn, coating all sides.
Step 4
Sprinkle sea salt generously over the buttered corn. Salt enhances the natural sweetness of the corn and balances the richness of the butter. I prefer sea salt because it adds a nice crunch and subtle flavor, but regular table salt works fine too. Add freshly ground black pepper if you want a slight kick.
⏱ Time: 1 minute
✓ Doneness: Salt crystals should be evenly distributed and lightly resting on the buttered surface.
Step 5
Serve the corn immediately while it’s warm and juicy. Eating it fresh ensures the best texture and flavor. If you wait too long, the corn can cool and the butter will harden, making it less enjoyable. Pair it with grilled meats or fresh salads for a classic summer meal.
⏱ Time: Serve immediately
✓ Doneness: Corn should be warm, buttery, and tender with a fresh, sweet aroma.
Step 6
If you want to add a little extra flavor, try brushing the corn with a mixture of melted butter, lime juice, and chopped cilantro after cooking. This adds brightness and a fresh twist to the classic recipe. Just mix the ingredients well and brush on while the corn is still hot so the flavors soak in.
⏱ Time: 3 minutes
✓ Doneness: The corn should have a glossy finish with visible herbs and a fresh citrus scent.
Step 7
For a smoky touch, you can finish the boiled corn on a hot grill for 2-3 minutes, turning frequently. This adds a subtle char and depth of flavor without drying out the kernels. Watch carefully to avoid burning, as the butter can drip and flare up.
⏱ Time: 2-3 minutes
✓ Doneness: Light grill marks appear on the kernels, and the corn has a faint smoky aroma.
Step 8
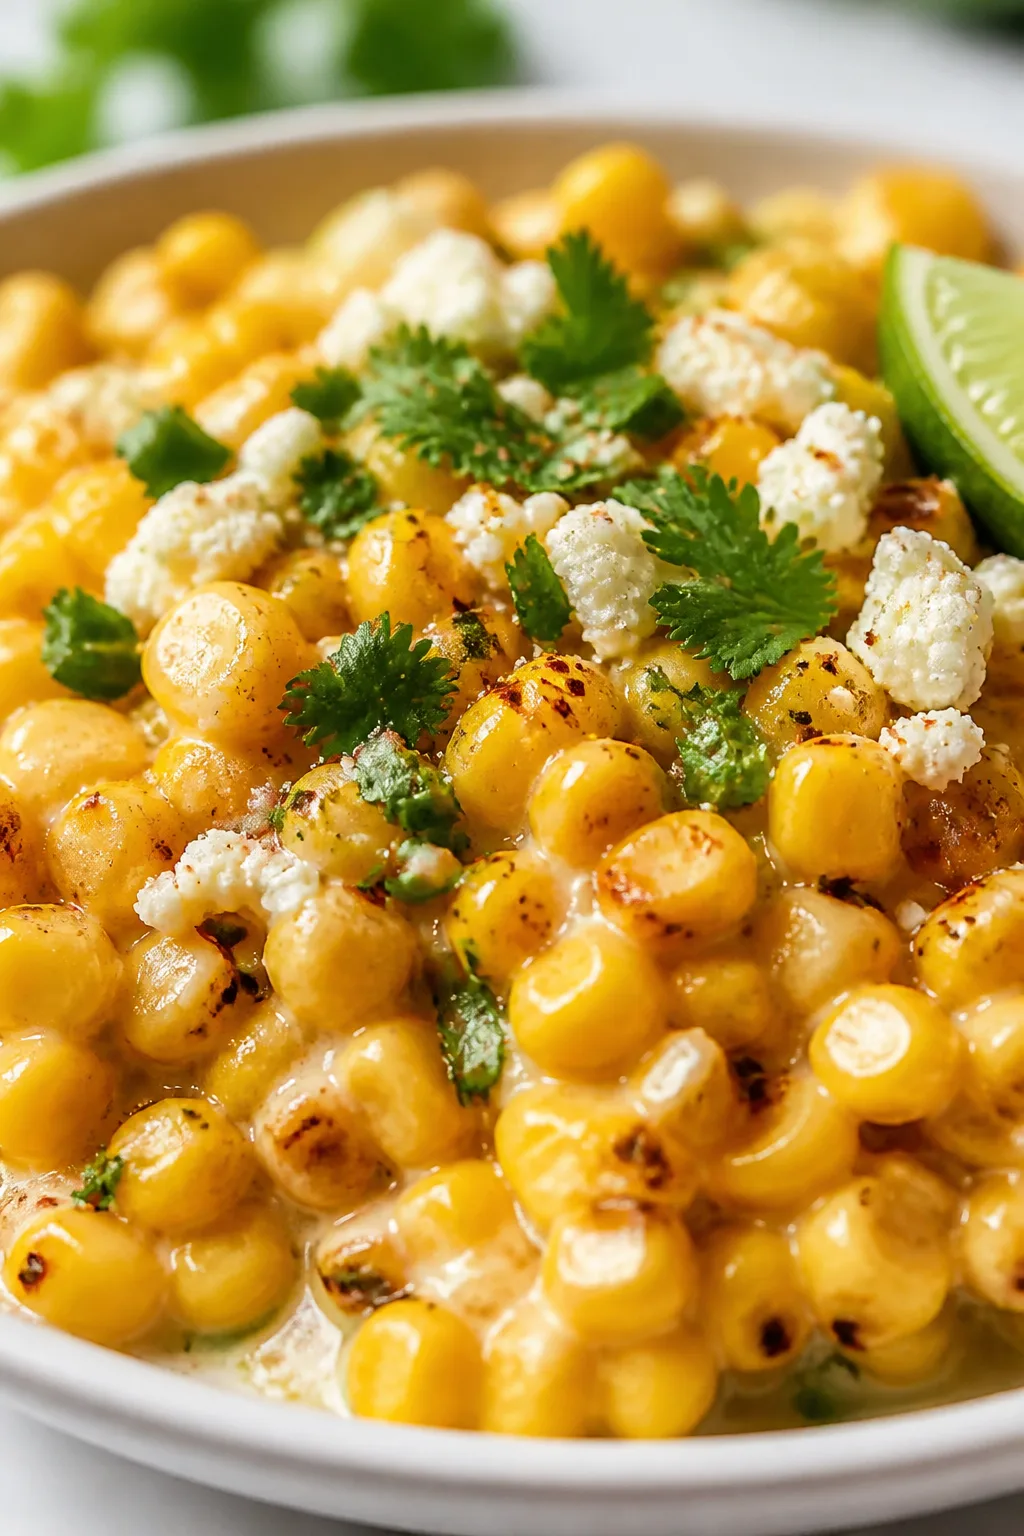
If you prefer, you can cut the kernels off the cob after boiling for use in salads or salsas. Let the corn cool slightly, then stand each ear upright and slice downward with a sharp knife. This technique keeps the kernels intact and juicy for other dishes.
⏱ Time: 5 minutes
✓ Doneness: Kernels come off easily in neat rows without crushing or mashing.
Step 9
Clean up by discarding the cobs or composting them if possible. Wipe down your prep area and rinse any utensils used for handling butter and salt to prevent sticky residue. Keeping your kitchen tidy helps maintain a smooth cooking flow and prevents flavor contamination.
⏱ Time: 5 minutes
✓ Doneness: Prep area is clean and ready for your next meal prep.
Pro Tips
Don’t overboil the corn—7 to 10 minutes max.
Overcooking breaks down the starches too much, making kernels mushy and less flavorful. The ideal texture is tender but still slightly firm, which boiling for the right time ensures.
Use softened butter, not cold, for spreading.
Cold butter won’t melt well and can clump on the corn, leaving uneven coating. Softened butter melts instantly on hot corn, giving a smooth, rich finish.
Add salt after cooking, not in the water.
Salt in boiling water toughens the corn by drawing moisture out of the kernels. Sprinkling salt afterward enhances flavor without affecting texture.
Try a quick grill after boiling for smoky flavor.
Grilling adds caramelization and complexity via Maillard reactions without drying out the kernels if done briefly.
Serve corn immediately for best taste.
Corn cools quickly, and butter hardens, which dulls flavor and texture. Freshly cooked corn is juiciest and most aromatic.
For extra flavor, brush with lime butter.
The lime’s acidity balances richness and brightens the dish, making it more refreshing especially on warm days.
Use tongs to handle hot corn safely.
Corn is slippery and hot; tongs prevent burns and allow even handling without damaging kernels.
Common Mistakes to Avoid
Boiling corn too long
Why it happens Many think longer cooking means softer corn, but it actually makes kernels mushy and flavorless.
Fix Set a timer and check the corn by piercing a kernel after 7 minutes. Stop cooking as soon as it’s tender but still crisp.
Adding salt to boiling water
Why it happens Some believe salt seasons the corn better this way, but it toughens kernels by dehydrating them.
Fix Skip salting the water and sprinkle salt on the hot cooked corn instead for maximum flavor and tenderness.
Using cold butter on hot corn
Why it happens Cold butter doesn’t spread evenly and can clump, leaving uneven flavor and texture.
Fix Soften butter to room temperature before spreading so it melts quickly and coats the kernels well.
Not draining corn after boiling
Why it happens Leaving corn wet can dilute butter and seasoning, making it less flavorful.
Fix Use tongs to lift corn and let excess water drip off before buttering.
Storing cooked corn without covering
Why it happens Exposed corn dries out quickly, losing juiciness and flavor.
Fix Store in an airtight container or wrap with foil to keep moisture locked in.
Variations
Spicy Chili Lime Corn
Add a kick by mixing chili powder and lime zest into the butter before spreading on hot corn. This gives a spicy, tangy flavor that’s perfect for summer parties. Expect a vibrant, zesty bite with a mild heat that complements the sweetness.
Note: Use fresh lime zest and mild chili powder to avoid overpowering the corn’s natural flavor.
Parmesan Herb Butter Corn
Mix grated Parmesan cheese and chopped fresh herbs like parsley or basil into softened butter. Spread on hot corn for a savory, cheesy twist with herbal brightness. This version feels more indulgent and pairs well with grilled meats.
Note: Add Parmesan last to avoid clumping; use finely grated cheese for smooth spreading.
Garlic Butter Corn on the Cob
Infuse butter with minced garlic, warming gently before brushing on corn. The garlic adds a rich, aromatic depth that makes this simple side dish more complex and satisfying. Great for garlic lovers craving extra flavor.
Note: Cook garlic gently in butter to soften harshness but avoid browning which can make it bitter.
Mexican Street Corn Style
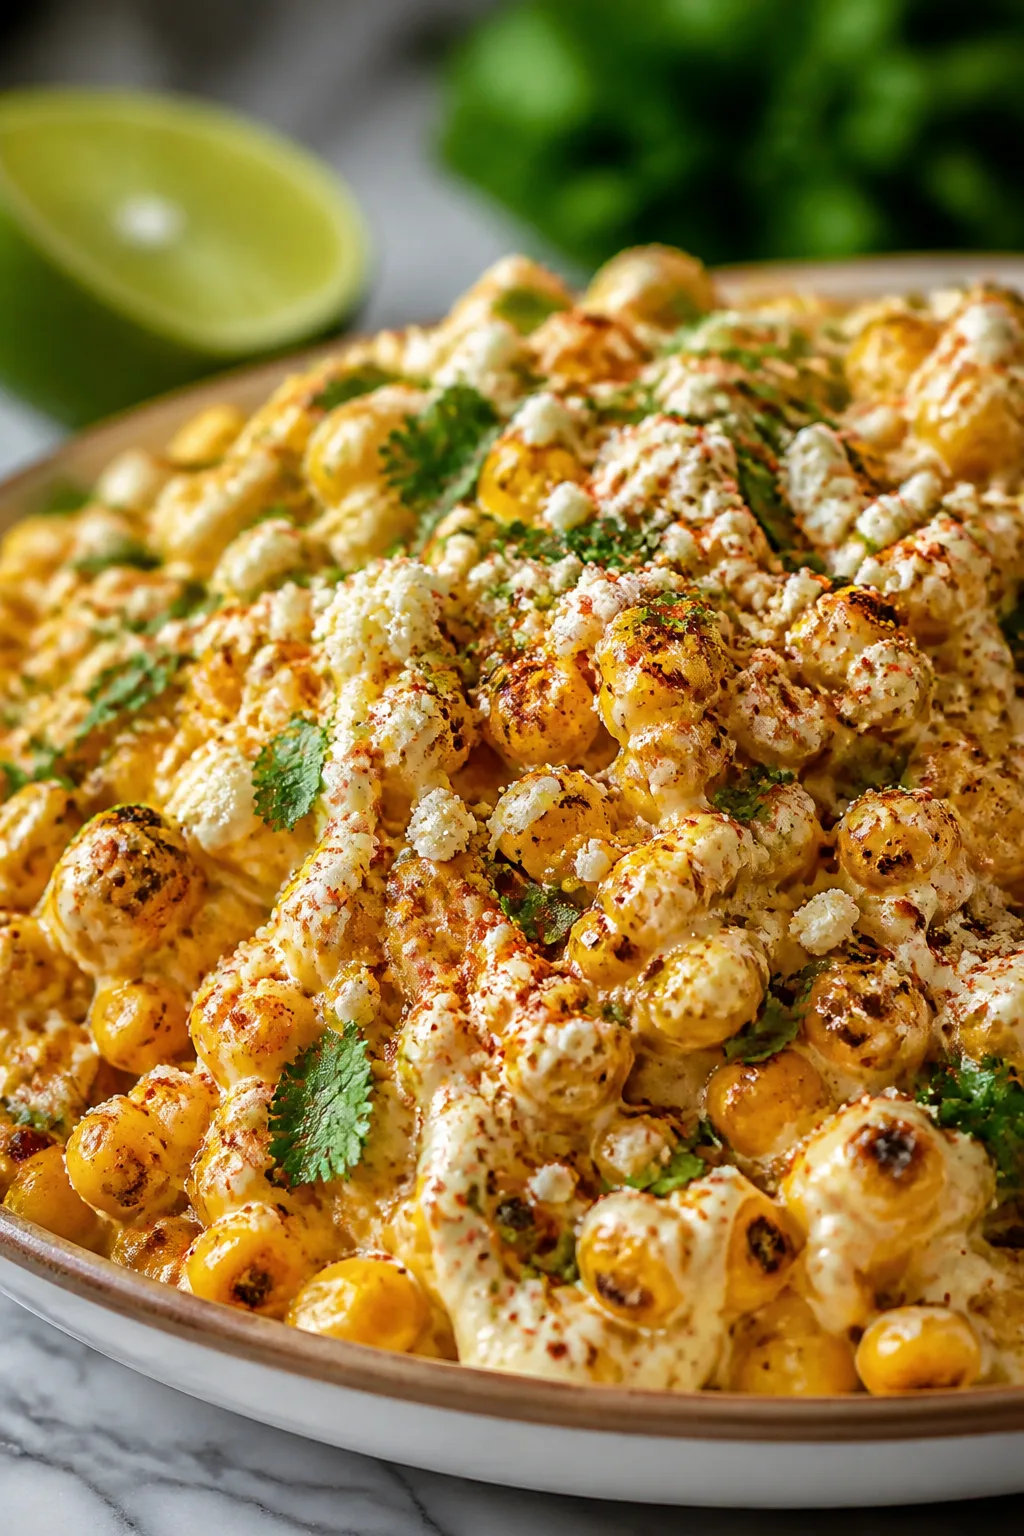
After boiling, coat the corn in a mixture of mayonnaise, cotija cheese, chili powder, and lime juice. This version is creamy, tangy, and spicy with a salty cheese finish. Expect a bold, layered flavor and creamy texture.
Note: Use fresh cotija cheese and apply toppings immediately while corn is warm for best adhesion.
Roasted Corn with Smoked Paprika
Instead of boiling, roast corn in the oven with butter and smoked paprika. This method intensifies sweetness and adds smoky notes without needing a grill. The texture is slightly drier but still tender with a caramelized crust.
Note: Roast at 425°F for 15-20 minutes, turning halfway to ensure even cooking.
Nutrition
Per Serving:
Nutritional values are estimates and may vary based on specific ingredients used.
Storage & Tips
Room Temperature
Cooked corn can safely sit out at room temperature for up to 2 hours if covered loosely to prevent drying. Beyond that, bacteria growth increases, so it’s best to refrigerate promptly.
Refrigerator
Store leftover corn in an airtight container in the fridge for up to 3 days. Note that the butter may harden and the corn will lose some juiciness. Reheat gently to restore warmth and soften butter.
Freezer
Freezing corn on the cob is possible but not ideal as texture suffers. Wrap ears tightly in plastic wrap and place in a freezer bag for up to 3 months. Thaw in the fridge overnight and reheat gently to minimize sogginess.
Reheating
Reheat corn by wrapping in foil and warming in a 350°F oven for 10-15 minutes. Alternatively, microwave covered for 1-2 minutes with a splash of water to keep moisture. Avoid high heat that dries out kernels.
Make Ahead
You can boil corn a day ahead, then store covered in the fridge. Before serving, reheat gently and add fresh butter and salt to revive flavors and texture.
FAQ
Can I use frozen corn instead of fresh for this recipe?
Yes, frozen corn kernels can be boiled similarly, but the texture and sweetness won’t be quite the same as fresh corn on the cob. Frozen corn is already blanched, so cook it just until heated through to avoid mushiness.
Why shouldn’t I add salt to the boiling water?
Adding salt to boiling water can toughen the corn kernels by pulling moisture out, making them less tender. It’s better to season after cooking to enhance flavor without sacrificing texture.
How do I know when the corn is perfectly cooked?
Perfectly cooked corn is bright yellow, tender when pierced with a fork, but still has a slight snap when bitten. Overcooked corn becomes dull and mushy, so check around 7 minutes and test frequently.
Can I grill corn instead of boiling it?
Absolutely! Grilling adds smoky flavor and caramelization. You can boil first then grill briefly for a tender inside with charred outside, or grill raw corn with husks on for a steamed effect.
What’s the best butter to use for this recipe?
Unsalted butter is best so you can control salt levels precisely. Choose high-quality butter for richer flavor and creamier texture. Avoid margarine or low-fat spreads as they don’t melt or flavor the corn as well.
How do I store leftover corn to keep it fresh?
Wrap leftover corn tightly in plastic wrap or store in an airtight container in the fridge. It’s best eaten within 3 days. Reheat gently to revive juiciness and soften butter.
Can I add other seasonings besides salt and pepper?
Definitely! Try lime juice, chili powder, garlic butter, or fresh herbs like cilantro. These add unique flavor twists but keep the corn’s natural sweetness front and center.
Why does my corn sometimes taste bland?
Corn flavor depends heavily on freshness. Older corn loses sugars and moisture. Also, undercooking or skipping the butter and salt can leave it tasting flat. Use fresh corn, cook just right, and season well.
Final Thoughts
I hope you give this simple, buttery corn on the cob a try soon—it’s such an easy way to celebrate fresh summer flavors. Let me know how yours turns out!