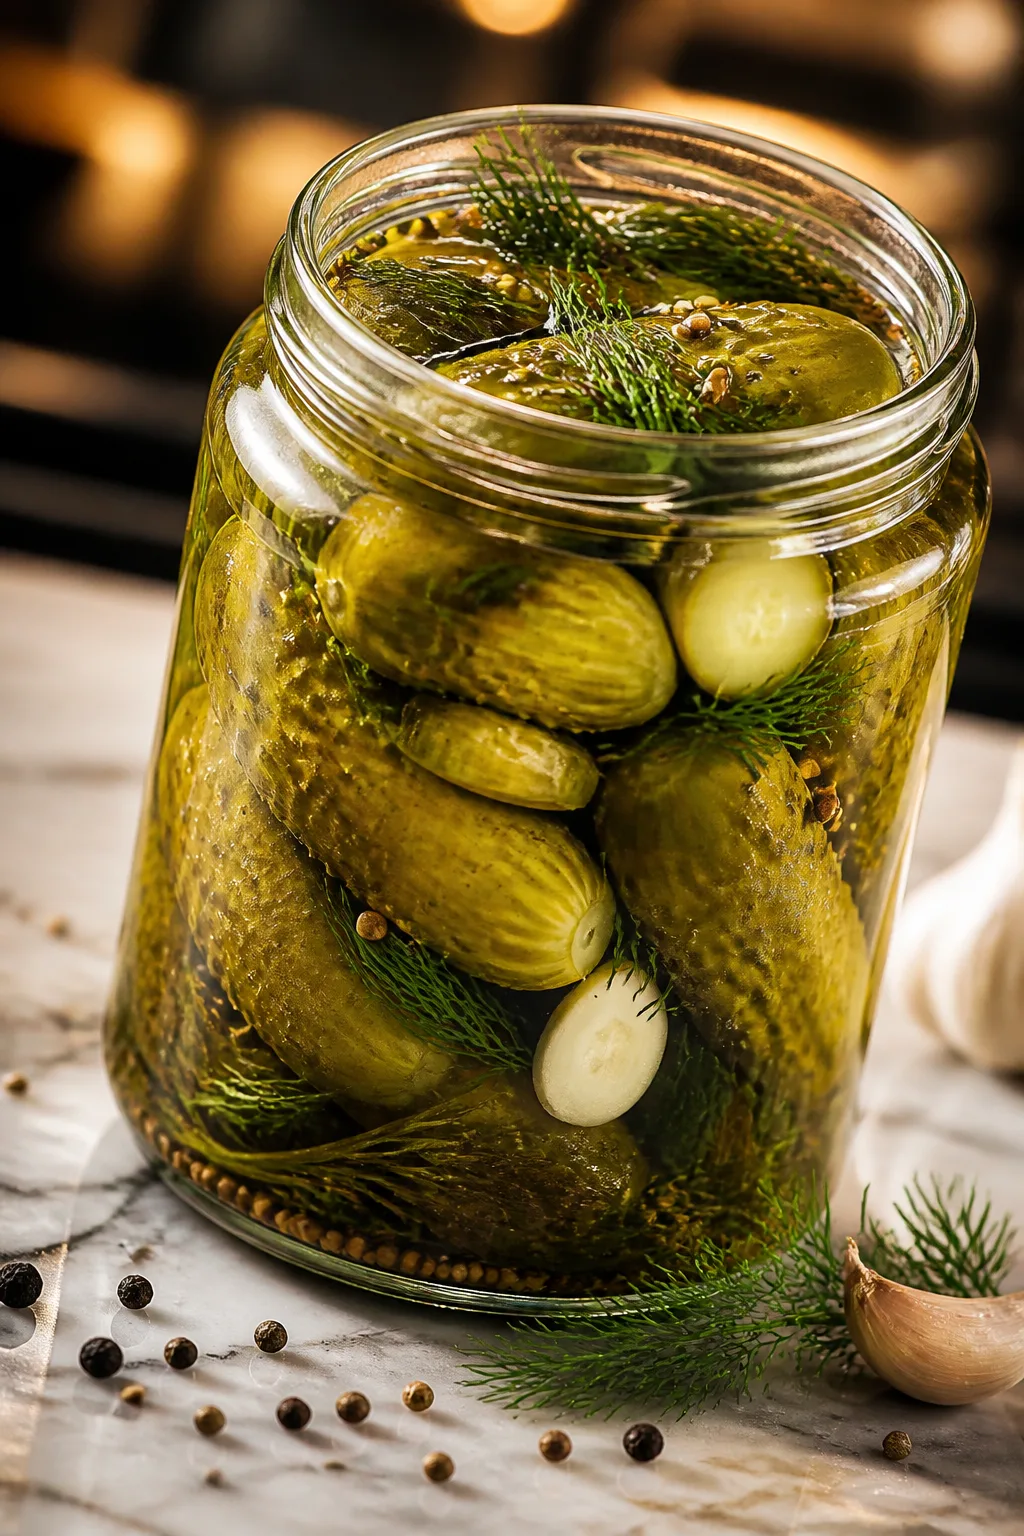
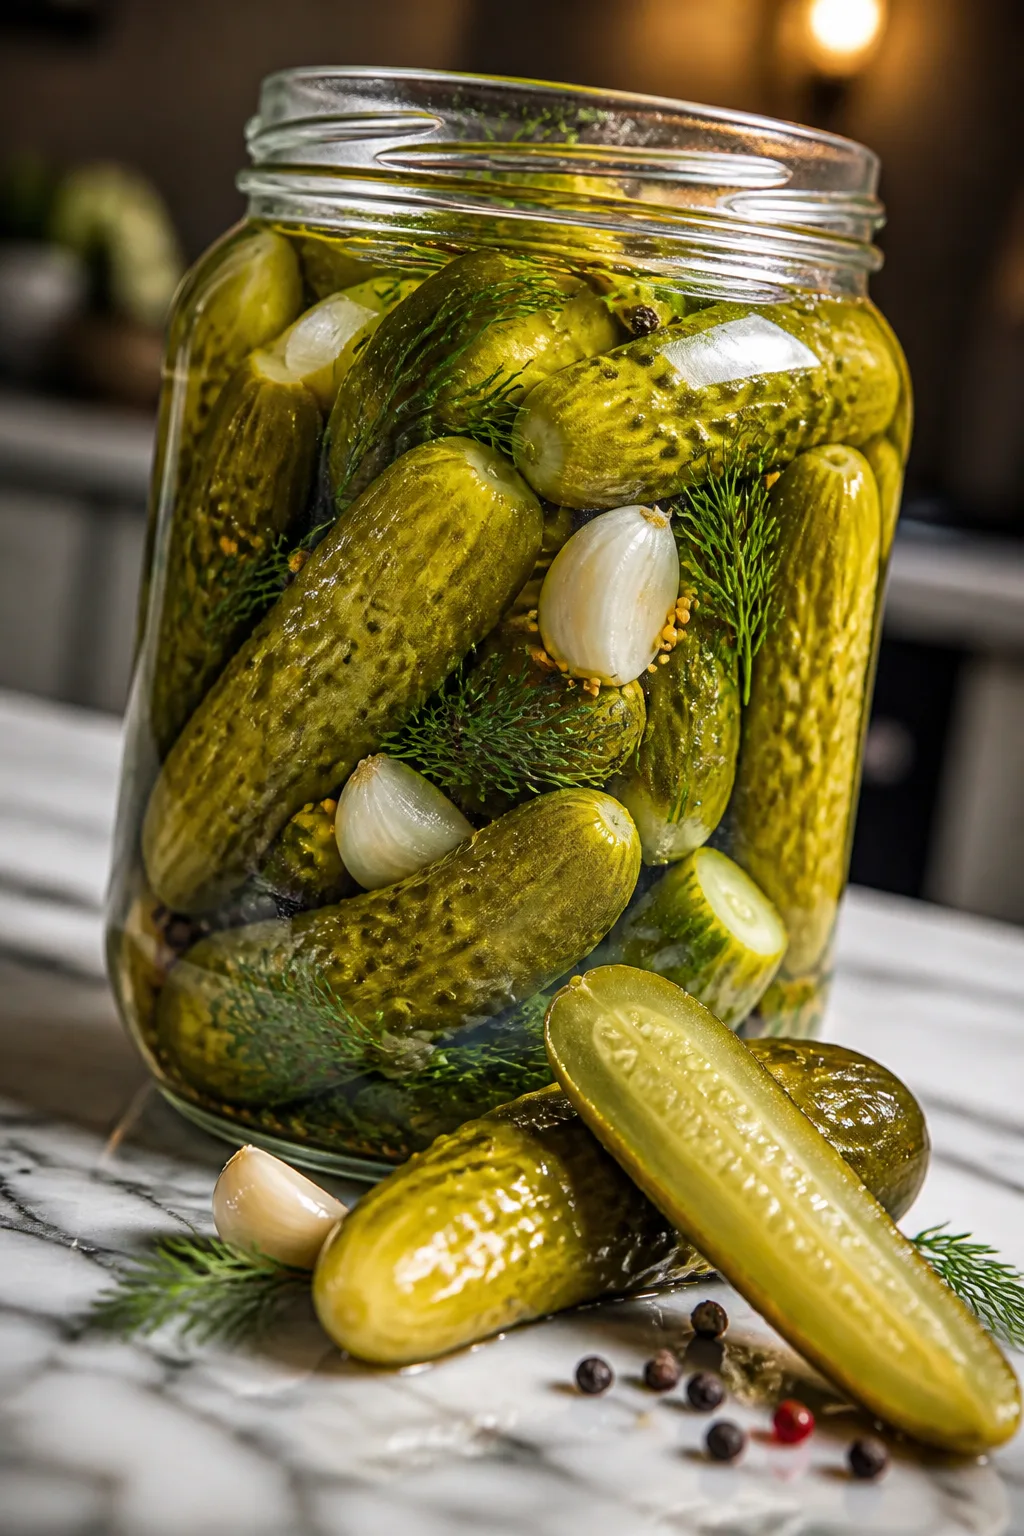
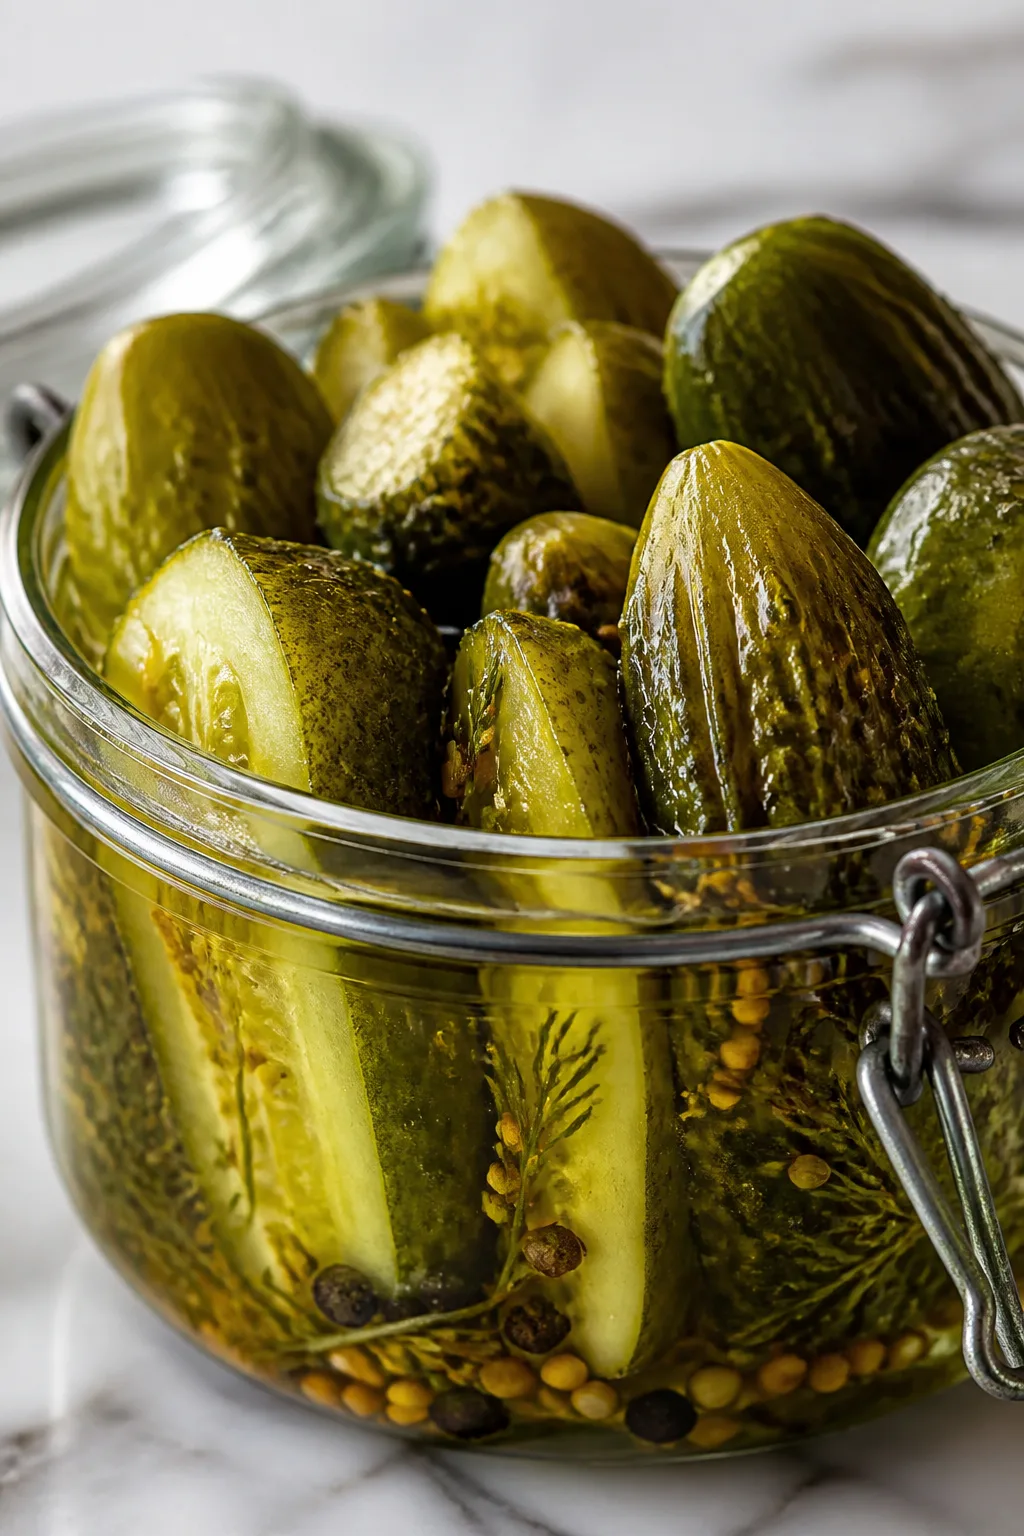
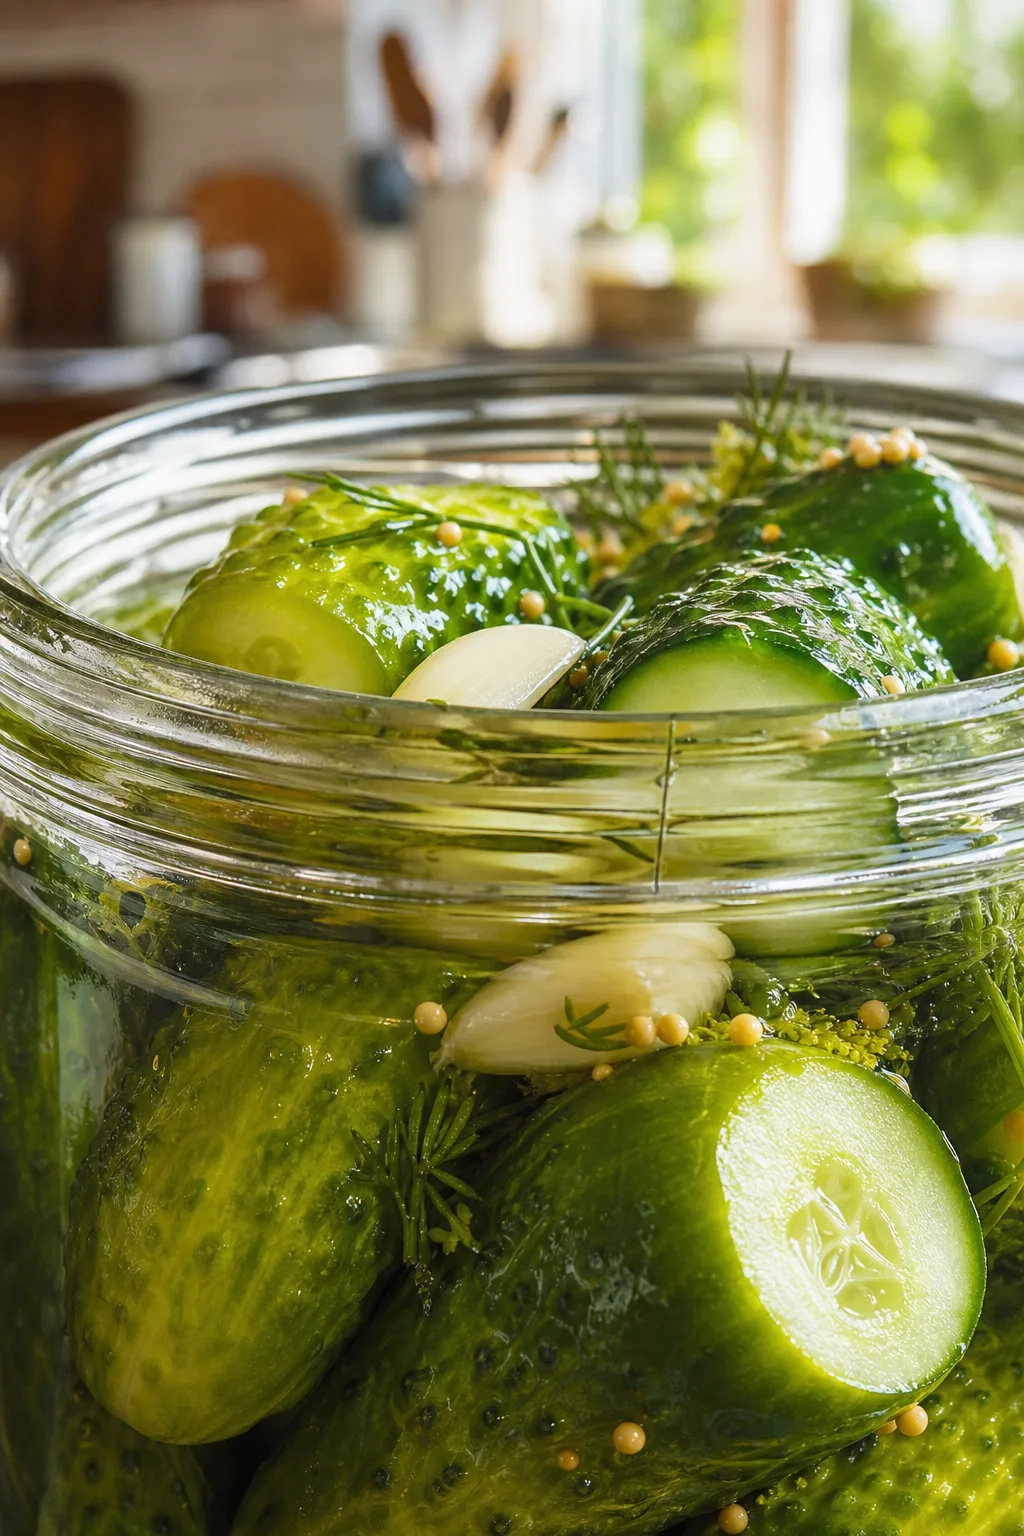
These crunchy dill pickles bring that perfect tang and snap straight from your kitchen. The fresh dill and garlic give them a punch that’s just right. Great for snacking or adding zing to your sandwiches!
Introduction
I first tried making dill pickles at home a few years ago after being frustrated by the lack of crunch and flavor in store-bought jars. It took a few tries to get it right — I remember one batch that turned out mushy because I didn’t salt the cucumbers enough. But once I nailed the balance of fresh garlic, dill, and just the right brine, I was hooked. This recipe is my go-to because it uses simple ingredients and a quick soak to keep the cucumbers crisp and flavorful. The secret is using fresh dill and smashing the garlic to release its oils, which gives these pickles that punchy, tangy flavor you want. Plus, letting them rest for at least a day allows the flavors to meld perfectly. When you bite into these, you get a satisfying crunch and a bright, slightly garlicky tang that’s perfect for snacking or jazzing up sandwiches. Honestly, once you make these, you’ll never want to buy pickles again!
What You'll Need
Approximately 4 cups of pickles, 4 servings
- 4 cups fresh cucumbers, sliced into spears
- 3 cups water
- 1 cup white vinegar
- 2 tablespoons kosher salt
- 4 cloves garlic, peeled and smashed
- 1 bunch fresh dill
- 1 tablespoon sugar
- 1 teaspoon black peppercorns
How To Do It
Step 1
Start by washing and slicing your cucumbers into spears about 3-4 inches long. Make sure to use fresh, firm cucumbers to ensure the best crunch. Avoid using overly ripe or soft cucumbers as they can become mushy during pickling. Place the sliced cucumbers in a large bowl and sprinkle with kosher salt. Toss them gently to coat evenly and let them sit for about 30 minutes. This step draws out excess moisture, which helps keep the pickles crisp and prevents them from becoming soggy.
⏱ Time: 30 minutes
✓ Doneness: Cucumbers should release some water and feel slightly firmer to the touch.
Step 2
While the cucumbers are resting, prepare your brine by combining water, white vinegar, sugar, and more kosher salt in a pot. Bring it to a simmer over medium heat, stirring occasionally until the salt and sugar dissolve completely. Simmering ensures the brine ingredients meld together, enhancing the flavor. Allow the brine to cool completely before pouring it over the cucumbers. Using hot brine can cook the cucumbers and ruin their texture, so patience here really pays off.
⏱ Time: 10 minutes plus cooling time
✓ Doneness: Brine should be clear and cool to the touch before use.
Step 3
Rinse the salted cucumbers under cold water to remove excess salt, then drain well. This prevents the pickles from becoming too salty once the brine is added. Pat the cucumbers dry with a clean kitchen towel or paper towels to remove surface moisture. This step helps the brine penetrate properly and keeps the pickles from getting diluted. Place the cucumbers in a clean jar or container, packing them in snugly but without crushing them.
⏱ Time: 10 minutes
✓ Doneness: Cucumbers should be damp but not wet or salty to taste.
Step 4
Add the smashed garlic cloves, fresh dill sprigs, and black peppercorns evenly around and on top of the cucumbers in the jar. The garlic and dill are the flavor powerhouses here, so don’t skimp on them. Smashing the garlic releases more aroma and oils than just whole cloves, which infuses the pickles with a deeper, more complex flavor. The peppercorns add a subtle spicy note that balances the tanginess.
⏱ Time: 5 minutes
✓ Doneness: Aromatic garlic and dill evenly distributed among cucumbers.
Step 5
Pour the cooled brine over the cucumbers, making sure they are fully submerged. If needed, use a small weight or a clean stone to keep them underwater. Exposure to air can cause spoilage or uneven fermentation. Cover the jar loosely with a lid or cloth to allow gases to escape if fermenting, or seal tightly if making quick pickles. Let the pickles sit at room temperature for about 24 hours to start absorbing flavors before refrigerating.
⏱ Time: 24 hours
✓ Doneness: Brine covers cucumbers completely with no floating pieces.
Step 6
After the initial 24-hour soak, transfer the pickles to the refrigerator. They’ll continue to develop flavor and stay crunchy chilled. The cool temperature slows fermentation and keeps the texture crisp. For best flavor, wait at least 48 hours before eating, though they’re often good sooner. The longer they sit, the more the garlic and dill flavors deepen and penetrate the cucumbers.
⏱ Time: 48 hours minimum
✓ Doneness: Pickles have a bright, tangy aroma and firm texture.
Step 7
Before serving, taste a pickle spear to check seasoning. If you prefer them tangier, you can let them sit a bit longer in the fridge. If the brine tastes too strong, rinse quickly with cold water and drain. Serve chilled as a snack, side, or alongside sandwiches. The fresh dill and garlic make them a standout addition that brightens any meal.
⏱ Time: 5 minutes
✓ Doneness: Balanced tartness and garlic flavor with a satisfying crunch.
Step 8
To store leftovers, keep the pickles submerged in their brine in an airtight container in the fridge. This preserves their crunch and flavor for up to 2 weeks. Always use clean utensils to prevent contamination. Avoid leaving them at room temperature beyond a few hours to maintain safety and texture.
⏱ Time: Ongoing storage
✓ Doneness: Pickles remain firm and flavorful over time.
Step 9
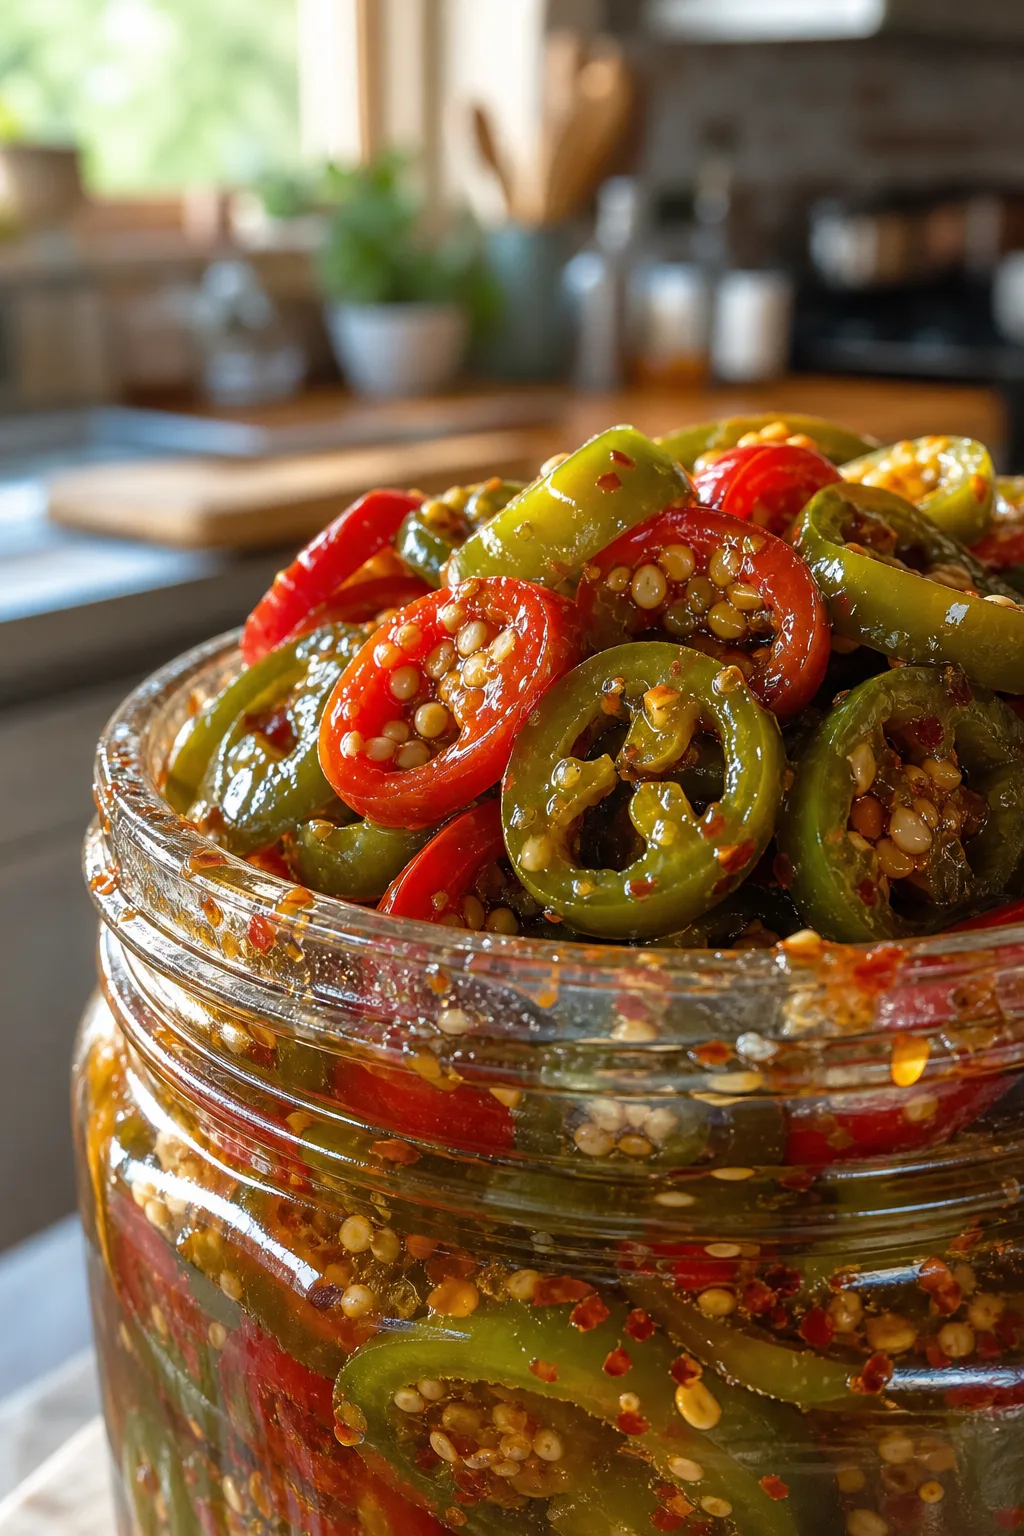
Want to experiment? Try adding sliced jalapeños or mustard seeds to the jar for a spicy kick or subtle heat. These additions can create exciting flavor twists while still keeping the classic dill pickle vibe. Just be sure to adjust the brine and monitor fermentation closely to keep the texture intact.
⏱ Time: Optional
✓ Doneness: Pickles maintain crunch with added flavor notes.
Pro Tips
Salt the cucumbers and let them sit to draw out moisture before pickling.
This step is key to keeping the pickles crunchy. Salt draws out excess water from the cucumber cells through osmosis, firming up their texture. Skipping this can lead to soggy, limp pickles that don’t have that satisfying snap.
Cool the brine completely before adding it to the cucumbers.
Pouring hot brine over cucumbers will partially cook them, breaking down cell walls and softening the texture. Cooling the brine preserves the cucumbers’ raw crispness while still infusing flavor.
Use fresh dill instead of dried for the best flavor.
Fresh dill contains aromatic oils that give pickles their bright, herbal taste. Dried dill lacks these volatile oils and results in a muted, less vibrant flavor profile.
Smash garlic cloves instead of just slicing or leaving whole.
Smashing breaks open more garlic cells, releasing allicin and intensifying the flavor. Whole cloves impart a subtler taste, which might not be enough if you want a strong garlic punch.
Keep cucumbers fully submerged in brine using a weight.
Exposure to air can cause spoilage or mold growth. A weight ensures even pickling and safe preservation by preventing cucumbers from floating above the brine.
Store pickles in the refrigerator after initial room temperature soak.
Cold slows fermentation and keeps the texture crisp. Leaving pickles at room temperature too long can cause over-fermentation and mushy texture.
Use kosher salt instead of table salt for more controlled salting.
Kosher salt’s larger crystals dissolve more slowly and evenly, preventing over-salting and ensuring the right moisture is drawn out without making the pickles too salty.
Common Mistakes to Avoid
Skipping the salting step before pickling.
Why it happens Many assume you can just toss cucumbers in brine and get crunchy pickles, but without salting, cucumbers retain too much water and become soggy.
Fix Always salt and rest cucumbers before pickling. This draws out moisture and firms their texture. Rinse and dry them well afterward to avoid excess saltiness.
Pouring hot brine directly over cucumbers.
Why it happens Some want to speed up the pickling process by using hot brine, not realizing it cooks the cucumbers.
Fix Let the brine cool completely before adding it to preserve the cucumbers’ crispness and fresh flavor.
Using dried dill instead of fresh.
Why it happens Dried herbs are more convenient and longer-lasting, so people often substitute without considering flavor loss.
Fix Use fresh dill for that bright, aromatic flavor essential to classic dill pickles.
Not keeping cucumbers submerged in brine.
Why it happens Without a weight, cucumbers can float and be exposed to air, causing spoilage.
Fix Use a clean weight or small jar lid to keep cucumbers fully submerged for safe, even pickling.
Using large slicing cucumbers instead of pickling cucumbers.
Why it happens People often use whatever cucumbers they have, not realizing the difference.
Fix Choose small, firm pickling cucumbers for the best texture and flavor.
Variations
Spicy Jalapeño Dill Pickles
Add sliced jalapeños and a pinch of red pepper flakes to the jar for a spicy kick. This variation adds heat without overpowering the classic dill and garlic flavor. Perfect for those who like their pickles with a little fire!
Note: Monitor fermentation closely as the added heat can speed up the process, and the texture may soften slightly with longer storage.
Sweet and Tangy Bread and Butter Pickles
Incorporate sliced onions and increase the sugar in the brine for a sweeter profile. These pickles balance sweet and sour beautifully and are great on burgers or as a snack.
Note: Adjust sugar carefully to avoid overly soft pickles; the extra sugar can affect texture if left too long.
Garlic and Mustard Seed Dill Pickles
Add mustard seeds along with garlic and dill for a subtle mustardy flavor that complements the tanginess. This version adds complexity and a slight crunch from the seeds.
Note: Mustard seeds release oils that enhance flavor but can darken brine color slightly.
Fermented Dill Pickles
Skip the vinegar and rely on natural fermentation with just salt and water brine. This results in tangy, probiotic-rich pickles with a complex flavor. Requires more time and careful monitoring.
Note: Fermentation times vary; watch for bubbling and taste regularly to avoid over-fermentation and mushiness.
Lemon Dill Pickles
Add lemon slices or lemon juice to the brine for a bright citrus twist on classic dill pickles. This adds freshness and a subtle zesty note that pairs well with the garlic and dill.
Note: Citrus acidity can slightly soften cucumbers, so adjust soaking time accordingly.
Nutrition
Per Serving:
Nutritional values are estimates and may vary based on specific ingredients used.
Storage & Tips
Room Temperature
Pickles can safely sit at room temperature for up to 24 hours during initial fermentation or flavor infusion. Cover loosely to allow gases to escape but prevent contamination.
Refrigerator
Store pickles in an airtight container submerged in brine for up to 2 weeks. Flavor intensifies over time, but texture remains crisp when kept cold. Serve chilled for best crunch.
Freezer
Freezing is not recommended as it breaks down cucumber cell walls, resulting in mushy pickles. Instead, preserve in the refrigerator or consume fresh.
Reheating
Pickles are best served cold or room temperature. Reheating is not necessary and can degrade texture and flavor.
Make Ahead
You can prepare the cucumbers and brine a day ahead, salting the cucumbers overnight and making brine in advance. Assemble the jars the day before serving to allow flavors to meld.
FAQ
Can I use regular table salt instead of kosher salt?
You can, but be cautious with the quantity since table salt is finer and saltier by volume. Using table salt might make your pickles too salty or cloudy. I recommend using kosher salt for a better controlled, cleaner flavor and texture.
How long do these pickles last in the fridge?
Stored properly in an airtight jar submerged in brine, these pickles will stay fresh and crunchy for up to 2 weeks. After that, they might start to soften or lose their peak flavor, so try to enjoy them within that timeframe.
Can I ferment these pickles instead of quick pickling?
Yes! To ferment, omit the vinegar and use just salt and water brine. Keep them at room temperature for several days until bubbly and tangy, then refrigerate. Fermented pickles have a more complex flavor but require careful monitoring to avoid spoilage.
Why are my pickles not crunchy?
Common reasons include skipping the salting step, using soft cucumbers, or pouring hot brine over the cucumbers. Make sure to salt first to draw out moisture, use fresh firm cucumbers, and cool your brine before adding it.
Can I add other spices or vegetables?
Absolutely! Mustard seeds, peppercorns, garlic, and even sliced jalapeños or onions work great. Just be mindful that additional ingredients can affect fermentation speed and texture.
Do I need to sterilize the jars?
For quick pickles stored in the fridge, sterilizing jars isn’t essential but always use clean containers and utensils to avoid contamination. For fermented pickles, sterilization is more important to prevent bad bacteria.
How do I know when the pickles are ready to eat?
Typically, after 24-48 hours in the fridge, the flavors have melded and you’ll notice a pleasant tang and crunch. Taste them to see if they suit your preference; longer resting times deepen flavor.
Can I use this recipe for whole cucumbers?
You can, but whole cucumbers take much longer to pickle and absorb flavors unevenly. Slicing into spears or chips allows faster, more uniform pickling and better texture.
Final Thoughts
Give these homemade crunchy dill pickles a try and enjoy the fresh, tangy flavor that’s way better than store-bought. I’d love to hear how your batch turns out—happy pickling!