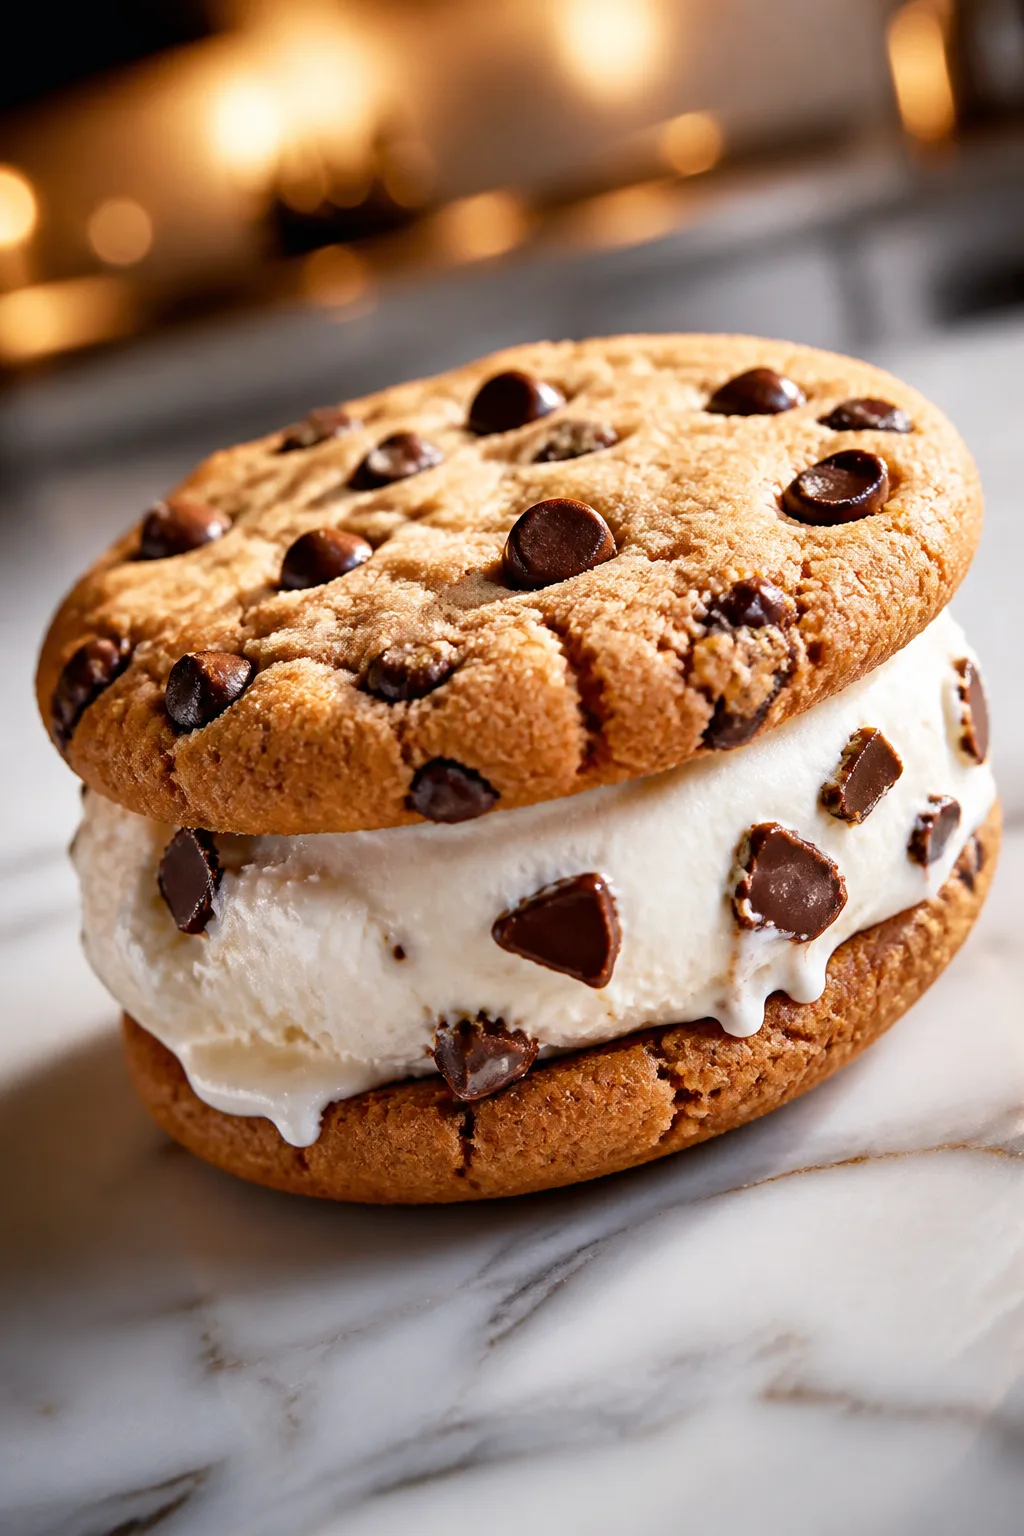
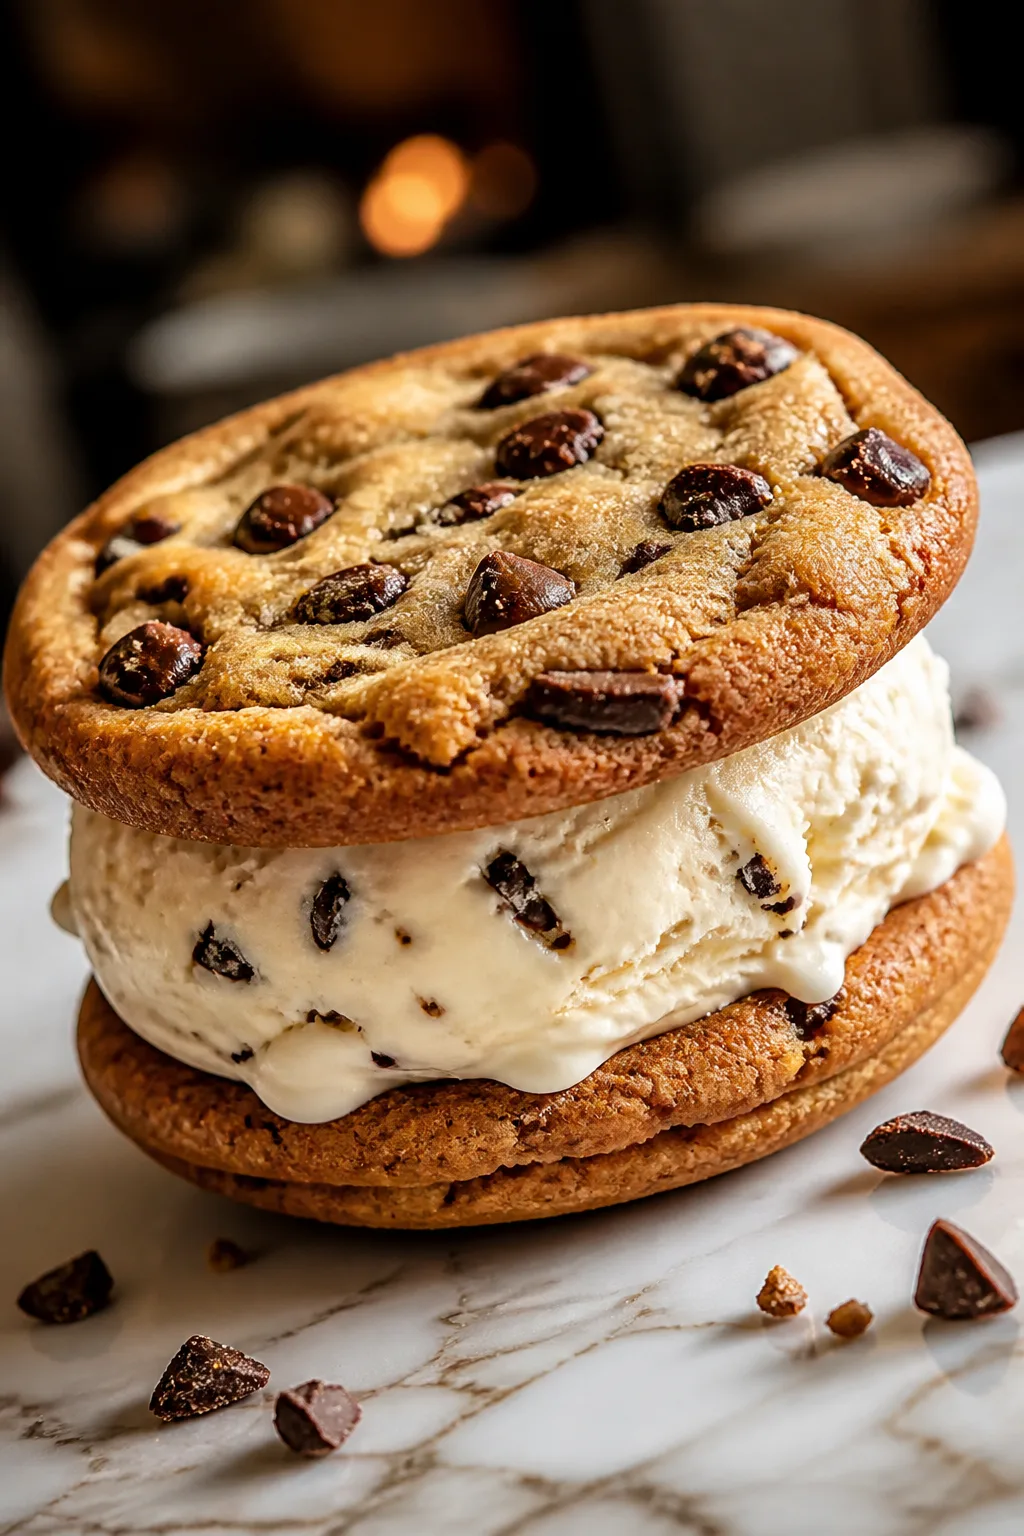
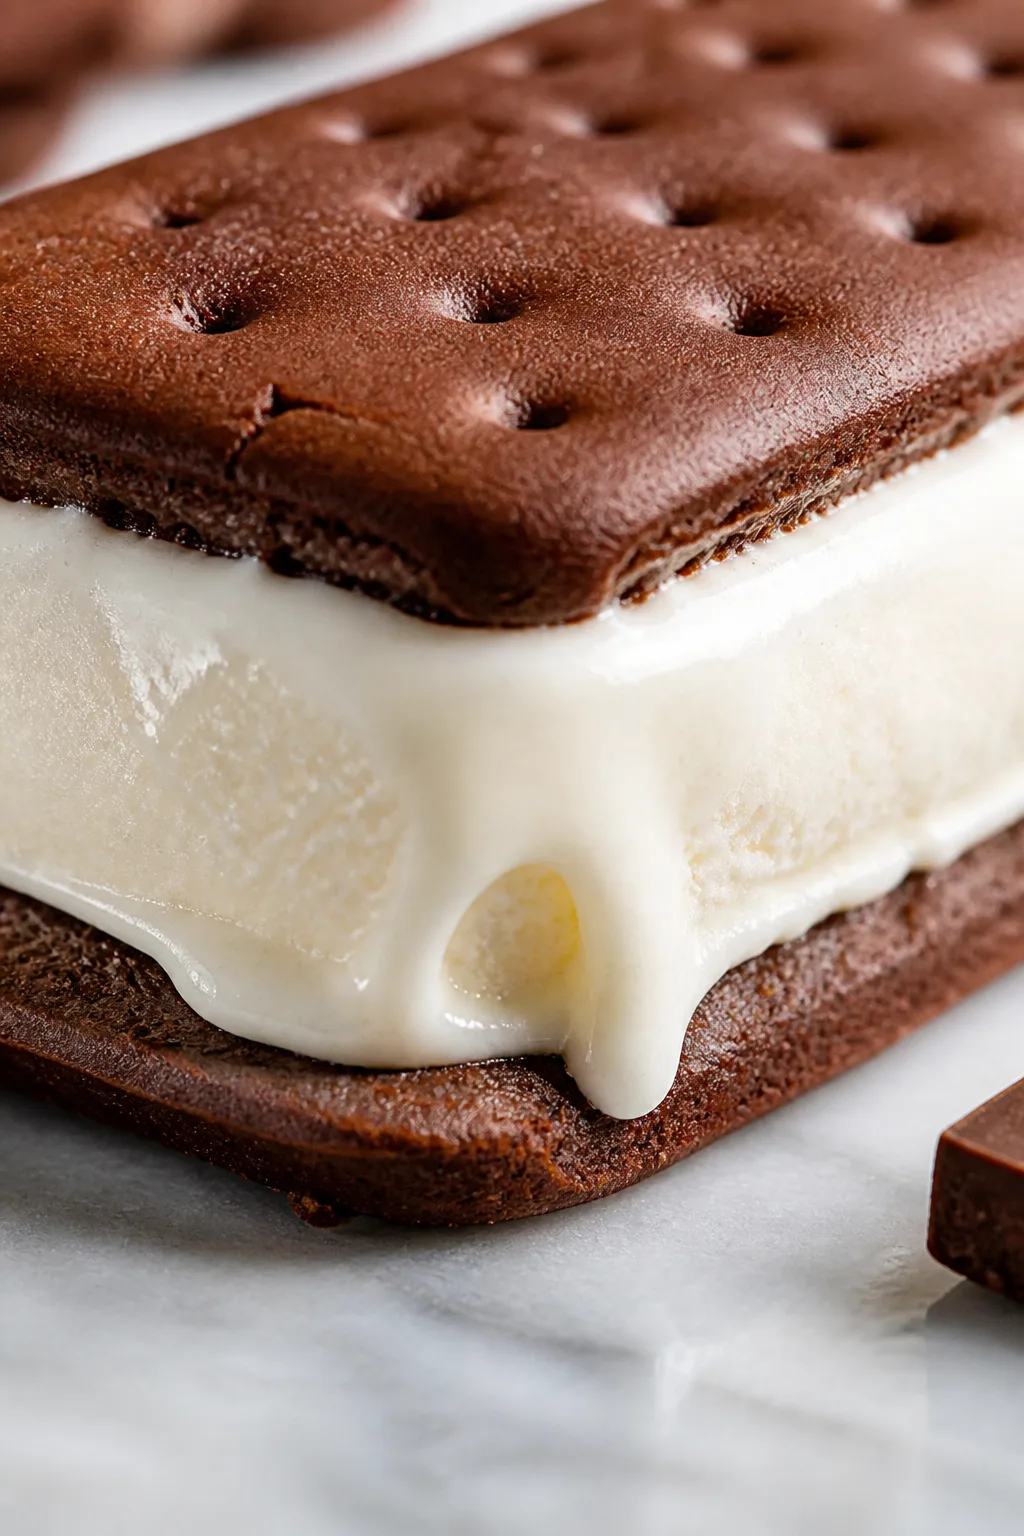
These ice cream sandwiches bring back all the good vibes—soft, chewy cookies with creamy vanilla ice cream in the middle. Brown sugar in the cookies adds a warm depth you’ll love. Great for summer treats or any sweet craving!
Introduction
I still remember the first time I made homemade ice cream sandwiches—it was a hot summer afternoon, and I wanted something nostalgic but better than store-bought. Using brown sugar in the cookie dough was a game-changer; it gave the cookies a chewy texture and a subtle caramel flavor that’s so comforting. I’ve tried a few recipes before, but this one strikes the perfect balance between soft and sturdy, so the cookie doesn’t crumble when you take a bite. The trick I learned is to chill the dough before baking, which helps keep the cookies from spreading too thin and ensures that chewy texture. Plus, using slightly softened ice cream makes it easier to sandwich without melting all over the place. When you bite into one, you get that cool creaminess wrapped in warm, tender cookies—pure bliss. It’s the kind of treat that works great for summer parties, family get-togethers, or just when you need a sweet pick-me-up. I hope you enjoy making these as much as I do!
What You'll Need
Approximately 8 sandwiches
- 1 cup unsalted butter, softened
- 1 cup packed light brown sugar
- 1/2 cup granulated sugar
- 2 large eggs
- 2 teaspoons vanilla extract
- 2 1/4 cups all-purpose flour
- 1 teaspoon baking soda
- 1/2 teaspoon salt
- 2 cups vanilla ice cream, slightly softened
How To Do It
Step 1
Start by creaming the softened butter with both the brown sugar and granulated sugar in a large bowl. Use an electric mixer on medium speed for about 3 to 4 minutes until the mixture is light and fluffy. This step is crucial because it incorporates air into the dough, which helps create a tender cookie texture. Avoid rushing here; under-creaming can result in dense cookies, while over-creaming can make them spread too much. Scrape down the bowl occasionally to ensure even mixing.
⏱ Time: 5
✓ Doneness: The mixture should look pale and fluffy with no visible sugar granules.
Step 2
Add the eggs one at a time, beating well after each addition to fully incorporate them. Then mix in the vanilla extract. This helps to emulsify the dough and distribute flavor evenly. If you add the eggs too quickly or skip beating thoroughly, the dough might separate or become unevenly textured.
⏱ Time: 3
✓ Doneness: Dough will look smooth and slightly glossy after eggs and vanilla are fully mixed.
Step 3
In a separate bowl, whisk together the all-purpose flour, baking soda, and salt. This ensures the leavening agent and salt are evenly distributed, which is key for consistent cookie rise and flavor. Skipping this step could cause uneven texture or salty pockets in your cookies.
⏱ Time: 2
✓ Doneness: Dry ingredients should be uniform without lumps.
Step 4
Gradually add the dry ingredients to the wet mixture on low speed. Mixing slowly prevents overworking the gluten in the flour, which can make cookies tough. Stop mixing as soon as the flour disappears to keep the cookies tender and chewy.
⏱ Time: 2
✓ Doneness: Dough should be thick, soft, and just combined with no streaks of flour.
Step 5
Cover the dough and chill it in the refrigerator for at least 30 minutes, or up to 2 hours. Chilling solidifies the butter, which helps the cookies hold their shape during baking and enhances flavor development. Skipping this step often leads to cookies that spread too thin and bake unevenly.
⏱ Time: 30
✓ Doneness: Dough should be firm but pliable when ready to scoop.
Step 6
Preheat your oven to 350°F (175°C). Line two baking sheets with parchment paper. Using a cookie scoop or tablespoon, drop rounded balls of dough onto the sheets, spacing them about 2 inches apart. This spacing allows the cookies to spread without merging together.
⏱ Time: 5
✓ Doneness: Cookies should be spaced evenly and sized uniformly for even baking.
Step 7
Bake the cookies for 10 to 12 minutes until the edges are set and just starting to turn golden, but the centers still look soft. This ensures a chewy texture rather than a crispy one. Overbaking can dry out the cookies, while underbaking leaves them doughy.
⏱ Time: 12
✓ Doneness: Edges will be lightly golden and centers look slightly undercooked but firm.
Step 8
Allow the cookies to cool completely on the baking sheets for about 5 minutes, then transfer them to a wire rack to cool fully. Warm cookies will melt the ice cream when assembling, so cooling is essential for clean sandwiches.
⏱ Time: 20
✓ Doneness: Cookies should be completely cool to the touch before assembling.
Step 9
To assemble, scoop about 2 tablespoons of softened vanilla ice cream onto the flat side of one cookie, then top with another cookie, pressing gently to spread the ice cream evenly. Wrap each sandwich in plastic wrap and freeze for at least 1 hour before serving to let the ice cream firm up again.
⏱ Time: 10
✓ Doneness: Ice cream is evenly spread without oozing out; sandwiches are firm after freezing.
Pro Tips
Chill your cookie dough for at least 30 minutes before baking.
Chilling solidifies the butter, which prevents cookies from spreading too thin. It also helps flavors develop and gives the dough a better texture, resulting in chewy, thick cookies that hold up well with ice cream.
Use room temperature eggs for easier mixing and better dough texture.
Room temperature eggs emulsify better with butter and sugar, creating a smoother dough and ensuring consistent rising. Cold eggs can cause the dough to seize or mix unevenly, affecting cookie texture.
Scoop cookies uniformly using a cookie scoop or tablespoon.
Evenly sized cookies bake consistently, preventing some from being over or undercooked. This uniformity is especially important for assembling sandwiches that look professional and hold ice cream evenly.
Slightly soften ice cream before assembling sandwiches.
Softened ice cream spreads easily without melting the cookies or causing a mess. If ice cream is too hard, the sandwich can break apart; if too soft, it melts quickly and loses shape.
Freeze assembled sandwiches for at least an hour before serving.
Freezing firms up the ice cream again and helps the cookies and ice cream meld, making sandwiches easier to handle and eat without falling apart.
Line baking sheets with parchment paper for easy cookie removal.
Parchment paper prevents sticking and helps cookies bake evenly on the bottom. It also makes cleanup faster and keeps cookie bottoms soft instead of overly browned.
Don’t overbake; remove cookies when edges are just golden.
Overbaking dries out cookies and ruins the chewy texture needed to hold the ice cream. The centers will look slightly undercooked but will set as cookies cool.
Common Mistakes to Avoid
Skipping the dough chilling step
Why it happens Many rush to bake immediately, thinking it saves time or is unnecessary.
Fix Always chill the dough for at least 30 minutes. This step solidifies fats, prevents excessive spreading, and improves texture. If you forget, pop the dough in the freezer for 15 minutes before baking as a quick fix.
Using melted butter instead of softened
Why it happens Some confuse softened butter with melted and think it speeds mixing.
Fix Use butter that’s soft to the touch but still solid. Creaming softened butter with sugar traps air, creating a lighter cookie. Melted butter leads to greasy, flat cookies.
Overbaking cookies until fully brown
Why it happens Beginners often wait for full golden color, fearing undercooked dough.
Fix Remove cookies when edges just turn lightly golden and centers still look soft. They firm up as they cool, preserving chewiness essential for ice cream sandwiches.
Assembling sandwiches with frozen ice cream
Why it happens Trying to speed assembly by using rock-hard ice cream.
Fix Let ice cream soften for about 5 minutes before spreading. Hard ice cream is difficult to spread and can break cookies; softened ice cream spreads smoothly and bonds cookies better.
Using low-quality ice cream
Why it happens Choosing convenience over flavor or texture.
Fix Pick creamy, high-quality vanilla ice cream with natural flavor and smooth texture. Cheap or icy ice cream can ruin the sandwich’s overall enjoyment.
Variations
Chocolate Chip Ice Cream Sandwiches
Add 1 cup of chocolate chips to the cookie dough for a classic twist. The melty chocolate pairs wonderfully with vanilla ice cream for a nostalgic flavor combo. Expect a slightly chunkier texture but just as chewy and delicious.
Note: Fold chocolate chips gently at the end of mixing to avoid overworking the dough, which keeps cookies tender.
Peanut Butter Ice Cream Sandwiches
Swap half the butter for creamy peanut butter in the dough to add rich, nutty flavor. These sandwiches feel more indulgent and pair nicely with vanilla or chocolate ice cream. The texture is slightly denser but still soft.
Note: Peanut butter adds moisture; reduce other fats slightly to keep dough from becoming too soft.
Oatmeal Cookie Ice Cream Sandwiches
Replace 1 cup of flour with rolled oats and add a pinch of cinnamon for a rustic, hearty cookie. These sandwiches are chewier and have a warm spice note that complements vanilla ice cream perfectly.
Note: Use old-fashioned oats for texture; quick oats will produce a softer, less textured cookie.
Mint Chocolate Chip Ice Cream Sandwiches
Use mint chocolate chip ice cream instead of vanilla and add 1/2 cup mini chocolate chips to the dough. The refreshing mint flavor and chocolate bits make these sandwiches a refreshing summer treat.
Note: Mint ice cream is softer; freeze sandwiches longer before serving to keep shape.
Gluten-Free Ice Cream Sandwiches
Use a 1:1 gluten-free baking flour blend instead of all-purpose flour. The dough may be slightly more delicate but still yields chewy cookies that hold ice cream well. Great for gluten-sensitive friends!
Note: Add an extra egg yolk if dough feels crumbly to improve binding.
Nutrition
Per Serving:
Nutritional values are estimates and may vary based on specific ingredients used.
Storage & Tips
Room Temperature
Ice cream sandwiches should not be left at room temperature for more than 10 minutes as the ice cream will melt and cookies will become soggy. Keep them covered if out briefly during serving.
Refrigerator
Store in an airtight container or wrapped tightly in plastic wrap in the fridge for up to 1 day. They will soften and the ice cream may melt, so it's better to keep them frozen until ready to eat.
Freezer
Freeze wrapped sandwiches in plastic wrap and then place in a freezer bag for up to 2 months. Proper wrapping prevents freezer burn. Thaw for about 5 minutes at room temperature before eating for best texture.
Reheating
These sandwiches are best served cold. Avoid reheating as it melts the ice cream. If cookies are stale, you can warm them separately for a few seconds in the microwave before assembling.
Make Ahead
Bake cookies up to 2 days ahead and store in an airtight container at room temperature. Assemble sandwiches and freeze at least 1 hour before serving. This makes last-minute dessert easy and stress-free.
FAQ
Can I use store-bought cookies instead of baking my own?
You can, but homemade cookies have a softer, chewier texture that holds ice cream better. Store-bought cookies are often crispier and may break or crumble when sandwiching ice cream. If using store-bought, choose soft cookies like chocolate chip or sugar cookies.
How do I prevent the ice cream from melting while assembling?
Make sure the ice cream is slightly softened but not melted—about 5 minutes at room temperature works well. Also, assemble sandwiches quickly and keep them on a cold surface or in the fridge between assembling to slow melting.
Can I freeze the sandwiches for longer than 2 months?
While freezing beyond 2 months is possible, quality will decline. Ice crystals and freezer burn can affect texture and flavor. For best taste, consume within 2 months and ensure sandwiches are tightly wrapped to minimize air exposure.
What if my cookies spread too much during baking?
This often happens if dough isn't chilled or butter is too soft. Chill dough for at least 30 minutes before baking and ensure butter is softened, not melted. Also, measure flour accurately to avoid overly wet dough.
Can I use other ice cream flavors?
Absolutely! Vanilla is classic, but you can use chocolate, strawberry, or even salted caramel. Just keep in mind that richer or softer ice creams may require longer freezing after assembling to hold shape.
How do I make the cookies more chewy?
Using brown sugar is key for chewiness because of its molasses content. Also, avoid overbaking — take cookies out as soon as edges turn golden. Chilling dough and using baking soda instead of baking powder help achieve that perfect chew.
Can I make this recipe vegan?
You can substitute vegan butter and use flax eggs or vegan egg replacers. Also, choose a dairy-free ice cream. Texture might vary slightly, but the recipe should still yield tasty sandwiches.
Why do my cookies turn out dry?
Dry cookies usually mean you overbaked or used too much flour. Measure flour carefully by spooning and leveling it, and remove cookies from oven when edges are just golden, centers still soft. Also, brown sugar helps retain moisture.
Final Thoughts
I hope you give these homemade ice cream sandwiches a try—they’re such a fun and satisfying treat! Don’t forget to share how yours turn out; I’d love to hear about your favorite variations!