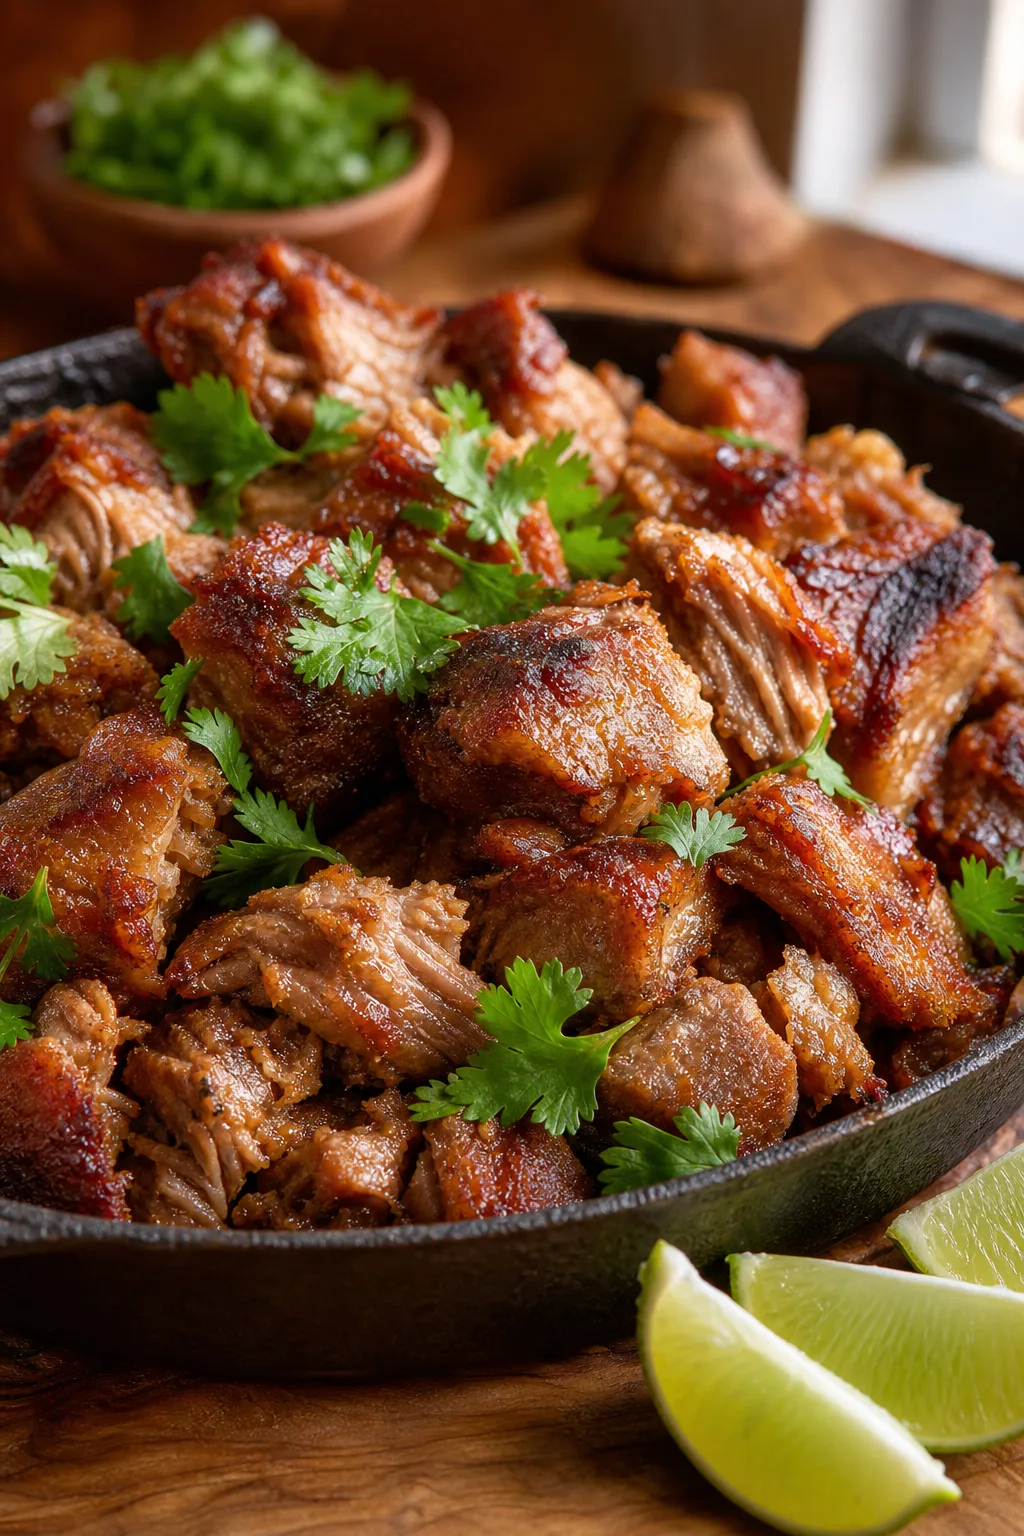
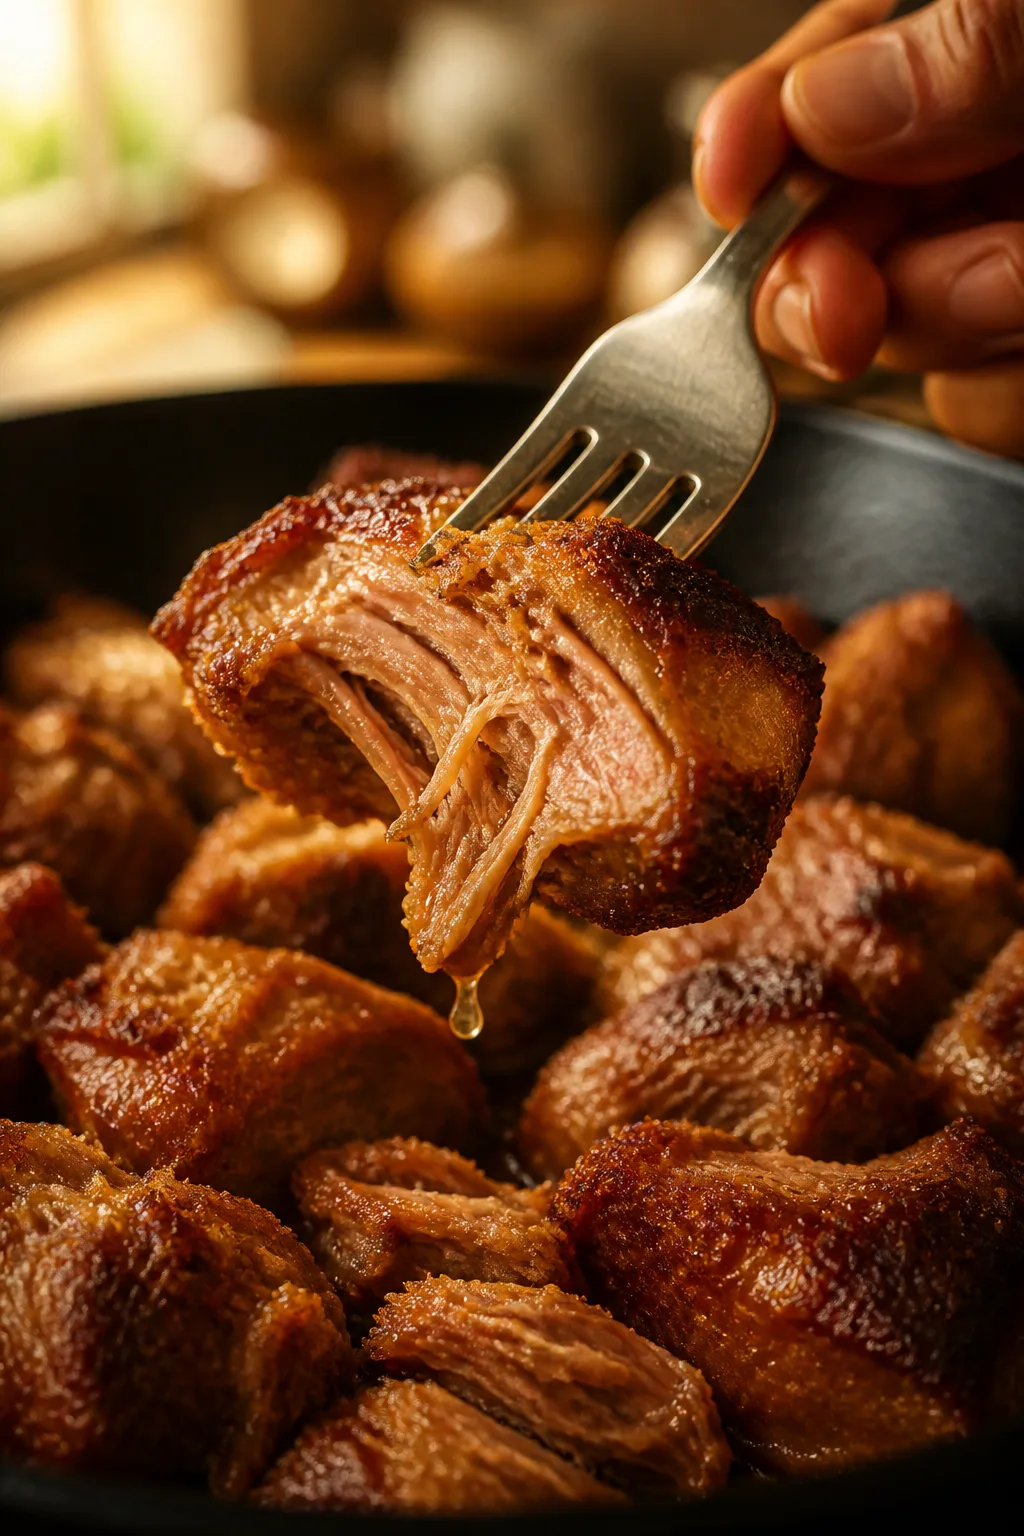
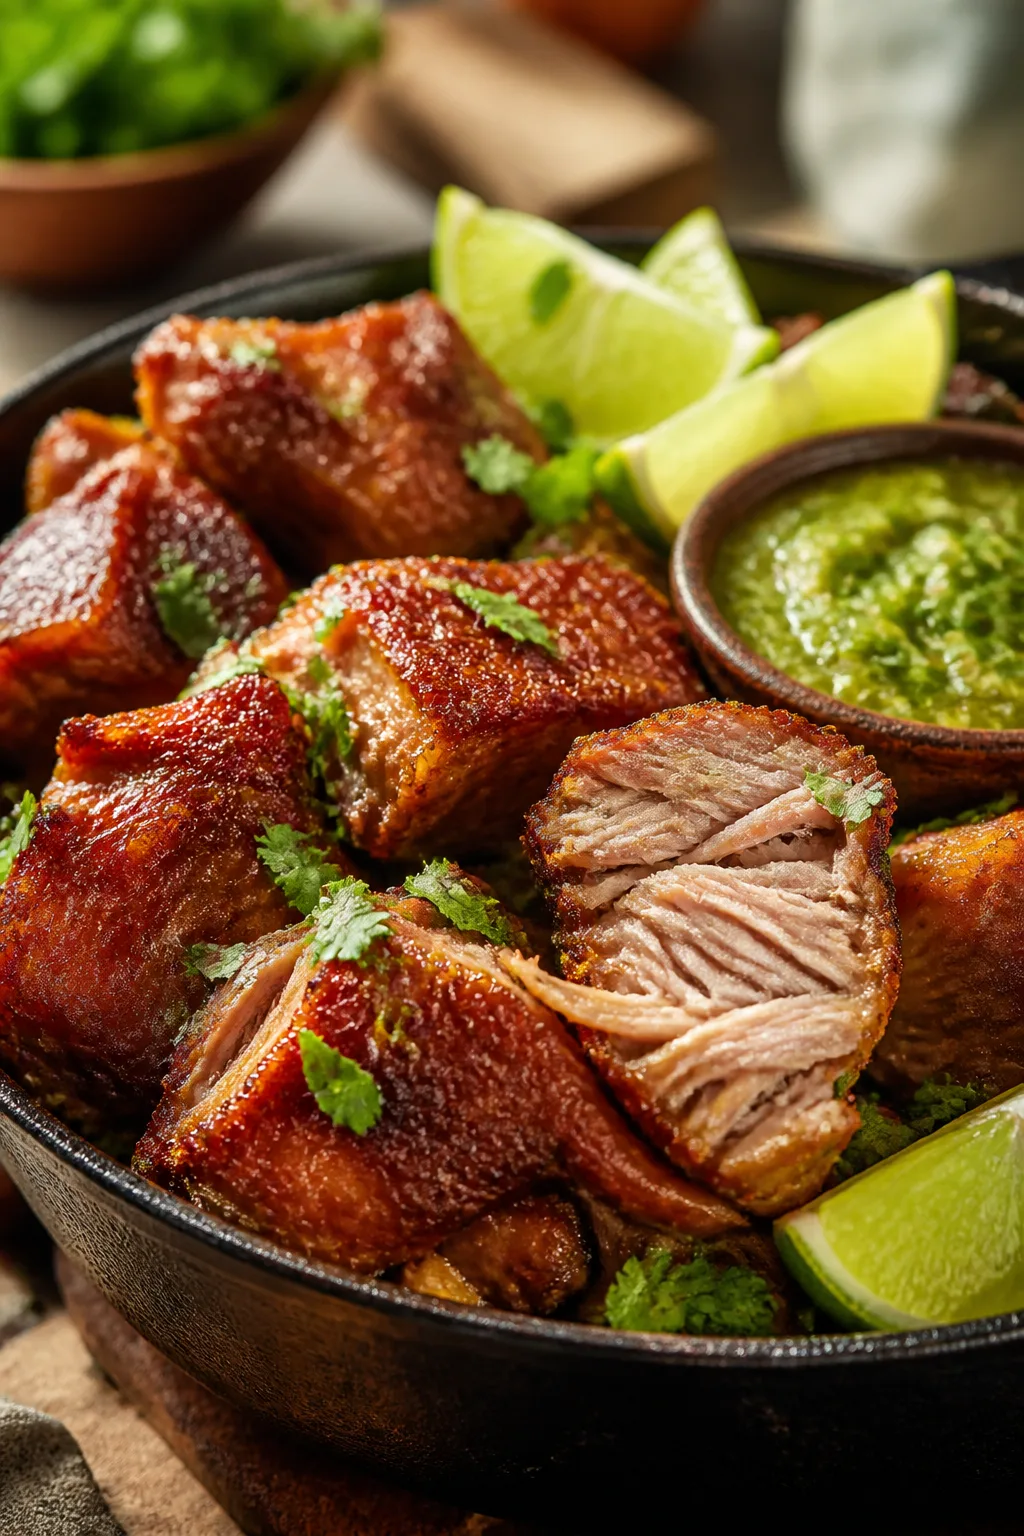
Tender pork that's juicy and melts in your mouth, finished with crispy edges thanks to a quick broil. This Instant Pot carnitas recipe is my go-to for taco nights or casual family dinners. So easy and so good!
Introduction
I first made carnitas in my Instant Pot a couple years ago when I was craving the kind of tender, juicy pork you get from slow cooking but without the hours of babysitting the stove. What really hooked me was how the pressure cooker gave the pork that melt-in-your-mouth texture in under an hour. But the real game changer is finishing it under the broiler to crisp up the edges—this little trick adds that perfect contrast of crunchy bits you usually get from deep frying. I’ve tweaked the seasoning over time to balance citrusy brightness from fresh orange juice with warm spices like cumin and smoked paprika, which I think makes this version stand out from your standard carnitas. The result? Pork that’s tender, juicy, and loaded with flavor, with just enough crispness to make your tacos or burrito bowls irresistible. I usually serve this for casual weeknight dinners or taco parties with friends. Honestly, it’s one of those recipes that’s easy enough to whip up any day but special enough to impress. Plus, it reheats beautifully if you want leftovers the next day. I can’t wait for you to try it!
What You'll Need
Approximately 4 cups cooked carnitas, serves 4
- 3 pounds pork shoulder, cut into 3-inch chunks
- 1 tablespoon olive oil
- 1 cup orange juice, fresh squeezed
- 1/2 cup chicken broth
- 4 cloves garlic, minced
- 1 tablespoon ground cumin
- 1 tablespoon dried oregano
- 1 teaspoon smoked paprika
- 1 teaspoon salt
- 1/2 teaspoon black pepper
- 1 onion, quartered
- 2 bay leaves
How To Do It
Step 1
Start by trimming any excess fat from the pork shoulder and cutting it into roughly 3-inch chunks. This size helps the meat cook evenly under pressure and makes shredding easier later. Trimmed pork also reduces greasiness in the final dish. Heat the olive oil in the Instant Pot on the sauté setting until shimmering, then brown the pork pieces in batches. Browning develops deep flavor through the Maillard reaction, which you can’t get from just pressure cooking. Don’t overcrowd the pot or the pork will steam instead of sear, so take your time here for the best taste.
⏱ Time: 10 minutes
✓ Doneness: Pork pieces are golden brown on all sides with a rich crust
Step 2
Once all the pork is browned, remove it and add the quartered onion and minced garlic to the pot. Sauté for 2-3 minutes until fragrant and softened. This step builds the flavor base for the cooking liquid. Then add the browned pork back to the pot along with orange juice, chicken broth, cumin, oregano, smoked paprika, salt, pepper, and bay leaves. The acidity in the orange juice helps tenderize the meat while imparting a subtle citrus note that brightens the rich pork. Make sure to scrape up any browned bits on the bottom to avoid a burn warning during pressure cooking.
⏱ Time: 5 minutes
✓ Doneness: Aromatic, slightly bubbling liquid with no burnt bits on the pot bottom
Step 3
Secure the Instant Pot lid and set it to high pressure for 30 minutes. This cooking time is key to breaking down connective tissues in the pork shoulder, making it tender and juicy but not falling apart into mush. Once the timer goes off, allow a natural pressure release for 15 minutes to preserve moisture, then carefully do a quick release to let out any remaining steam. Rushing this step can dry out the meat or cause it to toughen, so patience here really pays off.
⏱ Time: 45 minutes
✓ Doneness: Pressure has released naturally and pork is visibly tender when pierced
Step 4
Remove the pork chunks from the pot and shred them with two forks, discarding bay leaves and onion pieces. The meat should be tender enough to pull apart easily. Spread the shredded pork evenly on a rimmed baking sheet. This step preps the carnitas for crisping under the broiler, which adds the signature crispy edges.
⏱ Time: 5 minutes
✓ Doneness: Pork shredded into bite-sized pieces, evenly spread on the pan
Step 5
Preheat your oven’s broiler on high and place the baking sheet about 6 inches from the heat source. Broil the carnitas for 5-7 minutes, watching closely and stirring halfway through to ensure even crisping. The high heat caramelizes the edges and reactivates the Maillard reaction, giving you that addictive crunch. Be careful not to burn it—this step is quick and requires attention.
⏱ Time: 7 minutes
✓ Doneness: Edges of pork are golden brown and crispy with some darker caramelized spots
Step 6
While the carnitas are broiling, optionally warm your tortillas and prep toppings like chopped cilantro, diced onions, and lime wedges. Fresh toppings add brightness and balance the rich pork. If you want a little heat, consider slicing some jalapeños or making a quick salsa.
⏱ Time: 5 minutes
✓ Doneness: Toppings are fresh and tortillas are warm and pliable
Step 7
Take the carnitas out of the oven and let them rest for a few minutes before serving. Resting allows the juices to redistribute, keeping the pork moist despite the crispy finish. This also cools the edges slightly so they’re not too hot to eat right away.
⏱ Time: 3 minutes
✓ Doneness: Pork is warm throughout with crispy but not burnt edges
Step 8
Serve the carnitas in warm tortillas with your favorite toppings. I love a squeeze of lime and a sprinkle of fresh cilantro for brightness. The contrast of juicy pork and crispy bits with fresh toppings makes every bite a flavor bomb. You can also use the carnitas in burrito bowls, salads, or simply as a hearty protein for dinner.
⏱ Time: 5 minutes
✓ Doneness: Assembled tacos look vibrant and inviting
Step 9
Store any leftovers in an airtight container in the fridge. To reheat, warm gently in a skillet or oven to maintain crispiness. Avoid microwaving directly as it can make the edges soggy. Leftover carnitas also freeze well if wrapped tightly to prevent freezer burn, perfect for quick meals later.
⏱ Time: N/A
✓ Doneness: Leftovers reheat to warm temperature with some crispness retained
Pro Tips
Don’t skip browning the pork before pressure cooking.
Browning creates flavor through the Maillard reaction, which adds a rich, caramelized taste that pressure cooking alone can’t achieve. It also improves the texture and color of the final dish. Skipping this step results in bland, pale carnitas.
Use natural pressure release after cooking.
Allowing the pressure to release naturally keeps the pork moist and tender by letting the muscle fibers relax slowly. Quick release can cause the meat to seize up and become tough, so patience here really improves texture.
Spread the shredded pork in a thin layer when broiling.
A thin layer ensures more surface area is exposed to the heat, creating more crispy edges. Piling it up will steam the meat instead and prevent crisping, defeating the purpose of the broil step.
Watch the broiler closely to avoid burning.
Broilers vary in intensity, and the pork can go from perfectly crispy to burnt in seconds. Stirring halfway through helps crisp evenly and prevents hot spots. Staying attentive here is key to getting the best texture.
Use fresh orange juice for the best flavor.
Fresh juice provides natural acidity and brightness that enhances the pork’s flavor and tenderizes it. Bottled juice often contains additives and less vibrant flavor, which affects the final taste and texture.
Rest the carnitas for a few minutes after broiling.
Resting lets the juices redistribute throughout the meat, preventing dryness and keeping the crispy bits intact. Serving immediately can cause the pork to seem drier and the crispiness to soften too quickly.
Warm tortillas before serving.
Warm tortillas are more pliable and enhance the overall eating experience. Cold or stiff tortillas can break apart and make assembling tacos frustrating, detracting from the delicious carnitas.
Common Mistakes to Avoid
Skipping the browning step
Why it happens Many cooks want to save time and jump straight to pressure cooking, assuming it’s enough to develop flavor. This shortcut sacrifices the deep, caramelized taste that browning provides.
Fix Take 10 extra minutes to brown the pork in batches before pressure cooking. Use medium-high heat and don’t overcrowd the pot to get a good sear. This step adds essential flavor and texture.
Releasing pressure too quickly
Why it happens Impatience or lack of understanding about pressure release methods leads people to quick-release immediately after cooking, which can make meat tougher.
Fix Allow the Instant Pot to release pressure naturally for at least 10-15 minutes after cooking. This gentle release keeps the pork tender and juicy.
Broiling too long or too close
Why it happens Broilers vary, and without watching closely, it’s easy to burn the carnitas. Some assume longer is better for crispiness without realizing it can cause bitterness.
Fix Keep the pork about 6 inches from the broiler element and broil in short intervals, stirring halfway. Watch carefully to achieve golden crispness without blackened spots.
Not spreading the pork thinly for broiling
Why it happens Trying to broil all the pork at once in a thick pile causes steaming instead of crisping because the heat doesn’t reach all surfaces.
Fix Spread shredded pork in a single even layer on a rimmed baking sheet. This exposes more surface for crisping and yields better texture.
Using bottled orange juice
Why it happens Convenience often wins, but bottled juice contains preservatives and added sugars that alter flavor and acidity.
Fix Use freshly squeezed orange juice to get the bright citrus flavor and tenderizing acidity that bottled juice can’t replicate.
Variations
Spicy Chipotle Carnitas
Add 1-2 chopped chipotle peppers in adobo sauce to the cooking liquid for a smoky, spicy kick. This variation adds complexity and heat without overpowering the pork’s natural flavor. Great for those who love a bit of fire in their tacos.
Note: Adjust spice level by starting with one pepper and tasting before adding more. Broiling time remains the same.
Citrus Herb Carnitas
Boost the freshness by adding zest of one orange and a handful of chopped fresh cilantro to the cooking liquid. This version tastes brighter and herbaceous, perfect for summer gatherings or lighter taco bowls.
Note: Add fresh herbs after pressure cooking to preserve their flavor. Zest can be added before cooking with the orange juice.
Slow Cooker Carnitas
If you don’t have an Instant Pot, use a slow cooker on low for 6-8 hours with the same ingredients. The pork will be just as tender but won’t get the same quick crisping effect unless you broil it afterward.
Note: Broiling step is essential to achieve the crispy edges since slow cooking doesn’t brown the pork.
Carnitas with Beer Instead of Broth
Replace chicken broth with a light Mexican beer for a malty, slightly bitter flavor that complements the pork. This swap adds depth and works well with more robust seasoning blends.
Note: Use a mild beer to avoid overpowering the dish. Cooking time stays the same.
Carnitas Lettuce Wraps
Serve the carnitas in large lettuce leaves instead of tortillas for a low-carb option. Add avocado slices and a squeeze of lime for freshness. The texture contrast between crisp lettuce and tender pork is delightful.
Note: No change in cooking; just swap the serving style.
Nutrition
Per Serving:
Nutritional values are estimates and may vary based on specific ingredients used.
Storage & Tips
Room Temperature
Carnitas can be safely kept at room temperature for up to 2 hours if covered loosely with foil or a clean kitchen towel. Beyond that, bacteria growth increases, so refrigerate promptly.
Refrigerator
Store leftovers in an airtight container for up to 4 days. The pork will retain good flavor but the crispy edges may soften. Reheat gently in a skillet to restore some crispiness.
Freezer
Freeze cooked carnitas in freezer-safe containers or heavy-duty zip bags for up to 3 months. Wrap tightly to prevent freezer burn. Thaw overnight in the fridge before reheating.
Reheating
Best reheated in a skillet over medium heat with a splash of chicken broth or water to prevent drying. Avoid microwaving directly as it can make the pork soggy. Reheat until warmed through and edges crisp up again.
Make Ahead
You can pressure cook and shred the pork 1-2 days ahead, storing it refrigerated. Broil just before serving to get fresh crispiness. This saves time on busy days and keeps the texture perfect.
FAQ
Can I use a different cut of pork instead of shoulder?
Pork shoulder is ideal because it has enough fat and connective tissue to become tender and juicy under pressure. Leaner cuts like loin can dry out or become tough. If you must substitute, choose pork butt or picnic roast and adjust cooking time slightly.
What if I don’t have fresh orange juice?
Fresh orange juice provides acidity and brightness that bottled juice can’t match. If you only have bottled, make sure it’s 100% juice with no additives. Alternatively, a mix of orange zest and a splash of vinegar can mimic acidity but won’t be quite the same.
How do I prevent my carnitas from being mushy?
Avoid overcooking by following the recommended pressure cooking time and natural release. Also, shred the pork gently and broil it to firm up the texture. Overcooking or rushing pressure release can cause mushiness.
Can I make this recipe gluten-free?
Yes! All the main ingredients are naturally gluten-free. Just ensure your chicken broth and spices don’t contain any hidden gluten. This recipe is great for gluten-sensitive diets.
How do I store and reheat leftovers without losing crispiness?
Store leftovers in an airtight container in the fridge. To reheat, warm the carnitas in a skillet over medium heat with a splash of broth to keep moisture and crisp up the edges again. Avoid microwaving as it softens the crispy texture.
Can I make this recipe vegan or vegetarian?
This recipe relies on pork for its flavor and texture, so it’s not easily adapted to vegan or vegetarian diets. However, you could try a jackfruit carnitas version using similar spices and cooking techniques as a plant-based alternative.
Is broiling necessary? Can I skip it?
Broiling is what gives carnitas their signature crispy edges. Skipping it results in tender but soft pork without the crunch. If you prefer softer texture or want to save time, you can skip broiling but it changes the classic carnitas experience.
Can I double the recipe for a crowd?
Yes, you can double the ingredients but you may need to cook in batches to avoid overcrowding the Instant Pot, which affects browning and pressure cooking efficiency. Also, broil in batches to ensure even crisping.
Final Thoughts
I hope you enjoy making these crispy, tender carnitas as much as I do! Don’t forget to share how your taco night turns out—I’d love to hear your tweaks and favorites.