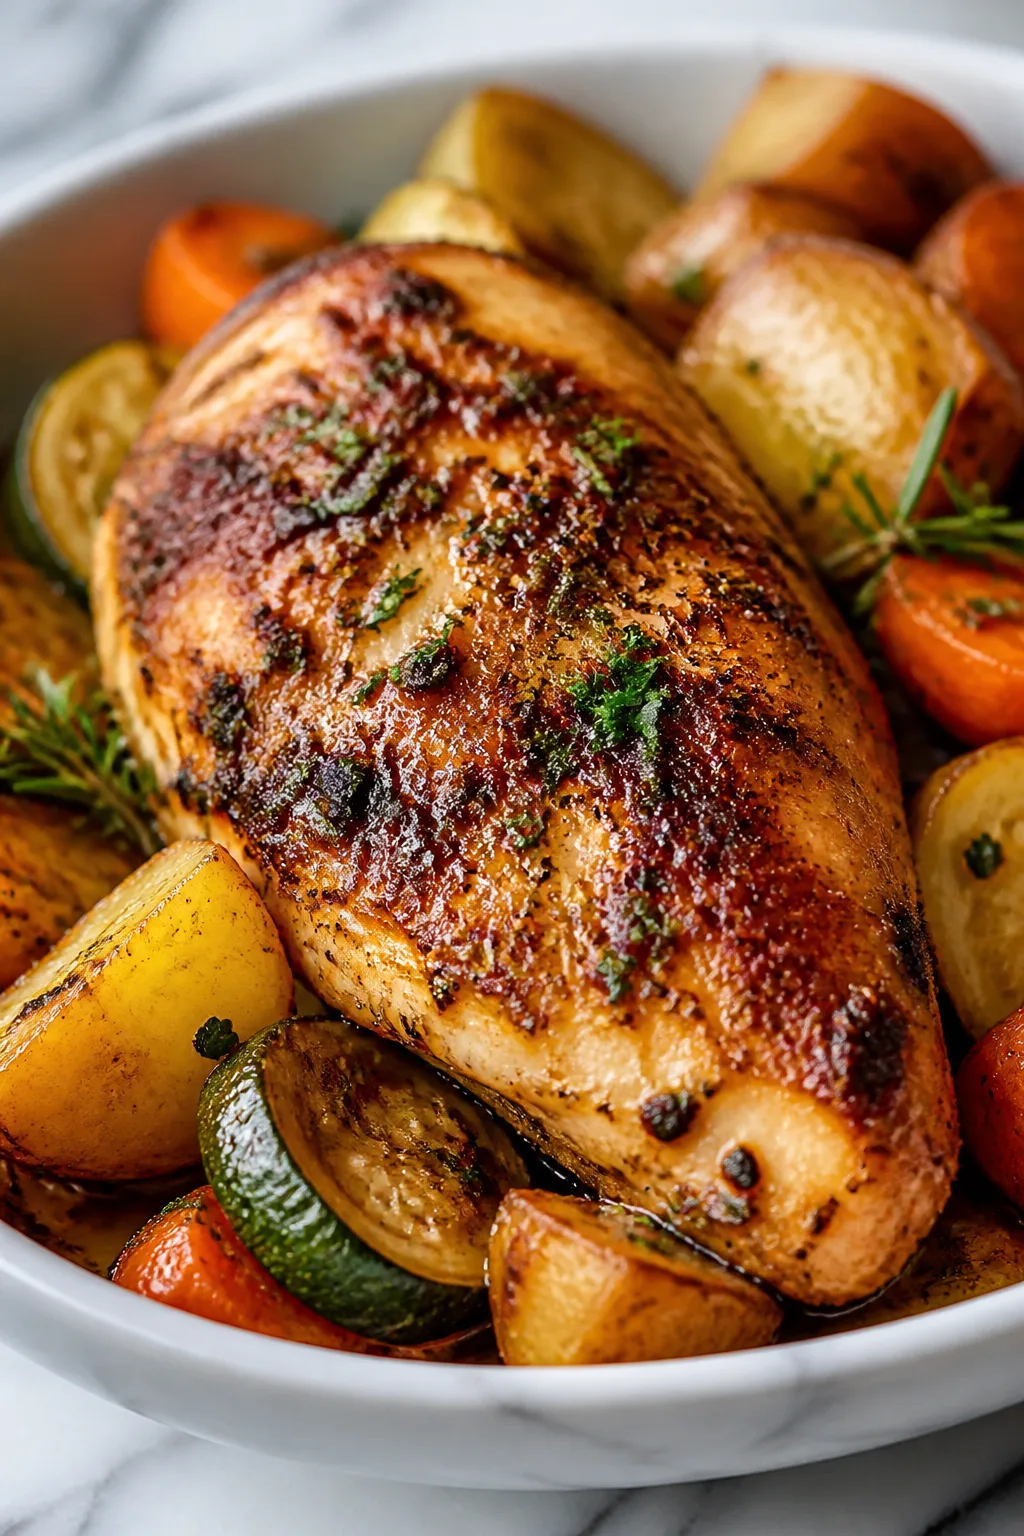
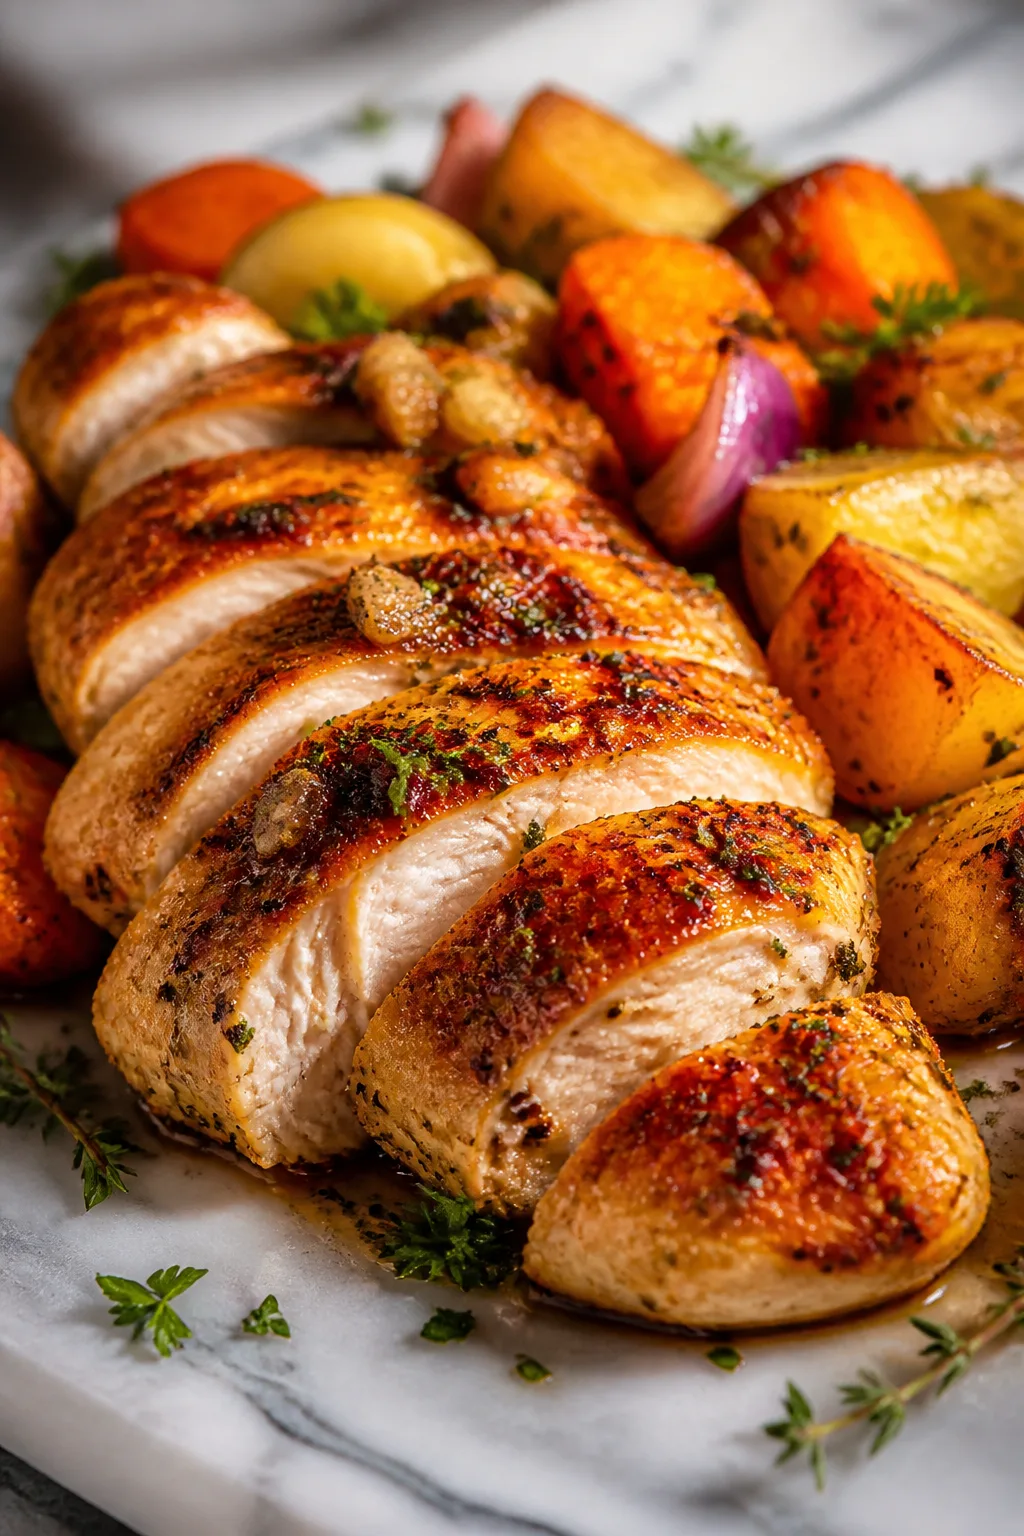
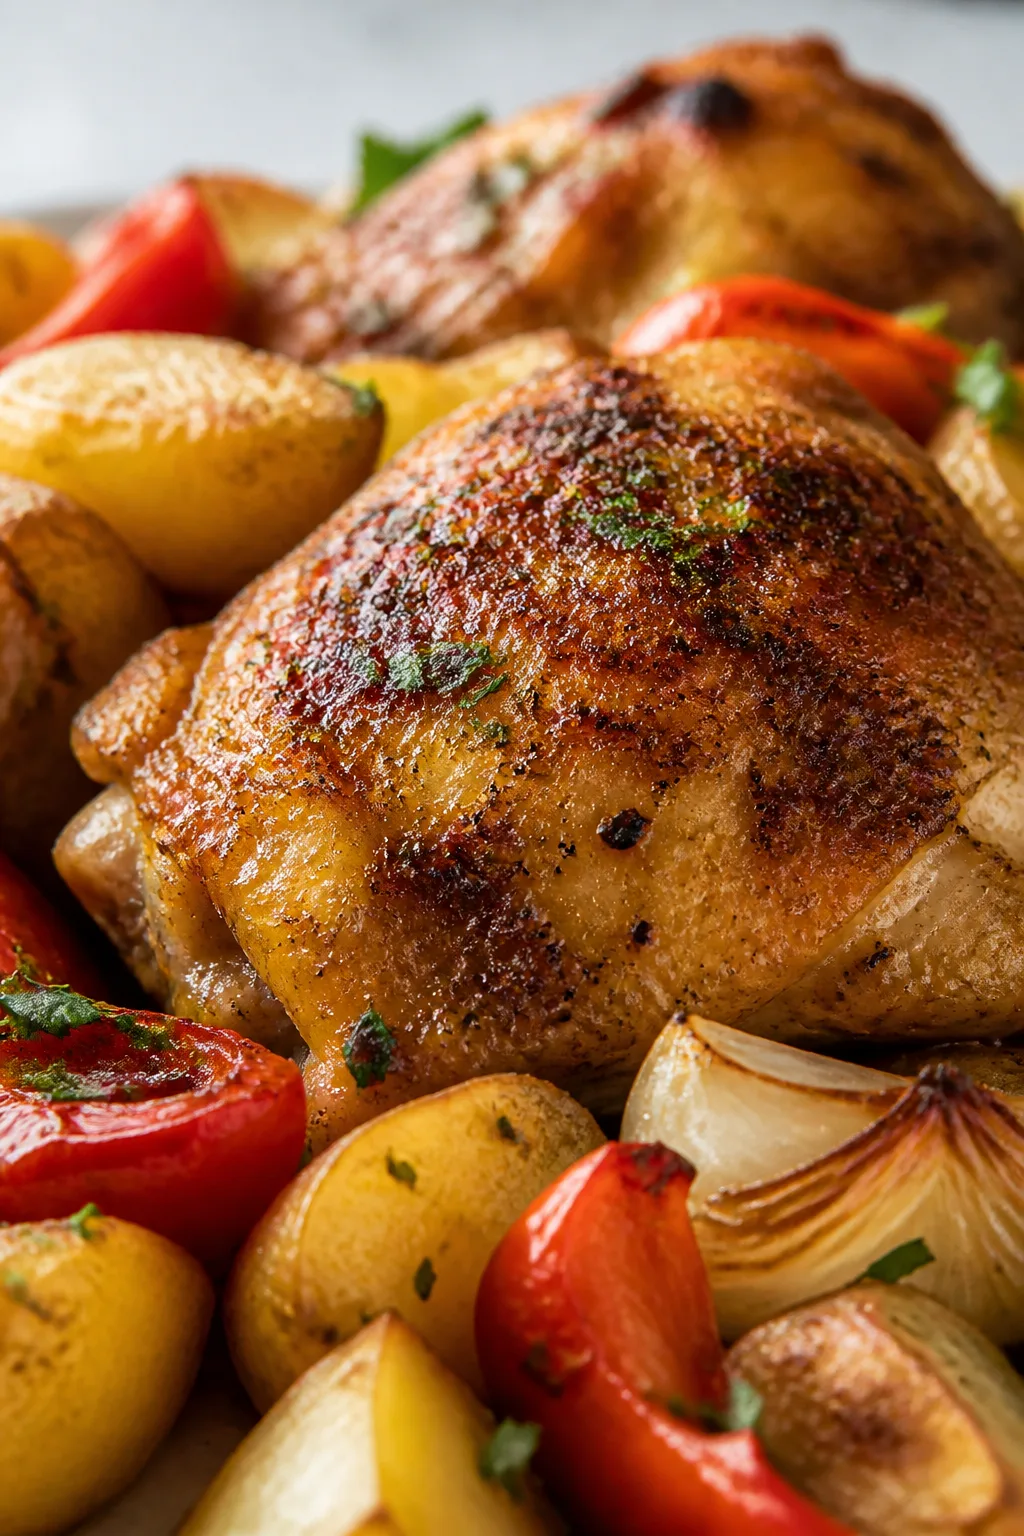
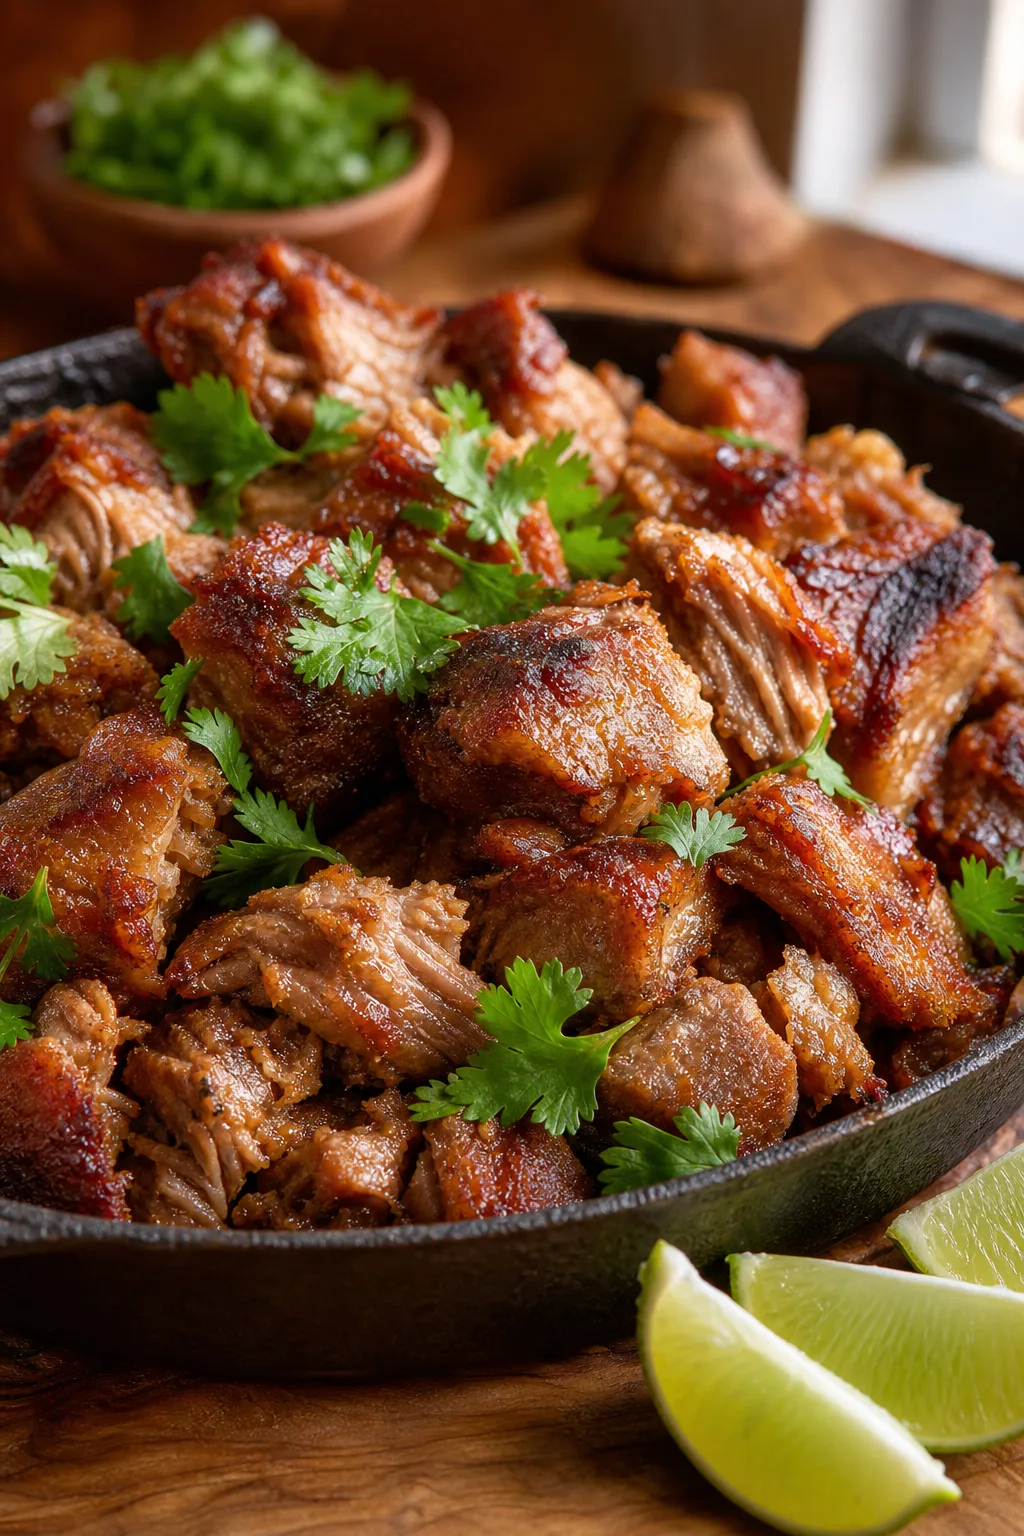
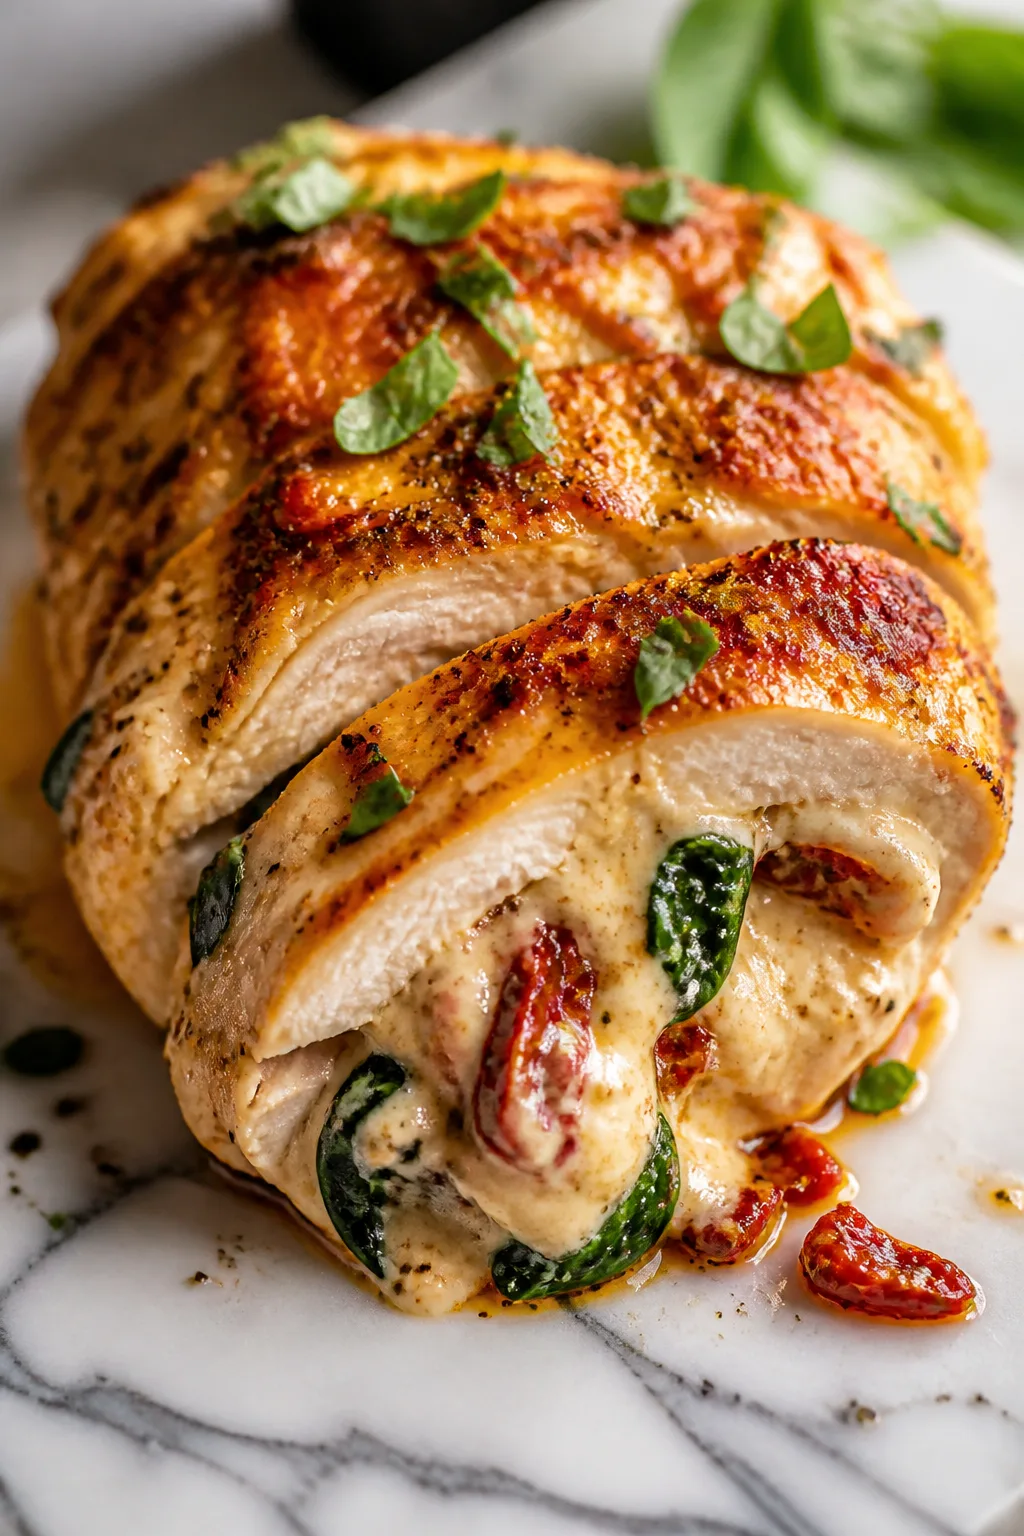
This one-pot air fryer chicken dish is a total game changer. Everything cooks together, locking in juicy flavors and perfectly tender veggies. It’s my go-to for quick dinners when time’s tight!
Introduction
I first tried this one-pot air fryer chicken recipe when I was desperate for a quick, healthy dinner that didn’t leave a mountain of dishes. Honestly, it was a bit of an experiment — I wasn’t sure if cooking everything together would muddle the flavors or make the veggies soggy. But it turned out better than I imagined! The chicken stays juicy and tender, while the veggies soak up the subtle spices and lemon without losing their texture. What makes this recipe different is the magic of air frying everything in one go, which locks in flavor and cuts down cooking time dramatically. Plus, the trick I learned was to toss the veggies in a little oil and seasoning separately so they roast just right alongside the chicken. The finished dish looks colorful and inviting, with golden chicken and perfectly cooked veggies that still have a bit of bite. It’s become my go-to for busy weeknights when I want something satisfying without fuss. Give it a shot — you might just love how easy and delicious it is!
How To Do It
Step 1
Start by prepping your chicken thighs: pat them dry with paper towels to remove excess moisture. This step is crucial because dry skin crisps up better in the air fryer, giving you that lovely golden color and texture. Next, drizzle the chicken with olive oil and rub in smoked paprika, garlic powder, salt, and pepper evenly. This seasoning combo brings a smoky, savory depth that complements the natural chicken flavor. Don’t rush this step — taking a few minutes to coat the chicken well ensures every bite is flavorful.
⏱ Time: 10 minutes
✓ Doneness: Chicken skin looks evenly coated and has a slight sheen from the oil and spices
Step 2
While the chicken marinates, prep your veggies. Toss the baby carrots, green beans, and halved baby potatoes in a separate bowl with a teaspoon of olive oil, dried thyme, salt, and pepper. This separate seasoning step is important because it allows the veggies to roast evenly without becoming soggy. The oil helps them crisp up nicely in the air fryer, while the thyme adds a subtle herbal note that pairs beautifully with the chicken. Make sure the veggies are coated but not drenched — too much oil can make them greasy.
⏱ Time: 5 minutes
✓ Doneness: Veggies are evenly coated with oil and herbs, no clumps or dry spots
Step 3
Preheat your air fryer to 380°F (193°C) for about 3 minutes. Preheating is key for getting a crispy exterior on the chicken and properly roasted veggies. If you skip this, the cooking time might increase and textures won’t be as good. Once preheated, arrange the chicken thighs in a single layer in the air fryer basket, skin side up. Don’t overcrowd — this ensures hot air circulates well for even cooking.
⏱ Time: 3 minutes
✓ Doneness: Air fryer is hot and chicken fits comfortably without overlapping
Step 4
Place the seasoned veggies around the chicken in the air fryer basket, spreading them out so they get plenty of air exposure. If your basket is small, you might need to cook in batches. Adding lemon slices on top of the chicken will infuse a bright citrus aroma and help keep the meat moist. This layering technique lets the lemon juice drip down and flavor both chicken and veggies.
⏱ Time: 5 minutes
✓ Doneness: Veggies are spread evenly and lemon slices are positioned over chicken
Step 5
Cook everything at 380°F for 25-30 minutes, shaking the basket or stirring veggies halfway through to promote even cooking. The key here is not to rush or open the fryer too often — each time you open it, heat escapes and cooking time lengthens. The chicken will develop a crispy skin while the veggies roast tender but still with a bite.
⏱ Time: 25-30 minutes
✓ Doneness: Chicken skin is golden brown and juices run clear; veggies are tender when poked with a fork
Step 6
Check the chicken’s internal temperature with a meat thermometer; it should read 165°F (74°C) for safe eating. If it’s not quite there, continue cooking in 3-minute increments. This step ensures the chicken is juicy and perfectly cooked without drying out. Overcooking is a common mistake here, so rely on the thermometer rather than guessing.
⏱ Time: 2-5 minutes
✓ Doneness: Thermometer reads 165°F at the thickest part of the chicken
Step 7
Once cooked, let the chicken rest for 5 minutes outside the fryer. Resting allows the juices to redistribute, making the meat moist and tender. During this time, the veggies will cool slightly but remain warm and flavorful. Resist the urge to cut into the chicken immediately — it’s worth the wait!
⏱ Time: 5 minutes
✓ Doneness: Chicken feels slightly firm but juicy when pressed gently
Step 8
Transfer the chicken and veggies to a serving dish and garnish with fresh herbs if you like — parsley or thyme work beautifully. The fresh herbs add a pop of color and a fresh flavor that brightens the dish. This final touch makes it look dinner-party worthy, even though it’s so simple.
⏱ Time: 2 minutes
✓ Doneness: Dish looks colorful and inviting with fresh green herb sprigs
Step 9
Serve immediately with your favorite side or a simple salad. This meal is balanced and filling on its own, but pairing with a light green salad or crusty bread makes it even better. Enjoy the harmony of juicy chicken and perfectly roasted veggies — a satisfying dinner that’s quick and fuss-free!
⏱ Time: Immediate
✓ Doneness: Meal is warm, vibrant, and ready to enjoy
Pro Tips
Pat chicken dry before seasoning.
Removing surface moisture helps the skin crisp up during air frying. Moisture creates steam that prevents browning, so this simple step ensures a golden, crunchy skin instead of soggy.
Don’t overcrowd the air fryer basket.
Overcrowding blocks airflow, leading to uneven cooking and steaming rather than roasting. Give each piece space so hot air can circulate freely, resulting in crispier chicken and perfectly roasted veggies.
Use a meat thermometer to check doneness.
Visual cues can be misleading; a thermometer ensures the chicken reaches a safe internal temp of 165°F without overcooking. This keeps meat juicy and tender.
Toss veggies separately with oil and herbs.
Seasoning veggies apart prevents them from getting soggy and allows even coating, which promotes caramelization and enhances flavor.
Let the chicken rest after cooking.
Resting redistributes juices throughout the meat, making it moist and flavorful rather than dry and tough.
Add lemon slices on top before cooking.
Lemon releases steam and bright citrus notes during cooking, which balances richness and keeps chicken moist.
Shake the basket halfway through cooking.
Stirring veggies and repositioning chicken encourages even browning and prevents burning on one side.
Common Mistakes to Avoid
Skipping patting chicken dry.
Why it happens Many assume seasoning immediately is fine, but moisture on skin prevents crisping.
Fix Dry chicken thoroughly with paper towels before seasoning to ensure the skin crisps nicely in the air fryer.
Overcrowding the air fryer basket.
Why it happens Trying to cook everything at once without considering space restricts airflow.
Fix Cook in batches if needed, leaving space between pieces to allow hot air circulation for even cooking.
Using too much oil on veggies.
Why it happens Thinking more oil equals better roasting can lead to greasy, soggy results.
Fix Use just enough oil to lightly coat veggies; this helps them crisp without becoming oily.
Not checking internal temperature.
Why it happens Relying on visual cues alone can lead to undercooked or overcooked chicken.
Fix Use a meat thermometer to confirm chicken reaches 165°F for safe, juicy results.
Cutting into chicken immediately after cooking.
Why it happens Impatience causes juices to spill out, drying the meat.
Fix Let chicken rest 5 minutes before slicing to keep it moist and tender.
Variations
Spicy Cajun One-Pot Air Fryer Chicken
Swap smoked paprika for Cajun seasoning and add a pinch of cayenne for a spicy kick. Use bell peppers instead of green beans for a colorful twist. Expect a bolder, smoky heat that pairs well with the lemon.
Note: Spicy seasonings can brown faster; watch cooking times closely to avoid burning.
Mediterranean Herb Chicken with Zucchini
Replace thyme with oregano and add chopped zucchini alongside the potatoes. Finish with a drizzle of olive oil and a sprinkle of feta cheese after cooking for a fresh Mediterranean vibe.
Note: Zucchini cooks faster; add it halfway through cooking to prevent mushiness.
Honey Garlic Glazed Air Fryer Chicken
Brush the chicken with a mixture of honey, garlic, and soy sauce before air frying. This glaze caramelizes beautifully, giving a sweet-savory crust. Serve with steamed broccoli for balance.
Note: Apply glaze in the last 5 minutes to prevent burning from sugars.
Lemon Herb Chicken with Roasted Brussels Sprouts
Use Brussels sprouts instead of green beans and add rosemary with the thyme. The sprouts roast to a crispy, nutty perfection, complementing the lemon and chicken flavors nicely.
Note: Trim sprouts and halve for even cooking; watch closely to avoid over-charring.
Garlic Butter Air Fryer Chicken and Veggies
Melt butter with minced garlic and toss it with the chicken and veggies before cooking. This adds richness and a delicious garlic aroma, turning the dish into a comforting classic.
Note: Butter browns faster than oil; monitor cooking to prevent burning.
Nutrition
Per Serving:
Nutritional values are estimates and may vary based on specific ingredients used.
Storage & Tips
Room Temperature
This dish can safely sit covered at room temperature for up to 2 hours. Beyond that, bacteria growth increases, so refrigerate promptly to maintain freshness and safety.
Refrigerator
Store leftovers in an airtight container for up to 3 days. The chicken may firm up when chilled, so reheat gently to retain moisture. Veggies might soften but still taste great warmed or cold in salads.
Freezer
Freeze cooked chicken and veggies separately in airtight containers or freezer bags for up to 2 months. Wrap tightly to prevent freezer burn. Thaw in the refrigerator overnight before reheating.
Reheating
Reheat in the air fryer at 350°F for 5-7 minutes to restore crispiness, or microwave covered with a splash of water for 2-3 minutes for convenience. Avoid overheating to prevent drying out.
Make Ahead
You can prep and season chicken and veggies 1 day ahead, storing them separately in the fridge. Assemble and air fry just before serving for maximum freshness and crispness.
FAQ
Can I use chicken breasts instead of thighs?
Yes, but breasts cook faster and can dry out more easily. Reduce cooking time by about 5-7 minutes and check internal temperature often. Brining breasts beforehand helps keep them juicy.
What if my air fryer basket is small?
Cook in batches to avoid overcrowding, which causes uneven cooking. Keep cooked pieces warm in a low oven while finishing remaining batches.
Can I use frozen veggies?
Yes, but frozen veggies tend to release water, which can make them soggy. Thaw and pat them dry thoroughly before air frying, and reduce the oil slightly to compensate.
How do I keep the chicken skin crispy after reheating?
Reheat in the air fryer or oven rather than microwave to maintain crispiness. Avoid covering the chicken tightly when reheating, as trapped steam softens the skin.
Can I add other vegetables?
Absolutely! Just adjust cooking times based on vegetable density and size. Root veggies take longer, while softer veggies like zucchini should be added later to avoid overcooking.
Is it necessary to preheat the air fryer?
Preheating ensures the basket is hot so the chicken skin crisps immediately, locking in juices. Skipping this can increase cooking time and lead to less crispy results.
What if my chicken isn’t cooked through after 30 minutes?
Every air fryer varies. Continue cooking in 3-minute increments until the internal temp reads 165°F. Use a thermometer rather than guessing to avoid overcooking.
Can I marinate the chicken overnight?
Yes, marinating overnight enhances flavor and tenderness. Just pat the chicken dry before air frying to maintain crispy skin.
Final Thoughts
I hope you enjoy making this one-pot air fryer chicken as much as I do! It’s quick, flavorful, and perfect for busy nights. Don’t forget to share how it turns out!