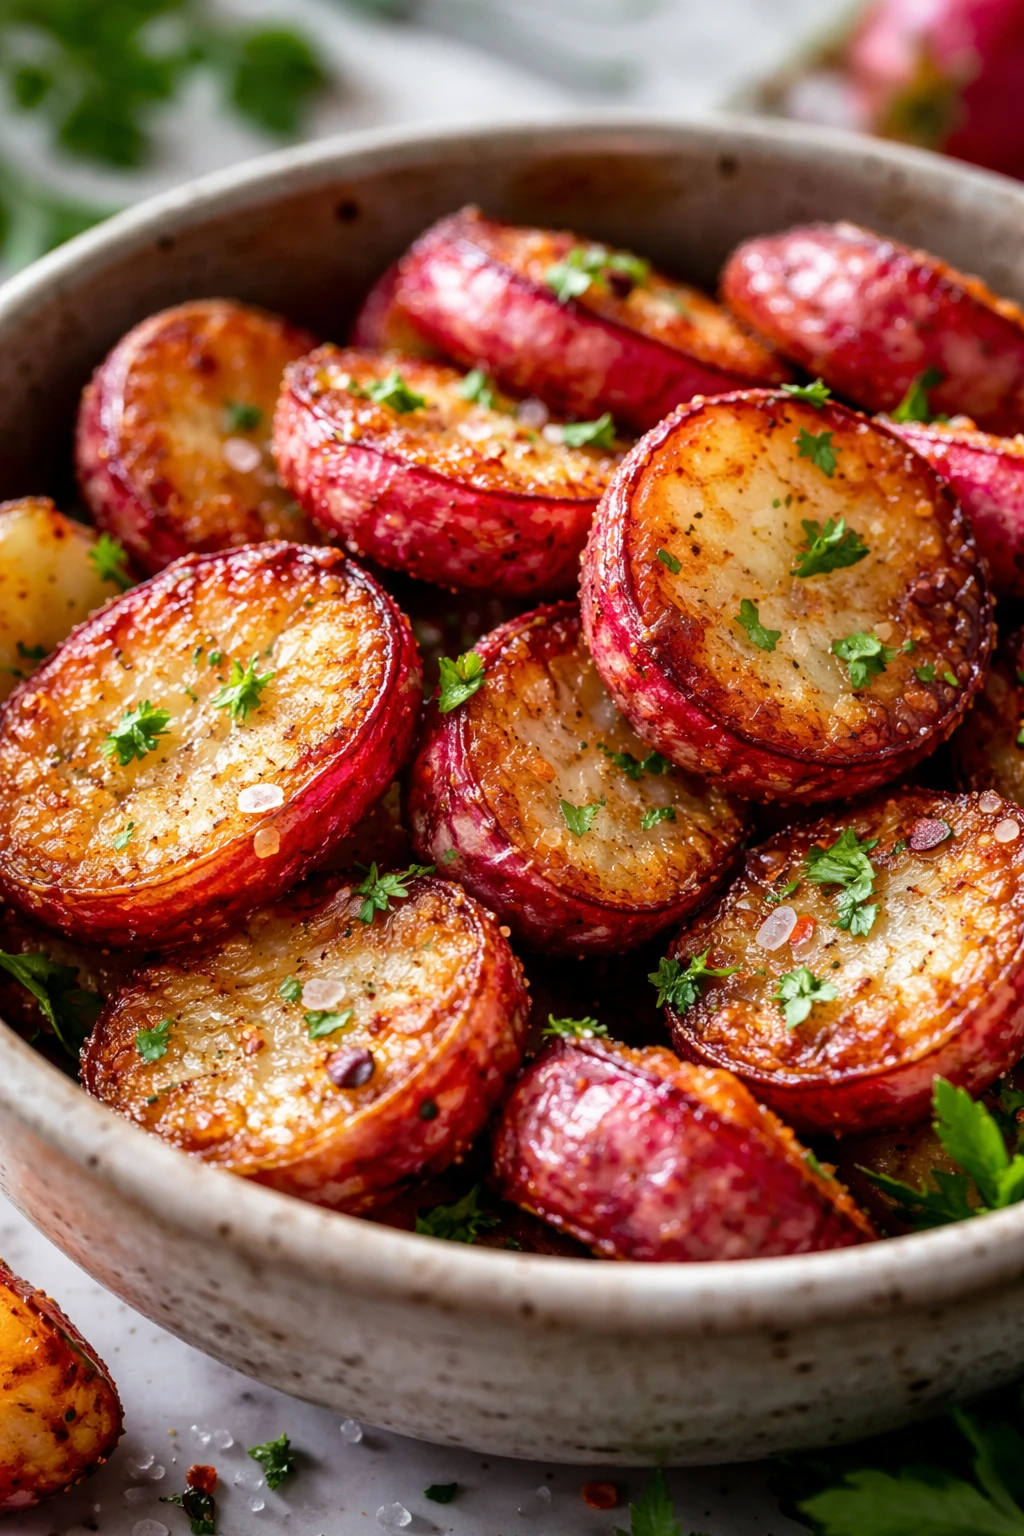
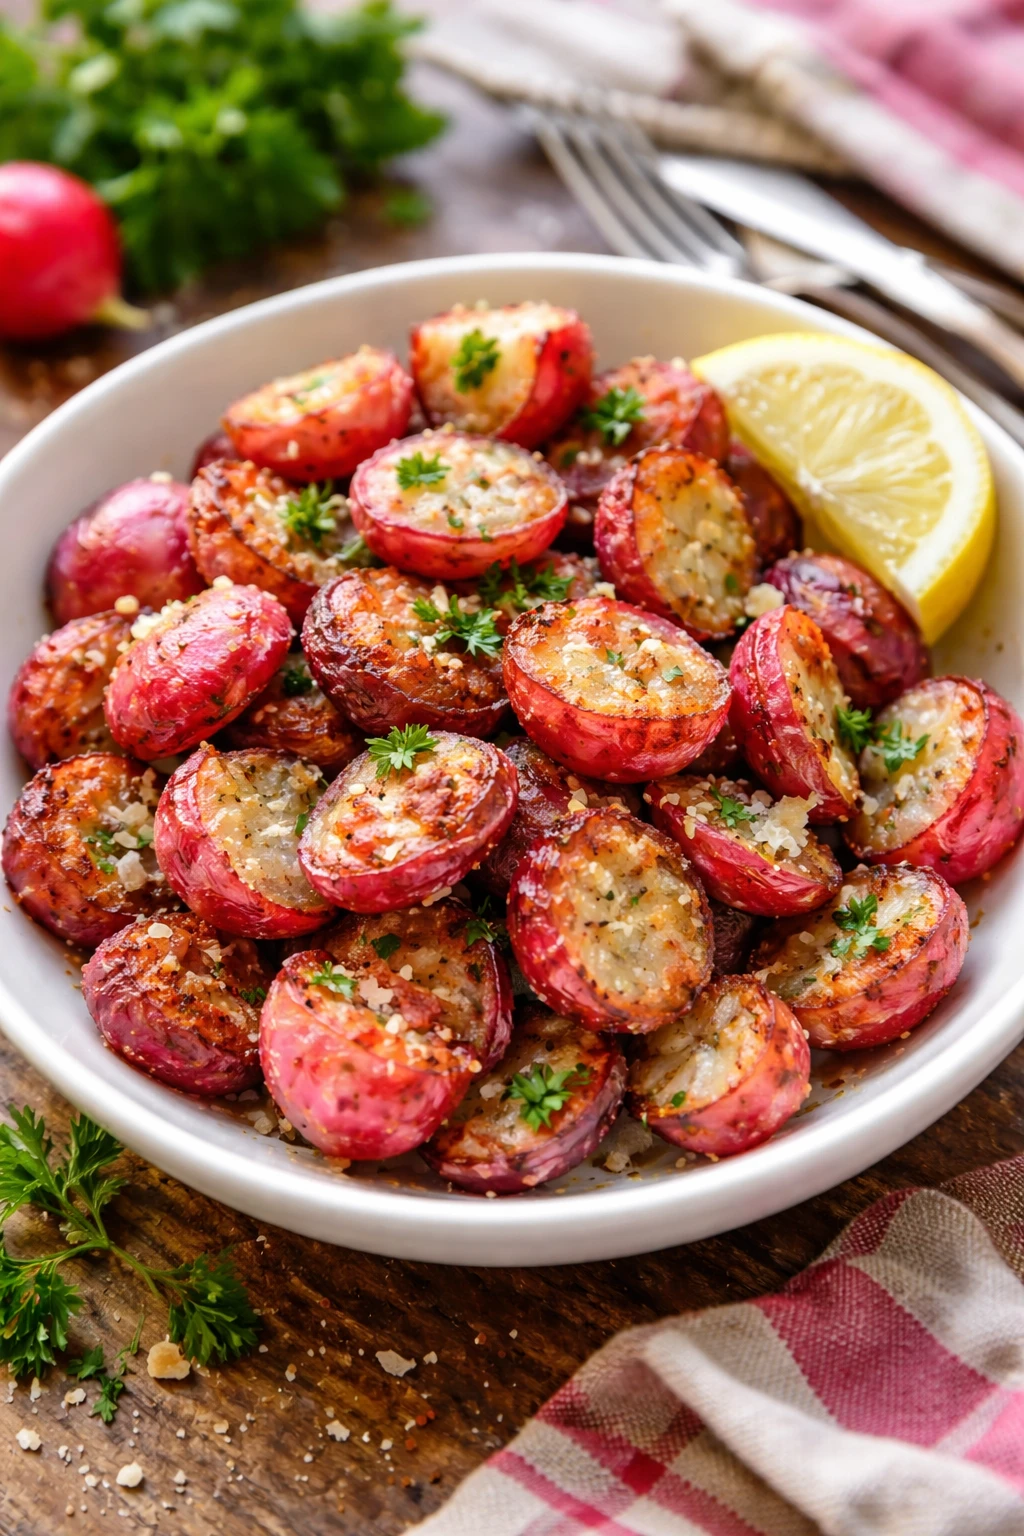
These crispy fried radishes are a total game changer! Lightly battered and fried just right, they’re crunchy on the outside but tender inside, with a subtle peppery flavor. Great for snacking or as a side dish.
Introduction
I first stumbled upon this recipe on a whim when I wanted to try something different with radishes. Usually, radishes get tossed into salads or pickled, but frying them? Total game changer. The trick I learned was using sparkling water in the batter; it makes the coating incredibly light and crispy without weighing down the delicate radishes. Plus, a pinch of baking powder helps get that extra crunch. When fried just right, the radishes stay tender inside, with a golden, crispy shell that’s so addictive. It’s a simple snack that feels special—perfect for casual get-togethers or when you want a crunchy side that’s not your usual fries. My family was skeptical at first but ended up loving these crispy bites, and I think you will too!
How To Do It
Step 1
Start by washing and trimming the radishes, then slice them into 1/4-inch thick rounds. Keeping the slices uniform ensures they cook evenly, so none end up soggy or burnt. Pat them dry thoroughly with a clean towel—excess moisture can make the batter slip off or cause the oil to splatter, which is both dangerous and messy.
⏱ Time: 10 minutes
✓ Doneness: Slices feel dry to the touch and are evenly sized
Step 2
In a bowl, whisk together the flour, baking powder, salt, and pepper. Slowly pour in the cold sparkling water while stirring gently until you get a smooth, slightly thick batter. The carbonation in the sparkling water is key—it creates tiny bubbles that make the batter light and crunchy once fried. Avoid overmixing to keep those bubbles intact.
⏱ Time: 5 minutes
✓ Doneness: Batter is smooth with some bubbles visible, not overly thick or runny
Step 3
Heat about 2 inches of vegetable oil in a deep pan over medium-high heat until it reaches 350°F (175°C). Use a thermometer for accuracy—too hot and the radishes will burn, too cool and they’ll soak up oil and become greasy. You want a steady sizzle when the batter hits the oil.
⏱ Time: 5 minutes
✓ Doneness: Oil shimmers and a drop of batter sizzles immediately
Step 4
Dip each radish slice into the batter, letting the excess drip off before carefully placing it into the hot oil. Work in batches to avoid overcrowding, which lowers the oil temperature and makes the coating soggy. Fry until golden and crisp, about 2-3 minutes per side.
⏱ Time: 10 minutes
✓ Doneness: Golden brown color and crispy texture when lifted from oil
Step 5
Use a slotted spoon to remove the fried radishes and place them on a paper towel-lined plate to drain excess oil. This step is crucial to keep the coating crisp and not greasy. Season immediately with a pinch of salt while still hot to enhance the flavor.
⏱ Time: 2 minutes
✓ Doneness: No visible oil pooling, radishes still hot and crisp
Step 6
Serve the crispy fried radishes warm as a snack or alongside your favorite meal. They pair beautifully with a simple garlic aioli or a squeeze of fresh lemon for added zest. If you want to make them a bit spicy, add a dash of cayenne to the batter.
⏱ Time: 0 minutes
✓ Doneness: Radishes served warm with dipping sauce optional
Step 7
If you have leftovers, let them cool completely before storing in an airtight container in the fridge. Reheat in a hot oven or toaster oven to bring back their crispiness instead of microwaving, which can make them soggy.
⏱ Time: 0 minutes
✓ Doneness: Reheated radishes regain crunch without drying out
Step 8
For a gluten-free option, substitute the all-purpose flour with a 1:1 gluten-free baking blend. Keep the baking powder and sparkling water the same to maintain that light, crispy texture.
⏱ Time: 0 minutes
✓ Doneness: Batter consistency similar to original, frying results crisp radishes
Step 9
Experiment with different seasonings in the batter—try garlic powder, smoked paprika, or herbs like thyme. These small tweaks can elevate the flavor profile and make this snack your own signature dish.
⏱ Time: 0 minutes
✓ Doneness: Batter infused with chosen spices, fried radishes carry extra flavor
Pro Tips
Always pat radishes dry before battering.
Surface moisture prevents the batter from sticking properly and can cause dangerous oil splatters. Dry radishes help the batter cling evenly, resulting in a consistent crispy crust.
Keep the batter cold until frying.
Cold batter slows gluten development, keeping it tender and light. It also preserves the carbonation bubbles that make the coating crispier after frying.
Don’t overcrowd the pan when frying.
Crowding lowers the oil temperature quickly, causing the batter to absorb more oil and become soggy. Fry in small batches to maintain consistent heat and crispness.
Use a thermometer to monitor oil temperature.
Frying at the right temperature (around 350°F) ensures the radishes cook through and the batter crisps perfectly without burning or greasiness.
Season immediately after frying.
Salt sticks best when the fried radishes are hot, enhancing flavor by penetrating the batter rather than just sitting on the surface.
Serve fried radishes right away for best texture.
The crispy coating can soften as they cool. Serving them hot preserves the crunch and makes for the best eating experience.
Experiment with dipping sauces like garlic aioli or spicy ketchup.
A flavorful dip complements the mild peppery radishes and crispy batter, elevating the snack and adding moisture contrast.
Common Mistakes to Avoid
Using wet radishes without drying.
Why it happens Many cooks overlook the importance of drying radishes, assuming washing is enough. The extra moisture interferes with batter adhesion and causes oil splatters.
Fix After washing, thoroughly pat radishes dry with paper towels or a clean kitchen cloth. This ensures the batter sticks well and frying is safer and cleaner.
Overmixing the batter.
Why it happens It’s tempting to mix batter until perfectly smooth, but overmixing develops gluten, making the batter tough instead of light.
Fix Stir just until combined; a few lumps are fine. This keeps the batter tender and allows the sparkling water bubbles to create a crisp texture.
Frying at too low or too high temperature.
Why it happens Without a thermometer, cooks often guess oil heat. Too hot burns the batter; too cool makes it greasy.
Fix Use a reliable thermometer and maintain 350°F. Adjust heat as needed between batches to keep the oil stable.
Overcrowding the pan.
Why it happens Trying to speed up cooking by frying many pieces at once lowers oil temperature drastically.
Fix Fry in small batches, leaving space between pieces to keep oil hot and ensure crispiness.
Not seasoning immediately after frying.
Why it happens Waiting too long to salt means the seasoning won’t stick well and the radishes taste bland.
Fix Sprinkle salt right after removing from oil while still hot for best flavor absorption.
Variations
Spicy Fried Radishes
Add cayenne pepper or chili powder to the batter for a spicy kick. Serve with a cooling yogurt dip to balance the heat. This variation adds excitement for those who love a little fire in their snacks.
Note: Spices can slightly darken the batter and may cook faster, so watch the frying time closely to avoid burning.
Gluten-Free Fried Radishes
Swap all-purpose flour with a gluten-free flour blend that includes xanthan gum. The texture remains crispy and light, making this snack accessible to those avoiding gluten.
Note: Gluten-free batters may be a bit more delicate; handle gently and fry in smaller batches.
Herb-Infused Batter
Mix fresh chopped herbs like thyme or rosemary into the batter for an aromatic twist. It pairs beautifully with a lemon-garlic dipping sauce for a fresh, garden-inspired snack.
Note: Herbs add moisture and can affect batter consistency slightly; adjust sparkling water as needed.
Parmesan-Crusted Radishes
Add finely grated Parmesan cheese to the batter or sprinkle on top right after frying. This gives a savory, nutty flavor and extra crispness, perfect for cheese lovers.
Note: Parmesan can brown quickly; monitor frying closely to prevent burning.
Baked Crispy Radishes
For a healthier option, bake the battered radishes on a parchment-lined sheet at 425°F until golden and crisp. They won’t be quite as crunchy as fried but still delicious and less oily.
Note: Turn radishes halfway through baking for even crispness.
Nutrition
Per Serving:
Nutritional values are estimates and may vary based on specific ingredients used.
Storage & Tips
Room Temperature
Crispy fried radishes can be safely left out for up to 2 hours if covered loosely with foil or a clean kitchen towel. Beyond that, the risk of oil spoilage and texture loss increases.
Refrigerator
Store cooled fried radishes in an airtight container in the fridge for up to 2 days. They tend to lose crispness when cold but can be reheated to restore crunchiness.
Freezer
You can freeze fried radishes for up to 1 month. Place them in a single layer on a baking sheet to freeze individually before transferring to a freezer bag to prevent clumping and freezer burn.
Reheating
Reheat fried radishes in a preheated oven or toaster oven at 375°F for 5-7 minutes. Avoid microwaving as it makes them soggy. Adding a splash of oil before reheating can help regain crispness.
Make Ahead
Prepare the batter and slice radishes 1 day ahead, storing radishes dry in the fridge. Fry just before serving to ensure maximum crunch and freshness.
FAQ
Can I use regular water instead of sparkling water in the batter?
You can, but the texture won’t be as light and crispy. Sparkling water adds bubbles that expand during frying, creating a delicate crunch that plain water can’t replicate.
What oil is best for frying these radishes?
Use a neutral oil with a high smoke point like canola, sunflower, or vegetable oil. These oils handle the frying temperature well without burning or imparting strong flavors.
How do I keep the radishes from becoming soggy after frying?
Drain them on paper towels immediately after frying to remove excess oil. Serve hot or reheat in the oven to restore crispiness. Avoid covering tightly while warm to prevent steam buildup.
Can I make this recipe gluten-free?
Yes! Substitute the all-purpose flour with a gluten-free flour blend that includes binding agents like xanthan gum to maintain the batter’s structure and crispness.
How do I know when the oil is the right temperature for frying?
Use a thermometer to keep oil around 350°F. Alternatively, drop a small bit of batter into the oil; it should sizzle and rise quickly without browning too fast.
Can I add spices to the batter?
Definitely! Adding spices like paprika, garlic powder, or cayenne can enhance flavor. Just be careful not to add too much baking powder as it can affect taste.
How long can I store leftover fried radishes?
Store leftovers in the fridge for up to 2 days in an airtight container. Reheat in the oven to regain crispness before serving.
Is it okay to bake instead of fry for a healthier option?
Yes, baking is a good alternative, though the radishes won’t be quite as crispy. Bake at 425°F on a parchment-lined sheet, turning halfway through for even cooking.
Final Thoughts
Give these crispy fried radishes a try—you might just discover your new favorite snack! Let me know how yours turn out and any fun twists you add.