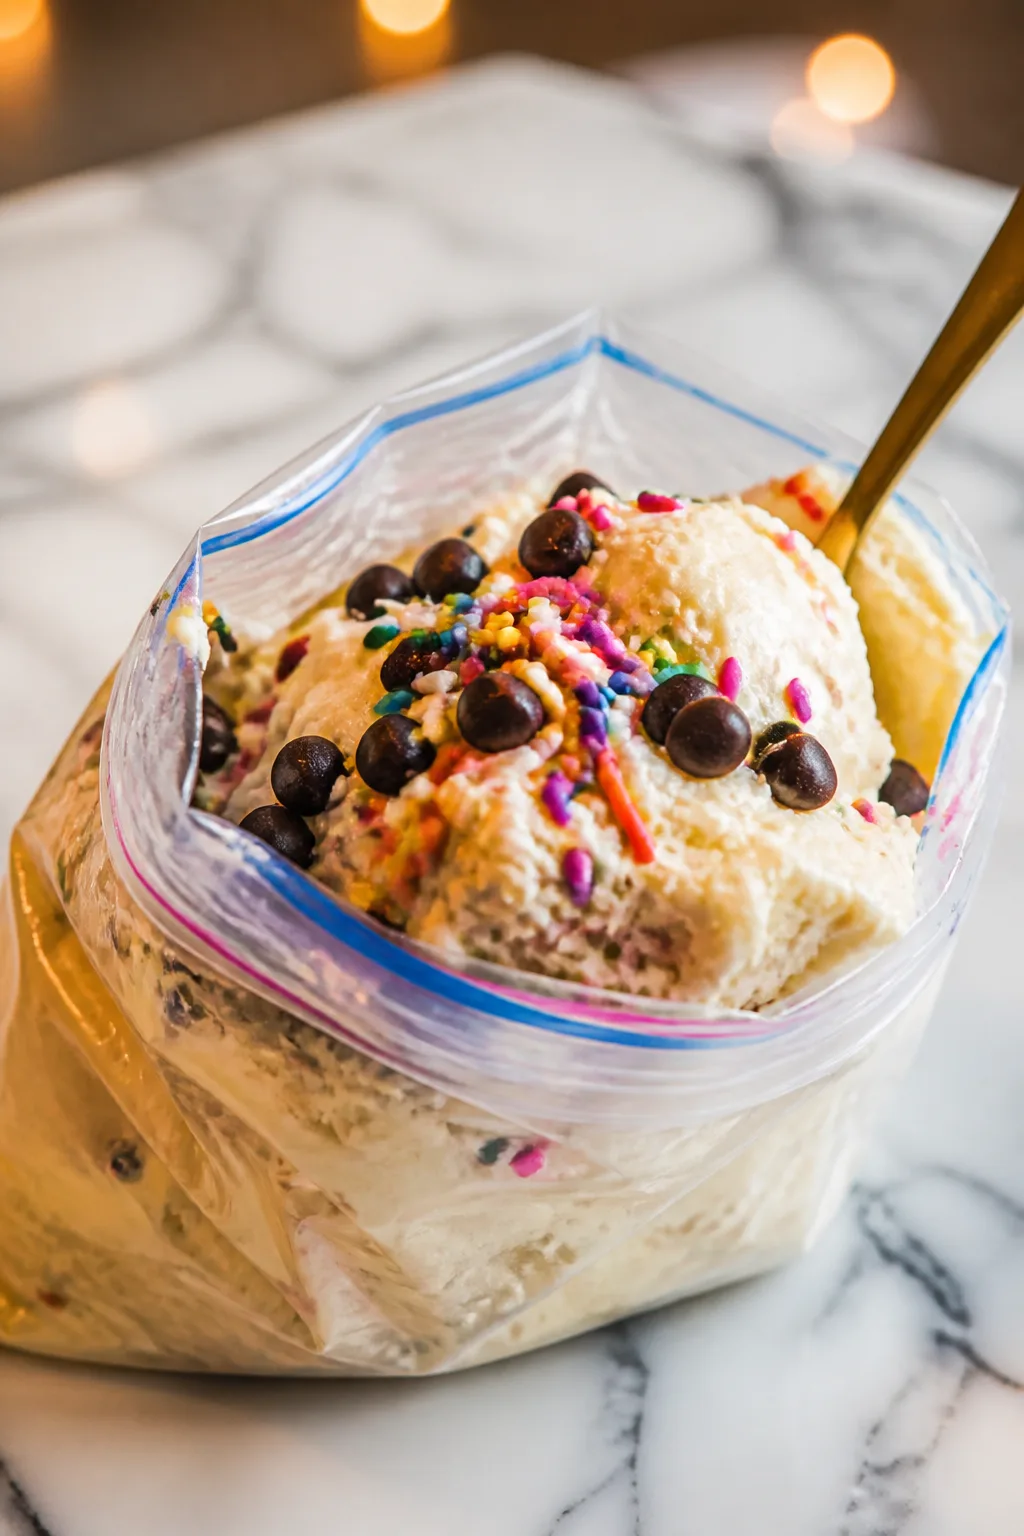
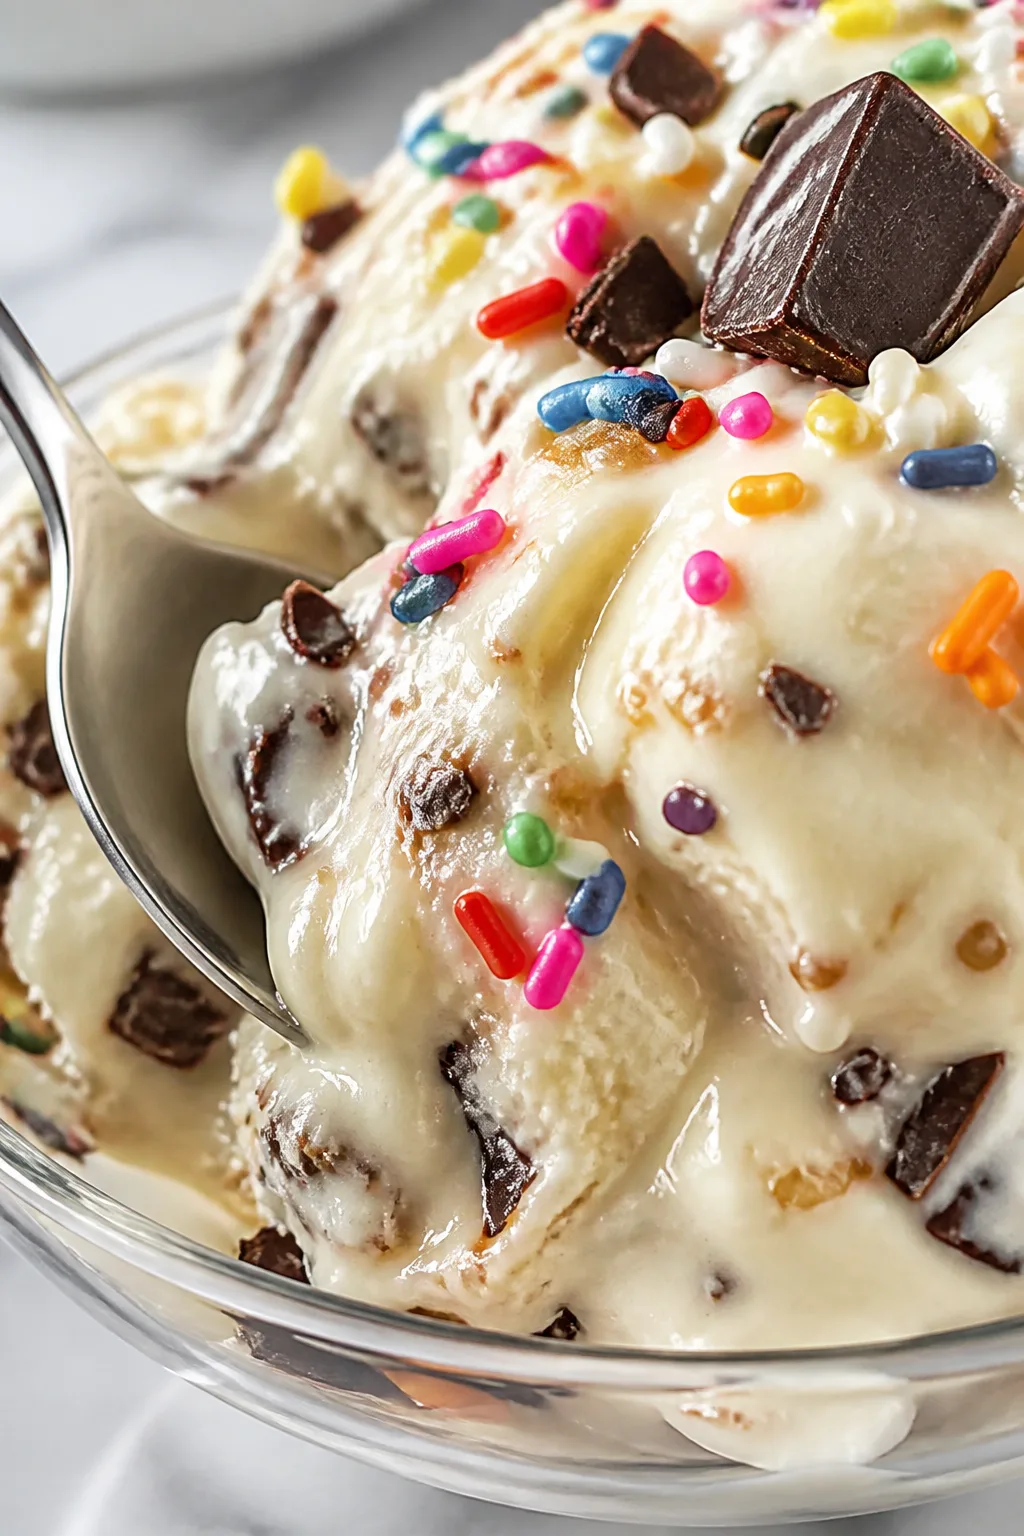
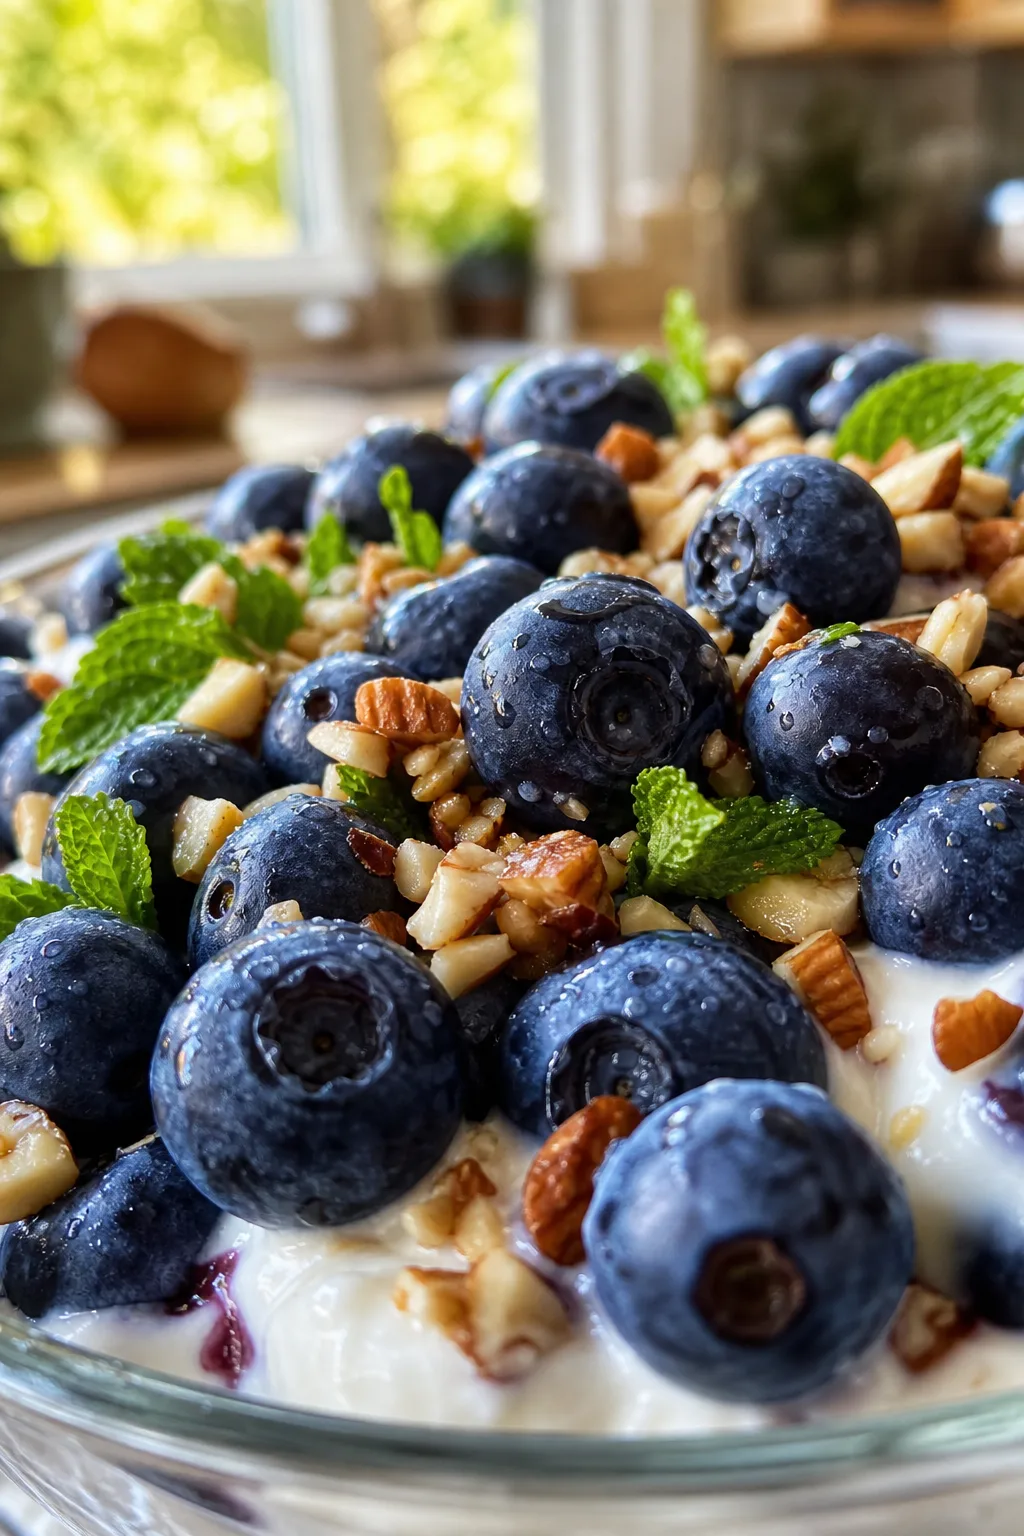
This ice cream in a bag is such a fun, hands-on treat to make with the kids. It’s creamy and delicious, and you don’t need any fancy equipment—just shake and enjoy. Perfect for summer afternoons or casual family hangouts!
Introduction
I first stumbled upon this ice cream in a bag recipe years ago when I wanted a quick, no-fuss way to make ice cream without an ice cream maker. It was a total game-changer, especially for warm afternoons when the kids and I wanted a cool treat but didn’t want to wait hours. What I love about this method is how interactive it is—you actually shake the bag to churn the ice cream, which makes it a fun activity for everyone involved. Plus, it only takes about 15 minutes from start to finish, which is perfect for impatient dessert lovers like me. This version is creamier than your typical homemade ice cream because of the heavy cream and whole milk combo, and the vanilla really gives it a classic flavor that everyone enjoys. One trick I learned is to make sure the smaller bag is sealed tightly and double-bagged to avoid any salty water seeping in. The finished ice cream is rich, smooth, and just sweet enough. It’s the kind of treat that feels special but is so simple to whip up anytime you want. Honestly, it’s become my go-to summer dessert, and I’m pretty sure you’ll love it too!
How To Do It
Step 1
Start by preparing your ice cream base in the small quart-size bag. Combine the cold heavy cream, whole milk, granulated sugar, and vanilla extract. Seal the bag tightly, pressing out as much air as possible. This mixture is your ice cream base, and chilling it before shaking helps it freeze faster and get creamier. Avoid rushing this step because a well-mixed base ensures even sweetness and smooth texture.
⏱ Time: 5 minutes
✓ Doneness: Mixture is fully combined with no visible sugar crystals; bag feels cold and smooth
Step 2
Fill the large gallon-size bag halfway with ice cubes and add the rock salt. The salt lowers the freezing point of the ice, which is crucial for freezing the ice cream mixture quickly. Place the small bag with the ice cream base inside the large bag and seal tightly. Make sure the large bag is sealed well to prevent leaks. If you skip the salt, the ice won’t get cold enough to freeze the cream properly.
⏱ Time: 5 minutes
✓ Doneness: Salt is evenly distributed among the ice, and the small bag is securely sealed inside
Step 3
Now comes the fun part: shake the bags vigorously for about 10 minutes. You want to shake and squeeze the bags to help the ice cream base churn and freeze evenly. Using a kitchen towel or gloves helps protect your hands from the cold. The shaking motion causes the fat and water in the cream to emulsify and solidify into ice cream. Don’t stop too early or the texture will be too soft.
⏱ Time: 10 minutes
✓ Doneness: Mixture inside small bag thickens to a soft-serve ice cream consistency
Step 4
Once thickened, carefully remove the small bag from the ice mixture. Wipe off any salt water from the outside to prevent contamination. Open the bag and give the ice cream a quick stir to smooth out any lumps. If you want firmer ice cream, pop it in the freezer for another 10-15 minutes. This step ensures a perfect creamy texture without ice crystals.
⏱ Time: 3 minutes
✓ Doneness: Ice cream is smooth, creamy, and holds shape when scooped
Step 5
Serve immediately with your favorite toppings like fresh berries, chocolate chips, or crushed nuts. This ice cream tastes best fresh but can be stored in the freezer for later. Just remember it’s softer than store-bought, so scoop gently. Enjoy it as a quick summer treat or a fun activity to make with friends or family.
⏱ Time: 0 minutes
✓ Doneness: Ice cream is cold, creamy, and ready to enjoy
Step 6
If you want to experiment, try mixing in small chocolate chips or swirl in a bit of fruit jam before sealing the small bag. This adds flavor and texture without complicating the process. Just be sure to keep the bag sealed tightly to prevent leaks during shaking.
⏱ Time: 2 minutes
✓ Doneness: Add-ins are evenly distributed without breaking the bag seal
Step 7
For a dairy-free version, swap the heavy cream and milk with coconut cream and coconut milk. The shaking method remains the same, but coconut cream provides a rich, creamy texture that freezes well. Keep in mind the flavor will be different but equally delicious.
⏱ Time: 0 minutes
✓ Doneness: Mixture thickens similarly to dairy version after shaking
Step 8
Make sure to clean and dry your bags thoroughly before reuse to avoid any unwanted flavors or bacteria. Using fresh bags every time is ideal, but if reusing, rinse immediately after use. This keeps your ice cream tasting fresh and safe.
⏱ Time: 0 minutes
✓ Doneness: Bags are clean and dry before next use
Step 9
If you're making this for a party, prepare multiple bags and have guests shake their own ice cream. It’s a great way to get everyone involved and adds a fun interactive element to your gathering. Plus, everyone gets to customize their own flavors!
⏱ Time: 0 minutes
✓ Doneness: Guests enjoy shaking and eating their personalized ice cream
Pro Tips
Use a kitchen towel or gloves to hold the cold bag while shaking.
The salt and ice mixture gets extremely cold, which can be uncomfortable or even cause a cold burn on your hands. Using a towel or gloves protects your skin and lets you shake vigorously without pain, ensuring better churning.
Double-bag the ice cream mixture to prevent leaks.
Salt water can seep into the smaller bag during shaking if it’s not sealed perfectly, ruining the sweetness and texture. Double-bagging creates an extra barrier, keeping your ice cream pure and delicious.
Shake continuously for at least 10 minutes for best texture.
Shaking keeps the mixture moving so ice crystals stay small and the fat emulsifies evenly. Stopping too soon results in a softer, less creamy texture that may be icy or runny.
Chill your cream and milk before starting.
Starting with cold ingredients means the mixture begins closer to freezing temperature, reducing the time needed to freeze and improving texture. Room temperature liquids take longer to freeze and can produce icier results.
Add mix-ins after shaking, not before.
Adding chocolate chips, nuts, or fruit too early can interfere with the freezing process and may cause uneven texture or broken bags. Stir them in gently after the ice cream forms.
Use fresh ice and salt for each batch.
Old ice or salt that has already partially melted won’t create the same freezing effect. Fresh materials ensure the temperature stays low enough to freeze your ice cream properly.
If the ice melts too fast, add more ice and salt during shaking.
Maintaining a cold environment is key. Adding fresh ice and salt replenishes the mixture’s ability to absorb heat from the cream base, helping it freeze faster and more evenly.
Common Mistakes to Avoid
Not sealing the bags tightly
Why it happens Many overlook how important a good seal is, assuming a quick zip is enough. This often happens because of rushing or using worn-out bags.
Fix Always double-check the seal by pressing out all air and testing for leaks. Double-bagging is a great fail-safe to prevent salty water from contaminating your ice cream.
Stopping shaking too early
Why it happens It’s tempting to stop once the mixture looks thickened, but the texture might still be too soft or icy.
Fix Commit to shaking for the full 10 minutes to ensure the mixture freezes evenly and achieves a creamy consistency.
Using warm ingredients
Why it happens Sometimes ingredients aren’t chilled, leading to longer freezing times and icier texture.
Fix Always use cold cream and milk straight from the fridge to speed up the freezing and improve texture.
Skipping the salt in the ice
Why it happens Some might think salt is optional or forget it, not realizing its role in freezing point depression.
Fix Never skip the salt; it’s essential for lowering the ice temperature and freezing the ice cream properly.
Shaking with bare hands
Why it happens People often underestimate how cold the salt-ice mixture gets and don’t protect their hands.
Fix Use a towel or gloves to protect your hands and allow vigorous shaking without discomfort.
Variations
Chocolate Swirl Ice Cream
Add 2 tablespoons of chocolate syrup to the cream mixture before sealing the small bag. Shake as usual, then swirl a bit more chocolate syrup in after shaking for a marbled effect. You’ll get a creamy vanilla base with rich chocolate ribbons.
Note: Chocolate syrup should be mixed gently after shaking to avoid melting the ice cream too much.
Berry Bliss Ice Cream
Mix in 1/4 cup of mashed fresh berries like strawberries or blueberries after the shaking step. This gives a fresh fruity flavor and pretty speckles throughout the ice cream. It’s refreshing and adds natural sweetness.
Note: Add berries after shaking to keep ice cream texture intact and avoid excess moisture during freezing.
Mint Chocolate Chip
Add 1/2 teaspoon peppermint extract to the cream mixture and stir in 1/4 cup mini chocolate chips after shaking. This version is cool and refreshing with chocolate crunch in every bite.
Note: Use pure peppermint extract for the best flavor and add chips after shaking to maintain texture.
Dairy-Free Coconut Ice Cream
Swap heavy cream and milk for canned coconut cream and coconut milk. Shake as usual for a rich, tropical-flavored ice cream that’s dairy-free and delicious. Great for vegan friends or those with lactose intolerance.
Note: Coconut cream freezes slightly differently; shake a bit longer for best consistency.
Salted Caramel Ice Cream
Stir 2 tablespoons of caramel sauce into the cream mixture before sealing the bag. After shaking, sprinkle a pinch of flaky sea salt on top. This sweet and salty combo is irresistible.
Note: Add caramel before shaking for even distribution and sprinkle salt just before serving.
Nutrition
Per Serving:
Nutritional values are estimates and may vary based on specific ingredients used.
Storage & Tips
Room Temperature
Ice cream should not be kept at room temperature for more than 10 minutes as it will melt quickly. Keep it covered and serve immediately after making for the best texture.
Refrigerator
Store leftover ice cream in an airtight container in the freezer rather than the refrigerator, as refrigeration will melt and ruin the texture. If stored cold but not frozen, texture will become liquid and unpleasant.
Freezer
Freeze the ice cream in a sealed container for up to 1 month. To prevent freezer burn, press plastic wrap onto the surface before sealing. Thaw slightly at room temperature for 5 minutes before serving for easier scooping.
Reheating
Ice cream is best served cold and should not be reheated. If too hard from freezing, let it sit at room temperature for a few minutes to soften naturally. Avoid microwaving to preserve texture.
Make Ahead
Prepare the ice cream base up to 1 day ahead and keep it refrigerated. Shake and freeze just before serving for freshest results. This saves time and still delivers creamy texture.
FAQ
Can I use any type of salt for the ice?
Rock salt or kosher salt is best because of its large crystals and slower dissolving rate, which keeps the ice colder longer. Table salt can work but dissolves faster, so you may need to add more frequently to maintain cold temperature.
What if my ice cream is too soft after shaking?
If it’s too soft, try shaking a little longer to allow more freezing. You can also pop the ice cream in the freezer for 10-15 minutes to firm up before serving.
Can I make this recipe vegan?
Yes! Use full-fat coconut cream and coconut milk instead of dairy. The shaking method stays the same, but the flavor will be coconutty and rich.
How do I prevent the bags from leaking?
Make sure to seal the bags tightly with all the air pressed out, and double-bag the smaller one to prevent salt water from seeping in. Also, use good-quality resealable bags that close firmly.
Can I add mix-ins before shaking?
It’s better to add mix-ins like chocolate chips or fruit after shaking to avoid damaging the bags and to keep the texture smooth and consistent.
Is it necessary to use heavy cream?
Heavy cream is important for creaminess and fat content. Using only milk will result in icier, less rich ice cream, so for best texture, include heavy cream.
What’s the purpose of the salt in the ice?
Salt lowers the freezing point of ice, allowing the ice to get colder without melting, which helps freeze the ice cream mixture quickly and evenly.
How long can I store leftover ice cream?
Store it in the freezer in an airtight container for up to 1 month. For best texture, consume within this time and avoid repeated thawing and refreezing.
Final Thoughts
Give this ice cream in a bag recipe a try—it's simple, fun, and super satisfying. I’d love to hear how your batch turns out, so don’t forget to share your results!