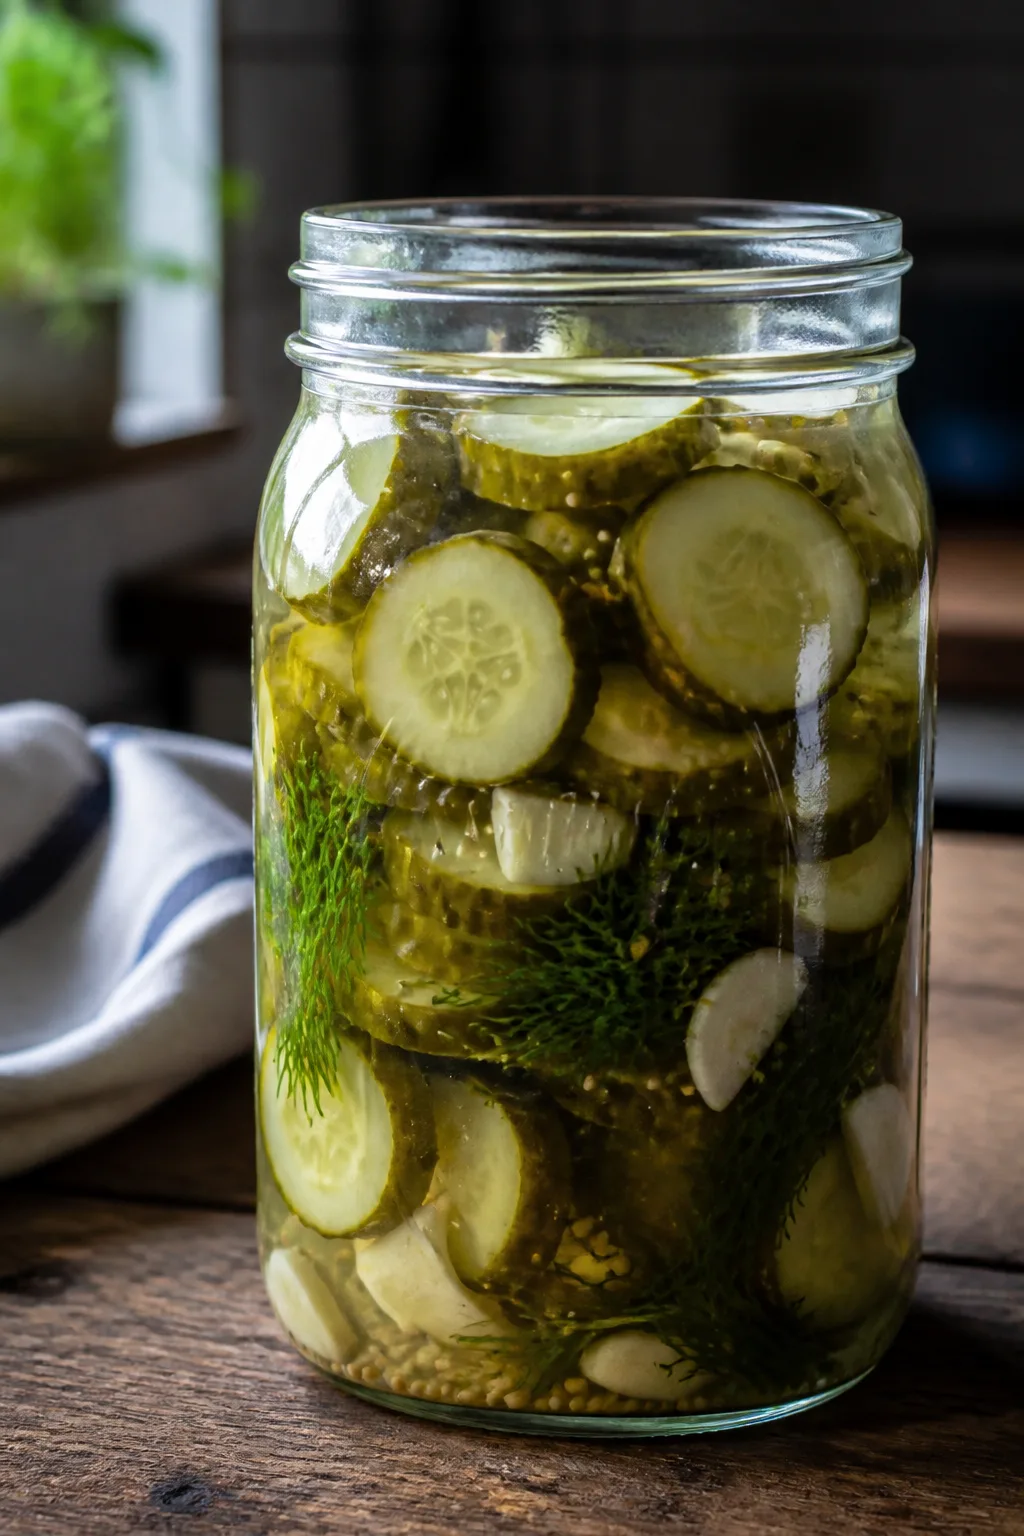
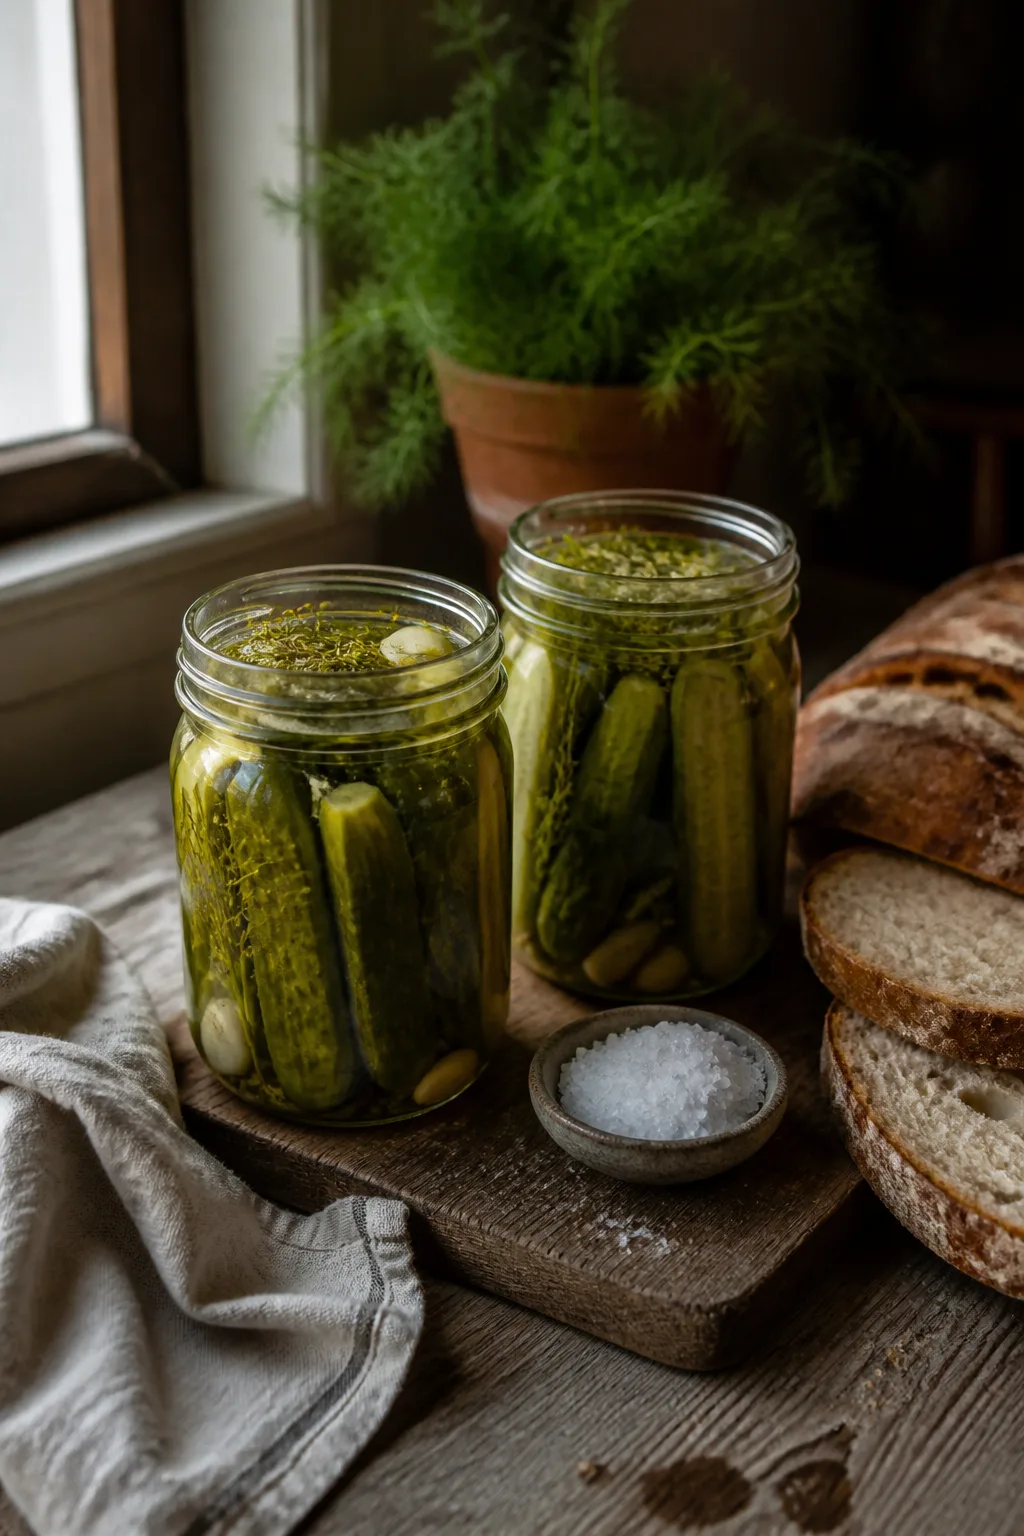
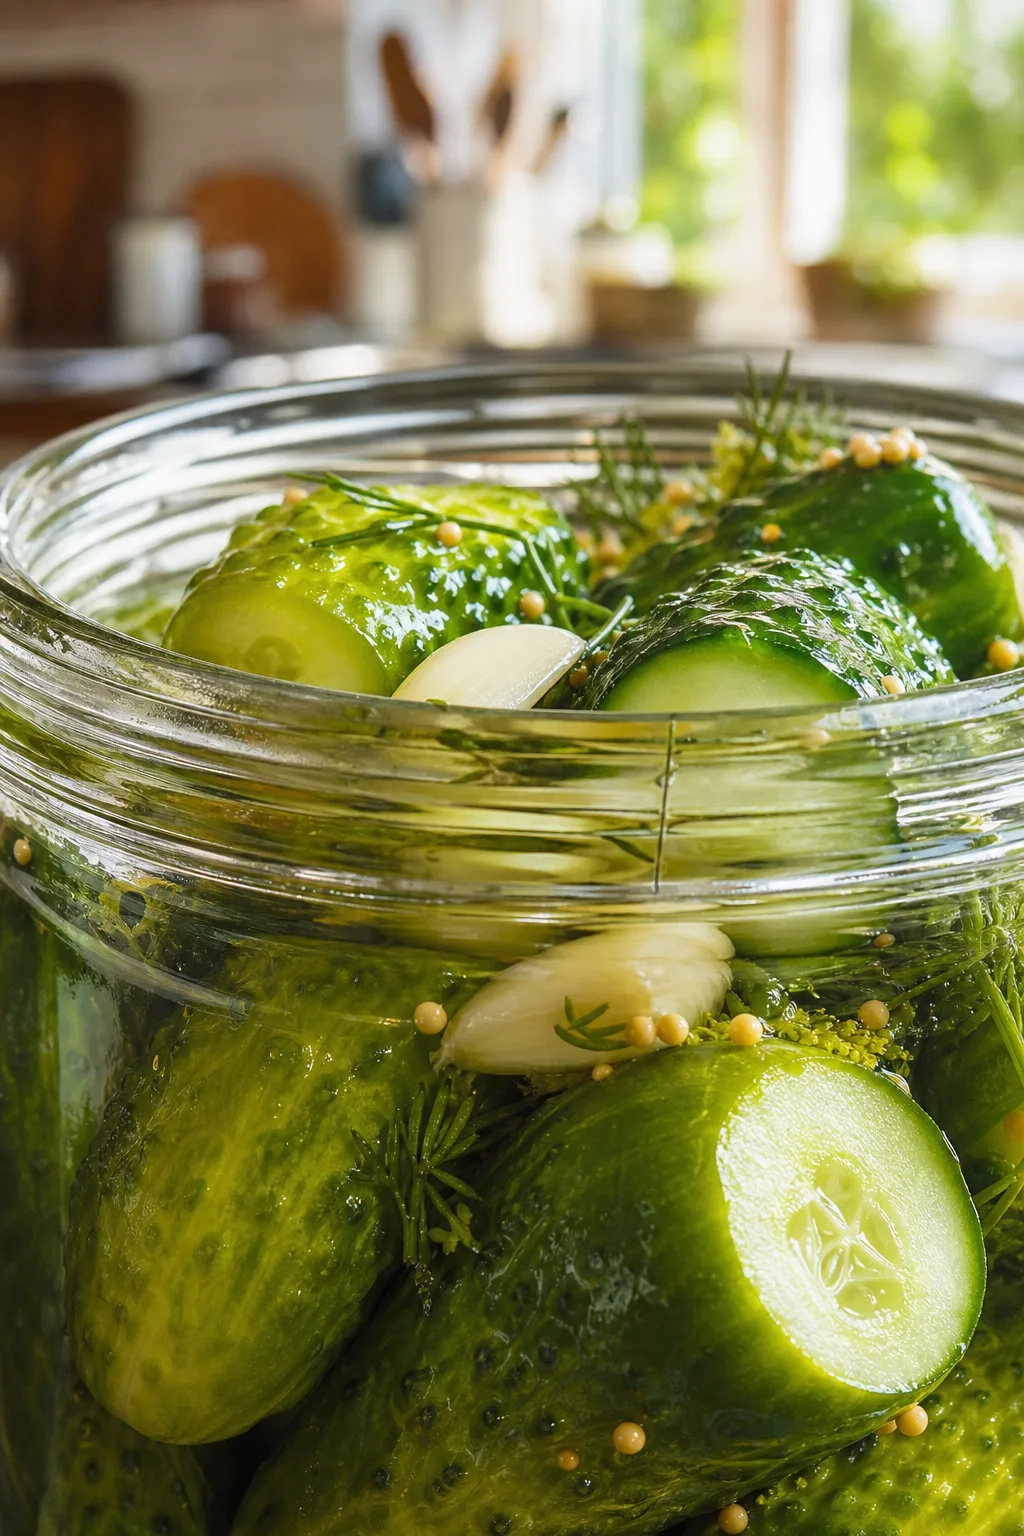
Crunchy, tangy pickles made with fresh dill and a simple brine—perfect for snacking or gifting. I love how these hold their crispness and pack that classic pickle punch. Great for summer harvest or anytime you crave something crunchy!
Introduction
I've been making homemade pickles for years, but it wasn’t until I tried canning them myself that I truly understood how to get that unbeatable crunch and tang. My first batch was a bit soggy, but I learned the trick lies in the right salt-to-vinegar ratio and using fresh dill. This recipe is my go-to because it’s straightforward and yields perfect pickles every time—crisp, flavorful, and just tangy enough. What I love is how versatile these pickles are: they’re great straight from the jar as a snack, on burgers, or even gifted to friends during summer harvest season. The secret? A simple brine that balances acidity and salt, plus a quick blanch of cucumbers before packing them tightly with garlic and dill. When you open that jar, you get a satisfying crunch and bright herbal notes that remind me of warm summer afternoons in the garden. I think you’ll find this recipe easy to follow and worth the little bit of patience it takes for the flavors to develop. Whether you’re a pickle newbie or a seasoned pro, these homemade canning pickles will quickly become a staple in your kitchen.
What You'll Need
Approximately 6 pints of pickles, 6 servings
- 6 cups water, filtered
- 3 cups white vinegar (5% acidity)
- 1/4 cup kosher salt
- 2 tablespoons sugar
- 8 cloves garlic, peeled
- 4 large fresh dill heads
- 12 small cucumbers (pickling variety), washed
- 2 teaspoons black peppercorns
- 1 teaspoon red pepper flakes (optional)
How To Do It
Step 1
Start by washing your cucumbers thoroughly to remove any dirt or residues. Trim off the blossom ends because they contain enzymes that can cause softening during storage. This step is crucial to ensure your pickles stay crisp. After trimming, soak the cucumbers in ice water for about 2 hours; this rehydrates them and firms up the texture, which helps maintain crunch after canning. Avoid skipping this soak—it’s a simple trick that makes a big difference.
⏱ Time: 2 hours soak (passive)
✓ Doneness: Cucumbers feel firm and cool to the touch after soaking
Step 2
While the cucumbers soak, prepare your brine by combining water, vinegar, kosher salt, and sugar in a large pot. Bring it to a boil, stirring to dissolve the salt and sugar completely. Boiling the brine ensures the flavors meld and helps preserve the pickles by killing any bacteria. Don’t rush this step; a fully dissolved brine is key to even flavor and safe preservation.
⏱ Time: 10 minutes
✓ Doneness: Brine is clear and boiling with no undissolved salt or sugar
Step 3
Sterilize your canning jars and lids by boiling them in water for at least 10 minutes. This step prevents contamination and spoilage during storage. Use tongs to remove jars and place them on a clean towel to dry. Proper sterilization is essential for safe home canning and ensures your pickles last for months without issues.
⏱ Time: 15 minutes
✓ Doneness: Jars and lids are hot and dry, free from any dust or residue
Step 4
Pack each jar tightly with cucumbers, fresh dill heads, garlic cloves, peppercorns, and optional red pepper flakes. Arrange the cucumbers vertically to maximize space and allow the brine to circulate evenly. Don’t overcrowd the jars, or the pickles might not pickle uniformly. The herbs and spices infuse the cucumbers with flavor during storage, so be generous here.
⏱ Time: 10 minutes
✓ Doneness: Jars look full but not overpacked, with visible spices and dill
Step 5
Pour the hot brine over the packed cucumbers in each jar, leaving about 1/2 inch of headspace. The brine should cover the cucumbers fully to prevent mold and ensure proper fermentation. Use a clean utensil to remove air bubbles by gently pressing inside the jar. Leaving headspace allows for expansion during processing. This careful filling helps your pickles stay crisp and safe.
⏱ Time: 10 minutes
✓ Doneness: Brine covers cucumbers completely with proper headspace visible
Step 6
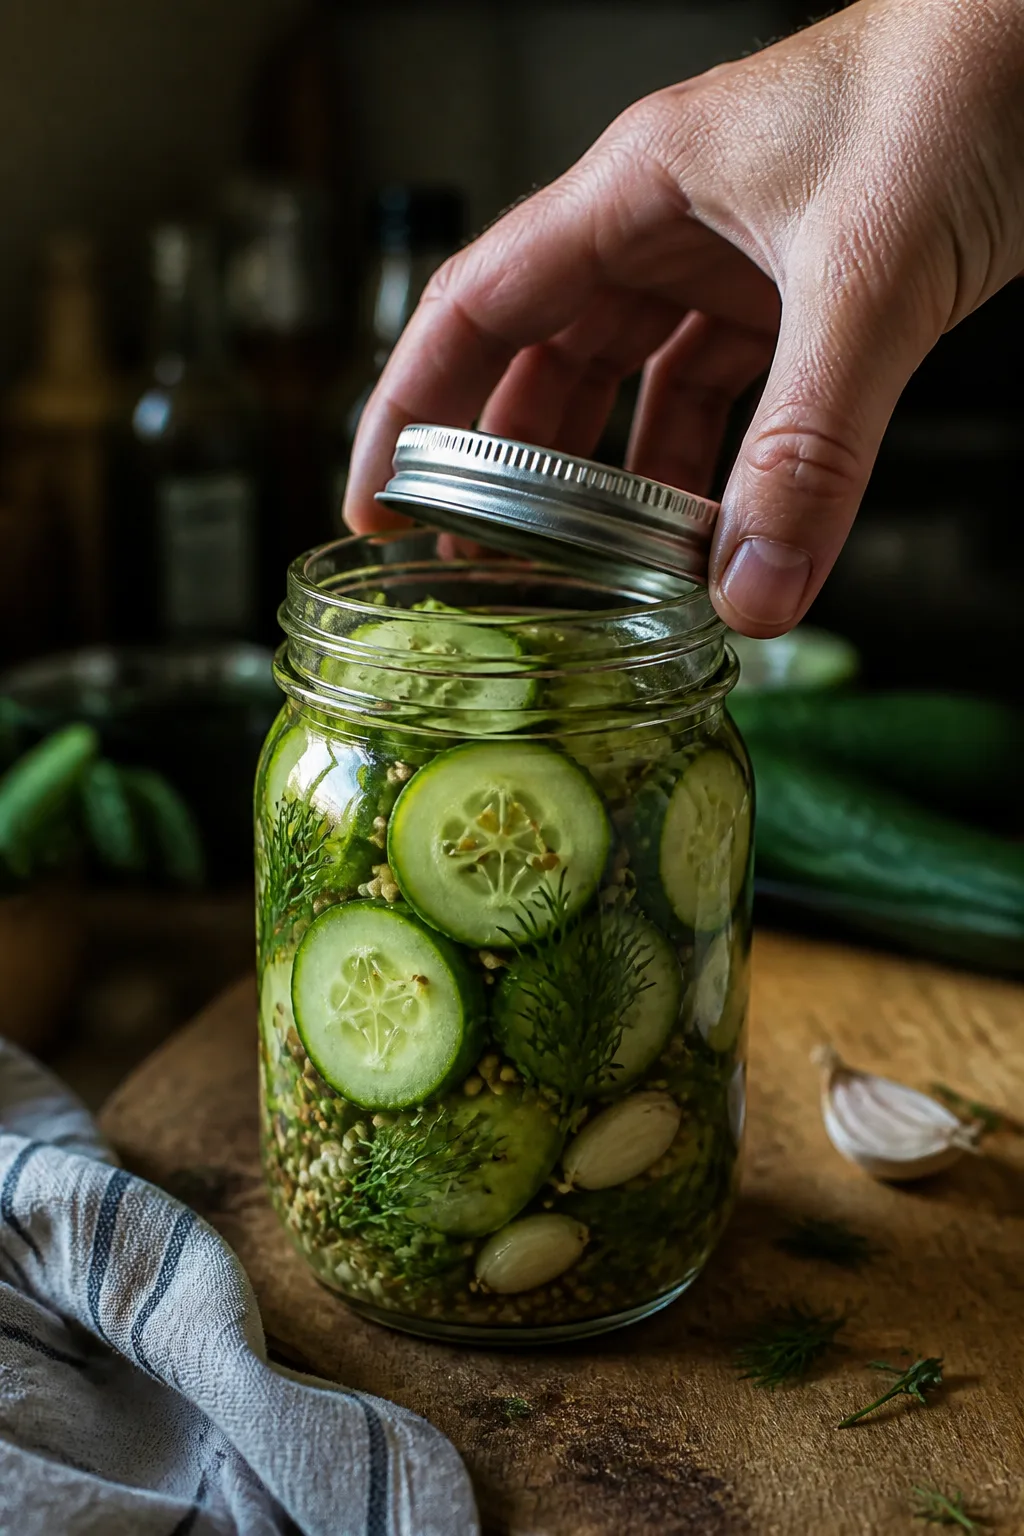
Wipe the rims of the jars with a clean, damp cloth to remove any brine or debris. This ensures a good seal when you place the lids on. Place the sterilized lids on top and screw on the bands just until fingertip tight. Don’t overtighten, or air won’t vent during processing, risking jar breakage or poor seals.
⏱ Time: 5 minutes
✓ Doneness: Lids are secure but still slightly flexible when pressed
Step 7
Process the jars in a boiling water bath canner for 10 minutes. Make sure the jars are fully submerged with at least 1-2 inches of water above the lids. This heat treatment kills harmful bacteria and creates a vacuum seal as the jars cool. Timing is important—too little and the pickles won’t preserve safely; too long and they might get mushy.
⏱ Time: 10 minutes
✓ Doneness: Water boils steadily during the entire processing time
Step 8
Carefully remove the jars from the water bath with a jar lifter and place them on a towel or cooling rack. Let them cool undisturbed for 12-24 hours. You’ll hear the satisfying popping sound of lids sealing, which means your pickles are safely preserved. Avoid moving the jars during cooling to prevent seal failures.
⏱ Time: 12-24 hours cooling
✓ Doneness: Lids concave and do not flex when pressed
Step 9
Check each jar for a proper seal before storing. Store sealed jars in a cool, dark place for at least 2 weeks to allow flavors to develop fully. After opening, keep pickles refrigerated and consume within a month for best taste and texture. This resting time is key for that classic pickle flavor punch.
⏱ Time: 2 weeks rest plus storage
✓ Doneness: Pickles taste tangy and crisp with fresh dill aroma
Pro Tips
Always trim the blossom end of cucumbers before pickling.
The blossom end contains enzymes that cause softening during storage. Removing it prevents mushy pickles and helps maintain a firm texture throughout the canning process.
Soak cucumbers in ice water before packing.
Soaking hydrates the cucumbers and firms up their cell structure, which helps them stay crunchy after pickling. Skipping this step can lead to softer, less satisfying pickles.
Use a water bath canner and process jars fully.
Proper heat processing sterilizes the jars and contents, creating a vacuum seal that prevents spoilage. Underprocessing risks unsafe pickles, while overprocessing can soften cucumbers.
Don’t overtighten jar lids before processing.
Lids need to vent steam during boiling; overtightening can prevent this, causing jars to break or seals to fail, which compromises preservation.
Use fresh dill heads rather than dried dill.
Fresh dill contains volatile oils that provide a bright aroma and flavor. Dried dill lacks potency and can’t replicate that fresh, herbal note.
Remove air bubbles from jars before sealing.
Air pockets can harbor bacteria and cause uneven pickling. Using a non-metallic utensil to release bubbles ensures even brine coverage and safer preservation.
Let pickles rest for at least two weeks before eating.
This resting period allows flavors to meld and develop fully. Eating too soon means missing out on the rich, balanced taste that comes with time.
Common Mistakes to Avoid
Skipping the ice water soak for cucumbers
Why it happens Many assume washing is enough, but skipping the soak overlooks the need to firm up cucumbers before pickling.
Fix Soak cucumbers in ice water for at least two hours to hydrate and crisp them. This simple step helps maintain crunch and prevents soggy pickles.
Using table salt instead of kosher salt
Why it happens Table salt is more common and cooks sometimes substitute without adjusting quantities.
Fix Use kosher salt without additives for consistent brine concentration. If substituting table salt, reduce the amount by about half and ensure it’s additive-free.
Overfilling jars with cucumbers
Why it happens Eager to maximize yield, people pack jars too tightly.
Fix Leave enough headspace and space between cucumbers for brine to circulate. This ensures even pickling and proper sealing.
Not processing jars in a boiling water bath
Why it happens Some think refrigeration alone is enough for preservation.
Fix Always process jars in boiling water bath for recommended time to kill bacteria and create vacuum seal. This is essential for shelf stability.
Overprocessing jars causing mushy pickles
Why it happens Trying to be extra safe, some cook jars too long.
Fix Follow processing time exactly—typically 10 minutes. Overcooking breaks down cucumber texture and ruins crunch.
Variations
Spicy Dill Pickles
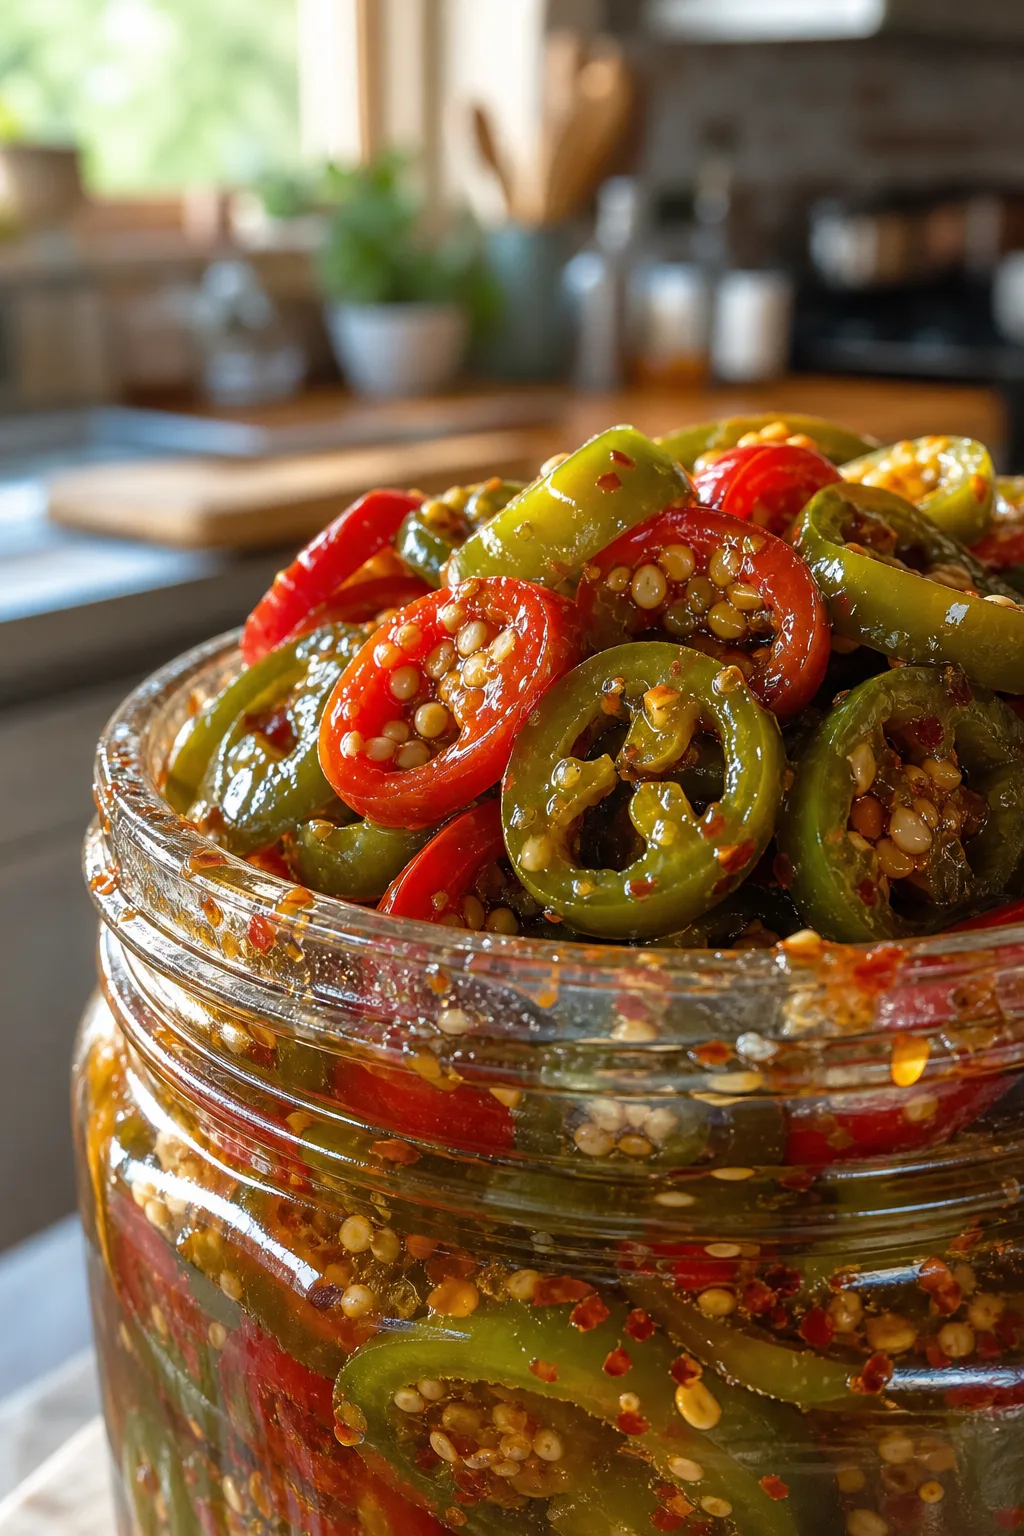
Add extra red pepper flakes or a few sliced jalapeños to the jars for a spicy kick. This variation adds heat while keeping the classic dill flavor intact, perfect for those who like a little fire with their crunch.
Note: Monitor spice level and be cautious not to overpower the brine; heat can intensify over time.
Garlic and Herb Pickles
Include additional fresh herbs like thyme or rosemary along with garlic cloves for a more complex herbal flavor. This twist offers a unique aromatic profile that pairs well with sandwiches and charcuterie.
Note: Fresh herbs should be added sparingly to avoid overwhelming the dill’s signature taste.
Sweet Bread and Butter Pickles
Increase sugar in the brine and add sliced onions and mustard seeds for a sweeter, tangy pickle that’s great on burgers or salads. This version balances sweet and sour beautifully.
Note: Adjust sugar carefully and watch for softening due to higher sugar content.
Fermented Pickles
Skip the vinegar and ferment cucumbers in a saltwater brine for several days at room temperature. This method creates probiotic-rich pickles with a tangy, complex flavor and extra crunch.
Note: Fermentation requires monitoring to avoid spoilage; use airlocks or weights to keep cucumbers submerged.
Dill and Mustard Seed Pickles
Add whole mustard seeds to the jars for a subtle spicy flavor and crunchy texture contrast. This variation enhances the traditional dill pickle with an extra layer of taste.
Note: Mustard seeds can slightly alter the brine flavor; balance with your preferred seasoning.
Nutrition
Per Serving:
Nutritional values are estimates and may vary based on specific ingredients used.
Storage & Tips
Room Temperature
Once sealed properly, pickles can be stored at room temperature in a cool, dark place for up to one year safely. Keep jars away from direct sunlight or heat sources to preserve flavor and texture.
Refrigerator
After opening, store pickles in the refrigerator in their brine for up to one month. Flavor may intensify over time, but texture remains best within the first few weeks.
Freezer
Freezing pickles is not recommended as it breaks down their cell structure, resulting in a mushy texture upon thawing.
Reheating
Pickles are best enjoyed cold or at room temperature; reheating is not typical and will degrade texture and flavor.
Make Ahead
You can prepare and pack jars fully, then store them unprocessed in the fridge for up to 24 hours before processing. This allows flexibility in timing without affecting quality.
FAQ
Can I use regular cucumbers instead of pickling cucumbers?
While you can use regular slicing cucumbers, pickling cucumbers are preferred because they have thinner skins and fewer seeds, which help keep the pickles crisp. Regular cucumbers tend to be more watery and may produce softer pickles.
What happens if I skip the water bath canning step?
Skipping the boiling water bath means the jars won’t be sterilized or sealed properly, risking bacterial growth and foodborne illness. It’s a crucial safety step to ensure your pickles are shelf-stable and safe to eat.
How long do homemade canned pickles last?
Unopened and properly canned pickles can last up to a year stored in a cool, dark place. Once opened, they should be refrigerated and consumed within a month for best quality.
Why are my pickles soft or mushy?
Soft pickles usually result from overripe cucumbers, skipping the ice water soak, or overprocessing during canning. Also, not trimming the blossom end can cause enzymatic softening. Following the recipe steps carefully helps avoid this.
Can I make these pickles without sugar?
Yes, sugar is optional and mainly balances acidity. Omitting it won’t affect preservation but may result in a more tart pickle. Adjust to your taste preference.
Is fresh dill necessary, or can I use dried dill?
Fresh dill provides the best flavor and aroma due to its volatile oils. Dried dill lacks potency and won’t give the same bright, fresh taste. If you must use dried, increase the quantity but expect a milder flavor.
Can I add other spices like coriander or mustard seeds?
Absolutely! Adding spices like mustard seeds or coriander can enhance flavor complexity. Just be mindful of quantities to avoid overpowering the pickles’ classic taste.
Do I need to refrigerate the pickles before the canning process?
No refrigeration is needed before canning. The water bath process sterilizes and seals the jars, making refrigeration unnecessary until after opening.
Final Thoughts
I hope you enjoy making and sharing these crunchy homemade pickles as much as I do. Don’t forget to let me know how your batch turns out!