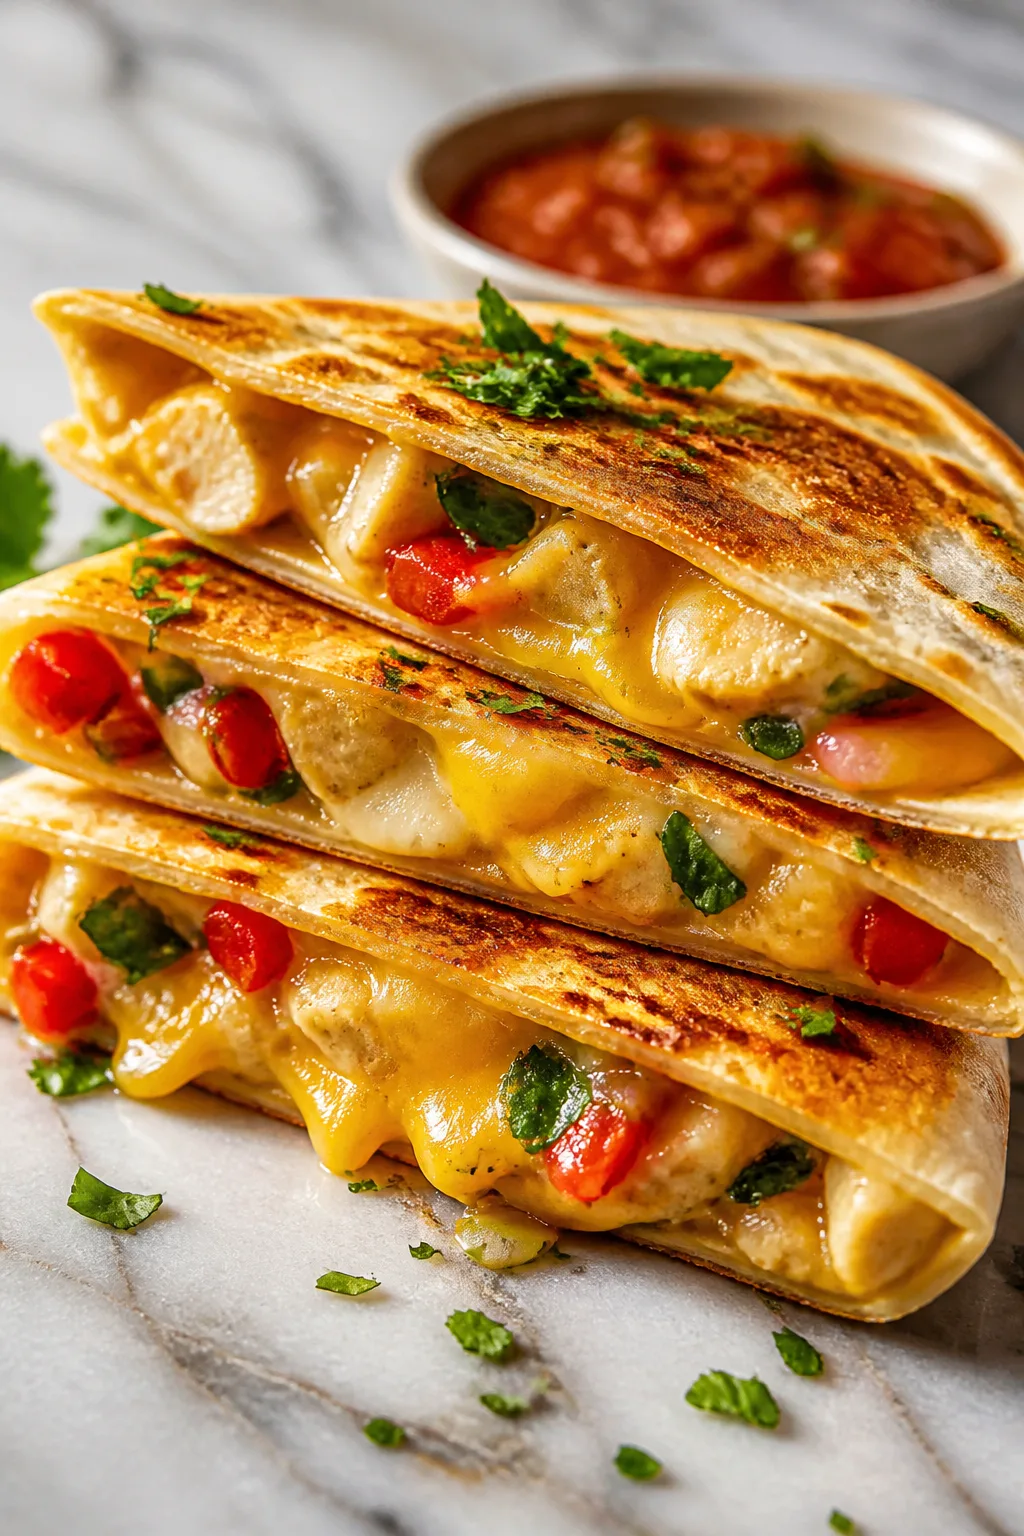
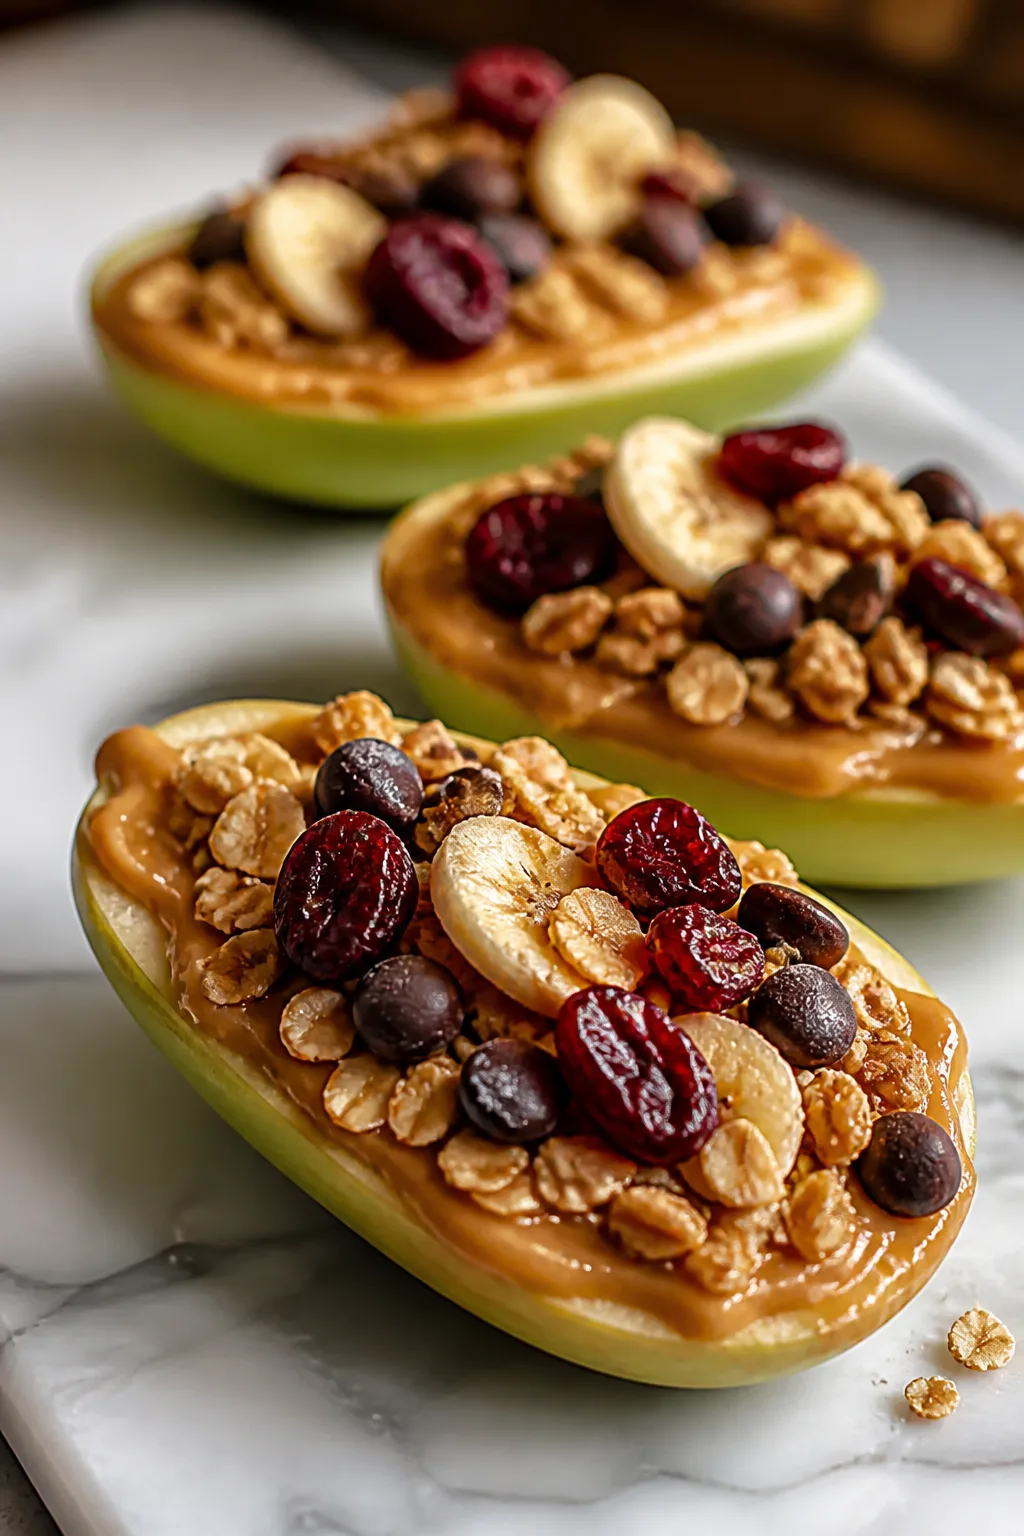
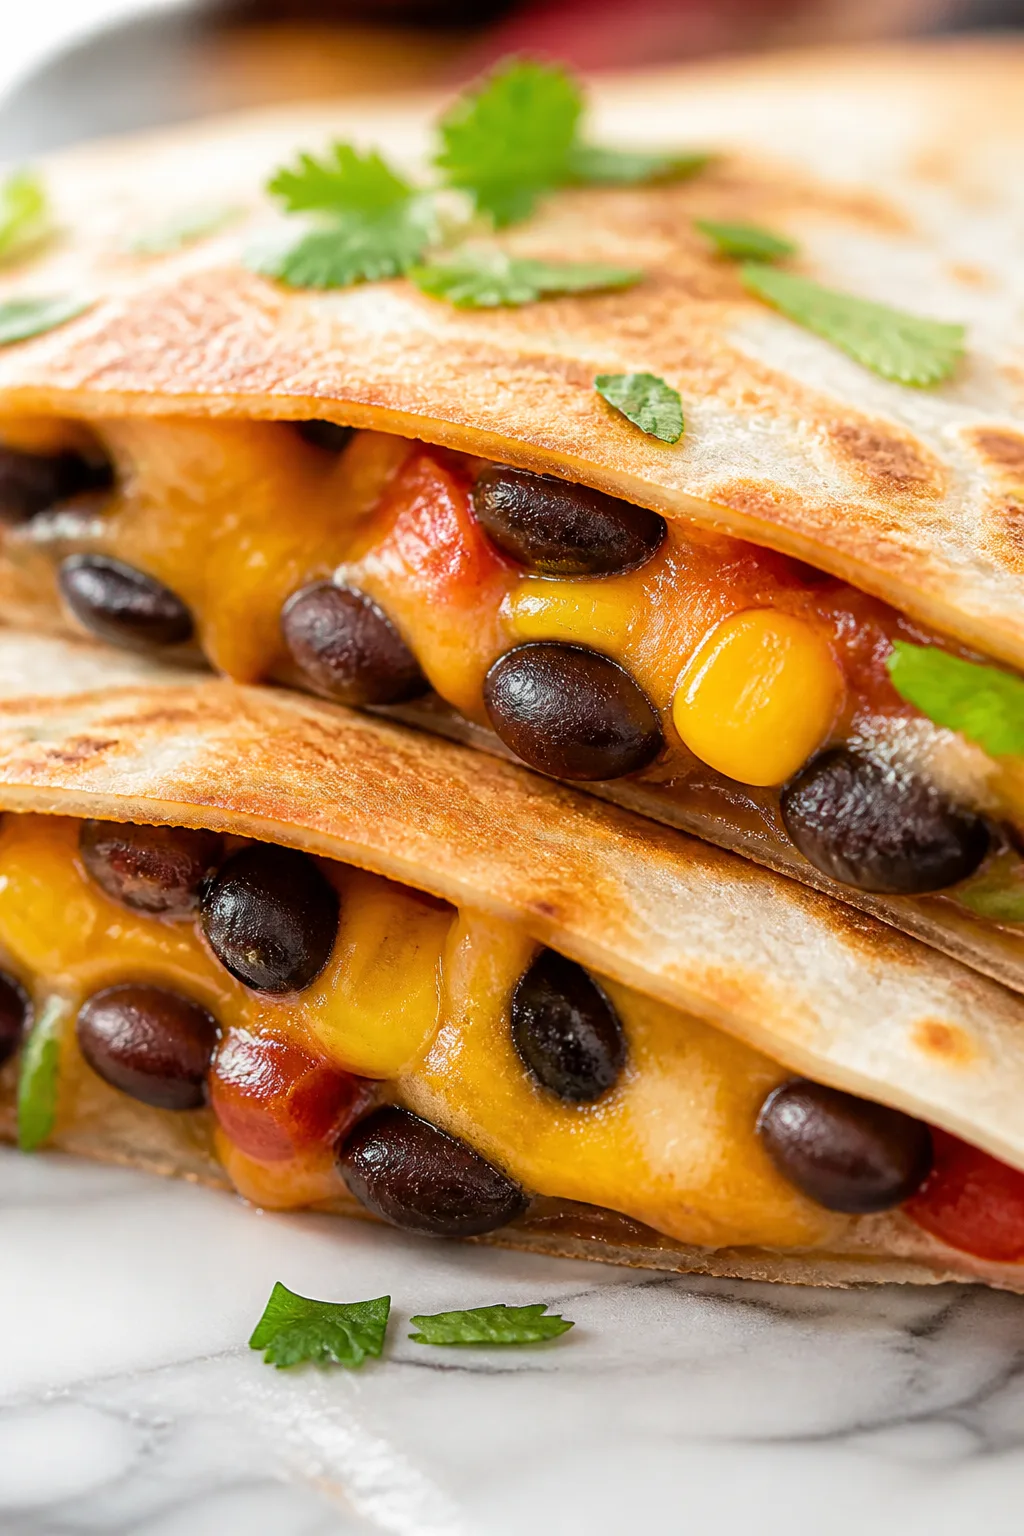
These homemade snacks are a lifesaver when you want something healthy but fun for the kids. I keep it simple with wholesome ingredients and playful shapes. Great for after school or anytime cravings!
Introduction
I first made these homemade snacks when my kids kept turning their noses up at store-bought options loaded with sugar and mystery ingredients. I wanted something quick to throw together that felt wholesome but also fun enough to catch their interest. Playing around with simple pantry staples like oats, peanut butter, and a touch of honey, I discovered that shaping the mixture into little bites or fun shapes made all the difference. The trick I learned? Chilling the mixture before cutting or rolling helps them hold together better without needing extra binders. These snacks come out chewy, naturally sweet, and perfectly portioned for little hands. They’re great for after school, playdates, or even a quick breakfast. Plus, because I use real ingredients, I never have to worry about sneaky additives. Honestly, it’s become a staple in our kitchen — I love how easy they are to tweak with whatever dried fruit or mix-ins I have on hand. If you want a snack that’s both nourishing and kid-approved, give this a try. You might even find yourself grabbing one too!
What You'll Need
Approximately 18 snack bites, 6 servings
- 1 cup rolled oats, dry
- 1/2 cup natural peanut butter, room temperature
- 1/4 cup honey or maple syrup
- 1/2 cup finely chopped dried fruit (e.g., apricots, raisins)
- 1/4 cup mini dark chocolate chips
- 1/4 teaspoon sea salt
- 1 teaspoon vanilla extract
How To Do It
Step 1
Start by measuring out your rolled oats into a large mixing bowl. Oats are the base here, giving the snacks a nice chew and fiber boost. Make sure your oats are dry and fresh for the best texture. Stir in the finely chopped dried fruit — this adds natural sweetness and a bit of chewiness. Mixing these dry ingredients first ensures even distribution before adding the sticky elements.
⏱ Time: 5 minutes
✓ Doneness: The oats and fruit should be evenly combined with no clumps.
Step 2
In a separate bowl, gently warm the peanut butter and honey (or maple syrup) just enough to soften them for easier mixing — about 20 seconds in the microwave. Stir in the vanilla extract and sea salt. This combination adds depth and balances the sweetness. If you mix these too hot, it can affect the texture, so just warm until pourable but not hot.
⏱ Time: 3 minutes
✓ Doneness: The mixture should be smooth and pourable but not hot to the touch.
Step 3
Pour the peanut butter mixture over the dry oat mixture. Using a sturdy spoon or your hands, mix everything until well combined. This step is crucial because the sticky peanut butter and honey act as binders, holding the oats and fruit together. If it seems too crumbly, add a teaspoon of water or more honey to help it stick.
⏱ Time: 5 minutes
✓ Doneness: The mixture should clump together when pressed without falling apart.
Step 4
Fold in the mini dark chocolate chips last. Adding them at the end prevents them from melting too much. The chocolate adds just the right touch of indulgence without overpowering the natural flavors. Mixing gently keeps the chips intact and evenly spread.
⏱ Time: 2 minutes
✓ Doneness: Chocolate chips are evenly distributed and visible throughout.
Step 5
Line a square baking pan or tray with parchment paper. Press the mixture firmly and evenly into the pan. Pressing firmly is key to ensuring the snacks hold their shape after chilling. Use the back of a spoon or your hands wrapped in plastic wrap to avoid sticking. Don’t skip this step or they might crumble later.
⏱ Time: 5 minutes
✓ Doneness: The mixture is compacted in an even layer with no gaps.
Step 6
Place the pan in the refrigerator for at least 30 minutes to firm up. Chilling solidifies the peanut butter and honey binder, making the snacks easier to cut and hold together well. If you skip chilling, the snacks may be too soft and fall apart when handling.
⏱ Time: 30 minutes
✓ Doneness: The mixture feels firm and holds its shape when pressed.
Step 7
Once chilled, remove from the fridge and lift the parchment paper out of the pan. Using a sharp knife, cut into bite-sized squares or desired shapes. If you want fun shapes, press the mixture into silicone molds before chilling instead of a pan. Cut carefully to avoid crumbling.
⏱ Time: 5 minutes
✓ Doneness: Clean cuts with minimal crumbling; pieces hold together well.
Step 8
Store the snack bites in an airtight container in the fridge. These keep well and stay chewy for several days. If you prefer a softer texture, let them sit at room temperature for a few minutes before serving. This step helps bring out the flavors and makes them easier to chew.
⏱ Time: N/A
✓ Doneness: Stored snacks maintain shape and texture over time.
Step 9
Serve these snacks as a quick after-school treat, a lunchbox addition, or a healthy pick-me-up anytime. They’re portable and mess-free, so perfect for busy days. Pair with a glass of milk or fruit for a balanced mini-meal. Kids love the sweet but natural flavors, and parents love the wholesome ingredients!
⏱ Time: N/A
✓ Doneness: Snack is enjoyed at room temperature or slightly chilled.
Pro Tips
Chill the mixture well before cutting.
Chilling solidifies the peanut butter and honey binder, making the snacks easier to cut without crumbling. If you skip chilling, the mixture remains soft and sticky, causing messy edges and uneven pieces.
Use parchment paper to line your pan.
Parchment paper prevents sticking and allows you to lift the whole slab out easily for cutting. Without it, snacks can stick to the pan and break apart when removing.
Press the mixture firmly into the pan.
Compressing the mixture tightly ensures it holds together well. Loose packing leads to crumbly snacks that fall apart quickly, especially when handled by kids.
Add chocolate chips last and mix gently.
Adding chocolate chips at the end prevents them from melting and keeps their shape intact, providing a nice textural contrast. Vigorous mixing can break or melt them.
Use natural peanut butter without additives.
Natural peanut butter has the right fat content and texture to bind ingredients properly. Processed versions with stabilizers or low-fat content can cause dryness or separation.
Customize with different dried fruits or nuts.
Swapping dried fruit or adding chopped nuts changes flavor and texture, keeping the snacks interesting. Just chop finely to maintain even texture and avoid large chunks.
Store snacks in an airtight container in the fridge.
Refrigeration keeps snacks fresh and maintains their chewy texture. Exposure to air can dry them out and make them crumbly over time.
Common Mistakes to Avoid
Skipping the chilling step
Why it happens Many want to speed up the process and cut the snacks immediately after mixing, assuming they’ll hold together.
Fix Always chill the mixture for at least 30 minutes to firm it up. This step is essential because the peanut butter and honey need to solidify to bind the oats properly. Without chilling, snacks will crumble and fall apart.
Using low-fat or processed peanut butter
Why it happens Some choose low-fat peanut butter thinking it’s healthier or easier to mix.
Fix Opt for natural, full-fat peanut butter without additives. The fat content helps bind the mixture and gives flavor. Low-fat versions often result in dry, crumbly snacks that don’t hold shape.
Pressing the mixture too lightly
Why it happens People sometimes just spread the mixture loosely in the pan, assuming it will stick together.
Fix Firmly press the mixture with a spoon or your hands to compact it. This ensures the snacks hold together after slicing and don’t fall apart during handling.
Adding chocolate chips too early
Why it happens Some mix them in with the wet ingredients, causing them to melt.
Fix Fold chocolate chips in at the very end after combining wet and dry ingredients. This keeps them solid and adds the desired texture contrast.
Using overly large chunks of dried fruit
Why it happens Sometimes people add whole or large pieces of dried fruit, thinking it adds more flavor.
Fix Chop dried fruit finely so it blends well with oats and peanut butter. Large chunks can make the texture uneven and cause the snacks to break apart.
Variations
Nut-Free Sunflower Butter Snack Bites
Swap peanut butter for sunflower seed butter to make this recipe nut-free. It still binds well and creates a rich, nutty flavor. Use the same proportions and chilling method. The texture will be similar but slightly lighter in flavor.
Note: Sunflower butter has a slightly thinner consistency, so you may need to chill a bit longer to firm up properly.
Add Crunch with Chopped Nuts
Mix in a 1/4 cup of chopped almonds, walnuts, or pecans for added crunch and protein. This variation adds texture contrast and a toasty flavor. Chop nuts finely to blend well without overpowering the chewiness.
Note: Nuts can make the mixture a bit drier, so add an extra teaspoon of honey if needed to maintain stickiness.
Boost Fiber with Chia Seeds
Stir in 2 tablespoons of chia seeds for extra fiber and omega-3s. Chia seeds absorb moisture and add a slight crunch. This is a great way to make the snacks even more nutritious without changing flavor much.
Note: Add chia seeds with the dry ingredients so they hydrate properly during mixing and chilling.
Use Maple Syrup for Vegan Option
Replace honey with pure maple syrup for a vegan-friendly version. Maple syrup adds a subtle caramel flavor and keeps the snacks sticky and sweet. Use the same quantity and chill as usual.
Note: Maple syrup is slightly thinner than honey, so chilling time may need to be extended by 10-15 minutes.
Chocolate Lover’s Double Chip
Double the amount of mini chocolate chips and add a tablespoon of cocoa powder to the dry ingredients for a richer chocolate flavor. This makes the snacks taste indulgent while still being healthy and chewy.
Note: Adding cocoa powder can dry the mixture slightly, so increase honey by a teaspoon to keep the right consistency.
Nutrition
Per Serving:
Nutritional values are estimates and may vary based on specific ingredients used.
Storage & Tips
Room Temperature
These snacks can be kept at room temperature for up to 4 hours in an airtight container, but they will soften and may lose firmness. For best texture and freshness, refrigerate them.
Refrigerator
Store in an airtight container in the refrigerator for up to 5 days. The snacks will remain chewy and firm. Serving chilled is refreshing, but letting them sit at room temperature for 10 minutes before eating softens them slightly.
Freezer
Freeze the snack bites in a sealed freezer bag or container for up to 2 months. Wrap tightly in parchment paper to prevent freezer burn. Thaw in the fridge overnight and bring to room temperature before serving to restore texture.
Reheating
No reheating is necessary. If desired, warm in the microwave for 10-15 seconds to soften slightly, but avoid overheating to prevent melting the chocolate chips.
Make Ahead
You can prepare the mixture and press it into the pan 1-2 days ahead, keeping it covered in the fridge. Cut into pieces just before serving to maintain freshness and shape.
FAQ
Can I substitute peanut butter with another nut or seed butter?
Absolutely! Almond butter, cashew butter, and sunflower seed butter all work well. Just be mindful that different butters vary in thickness and fat content, which may affect texture. You might need to adjust chilling time or add a bit more honey to help bind the mixture.
How do I make these snacks nut-free for school?
Use sunflower seed butter instead of peanut butter, and ensure your dried fruit and other ingredients are processed in nut-free facilities. This swap maintains the binding and flavor while keeping the recipe safe for nut allergies.
Can I add protein powder to this recipe?
Yes! Adding a scoop of your favorite protein powder can boost nutrition. Mix it with the dry ingredients, but be aware it may dry out the mixture slightly. Adding an extra teaspoon of honey or a splash of water can help maintain the right consistency.
What’s the best way to store these snacks for school lunches?
Pack them in an airtight container or reusable snack bag and keep them refrigerated if possible. If refrigeration isn’t available, they’ll be fine at room temperature for a few hours but may soften. Adding an ice pack helps keep them fresh.
My mixture is too crumbly and won’t stick together. What did I do wrong?
This usually means there isn’t enough binder. Try adding a little more peanut butter or honey, a teaspoon at a time, and mix well. Also, make sure to press the mixture firmly into the pan and chill it properly before cutting.
Can I make these gluten-free?
Yes! Use certified gluten-free rolled oats to ensure no cross-contamination. All other ingredients like peanut butter, honey, and dried fruit are naturally gluten-free, but always check labels if you have severe allergies.
How long do these snacks last in the fridge?
They keep well for up to 5 days in an airtight container. After that, they may start to dry out or lose their chewy texture. For longer storage, freezing is recommended.
Can I bake these snacks instead of chilling them?
This recipe is designed to be no-bake, relying on chilling to set. Baking would change the texture completely, likely resulting in a dry, crunchy bar rather than a chewy bite. If you want baked bars, look for recipes specifically designed for that method.
Final Thoughts
I hope you give these homemade snacks a try and enjoy how simple and tasty they are. Don’t forget to share how your kids like them!