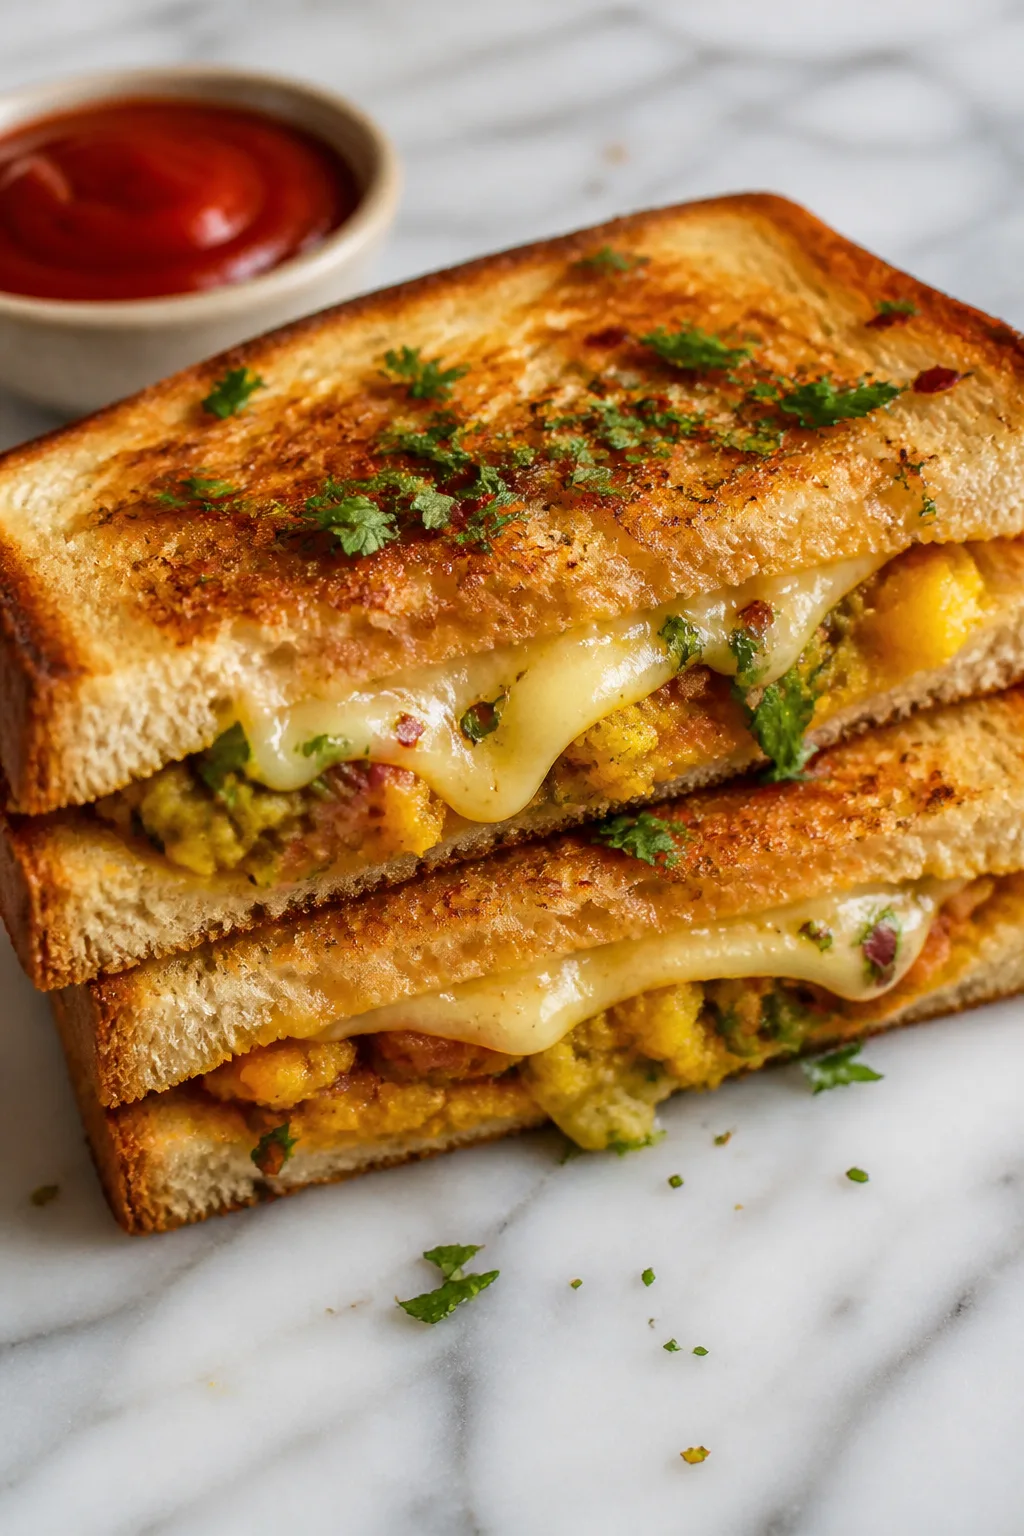
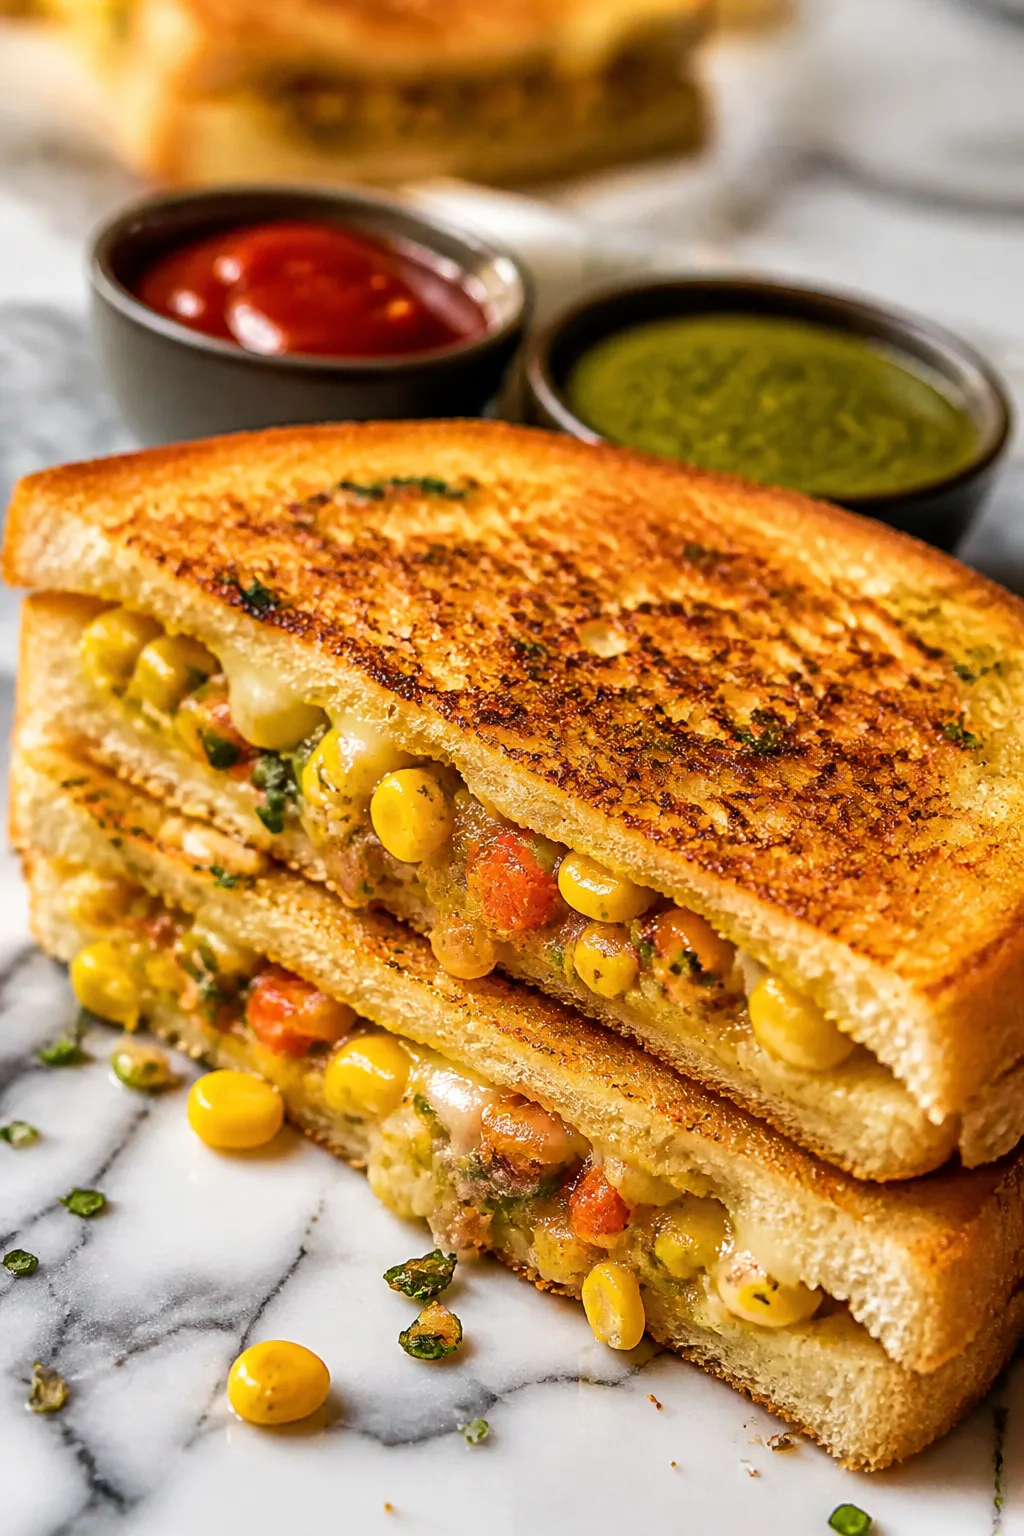
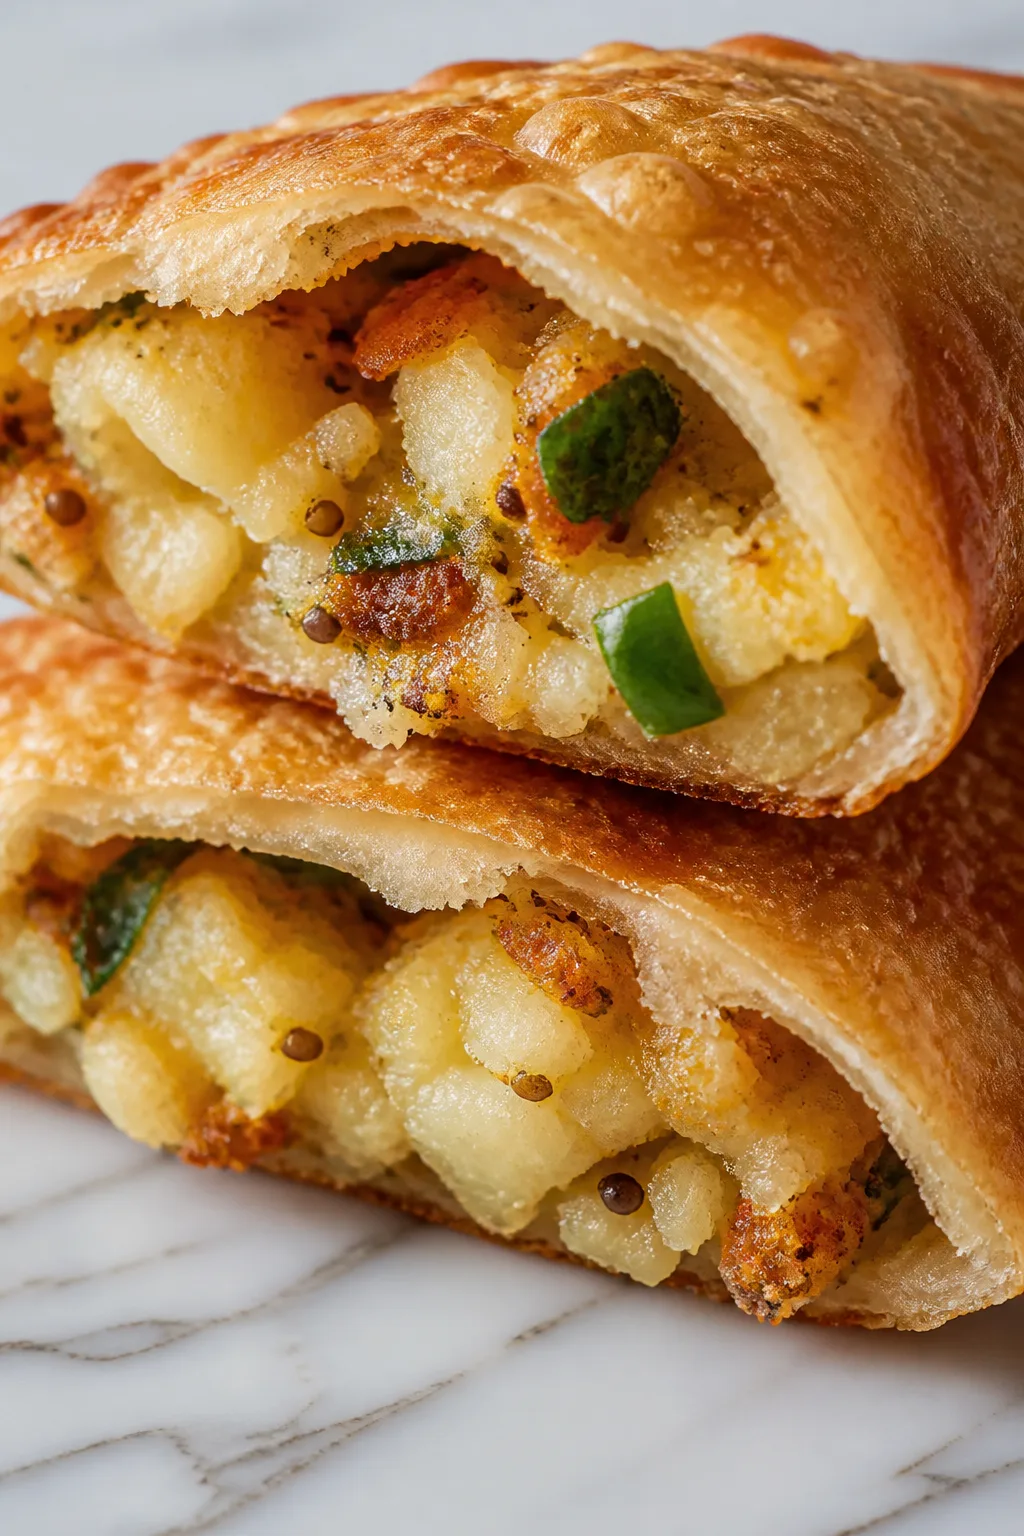
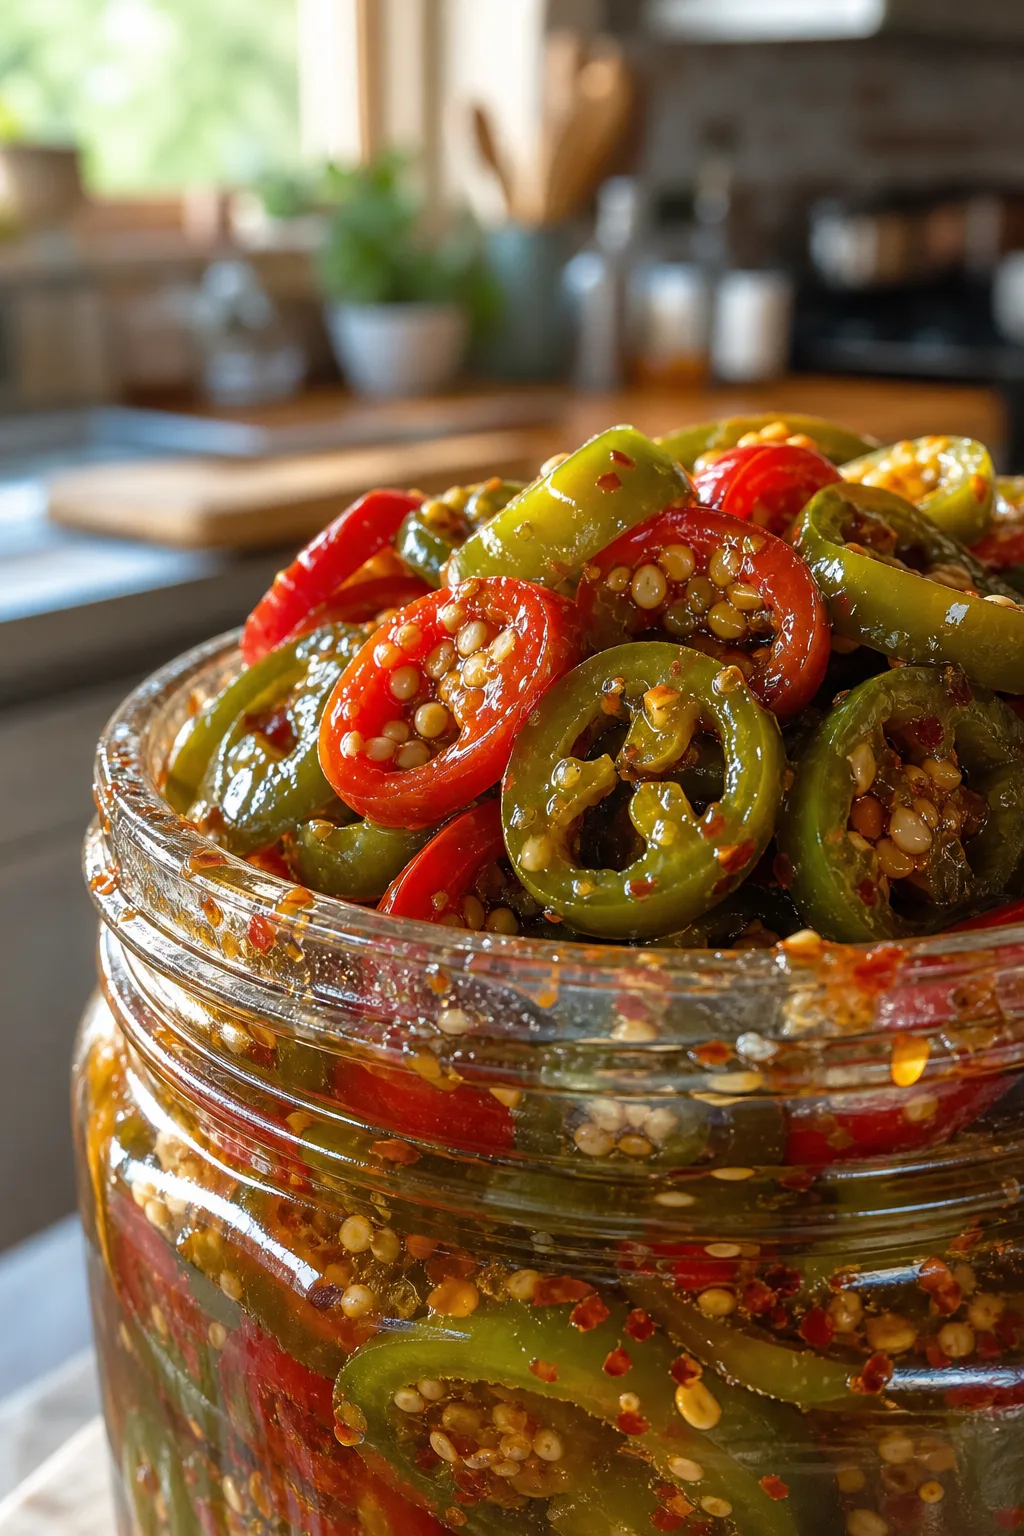
These quick Tamil snacks are packed with authentic flavors and super easy to whip up. Using simple ingredients, they make perfect cozy evening treats or anytime munchies. You'll love the traditional spices that make these snacks so special!
Introduction
I stumbled upon this Tamil snack recipe years ago during a visit to a friend’s home in Chennai. It was a simple dish but packed with such vibrant flavors that I’ve been hooked ever since. What makes this version stand out is the balance of spices and the perfect crispiness achieved by shallow frying. The trick I learned is to mix the flours with warm water slowly to get a soft but firm batter, which ensures the snacks hold their shape without becoming heavy. I remember my first attempt was a bit too dry, but once I adjusted the water ratio, it turned out just right. These snacks are light, crisp, and carry that unmistakable aroma of cumin and asafoetida, making them perfect for an evening nibble or a quick tea-time treat. Plus, they’re made with simple pantry staples, so you can whip them up anytime you want a taste of Tamil Nadu’s comforting street food at home.
What You'll Need
Approximately 12-15 snacks, serves 4
- 1 cup rice flour, finely ground
- 1/2 cup urad dal flour (black gram flour)
- 1 teaspoon cumin seeds
- 1 teaspoon finely chopped green chili
- 1/4 cup finely chopped fresh coriander leaves
- 1/2 teaspoon asafoetida (hing)
- 1/2 teaspoon salt, or to taste
- 1 cup water, warm
- Oil for shallow frying
How To Do It
Step 1
Begin by mixing the rice flour and urad dal flour in a large bowl. These two flours create the perfect texture—rice flour gives crispness, while urad dal adds a subtle fluffiness. Stir them together thoroughly to ensure an even blend, which is crucial for consistent texture in the final snack.
⏱ Time: 5
✓ Doneness: The flours should be evenly combined with no lumps or patches.
Step 2
Add cumin seeds, chopped green chili, coriander leaves, asafoetida, and salt to the flour mixture. These aromatics infuse the batter with authentic Tamil flavors. Mixing them in dry ensures they distribute evenly and release their fragrance when cooked.
⏱ Time: 3
✓ Doneness: The spices and herbs should be uniformly mixed throughout the flour.
Step 3
Slowly pour warm water into the flour-spice mixture, stirring continuously with a spoon or your hand. The warm water helps in hydrating the flours evenly, preventing lumps. Aim for a soft dough that’s pliable but not sticky. This step is key because too much water makes the snacks soggy, while too little results in dryness.
⏱ Time: 7
✓ Doneness: The dough should come together smoothly, soft to the touch but holding its shape.
Step 4
Knead the dough lightly on a clean surface for a minute to ensure uniform moisture distribution. Over-kneading can make the dough tough, so keep it gentle. Rest the dough covered with a damp cloth for 10 minutes to let the flours absorb the water fully, which improves texture.
⏱ Time: 10
✓ Doneness: The dough should feel soft and a bit springy after resting.
Step 5
Heat oil in a shallow pan over medium heat. To test if the oil is ready, drop a tiny piece of dough into the oil; it should sizzle and rise slowly to the surface. Proper oil temperature is essential to achieve a crisp exterior without absorbing too much oil.
⏱ Time: 5
✓ Doneness: Oil should shimmer and small dough pieces should bubble gently on contact.
Step 6
Pinch small portions of dough and flatten them gently between your palms into thin discs, about 3 inches wide. Uniform thickness ensures even cooking. If the discs are too thick, the center may remain doughy; too thin and they might burn quickly.
⏱ Time: 5
✓ Doneness: Discs should be thin but sturdy enough to handle without breaking.
Step 7
Carefully slide the discs into the hot oil, frying a few at a time without overcrowding. Fry on medium heat until golden brown on one side, then flip gently to cook the other side. Medium heat helps cook the snacks through without burning the outside.
⏱ Time: 6
✓ Doneness: Snacks should turn an even golden brown and feel crisp when lifted.
Step 8
Remove the fried snacks with a slotted spoon and place them on paper towels to drain excess oil. This step keeps them crispy and prevents greasiness. Let them cool slightly before serving so they firm up and develop a perfect crunch.
⏱ Time: 3
✓ Doneness: Snacks should feel dry to the touch and crisp.
Step 9
Serve warm with your favorite chutney or a cup of chai. These snacks are best enjoyed fresh but can be stored in an airtight container for a day. The combination of spices and crisp texture makes them irresistible, perfect for sharing or a solo treat.
⏱ Time: 2
✓ Doneness: Snacks should be warm, flavorful, and crunchy.
Pro Tips
Use warm water to mix the dough gradually for a smooth texture.
Warm water helps the flours absorb moisture evenly, preventing lumps and making the dough pliable. Cold water can cause uneven hydration, resulting in a dough that’s hard to work with and snacks that are dense or crumbly.
Don’t overcrowd the pan when frying the snacks.
Overcrowding lowers the oil temperature drastically, causing the snacks to absorb excess oil and become greasy. Fry in small batches to maintain consistent heat, ensuring a crisp and evenly cooked snack.
Let the dough rest covered for 10 minutes before shaping.
Resting allows the flours to fully hydrate and the dough to relax, which makes shaping easier and the final texture lighter. Skipping this step can result in a dough that cracks or produces tough snacks.
Test oil temperature with a small dough piece before frying the full batch.
This simple test prevents starting with oil that’s too hot or too cold. Proper temperature ensures the snack crisps up quickly without burning or absorbing too much oil, giving a perfect texture.
Flatten the dough discs evenly to ensure uniform cooking.
Uneven thickness causes some parts to cook faster than others, leading to burnt edges or raw centers. Consistent thickness helps achieve a golden, crispy finish all over.
Use fresh spices and herbs for the best flavor.
Spices lose potency over time, so fresh cumin, asafoetida, and coriander make a noticeable difference in aroma and taste. Stale spices lead to a bland or dull snack.
Drain fried snacks on paper towels immediately after frying.
This removes excess oil quickly, preventing sogginess and keeping the snacks crisp longer. Leaving them in oil or on a plate traps moisture, which ruins the texture.
Common Mistakes to Avoid
Using cold water to mix the dough.
Why it happens People often use whatever water is available without considering temperature, assuming it won’t affect the dough.
Fix Always use warm water to hydrate the flours gradually. This prevents lumps and helps create a smooth, pliable dough, which is essential for the right texture.
Frying at too high a temperature.
Why it happens Rushing the cooking process or not testing oil temperature can lead to overheating.
Fix Test oil temperature with a small dough piece before frying. Maintain medium heat so snacks cook evenly and absorb minimal oil, resulting in crispness without burning.
Overcrowding the frying pan.
Why it happens Trying to save time or oil usage leads to adding too many snacks at once.
Fix Fry in small batches to keep oil temperature stable. This ensures each snack fries properly and stays crispy.
Skipping the dough resting time.
Why it happens Impatience or lack of knowledge about dough hydration.
Fix Cover and rest the dough for at least 10 minutes to hydrate the flours fully and relax the dough, making it easier to work with and improving the final texture.
Making the dough too thick or too thin.
Why it happens Misjudging the water amount or not mixing thoroughly.
Fix Add water gradually and aim for a soft but firm dough that holds shape. Adjust flour or water slightly if needed. Dough should not be sticky or crumbly.
Variations
Spicy Tamarind Twist
Add a tablespoon of tamarind paste to the dough for a tangy kick. This variation gives a lovely sour note complementing the spices, making the snack taste vibrant and different. Great when you want a zesty change.
Note: You might need to reduce water slightly since tamarind paste adds moisture. Adjust salt accordingly.
Cheesy Tamil Snack
Incorporate grated mild cheese like paneer or processed cheese into the dough. The melted cheese adds richness and a creamy texture inside the crisp exterior. Perfect for kids or cheese lovers.
Note: Add cheese last and knead gently. Fry immediately to avoid cheese melting out.
Baked Instead of Fried
For a healthier option, bake the flattened dough discs on a parchment-lined tray at 375°F for 15-20 minutes until golden and crisp. This reduces oil usage but keeps the crunch.
Note: Brush lightly with oil before baking for best crispness.
Herb-Infused Delight
Add finely chopped curry leaves and a pinch of dried fenugreek leaves (kasuri methi) to the dough. These herbs add complexity and a fresh, earthy aroma typical of Tamil cuisine.
Note: Use fresh curry leaves finely chopped; dried fenugreek adds a subtle bitterness that balances the flavors.
Sweet Cinnamon Version
Mix in a teaspoon of ground cinnamon and a tablespoon of jaggery powder to the dough for a sweet-spiced snack. This variation is a lovely twist for those who enjoy sweet and savory combinations.
Note: Reduce salt slightly and ensure the dough consistency remains soft but firm.
Nutrition
Per Serving:
Nutritional values are estimates and may vary based on specific ingredients and oil absorption.
Storage & Tips
Room Temperature
These snacks can be kept at room temperature for up to 6 hours if stored in an airtight container or covered with a clean cloth. Avoid leaving them exposed to air to prevent them from becoming soggy or stale.
Refrigerator
Store in an airtight container in the fridge for up to 2 days. The snacks may lose some crispness when cold but can be reheated to restore crunch. Avoid moisture exposure to prevent sogginess.
Freezer
Freeze in an airtight container or zip-top bag for up to 1 month. Wrap individually in parchment paper to prevent sticking. Thaw at room temperature and reheat in a hot oven or skillet to regain crispness.
Reheating
Reheat on a stovetop in a dry pan over medium heat for 3-5 minutes, flipping occasionally. Alternatively, warm in an oven at 350°F for 5-7 minutes. Avoid microwaving as it makes snacks soggy. A light spray of oil before reheating helps restore texture.
Make Ahead
Prepare the dough up to 1 day ahead and refrigerate covered. Shape and fry just before serving to maintain freshness and crispness. This saves time while keeping the snack delicious.
FAQ
Can I use all rice flour instead of mixing with urad dal flour?
You can, but the texture will be different. Using only rice flour results in a crisper but more brittle snack that may break easily. Urad dal flour adds softness and helps bind the dough, giving a better overall texture. If you must substitute, try adding a small amount of chickpea flour for binding.
What if I don’t have asafoetida? Can I skip it?
Asafoetida adds a unique aroma and aids digestion but can be omitted if unavailable. The snack will still taste good but with a milder flavor. You might consider adding a pinch of garlic powder or onion powder as a substitute to add depth.
How do I know when the oil is at the right temperature?
Drop a small bit of dough into the oil; it should sizzle immediately and float to the surface slowly. If it browns too fast, oil is too hot; if it sinks or bubbles little, oil is too cool. Adjust heat to maintain medium temperature for even cooking.
Can I make the dough in advance and freeze it?
It's better to freeze the shaped snacks rather than the dough. Dough frozen and thawed may lose texture and become watery. Shape the discs, freeze on a tray, then transfer to a bag. Fry from frozen for best results.
Why do my snacks turn oily and soggy sometimes?
This usually happens if oil temperature is too low or snacks are fried too slowly. Maintain medium heat and fry in small batches to keep oil hot. Also, draining on paper towels immediately after frying helps remove excess oil.
Can I bake these snacks instead of frying?
Yes, baking is a healthier alternative. Brush the discs lightly with oil and bake at 375°F for 15-20 minutes, flipping halfway. They won't be as crispy as fried but still tasty and less oily.
Is there a gluten-free version of this snack?
This recipe is naturally gluten-free since it uses rice and urad dal flours. Just ensure your flour brands are certified gluten-free to avoid cross-contamination if needed.
How do I store leftovers without losing crispness?
Store in an airtight container with a paper towel to absorb moisture. Avoid refrigeration if possible, as cold air can make them soggy. Reheat in a skillet or oven before serving to restore crunch.
Final Thoughts
I hope you enjoy making these quick and tasty Tamil snacks as much as I do. Give them a try and let me know how they turn out—sharing food stories is the best part!