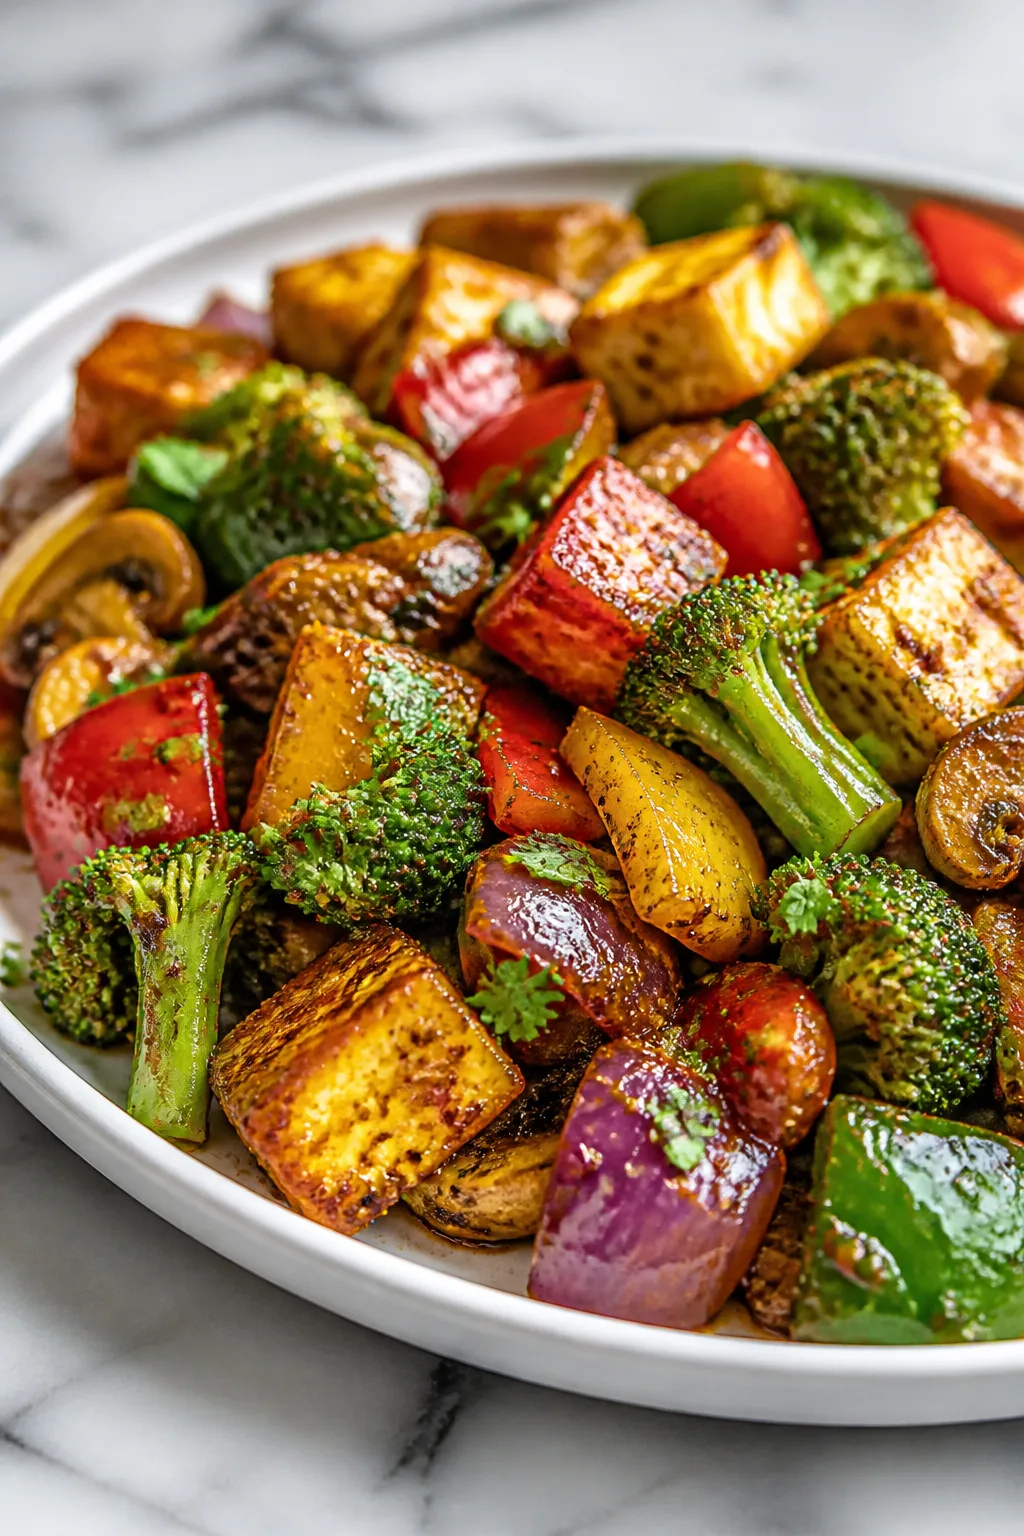
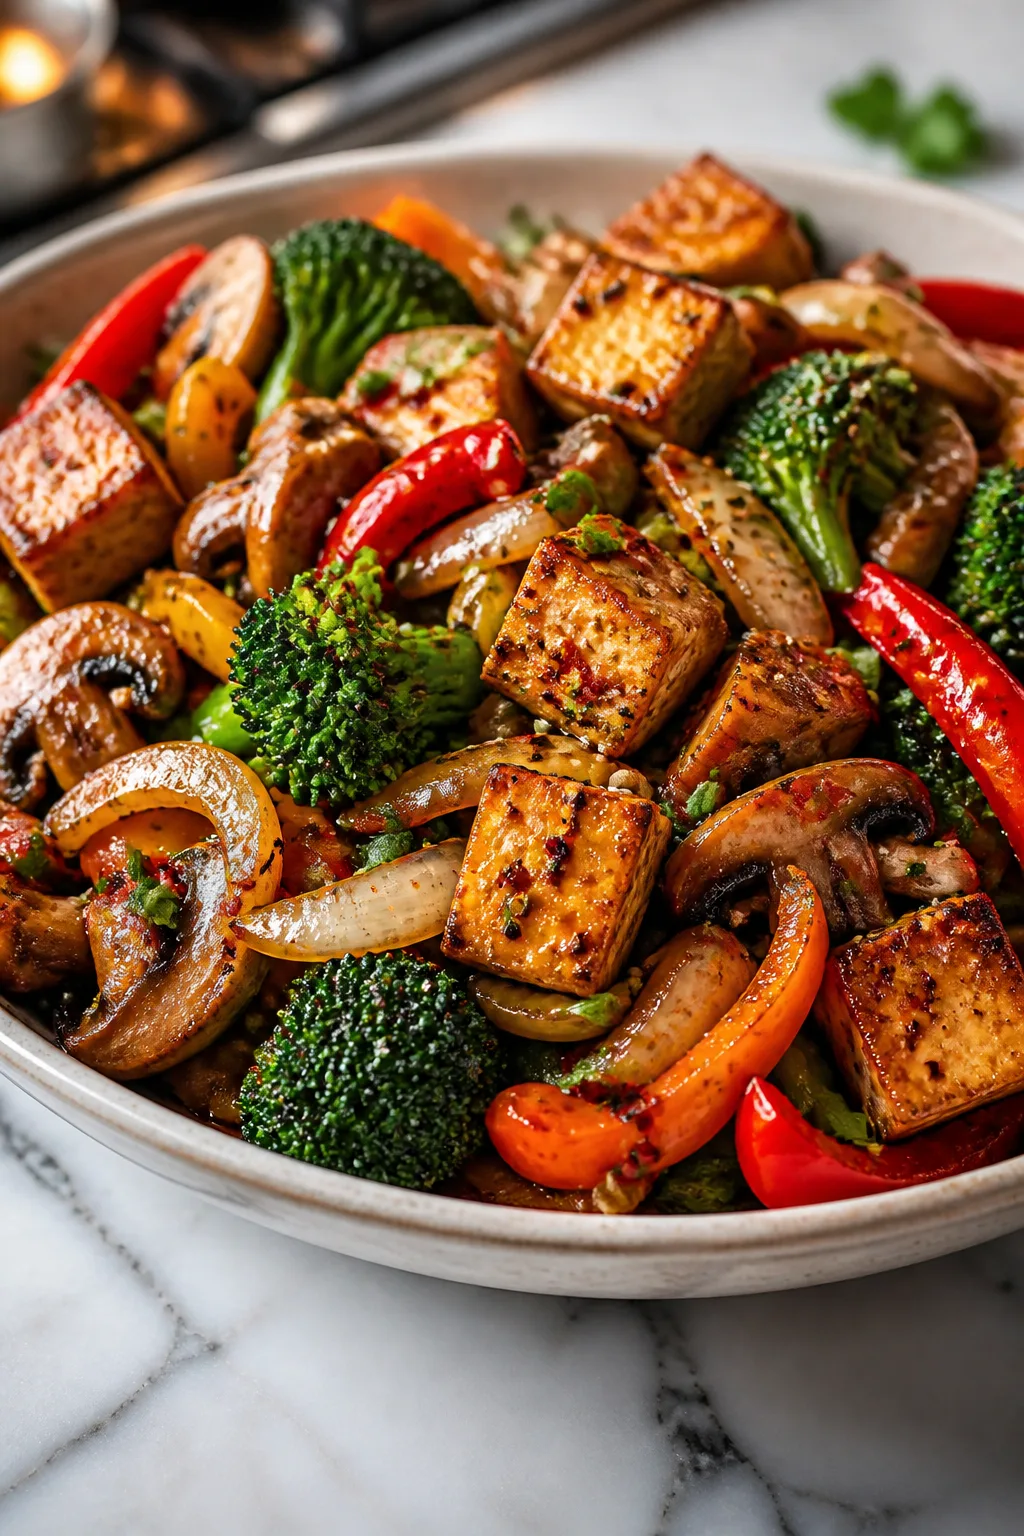
Radishes get a fresh twist with this quick crisping method that brings out their natural sweetness and crunch. Perfect for a healthy snack or to add a zingy texture to salads anytime!
Introduction
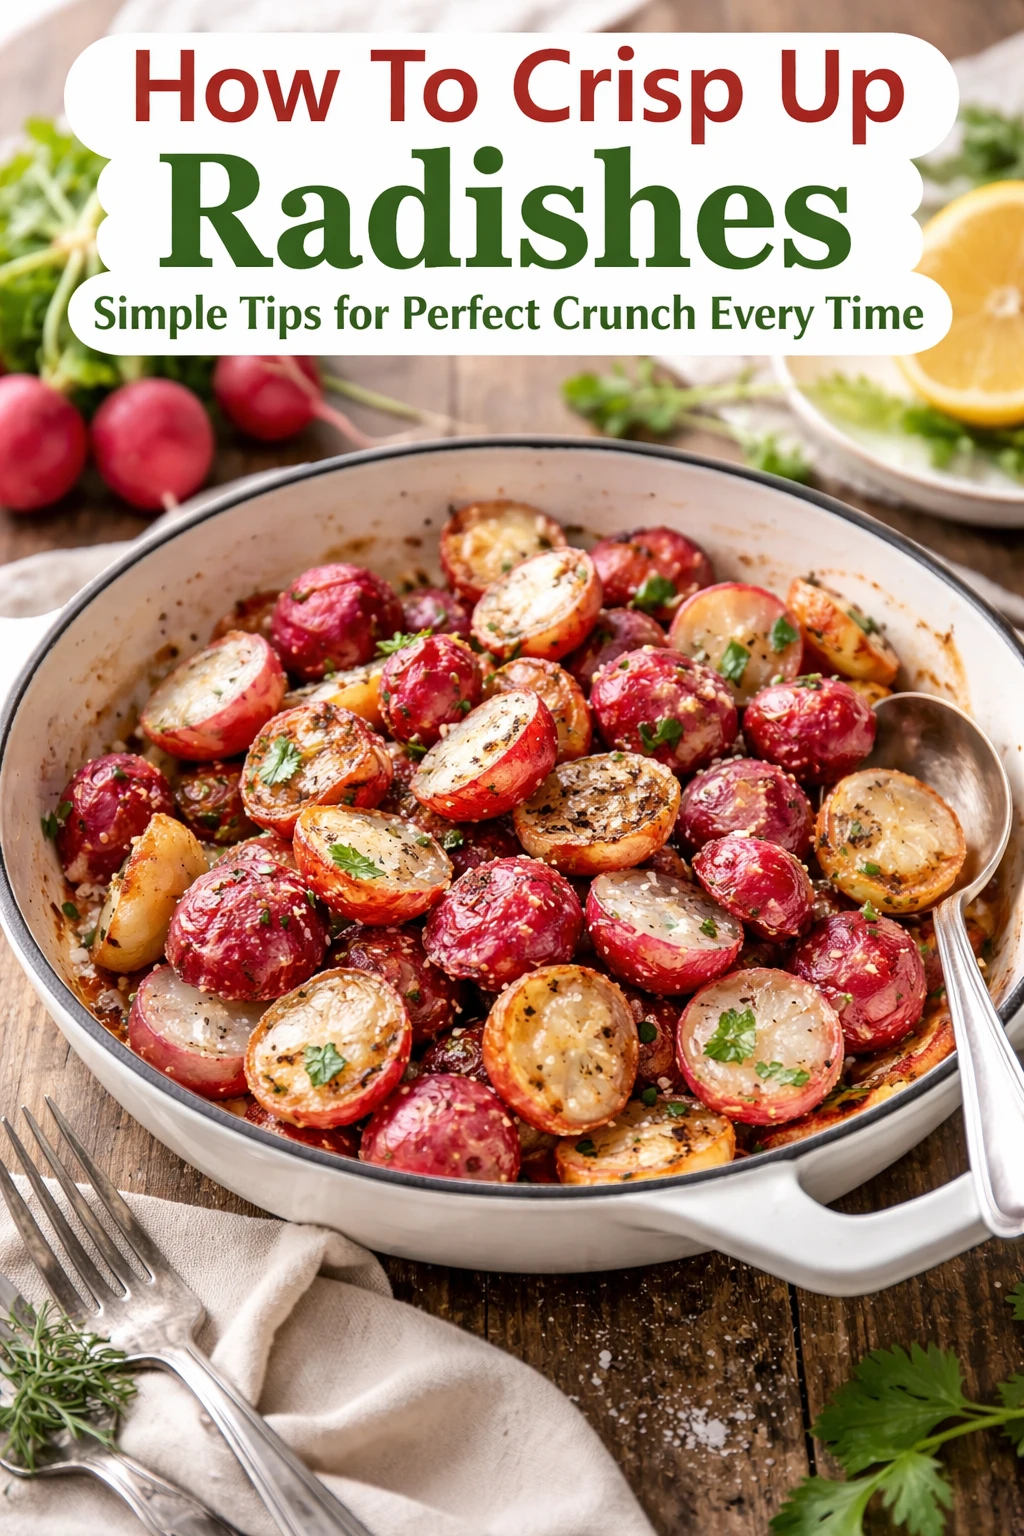
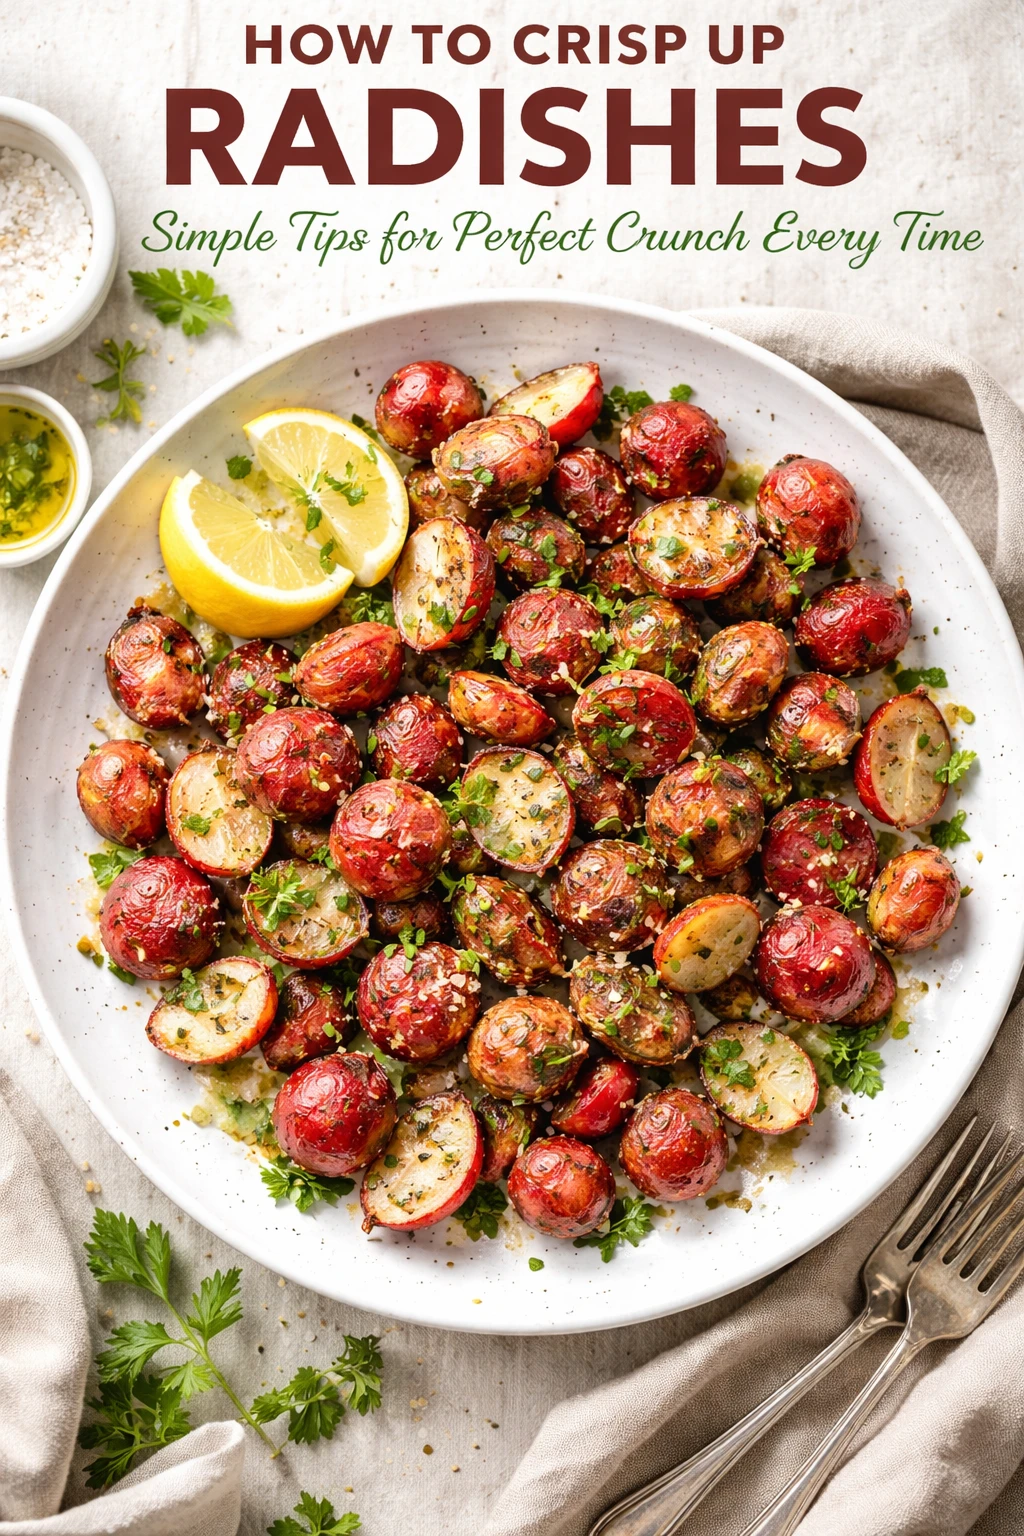
I've always thought radishes were just the spicy garnish on the side of salads or sandwiches, but then I discovered this quick method that totally changes the game. Instead of biting into them raw and sharp, you crisp them up with a little olive oil and a touch of honey, which brings out their natural sweetness and softens their bite while keeping that satisfying crunch. I remember the first time I tried this — I was skeptical, but the result was so addictive that my whole family reached for seconds! What makes this version stand out is the balance between the slight caramelization from the honey and the fresh peppery bite radishes are known for. Plus, it takes just minutes to prepare, making it a perfect snack or a fresh textural pop in salads. The finished radishes look vibrant and glisten just enough to invite you in, with a crispness that’s not at all rubbery or soggy. It’s a simple trick that adds a fresh twist to a humble veggie, and I think you’re going to love it as much as I do.
What You'll Need
About 4 servings as a side or snack
- 1 bunch fresh radishes, washed and trimmed
- 1 tablespoon olive oil
- 1 teaspoon honey or maple syrup
- 1/2 teaspoon sea salt
- Freshly ground black pepper, to taste
How To Do It
Step 1
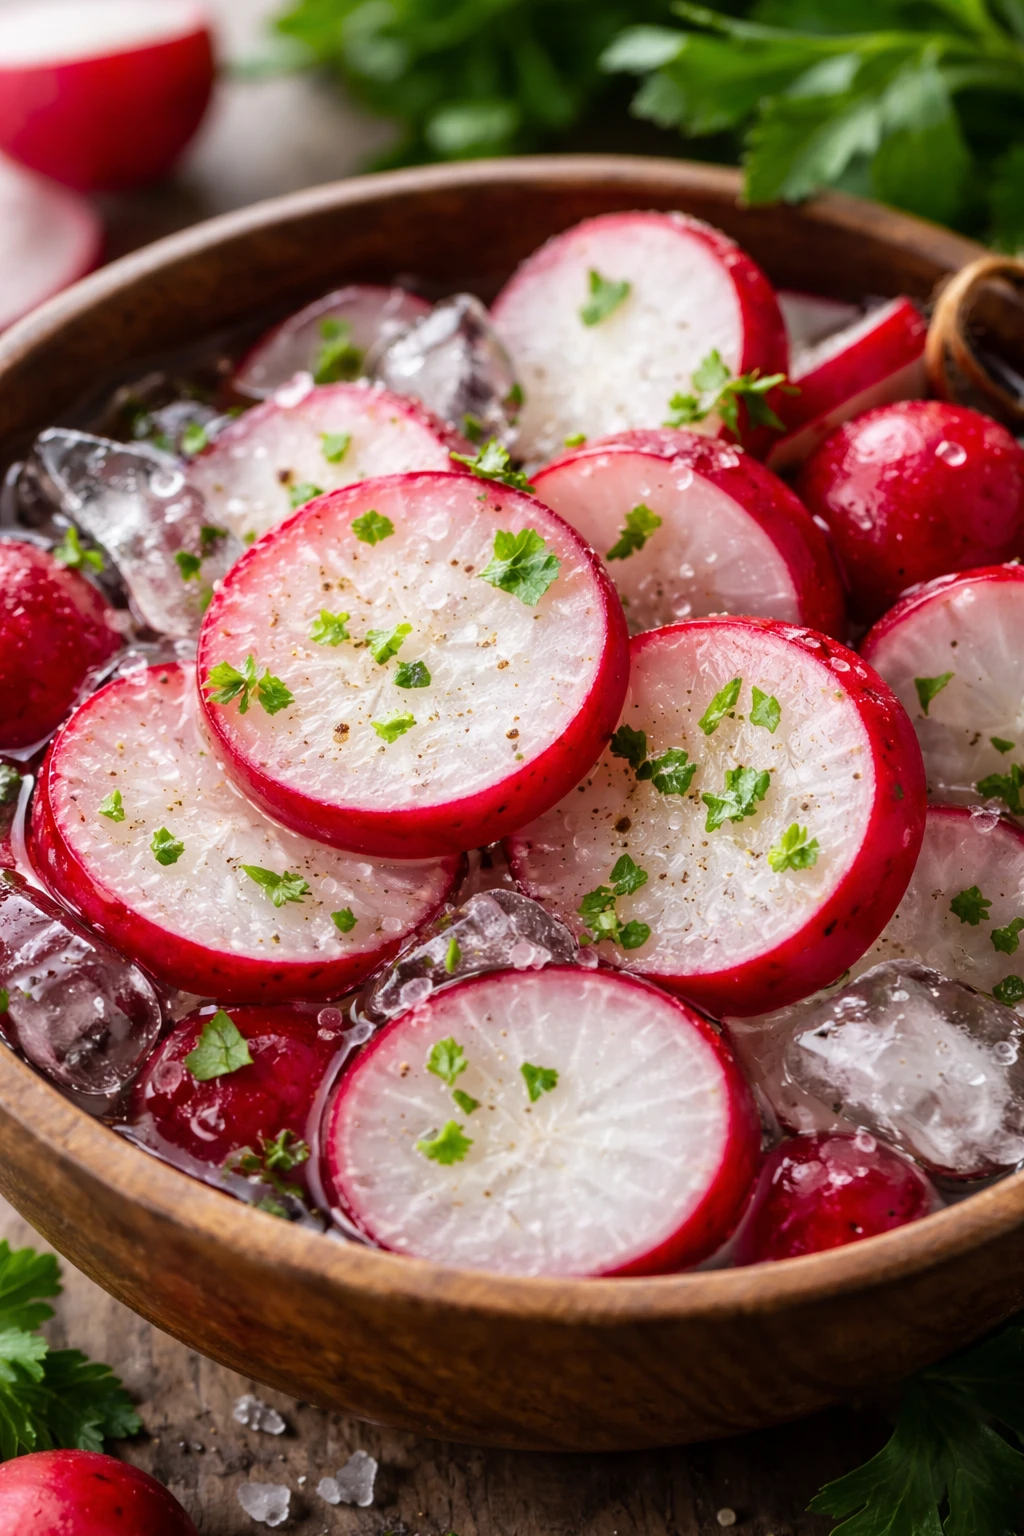
Start by washing and trimming the radishes. It’s important to remove the leafy tops and any root ends so you’re left with clean, round radishes. Slice them thinly but not paper-thin — about 1/8 inch thick works best to maintain crunch without becoming too fragile. Using a sharp knife or mandoline helps get even slices, which means they’ll cook uniformly. Uneven slices can lead to some pieces overcooking while others stay too raw, so take your time here.
⏱ Time: 5 minutes
✓ Doneness: Uniformly thin radish slices, slightly translucent but still firm
Step 2
Heat a skillet over medium heat and add the olive oil. Once the oil shimmers but isn’t smoking, toss in the sliced radishes. Stir them gently to coat with oil and cook for about 3 minutes, stirring frequently so they don’t burn. The goal is to get a slight caramelization on the edges without softening the radishes too much. If you rush this step by turning the heat too high, the radishes can burn or dry out, losing their delicate sweetness.
⏱ Time: 3-4 minutes
✓ Doneness: Edges of radish slices turn golden and slightly crisp
Step 3
Drizzle the honey or maple syrup over the radishes and stir quickly to combine. The sweetness will help develop a beautiful glaze that enhances their natural flavor. Keep cooking for another 1-2 minutes, stirring gently. Watch carefully here — too much heat or time can cause the sugars to burn, so medium heat and attention are key.
⏱ Time: 2 minutes
✓ Doneness: Radishes have a shiny glaze and smell slightly sweet and toasted
Step 4
Season the radishes with sea salt and freshly ground black pepper to taste. Salt balances the natural sweetness and brings out the flavor, while pepper adds a subtle kick. Toss everything together so the seasoning is evenly distributed. Taste a piece and adjust seasoning if needed before removing from heat.
⏱ Time: 1 minute
✓ Doneness: Evenly seasoned radishes with balanced sweet and savory notes
Step 5
Transfer the radishes to a serving dish and let them cool for a couple of minutes. This rest time helps the glaze set slightly and the radishes maintain their crisp texture. Serving them too hot can make them feel soggy, so a little patience here really pays off.
⏱ Time: 2 minutes
✓ Doneness: Radishes are warm with a firm, crunchy texture and glossy appearance
Step 6
Serve these crispy sweet radishes as a snack on their own or toss them into a fresh green salad to add a pop of texture and flavor. They also work great as a crunchy topping on tacos or roasted veggies. The versatility means you can get creative with how you enjoy them, so feel free to experiment!
⏱ Time: 0 minutes
✓ Doneness: Ready to eat with vibrant color and texture
Step 7
If you want to prepare ahead, keep the cooked radishes in an airtight container in the fridge and add fresh seasoning before serving. Reheat gently in a pan to restore some warmth without losing crunch. Avoid microwaving as it can make them soggy.
⏱ Time: 0 minutes
✓ Doneness: Warm but still crisp radishes after reheating
Step 8
For a little extra zing, try adding a squeeze of fresh lemon juice or a sprinkle of chili flakes just before serving. This adds brightness or a subtle heat that pairs beautifully with the sweet and peppery radishes. It’s a simple way to customize the flavor to your liking.
⏱ Time: 0 minutes
✓ Doneness: Enhanced flavor with fresh citrus aroma or mild spice
Step 9
Enjoy these radishes fresh for the best crunch and flavor. They make a fantastic light snack anytime and are especially refreshing in warmer months when you want something crisp and healthy. Don’t be surprised if they become your new favorite way to eat radishes!
⏱ Time: 0 minutes
✓ Doneness: Fresh, crunchy radishes enjoyed immediately
Pro Tips
Slice radishes evenly for uniform cooking.
Even slices ensure that all pieces cook at the same rate, preventing some from burning while others remain raw. Uneven thickness can also affect texture, with thinner slices becoming limp and thick ones staying tough. Using a mandoline or sharp knife helps achieve consistent thickness for the best crunch.
Cook over medium heat and stir frequently.
Medium heat allows the radishes to caramelize slowly without burning. Frequent stirring prevents hot spots and ensures an even glaze. Cooking too fast or with high heat can scorch the sugars in honey or maple syrup, resulting in bitterness and a burnt flavor.
Add sweetener gradually and watch closely.
Honey or maple syrup can burn quickly, so adding it slowly and stirring allows you to control the caramelization. This creates a shiny glaze and enhances sweetness without bitterness. Rushing this step risks ruining the dish’s delicate balance.
Use fresh pepper for maximum flavor.
Freshly ground black pepper has volatile oils that add aroma and heat, enhancing the radishes' flavor profile. Pre-ground pepper loses potency and can taste dull, so grinding just before use makes a noticeable difference in the final dish.
Let radishes rest briefly after cooking.
Allowing a short rest lets the glaze set and moisture redistribute, maintaining crispness. Serving immediately while too hot can result in soggy texture, as the radishes continue to release moisture. Patience here improves mouthfeel.
Serve radishes warm or at room temperature.
Radishes are best enjoyed warm or room temp to maximize crunch and flavor. Cold radishes lose some of their texture and the glaze can become sticky or tacky. Warming gently restores the ideal eating experience.
Experiment with finishing touches like lemon or chili flakes.
A squeeze of lemon brightens the dish and balances sweetness, while chili flakes add a subtle heat that complements the peppery radish flavor. These additions personalize the dish and keep it exciting.
Common Mistakes to Avoid
Slicing radishes unevenly
Why it happens People often rush the prep and don’t take time to slice radishes uniformly, assuming rough cuts won’t affect the outcome.
Fix Take a moment to use a sharp knife or mandoline to slice radishes evenly around 1/8 inch thick. This ensures consistent cooking and a balanced texture throughout the dish.
Cooking over too high heat
Why it happens In a hurry, cooks crank up the heat, thinking it will speed up cooking, but this burns the sugars and ruins flavor.
Fix Maintain medium heat and stir frequently so the radishes caramelize gently without burning. Patience here preserves sweetness and crunch.
Adding sweetener all at once
Why it happens Some add honey or syrup too quickly, causing it to burn immediately on hot pan surfaces.
Fix Drizzle the sweetener gradually while stirring to evenly coat radishes and avoid burnt spots. Watch closely and adjust heat as needed.
Using old or pre-ground pepper
Why it happens Pre-ground pepper loses aroma and potency over time, but many overlook this detail.
Fix Always grind fresh black pepper just before cooking to maximize flavor impact in this simple recipe.
Serving radishes too hot
Why it happens Impatience leads to serving immediately, but hot radishes can be soggy as they release moisture.
Fix Let the radishes cool for a few minutes after cooking so the glaze sets and texture firms up for the best crunch.
Variations
Spicy Garlic Radishes
Add minced garlic and a pinch of chili flakes during cooking for a bold, spicy twist. The garlic infuses savory depth while chili adds heat, complementing the sweet and peppery radishes. This variation is great for garlic lovers who want more bite.
Note: Add garlic in step 2 and chili flakes with the sweetener. Watch closely to avoid garlic burning, which can turn bitter.
Lemon Herb Radishes
Finish the cooked radishes with fresh lemon juice and chopped herbs like parsley or dill. The citrus brightens the dish while herbs add freshness, making it a perfect light side for spring or summer meals.
Note: Add lemon juice and herbs after cooking to preserve their fresh flavors and vibrant color.
Roasted Radish Medley
Instead of pan-cooking, roast radish halves in the oven with olive oil and honey for 15-20 minutes. This brings out deeper caramel notes and softens the texture for a sweeter, mellower side dish.
Note: Roast at 400°F, tossing halfway through, until tender and golden brown. Texture will be softer than pan-cooked version.
Radish and Cucumber Salad
Combine crispy sweet radishes with thinly sliced cucumber and a light vinaigrette for a refreshing salad. The cucumber adds coolness and crunch, balancing the radishes’ peppery sweetness.
Note: Prepare radishes as directed, then mix with fresh cucumber slices and dress just before serving to avoid sogginess.
Pickled Radish Crunch
Quick-pickle the radishes in vinegar, sugar, and salt before crisping them up with olive oil and honey. This adds tang and complexity, perfect for topping tacos or sandwiches.
Note: Pickle radishes for 30 minutes to 1 hour before cooking. Adjust cooking time to avoid over-softening.
Nutrition
Per Serving:
Nutritional values are estimates and may vary based on specific ingredients used.
Storage & Tips
Room Temperature
These crispy sweet radishes can be kept at room temperature for up to 2 hours if covered tightly to prevent drying out. Beyond that, their texture begins to soften and the glaze can become sticky, so it’s best to serve fresh or refrigerate promptly.
Refrigerator
Store leftovers in an airtight container in the fridge for up to 3 days. The radishes will lose some crispness but can be refreshed by warming gently in a pan over low heat. Avoid microwaving as it tends to make them soggy.
Freezer
Freezing is not recommended for this recipe because the radishes will become mushy and lose their crisp texture upon thawing. It’s best to enjoy them fresh or refrigerated.
Reheating
Reheat gently in a skillet over low heat for 1-2 minutes, stirring occasionally. Adding a splash of olive oil can help restore moisture and gloss. Avoid microwaving to maintain crunch.
Make Ahead
You can slice the radishes and store them in cold water in the fridge for up to 24 hours to keep them crisp. Prepare the cooked radishes up to step 4 and refrigerate. Reheat gently and add fresh seasoning just before serving for best results.
FAQ
Can I use other types of radishes for this recipe?
Absolutely! While red radishes are classic, watermelon, French breakfast, or even daikon radishes work well. Just adjust cooking time slightly for larger or milder varieties to maintain the crispness and flavor balance.
What if I don’t have honey or maple syrup?
You can substitute with agave nectar, brown sugar, or even a small amount of granulated sugar. Keep in mind that liquid sweeteners like agave may caramelize differently, so watch the cooking closely to avoid burning.
How do I keep the radishes from getting soggy?
The key is cooking over medium heat with frequent stirring and not overcooking. Also, letting them rest off heat for a couple of minutes helps the glaze set and moisture redistribute, preserving crunch.
Can I prepare this recipe ahead of time?
You can prep the radishes sliced and keep them in cold water in the fridge for a day. Cooked radishes can be refrigerated for a few days and gently reheated. However, best enjoyed fresh for maximum crunch.
Is this recipe suitable for vegans?
Yes, it’s vegan-friendly as long as you use maple syrup or agave instead of honey. All other ingredients are plant-based and simple.
Can I add spices or herbs to the radishes?
Definitely! Adding chili flakes, garlic, lemon zest, or fresh herbs like parsley or dill can enhance the flavor. Just add these after cooking or towards the end to keep their freshness.
What’s the best oil to use for cooking radishes?
Extra virgin olive oil is ideal for its flavor and smoke point. You can also use avocado oil or light vegetable oil if you prefer a neutral taste. Avoid strong-flavored oils unless you want to experiment.
How long do cooked radishes last in the fridge?
Stored properly in an airtight container, cooked radishes last about 3 days. Their texture softens over time, so reheat gently and consume within this timeframe for best taste.
Final Thoughts
Give these crispy sweet radishes a try — they’re a simple way to brighten up your meals or snack time. I’d love to hear how you enjoy them, so don’t forget to share your results!