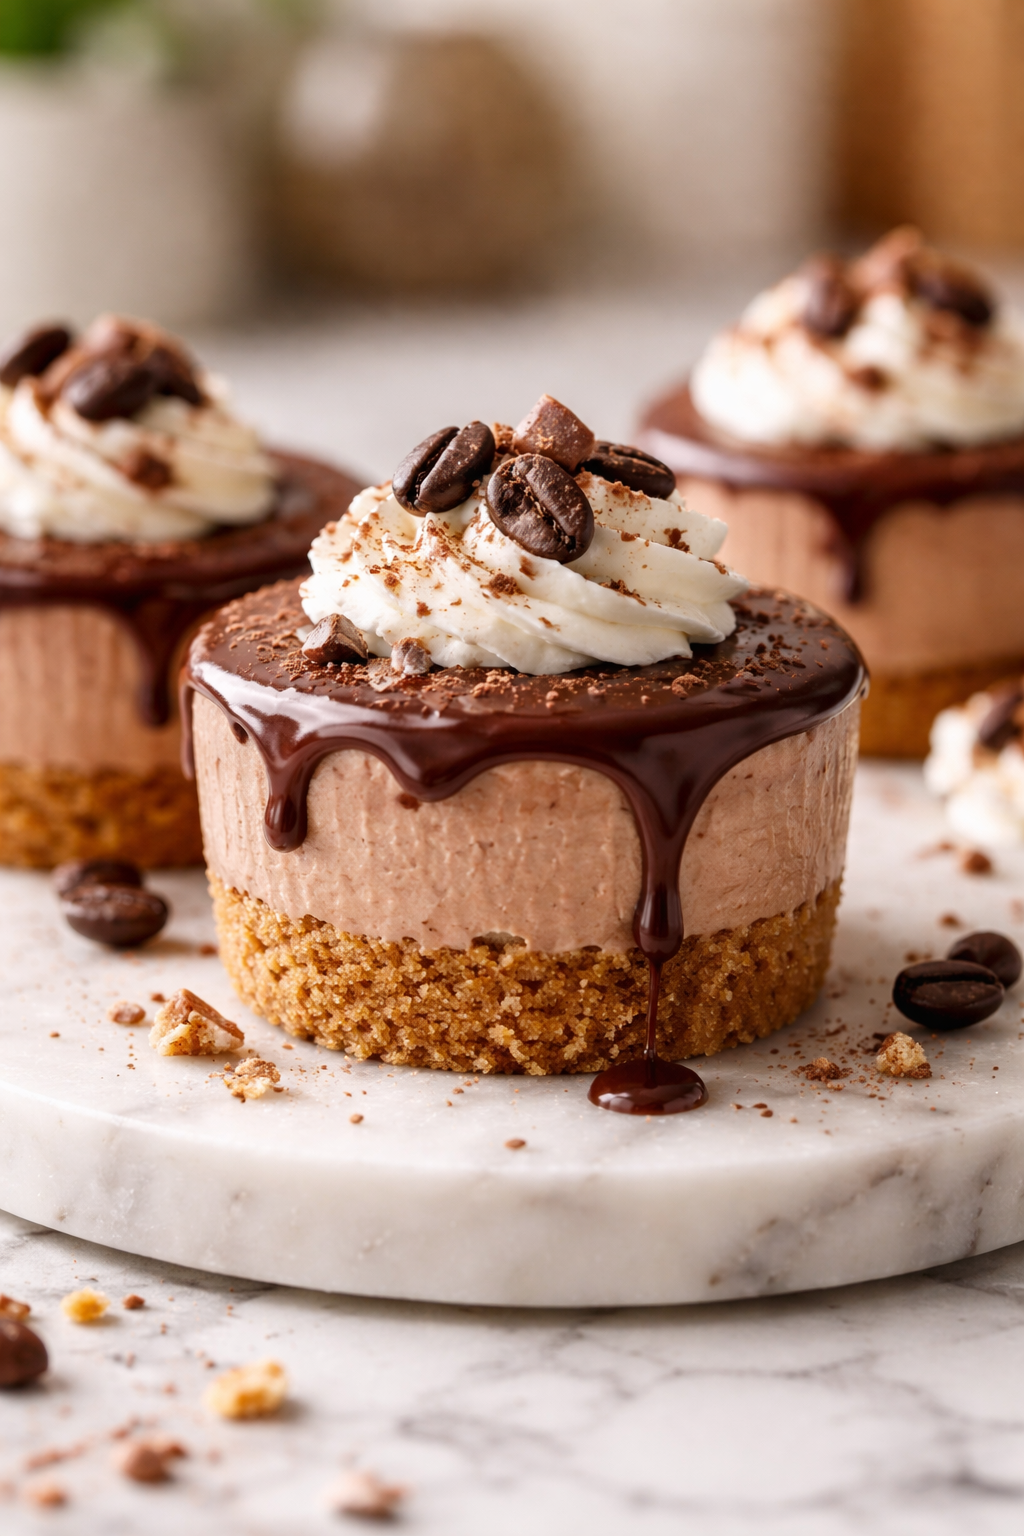
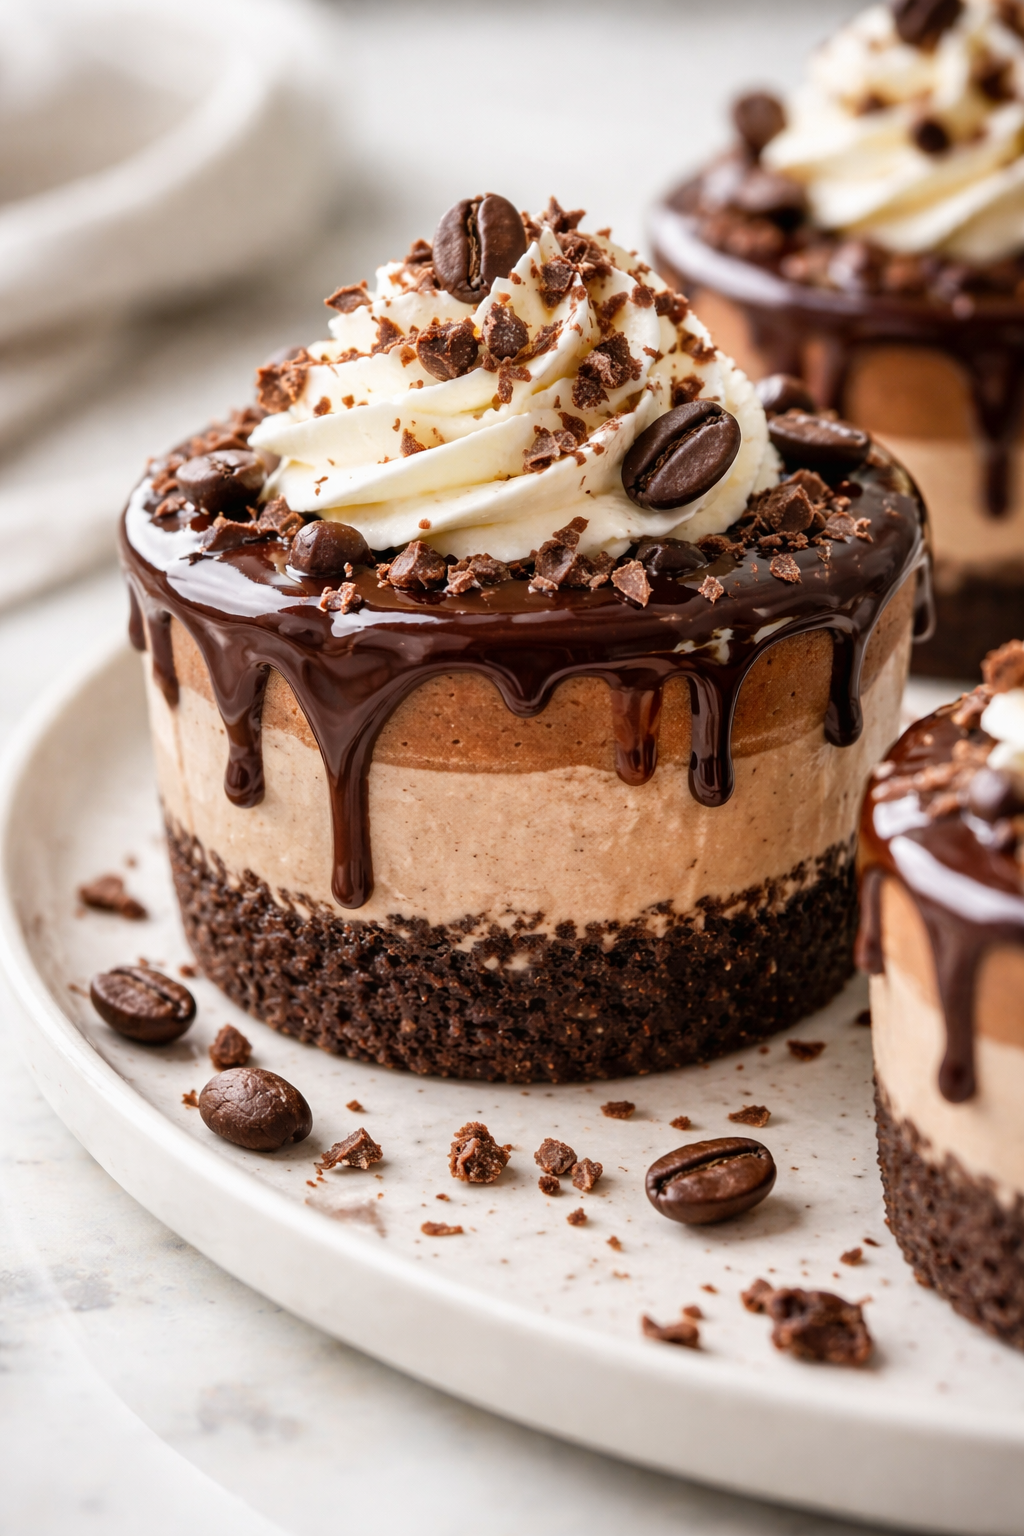
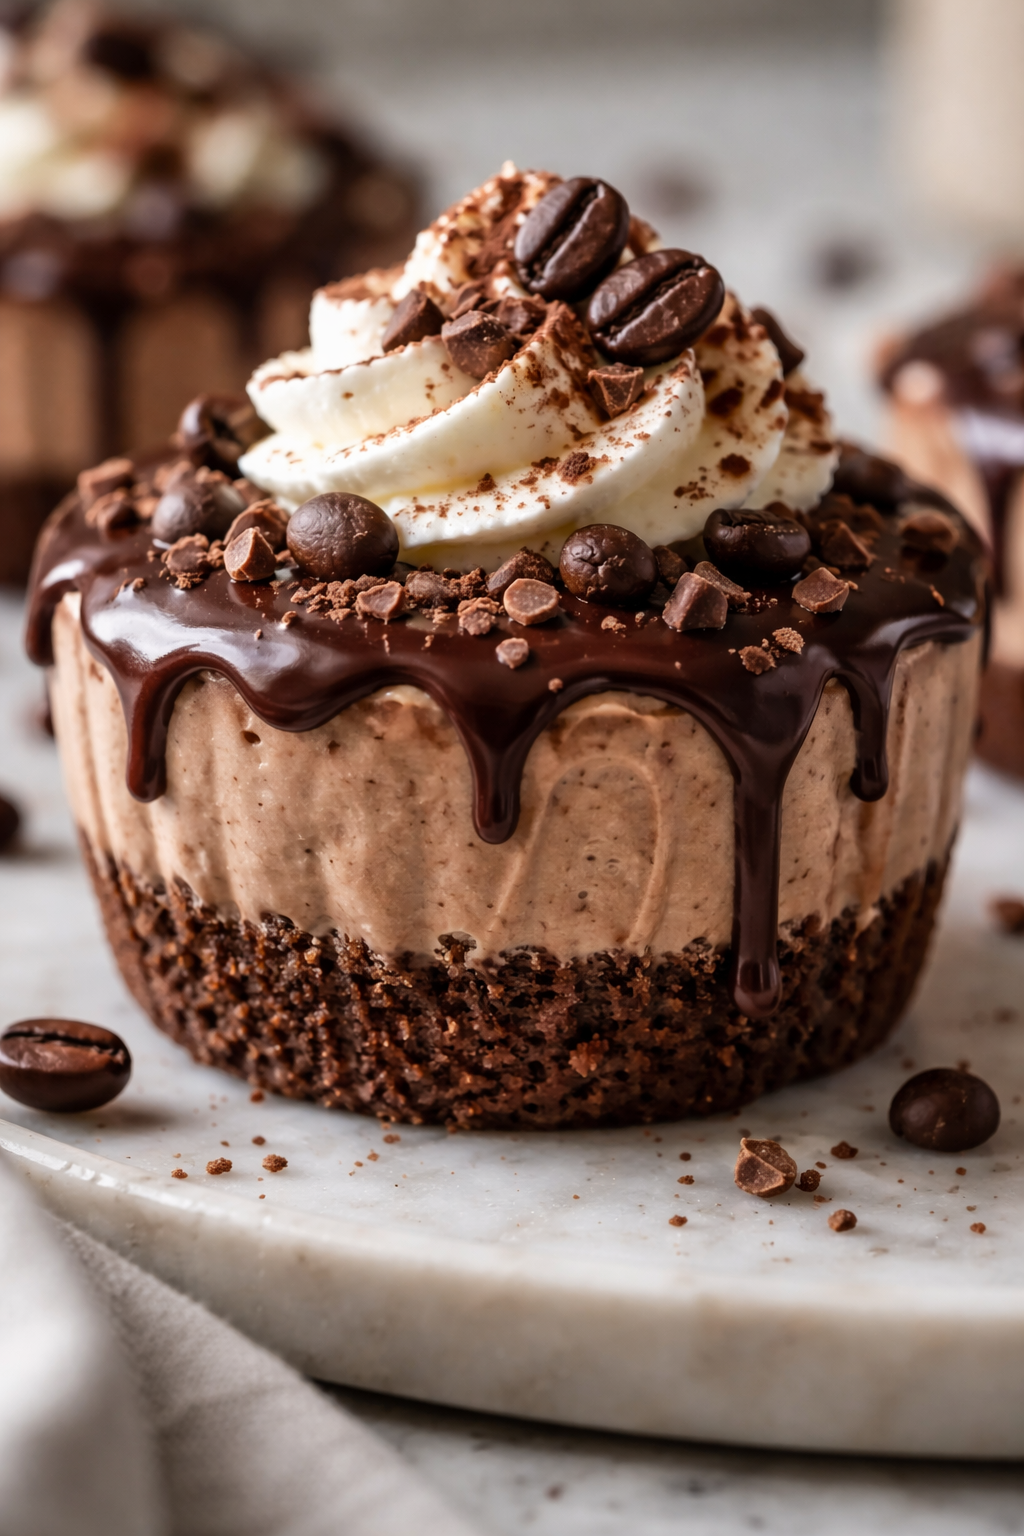
Rich, creamy mocha cheesecake cups that blend chocolate and coffee perfectly. No-bake and super easy, they're a quick treat for any time you want a little indulgence without fuss.
Introduction
I first made these mocha chocolate cheesecake cups on a whim when I wanted something quick, chocolaty, and with a little coffee buzz. What I love about this recipe is how simple it is — just five ingredients and no baking involved. That coffee addition adds a subtle depth that really makes the chocolate pop. I’ve tried other chocolate cheesecakes before, but this one stands out because it’s light yet indulgent, creamy but not too dense.
One trick I learned early on is to whip the cream cheese and powdered sugar until super smooth before folding in the coffee and melted chocolate. It makes the texture silky and prevents lumps. Another secret? Using freshly brewed strong coffee instead of instant powder—it really brightens the flavor. The final cups are a perfect balance of sweet, rich, and a little bitter from the coffee, making them ideal for a quick dessert after dinner or an afternoon pick-me-up.
I remember the first time my family tried these, they couldn’t believe it was no-bake! The cups hold up nicely and look elegant enough for guests but are so easy to throw together. Plus, you can customize the coffee strength or add a sprinkle of cocoa powder on top for a little extra oomph. I think you’ll love how effortless and delicious these are!
How To Do It
Step 1
Start by softening your cream cheese to room temperature; this is crucial for getting a smooth, creamy texture without lumps. Use a hand mixer or stand mixer to beat the cream cheese until it's fluffy and light. This aeration helps the cheesecake cups feel light rather than dense. Be patient and scrape down the sides of the bowl a few times to ensure everything is fully blended.
⏱ Time: 5 minutes
✓ Doneness: Mixture is smooth, creamy, and lump-free
Step 2
Add the powdered sugar gradually to the cream cheese while continuing to beat. This helps dissolve the sugar fully and prevents graininess. Powdered sugar also adds a slight sweetness without affecting texture. Beat until the mixture is thick but still fluffy. Rushing this step can lead to a gritty texture, so take your time for the best result.
⏱ Time: 3 minutes
✓ Doneness: Mixture is thick, smooth, and sweetened evenly
Step 3
Brew a strong cup of coffee and let it cool completely before adding it to the mixture. The coffee must be cool or room temperature; otherwise, it can cause the cream cheese to seize or become grainy. Slowly pour in the coffee while mixing on low speed to incorporate the flavor evenly without breaking the emulsion.
⏱ Time: 2 minutes
✓ Doneness: Mixture is uniform in color and coffee flavor is evenly distributed
Step 4
Melt the chocolate chips gently using a double boiler or microwave in short bursts, stirring frequently to avoid burning. Let the melted chocolate cool slightly but not harden before folding it into the cream cheese mixture. This prevents the chocolate from clumping and helps maintain a smooth texture.
⏱ Time: 5 minutes
✓ Doneness: Chocolate is fully melted, smooth, and slightly warm
Step 5
Fold the melted chocolate gently into the cream cheese mixture using a spatula. Folding rather than stirring vigorously preserves the airy texture you created earlier. Mix until just combined to avoid deflating the mixture, which keeps the cheesecake light and fluffy.
⏱ Time: 2 minutes
✓ Doneness: Mixture is homogenous with a mocha brown color
Step 6
In a separate bowl, whip the heavy cream until stiff peaks form. This means when you lift the whisk, the cream holds its shape without collapsing. Whipping the cream separately ensures it stays light and airy, which is key for the final texture of the cheesecake cups.
⏱ Time: 5 minutes
✓ Doneness: Cream forms stiff, glossy peaks
Step 7
Gently fold the whipped cream into the chocolate cream cheese mixture in batches. Use a spatula and fold carefully to keep the air in the whipped cream. This step is important because it lightens the dense cream cheese mixture, giving the cups a mousse-like texture.
⏱ Time: 3 minutes
✓ Doneness: Mixture is light, fluffy, and evenly combined
Step 8
Spoon the mocha cheesecake mixture into serving cups or ramekins. Smooth the tops with the back of a spoon or an offset spatula for a neat presentation. This recipe makes about four generous servings, but you can use smaller cups for more portions.
⏱ Time: 5 minutes
✓ Doneness: Cups are evenly filled with smooth tops
Step 9
Chill the cups in the refrigerator for at least 2 hours, preferably longer, to let the flavors meld and the texture set. This chilling step is essential for the cheesecake to firm up properly since it’s a no-bake recipe. Avoid rushing this or the cups may be too soft to hold their shape.
⏱ Time: 120 minutes
✓ Doneness: Cheesecake cups are firm to the touch but still creamy
Pro Tips
Always soften cream cheese to room temperature before mixing.
Cold cream cheese lumps easily and won’t blend smoothly, leading to a gritty texture. Softening it allows the mixer to aerate the cheese properly, giving a light and fluffy batter that’s key for no-bake cheesecakes.
Use freshly brewed coffee cooled completely before adding.
Hot coffee can break down the cream cheese and cause curdling. Cooling ensures the mixture stays smooth and stable, while fresh coffee gives a richer, fresher flavor than instant powder.
Melt chocolate slowly over low heat or in short microwave bursts.
Chocolate is sensitive to heat and can burn easily, which ruins flavor and texture. Gentle melting preserves its smoothness and ensures it blends evenly into the cheesecake mixture.
Whip heavy cream to stiff peaks separately before folding in.
Whipping cream separately traps air, which lightens the dense cream cheese base. Folding gently keeps the air intact, resulting in a mousse-like, creamy texture instead of a dense pudding.
Chill the cheesecake cups for at least 2 hours before serving.
Chilling firms up the fats and sets the texture since this is a no-bake dessert. It also allows flavors to meld and intensify. Serving too soon results in a runny, underdeveloped dessert.
Fold ingredients gently to avoid deflating the mixture.
Vigorous stirring knocks out air bubbles that give the dessert its light texture. Using a spatula to fold maintains volume and ensures a fluffy, airy result.
Use good quality chocolate for the best flavor.
Cheap chocolate can contain fillers and less cocoa, which dulls the mocha flavor. High-quality chocolate melts smoothly and has a richer taste that complements the coffee perfectly.
Common Mistakes to Avoid
Using cold cream cheese straight from the fridge
Why it happens Many rush the process and skip softening the cream cheese, assuming it will mix fine cold.
Fix Always set the cream cheese out 30-60 minutes before starting. If short on time, microwave in 10-second intervals until just soft but not melted. This step prevents lumps and grainy texture.
Adding hot coffee to the mixture
Why it happens People often forget to cool brewed coffee, thinking heat won’t affect the recipe.
Fix Let coffee cool to room temperature before mixing. This avoids curdling the cream cheese and keeps the texture smooth.
Over-whipping the cream
Why it happens It's easy to get carried away and whip past stiff peaks into butter.
Fix Stop whipping as soon as peaks hold their shape and don’t collapse. If over-whipped, the cream becomes grainy and won’t fold smoothly.
Rushing the chilling step
Why it happens Impatience or last-minute dessert plans lead to serving too soon.
Fix Plan ahead and chill at least 2 hours. The dessert firms up and flavors develop fully during this time.
Not folding ingredients gently
Why it happens Some think vigorous mixing is needed to combine everything.
Fix Use a spatula and fold carefully to keep air in the mixture. This keeps the dessert light and fluffy.
Variations
Vanilla Mocha Cheesecake Cups
Swap half the coffee for vanilla extract and add a little cinnamon to the mixture for a warm vanilla twist. The texture stays creamy but with a new cozy flavor profile perfect for fall evenings.
Note: Add vanilla and cinnamon during the cream cheese and sugar mixing step. No change to chilling time.
Peanut Butter Mocha Cheesecake Cups
Fold in 1/4 cup smooth peanut butter with the melted chocolate for a nutty depth. The peanut butter enriches the texture and pairs beautifully with coffee and chocolate flavors.
Note: Melt peanut butter with chocolate for smooth incorporation. May need slightly longer chilling for firmness.
Mocha Cheesecake with Oreo Crust
Add a simple Oreo cookie crust by crushing cookies and pressing them into the bottom of serving cups before adding the cheesecake mixture. This adds crunch and a chocolate cookie flavor contrast.
Note: Press crushed cookies firmly and chill crust 10 minutes before filling with cheesecake mixture.
Spicy Mocha Cheesecake Cups
Add a pinch of cayenne pepper or chili powder to the chocolate mixture for a subtle spicy kick. This variation highlights the coffee and chocolate with a surprising warmth.
Note: Mix spices with melted chocolate before folding in. Use sparingly to avoid overpowering.
Coconut Mocha Cheesecake Cups
Fold in 1/4 cup shredded unsweetened coconut into the mixture for texture and tropical flavor. Top with toasted coconut flakes for garnish and extra crunch.
Note: Add coconut during folding with whipped cream. Toast flakes in a dry pan until golden.
Nutrition
Per Serving:
Nutritional values are estimates and may vary based on specific ingredients used.
Storage & Tips
Room Temperature
These cheesecake cups should not be left out at room temperature for more than 2 hours due to the dairy content. Cover them loosely if you need to keep them out briefly, but refrigerate as soon as possible.
Refrigerator
Store in an airtight container or cover tightly with plastic wrap in the fridge for up to 3 days. The texture may firm up more but remains delicious. Serve cold or let sit at room temperature 10 minutes before eating for creamier texture.
Freezer
Freeze the cheesecake cups in airtight containers for up to 1 month. Wrap cups individually with plastic wrap and place in a freezer-safe container to prevent freezer burn. Thaw overnight in the fridge and stir gently before serving to restore creaminess.
Reheating
No reheating needed since these are no-bake chilled desserts. If too firm from chilling or freezing, let sit at room temperature 10-15 minutes before serving for best texture.
Make Ahead
You can prepare the cheesecake mixture and fill cups up to 1 day in advance. Cover and refrigerate overnight. Add any garnish or toppings just before serving to keep them fresh and crisp.
FAQ
Can I use instant coffee instead of brewed coffee?
Yes, instant coffee powder can be used if brewed coffee isn’t available, but it may give a slightly more bitter or artificial taste. Use a good quality instant coffee and dissolve it completely in a small amount of warm water, then let it cool before adding. Fresh brewed coffee typically delivers a richer and fresher mocha flavor.
What can I substitute for cream cheese?
For a dairy-free option, you can try vegan cream cheese alternatives made from nuts or soy. Keep in mind these may alter the texture and flavor slightly. Regular cream cheese is best for the classic creamy texture and tang, but some plant-based versions work well if softened and whipped properly.
How long do these cheesecake cups need to chill?
At least 2 hours is recommended for the cheesecake cups to set properly and develop flavor. For best results, chill 4 hours or overnight. Chilling firms up the fats and helps the texture become creamy yet stable enough to hold shape.
Can I make these ahead for a party?
Absolutely! These mocha cheesecake cups are great for make-ahead desserts. Prepare and fill cups up to 1 day before your event and keep refrigerated. Add any toppings like cocoa powder or chocolate shavings just before serving for freshness.
Why did my cheesecake cups turn out grainy?
Graininess usually happens if the cream cheese wasn’t fully softened or if the powdered sugar wasn’t mixed well. Also, adding hot coffee can cause the mixture to seize. To avoid this, soften cream cheese completely, sift powdered sugar if needed, and always add cooled coffee.
Can these be made without chocolate?
While the chocolate is key to the mocha flavor, you can omit it and make a coffee-flavored no-bake cheesecake by increasing the coffee slightly and adding vanilla. The texture will be similar but the flavor profile will shift to more of a coffee cream dessert.
What’s the best way to melt chocolate for this recipe?
Use a double boiler or microwave in short 20-second bursts, stirring in between. This prevents overheating and burning. Burnt chocolate tastes bitter and gritty, so gentle melting is essential for smooth incorporation.
Can I use low-fat cream cheese or milk instead of heavy cream?
Low-fat cream cheese tends to be less creamy and may result in a watery texture. Heavy cream is important for whipping and adding volume and lightness. Milk won’t whip properly and won’t provide the richness needed, so it’s best to stick with heavy cream for this recipe.
Final Thoughts
Give these mocha chocolate cheesecake cups a try — they’re quick, easy, and so delicious! I’d love to hear how yours turn out, so don’t forget to share your experience.