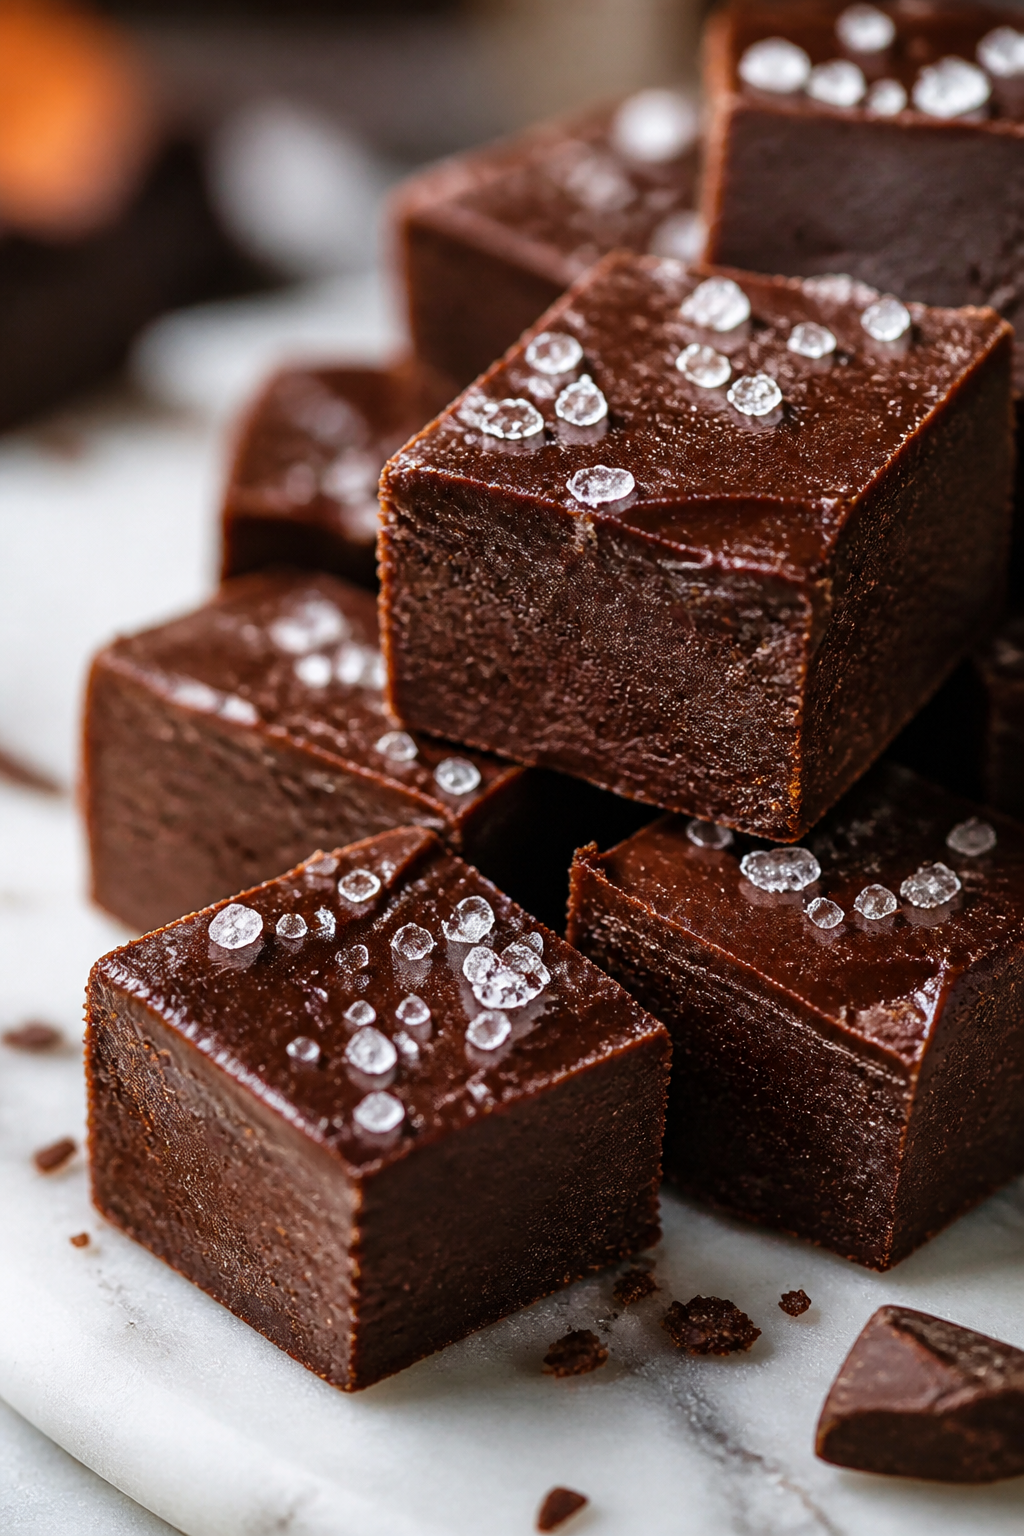
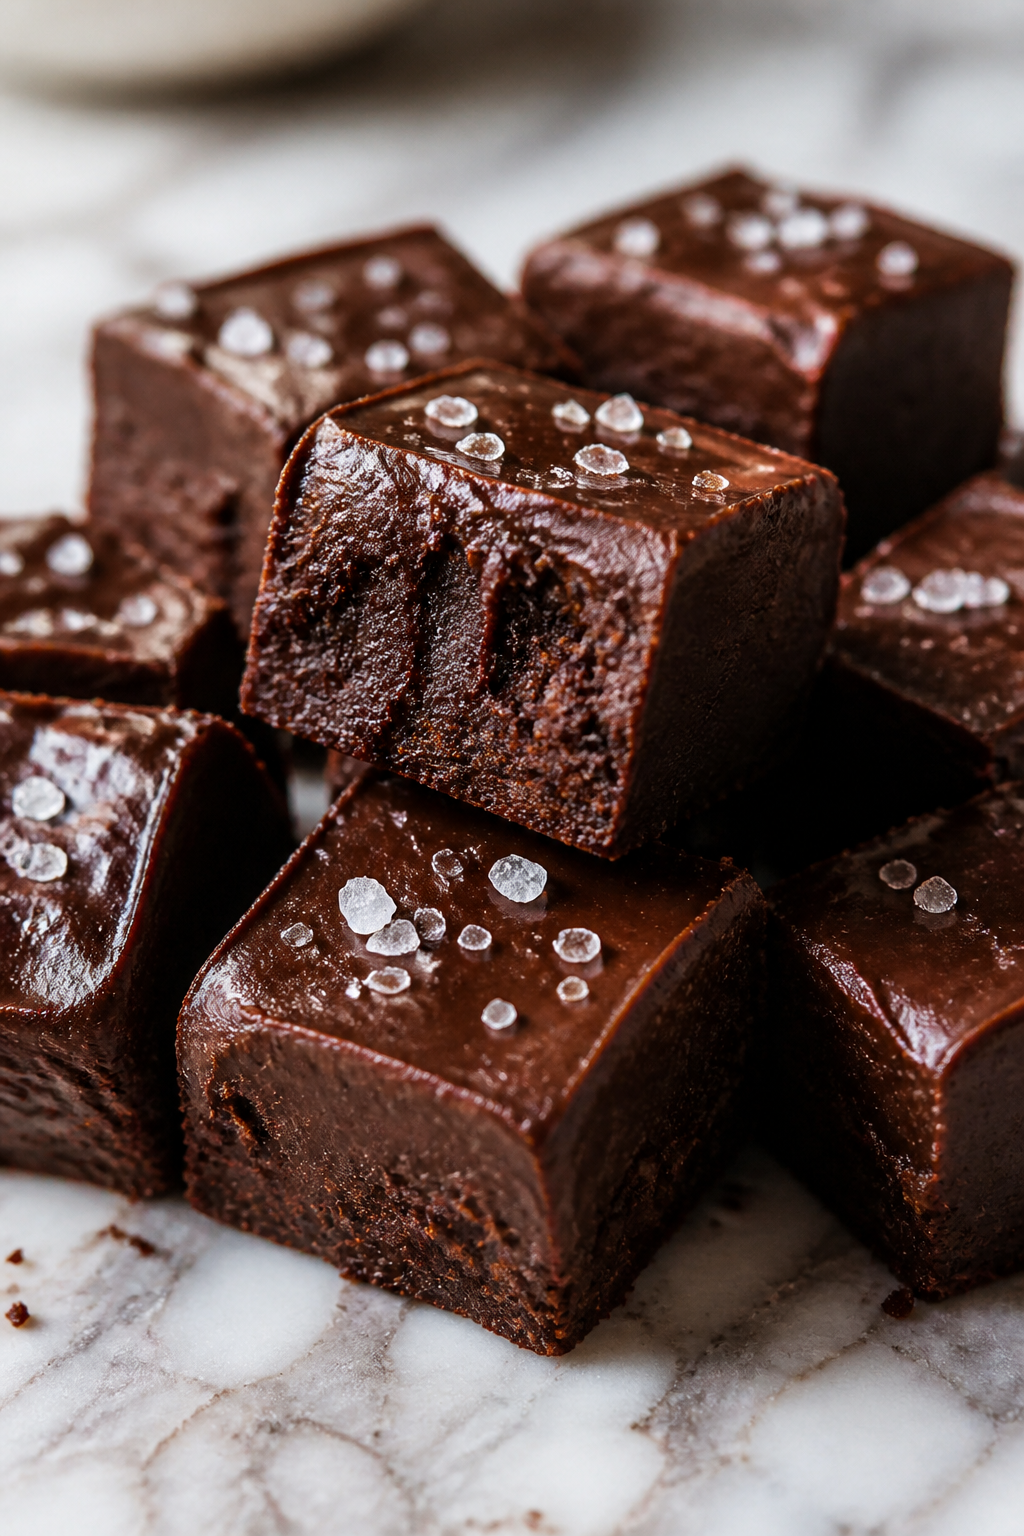
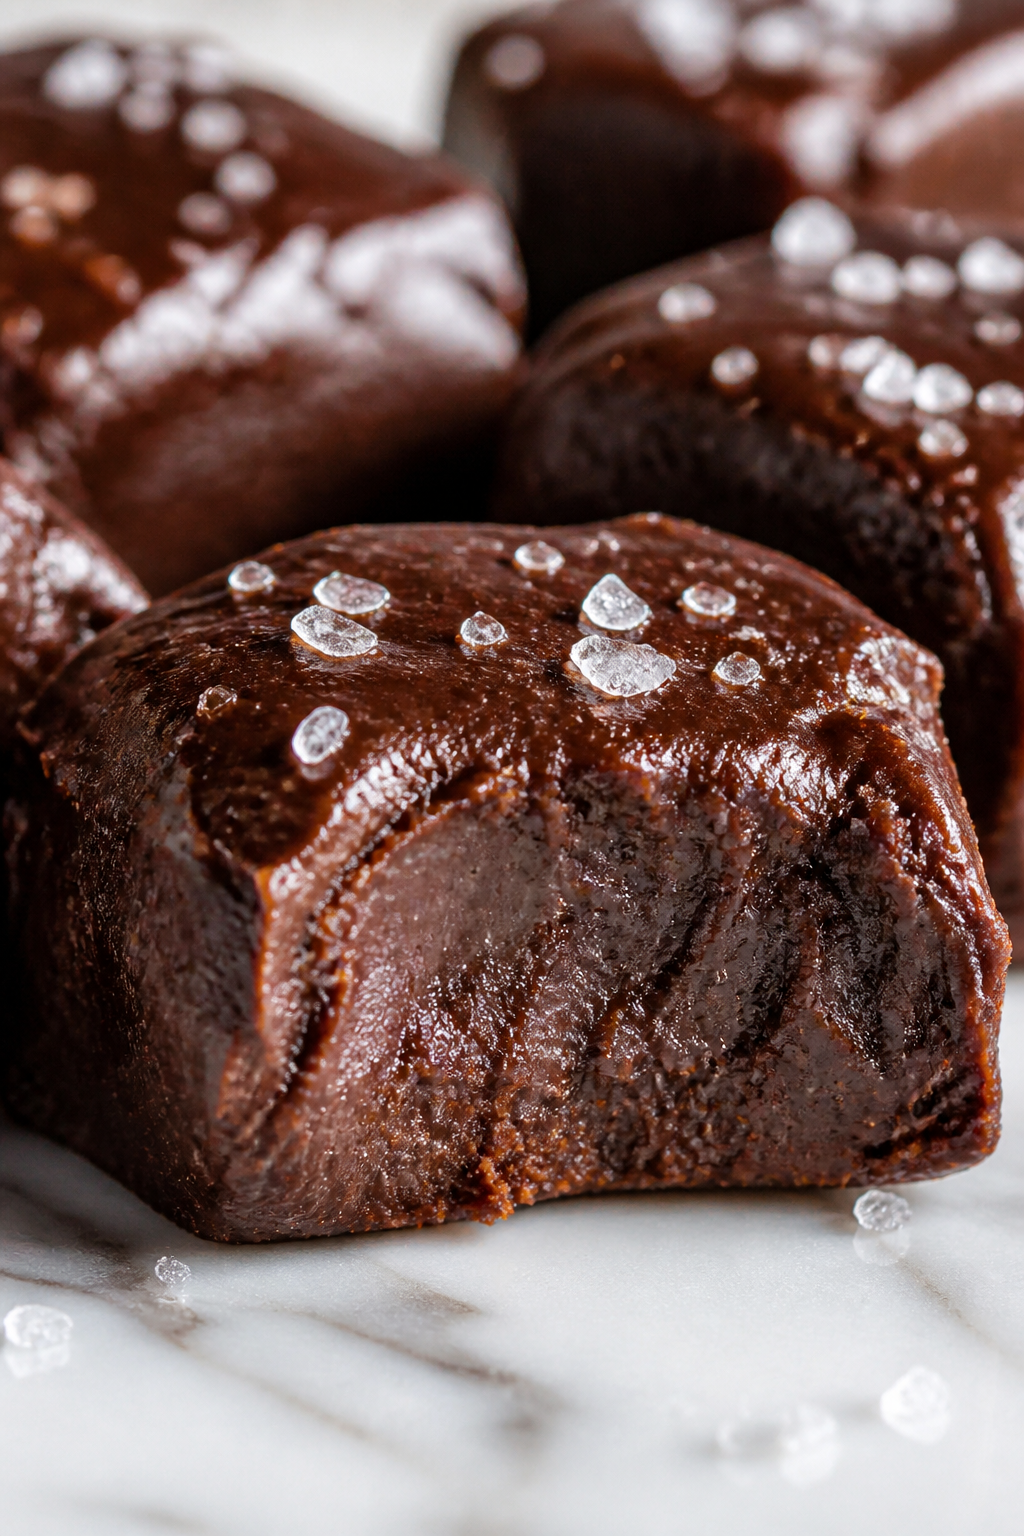
These no-bake brownie bites deliver rich, fudgy chocolate flavor without heating up your kitchen. The sprinkle of sea salt really lifts the taste, making them perfect for a quick dessert or snack anytime.
Introduction
I stumbled upon this no-bake brownie bites recipe on a sweltering summer day when I really didn’t want to turn on the oven. After a few attempts tweaking the texture and sweetness, I finally nailed a version that’s fudgy, chocolatey, and just the right amount of sweet with a salty finish. What sets this apart is soaking the dates to get that natural sticky sweetness and using toasted walnuts for a subtle crunch. Plus, sprinkling sea salt on top adds this unexpected but delightful contrast that keeps you reaching for more. These bites are perfect for when you want a quick, homemade treat without fuss or heat. Every time I make them, my family disappears them in no time — they’re just that good!
What You'll Need
Approximately 12 brownie bites
- 1 cup pitted Medjool dates, soaked and drained
- 1/2 cup walnuts, toasted
- 1/4 cup unsweetened cocoa powder
- 1/4 cup almond flour
- 2 tablespoons maple syrup
- 1 teaspoon vanilla extract
- 1/4 teaspoon sea salt, plus extra for topping
How To Do It
Step 1
Start by soaking your pitted Medjool dates in warm water for about 10 minutes. This softens them, making it easier to blend into a smooth paste, which is key for that fudgy texture. Don’t skip this step because dry dates won’t bind the mixture properly, and your bites might turn out crumbly. After soaking, drain them well to avoid excess moisture that could make the bites too sticky.
⏱ Time: 10 minutes
✓ Doneness: Dates should feel very soft and slightly sticky when pressed.
Step 2
Toast the walnuts in a dry skillet over medium heat for about 5 minutes, stirring frequently. This step enhances their nutty flavor and adds depth to the bites. Be careful not to burn them — once you smell that toasty aroma and see a light golden color, remove them from heat immediately. Let them cool before adding to the blender.
⏱ Time: 5 minutes
✓ Doneness: Walnuts turn golden brown and smell fragrant but not burnt.
Step 3
Add the soaked dates, toasted walnuts, cocoa powder, almond flour, maple syrup, and vanilla extract to a food processor. Blend until the mixture comes together into a sticky dough. You may need to scrape down the sides a few times. The mixture should be thick enough to hold shape when pressed but not dry or crumbly. If it’s too dry, add a teaspoon of water at a time.
⏱ Time: 3-5 minutes
✓ Doneness: Mixture clumps together and sticks when pressed between fingers.
Step 4
Scoop about a tablespoon of the dough and roll it between your palms to form a compact bite-sized ball. If it sticks too much, lightly wet your hands or dust with a pinch of almond flour. This rolling technique helps create uniform bites that are easy to pop in your mouth and ensures even texture throughout.
⏱ Time: 8 minutes
✓ Doneness: Balls are smooth, compact, and hold their shape without crumbling.
Step 5
Place the rolled bites on a parchment-lined tray and sprinkle each with a tiny pinch of sea salt. This finishing touch balances the sweetness and enhances the chocolate flavor, giving a little surprise with every bite. Don’t skip the salt — it’s what makes these bites stand out from typical no-bake treats.
⏱ Time: 2 minutes
✓ Doneness: Even salt crystals visible on each bite’s surface.
Step 6
Chill the tray in the refrigerator for at least 30 minutes to let the bites firm up. This step solidifies the texture, making them easier to handle and intensifying the chocolatey flavor. If you try to eat them right away, they might feel too soft and sticky.
⏱ Time: 30 minutes
✓ Doneness: Bites feel firm to the touch and hold shape without sticking.
Step 7
Once chilled, transfer the brownie bites to an airtight container. Keep them refrigerated until ready to serve. Chilling also helps the flavors meld together beautifully, so they taste even better after a day or two.
⏱ Time: 5 minutes
✓ Doneness: Bites stay firm and fresh in the container without moisture buildup.
Step 8
Before serving, let the bites sit at room temperature for about 5 minutes to take the chill off. This softens them slightly, making the texture perfectly fudgy and indulgent. Cold bites can be a bit too firm and hide some of the rich chocolate notes.
⏱ Time: 5 minutes
✓ Doneness: Bites feel soft yet hold their shape when bitten.
Step 9
Enjoy these no-bake brownie bites as a quick snack, a party treat, or a sweet finish to any meal. They’re best fresh but keep well refrigerated for up to a week or frozen for longer storage. The salty chocolate combo never fails to impress!
⏱ Time: N/A
✓ Doneness: Satisfied smile after tasting!
Pro Tips
Soak dates thoroughly for best texture.
Properly soaked dates blend into a smooth, sticky paste that binds the ingredients without added fats. Skipping or rushing this step leads to a dry, crumbly texture that won’t hold together well.
Toast nuts to enhance flavor.
Toasting walnuts brings out their natural oils and intensifies their nutty aroma, adding depth to the bites. Raw nuts can taste bland or bitter, so this simple step elevates the final flavor significantly.
Use a food processor for even mixing.
A food processor ensures all ingredients combine uniformly, producing a consistent texture. Hand mixing can leave chunks or uneven distribution, affecting the bite’s fudginess and overall mouthfeel.
Don’t skip the sea salt topping.
Salt balances and enhances sweetness, making the chocolate flavor pop. Without it, the bites may taste flat or overly sweet. Just a pinch creates a delightful contrast that keeps you coming back.
Chill bites before serving.
Refrigeration firms up the bites, making them easier to handle and intensifying flavors. Eating them too soon results in sticky, soft bites that don’t hold their shape well.
Store in airtight containers.
Proper storage prevents moisture buildup and keeps the bites fresh longer. Exposure to air can dry them out or cause them to absorb fridge odors, diminishing taste and texture.
Adjust sweetness to taste.
Maple syrup and dates provide natural sweetness, but if you prefer sweeter bites, add a little extra syrup gradually. Too much syrup can make the mixture too sticky, so balance is key.
Common Mistakes to Avoid
Using dry or old dates
Why it happens Sometimes, people skip soaking or use dates that are too dry, thinking it’ll save time.
Fix Always soak dates in warm water for at least 10 minutes to soften them. If your dates are old or dry, soak longer or add a teaspoon of water while blending to achieve the right sticky consistency.
Skipping nut toasting
Why it happens It’s easy to overlook toasting, assuming raw nuts are fine.
Fix Toast walnuts lightly in a dry pan until fragrant and golden. This step unlocks flavor and prevents bitterness, making a big difference in taste.
Rolling bites with dry hands
Why it happens People often try to roll the mixture with dry hands, causing sticking and frustration.
Fix Lightly wet your hands or dust them with a bit of almond flour before rolling. This prevents sticking and helps shape smooth, compact bites.
Not chilling before serving
Why it happens Impatience or forgetting to chill leads to soft, sticky bites that fall apart.
Fix Refrigerate the bites for at least 30 minutes to firm up the texture and enhance flavor. This makes them easier to handle and more enjoyable to eat.
Overloading with sweeteners
Why it happens Trying to make the bites sweeter by adding too much syrup or sugar.
Fix Stick to the recipe’s recommended amounts. The natural sweetness from dates and maple syrup is usually enough. Over-sweetening can make the bites sticky and overpower the chocolate flavor.
Variations
Peanut Butter Brownie Bites
Add 2 tablespoons of natural peanut butter to the mixture for a creamy, nutty twist. It pairs wonderfully with the chocolate and adds extra richness. Expect a slightly softer texture that melts in your mouth.
Note: Reduce maple syrup by 1 tablespoon to balance sweetness and ensure the mixture isn’t too wet.
Espresso Infused Brownie Bites
Stir in 1 teaspoon of instant espresso powder to the dry ingredients. This boosts the chocolate flavor with a subtle coffee note, perfect for an adult treat. The texture remains fudgy and dense.
Note: Make sure espresso powder is fully dissolved for even flavor distribution.
Coconut Chocolate Brownie Bites
Mix in 1/4 cup shredded unsweetened coconut for added texture and tropical flavor. This variation adds a pleasant chewiness and a hint of sweetness that complements the chocolate beautifully.
Note: Use finely shredded coconut to avoid altering the bite’s shape and consistency too much.
Vegan White Chocolate Brownie Bites
Swap cocoa powder for white chocolate chips melted and mixed in with the dates. This creates a creamy, sweet version of the bites with a totally different flavor profile, still no bake and just as easy.
Note: Chill longer to help white chocolate firm up and hold the bites’ shape.
Spiced Brownie Bites
Add 1/2 teaspoon cinnamon and a pinch of cayenne pepper for a warm, spicy kick. This combination adds complexity and a little heat that contrasts nicely with the sweet chocolate base.
Note: Start with small amounts of spices and adjust to taste to avoid overpowering the chocolate.
Nutrition
Per Serving:
Nutritional values are estimates and may vary based on specific ingredients used.
Storage & Tips
Room Temperature
These brownie bites can be kept at room temperature for up to 6 hours if covered tightly to prevent drying out. However, they’re best stored chilled to maintain texture and freshness.
Refrigerator
Store in an airtight container in the fridge for up to 7 days. The bites firm up nicely when cold but can be left out for a few minutes before serving to soften slightly for best texture.
Freezer
Freeze the bites for up to 3 months by placing them in a freezer-safe container or bag, separated by parchment paper to prevent sticking. Thaw overnight in the fridge before serving.
Reheating
No reheating necessary—these are best served chilled or at room temperature. If too firm from fridge, let sit 5-10 minutes to soften naturally. Avoid microwaving, which can melt the texture.
Make Ahead
You can prepare the mixture and roll the bites 1-2 days ahead, storing them chilled in an airtight container. This makes last-minute dessert prep a breeze, just add the sea salt topping before chilling.
FAQ
Can I substitute walnuts with other nuts?
Absolutely! Pecans, almonds, or cashews work well and bring their own unique flavor. Just toast them lightly to bring out the best taste. Keep in mind, different nuts may alter the texture slightly, so adjust rolling technique if needed.
What if I don’t have a food processor?
A high-powered blender can work, but you might need to stop and scrape the sides often. Alternatively, finely chop the nuts and dates by hand and mix thoroughly, though the texture won’t be as smooth or fudgy.
How do I store these bites to keep them fresh?
Store them in an airtight container in the refrigerator to maintain freshness and firmness. They keep well for up to a week. For longer storage, freeze them and thaw in the fridge overnight before eating.
Can I make these bites gluten-free?
Yes! This recipe is naturally gluten-free since it uses almond flour and no wheat-based ingredients. Just ensure your cocoa powder and other ingredients are certified gluten-free if you have severe sensitivities.
Why are my bites crumbly and falling apart?
This usually means the dates weren’t soft enough or the mixture is too dry. Make sure to soak the dates well and add a teaspoon of water if needed while blending. Also, ensure you press the mixture firmly when rolling.
Can I use other sweeteners instead of maple syrup?
You can try honey or agave syrup, but maple syrup offers a unique flavor and consistency that complements the dates. If substituting, use the same amount but expect slight changes in taste and texture.
Is it possible to add protein powder to this recipe?
Yes, adding a scoop of unflavored or chocolate protein powder can boost nutrition. You might need to reduce almond flour slightly or add a splash of water to keep the mixture from becoming too dry or crumbly.
Can I shape these bites into bars instead of balls?
Definitely! Press the mixture into a lined baking dish and refrigerate until firm, then cut into bars. The texture will be similar, just a different presentation. Bars are great for portion control and packing lunches.
Final Thoughts
Give these no-bake brownie bites a try and enjoy a quick, chocolatey treat that’s both simple and satisfying. I’d love to hear how yours turn out!