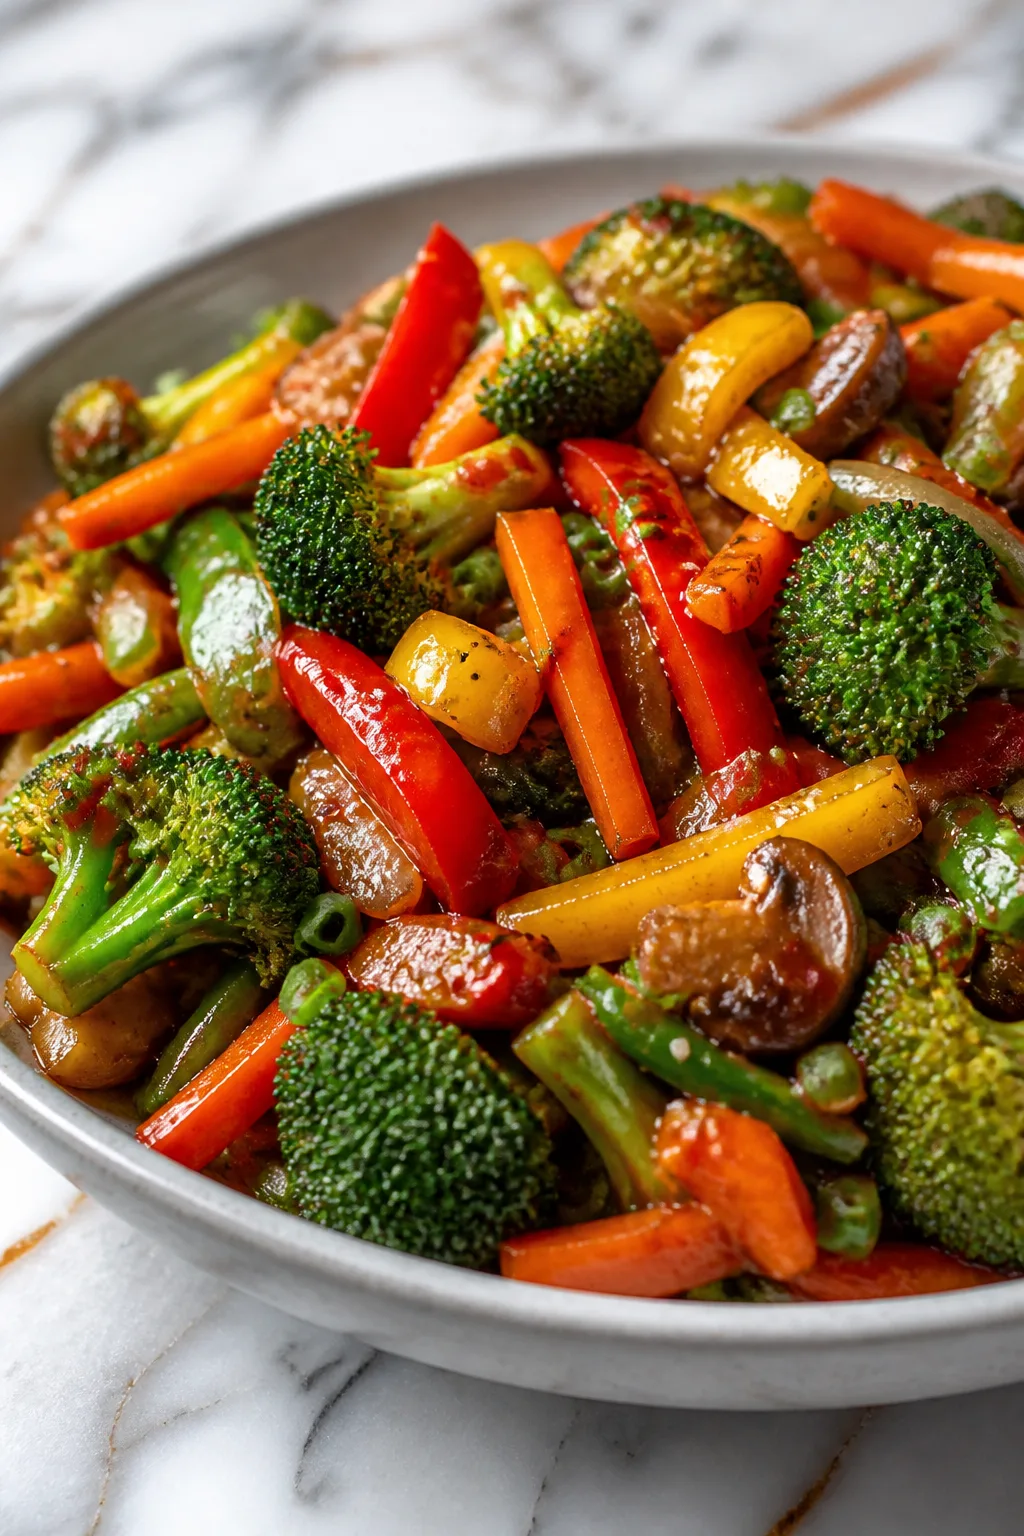
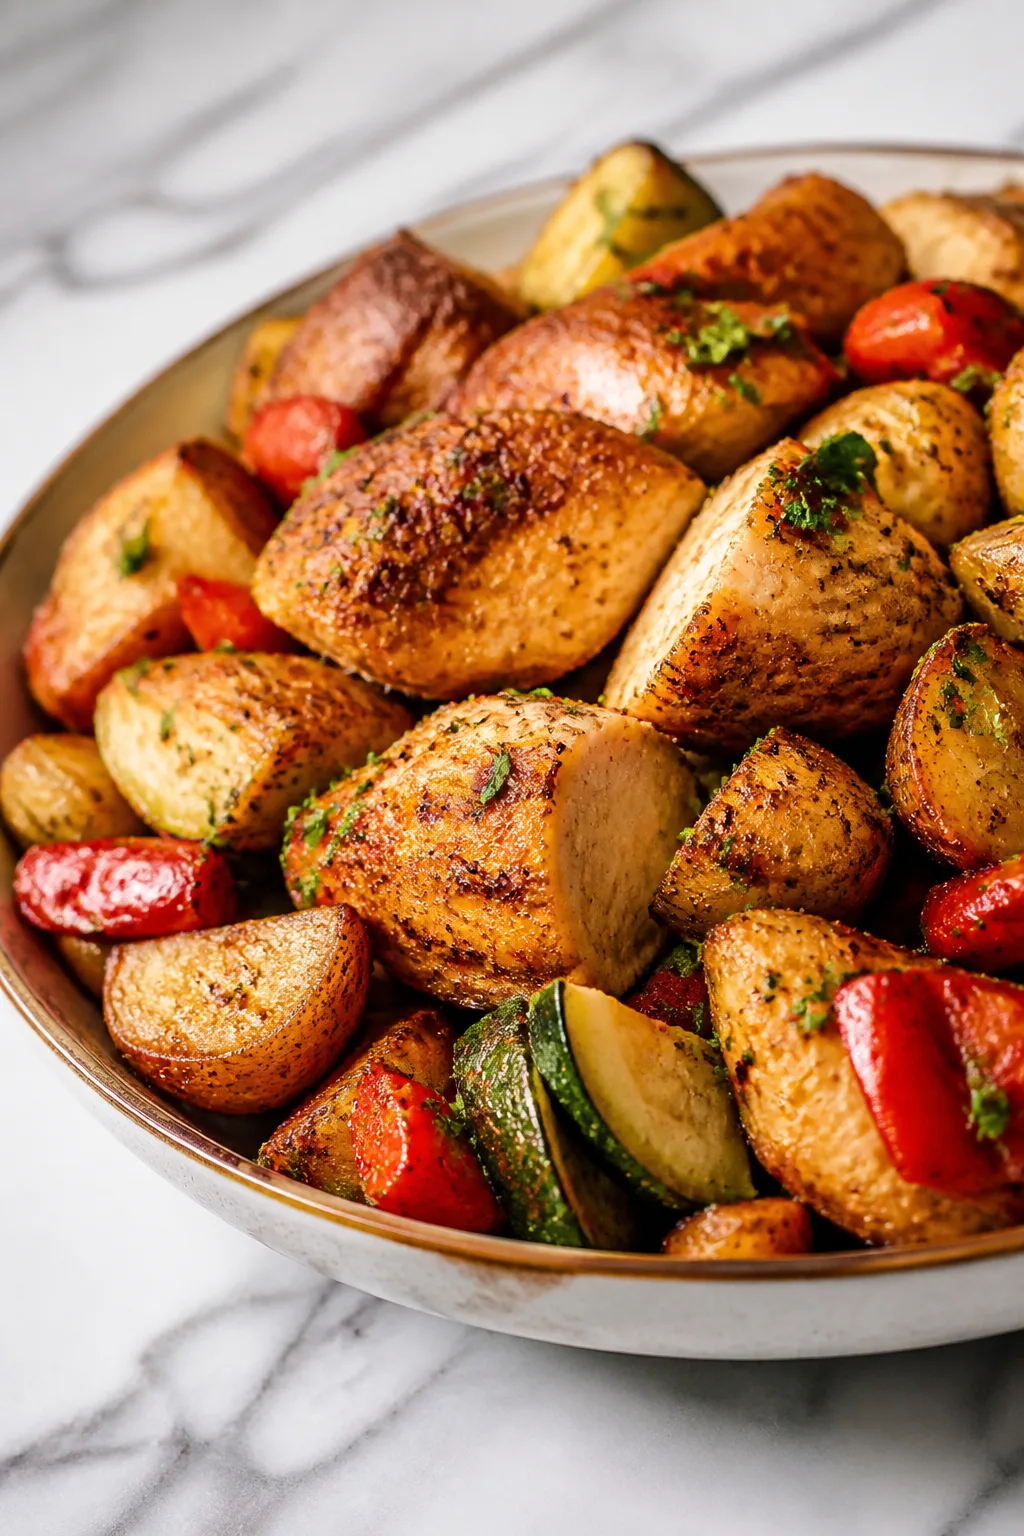
This hearty beef stew is a total game-changer for busy nights. The secret? Layering ingredients in the Instant Pot to lock in all those rich flavors. Perfect for cozy dinners when you want comfort without the wait!
Introduction
I first stumbled upon this Instant Pot beef stew recipe during a hectic week when I desperately needed a warm, filling meal without spending hours in the kitchen. My usual slow-cooker method was too slow for my schedule, so I adapted it for the Instant Pot, and it’s been a favorite ever since. What makes this stew special is the layering technique: you don’t just throw everything in randomly. Instead, you brown the beef first to lock in flavor, then add aromatics and veggies in a specific order that lets the Instant Pot work its magic. I learned the hard way that skipping the browning step results in a stew that’s just okay, but browning gives you a deep, rich flavor that’s unbeatable. The finished stew is thick, tender, and bursting with savory goodness — the kind of meal that feels like a warm hug on a chilly evening. Plus, it’s perfect for feeding a crowd or meal prepping for the week. I hope you love it as much as my family does!
What You'll Need
Approximately 6 hearty servings
- 2 pounds beef chuck, cut into 1-inch cubes, trimmed
- 2 tablespoons olive oil
- 1 large onion, diced
- 3 cloves garlic, minced
- 4 large carrots, peeled and cut into chunks
- 3 celery stalks, sliced
- 4 medium potatoes, peeled and cubed
- 2 cups beef broth
- 1 cup red wine (optional)
- 2 tablespoons tomato paste
- 1 teaspoon dried thyme
- 1 teaspoon dried rosemary
- 2 bay leaves
- Salt and freshly ground black pepper, to taste
- 2 tablespoons all-purpose flour (optional, for thickening)
- Fresh parsley, chopped (for garnish)
How To Do It
Step 1
Start by heating the olive oil in the Instant Pot on the sauté setting. Once hot, add the beef cubes in batches to avoid overcrowding. Brown the beef on all sides, which should take about 5-7 minutes per batch. This step is crucial because browning creates the Maillard reaction, developing deep flavors and a rich color that will enhance the stew. Don’t rush this process; if you skip it, the stew will taste flat. Once browned, remove the beef and set it aside.
⏱ Time: 15
✓ Doneness: Beef pieces are nicely browned with a deep caramel color on all sides
Step 2
Add the diced onion and garlic to the pot and sauté for about 3-4 minutes until translucent and fragrant. Stir frequently to prevent burning. This softens the aromatics and releases their flavors, forming the stew’s flavor base. If you skip this step, the stew can taste raw or sharp. Scrape the browned bits off the bottom of the pot to avoid the burn warning and to incorporate all those flavorful bits into the stew.
⏱ Time: 5
✓ Doneness: Onions are soft and translucent; garlic is aromatic but not browned
Step 3
Return the browned beef to the pot. Add the tomato paste and stir well to coat the beef and aromatics. Cooking the tomato paste briefly helps mellow its acidity and deepens the stew’s flavor. It also helps thicken the stew later on. Mix thoroughly to combine everything evenly.
⏱ Time: 2
✓ Doneness: Tomato paste darkens slightly and coats the meat and onions evenly
Step 4
Pour in the beef broth and red wine (if using). The liquid should cover the ingredients but not exceed the maximum fill line of your Instant Pot. The wine adds depth and complexity, but you can omit it if preferred. Stir gently to combine all ingredients, loosening any remaining browned bits stuck to the pot bottom to boost flavor.
⏱ Time: 3
✓ Doneness: Liquid is well mixed and covers the beef and vegetables
Step 5
Add the carrots, celery, and potatoes on top without stirring. Then sprinkle the dried thyme, rosemary, bay leaves, salt, and pepper evenly over the ingredients. Layering vegetables on top instead of stirring helps prevent the burn warning and allows the Instant Pot to build pressure correctly. Seasoning on top ensures even flavor distribution as the stew cooks.
⏱ Time: 2
✓ Doneness: Vegetables are layered and seasoning is visible on top
Step 6
Secure the Instant Pot lid and set the valve to sealing. Cook on high pressure for 35 minutes. The pressure cooking tenderizes the beef and melds the flavors quickly compared to traditional slow cooking. Don’t rush this step; undercooked stew will have tough meat and raw veggies.
⏱ Time: 35
✓ Doneness: After cooking, the Instant Pot’s timer completes without error or burn warnings
Step 7
Once cooking is complete, let the pressure release naturally for 10 minutes, then carefully quick release any remaining pressure. Natural release helps the meat relax and stay tender. Quick releasing everything immediately may cause tough meat or bubbling stew.
⏱ Time: 10
✓ Doneness: Steam stops escaping and the lid unlocks easily
Step 8
Open the lid and remove the bay leaves. For a thicker stew, mix the flour with a few tablespoons of cold water to make a slurry, then stir it into the stew. Turn on sauté mode and simmer for 5-7 minutes, stirring occasionally until it thickens. This step is optional but adds a lovely body to the stew. Avoid adding flour directly or lumps will form.
⏱ Time: 7
✓ Doneness: Stew has thickened to a nice, hearty consistency
Step 9
Taste the stew and adjust seasoning with salt and pepper as needed. Garnish with fresh parsley before serving. The fresh herb adds a pop of color and brightness that balances the rich stew. Serve hot with crusty bread or over buttered noodles for a complete meal.
⏱ Time: 3
✓ Doneness: Seasoning tastes balanced; parsley looks fresh and vibrant
Pro Tips
Don’t skip browning the beef before pressure cooking.
Browning triggers the Maillard reaction, creating deep, savory flavors and a rich color that you can’t get from just pressure cooking. It also seals in juices, so your stew meat stays tender and flavorful instead of bland.
Layer vegetables on top instead of stirring them in before pressure cooking.
This helps prevent the Instant Pot’s burn warning caused by starchy veggies like potatoes sticking to the bottom. It also ensures even cooking and better texture.
Use natural pressure release for at least 10 minutes before quick releasing.
Letting the pressure drop naturally allows meat fibers to relax and reabsorb juices, resulting in more tender beef. Quick releasing immediately can make meat tough and cause broth to sputter.
Make a flour slurry with cold water before thickening the stew.
This prevents lumps and ensures a smooth, velvety stew. Adding flour directly can cause clumps and uneven thickening.
Scrape the browned bits off the pot bottom after sautéing beef and onions.
Those caramelized bits are full of flavor and help prevent the burn warning. Scraping incorporates them into the stew base, enriching the broth.
Don’t overcrowd the pot when browning beef.
Crowding lowers the pan temperature and causes the meat to steam instead of brown, resulting in less flavor development.
Taste and adjust seasoning after cooking.
Pressure cooking can mellow flavors. Adding salt and pepper at the end ensures the stew is perfectly seasoned to your liking.
Common Mistakes to Avoid
Skipping the browning step
Why it happens Many think pressure cooking alone is enough to develop flavor, but skipping browning results in a bland stew.
Fix Always brown the beef in batches before pressure cooking. It adds essential depth and richness to your stew.
Adding all ingredients at once and stirring before cooking
Why it happens It’s natural to mix everything, but this can cause the Instant Pot to trigger a burn warning.
Fix Layer vegetables on top without stirring. This prevents sticking and ensures even cooking.
Quick releasing pressure immediately after cooking
Why it happens Impatience or lack of knowledge about pressure release can lead to this.
Fix Allow at least 10 minutes natural release to keep meat tender and avoid splattering.
Adding flour directly to hot stew
Why it happens People often want to thicken quickly and add flour straight in, causing lumps.
Fix Make a slurry with cold water first, then stir it in gradually.
Using lean beef cuts
Why it happens Sometimes lean cuts are chosen to reduce fat, but they don’t tenderize well under pressure.
Fix Use beef chuck or other well-marbled cuts for best texture and flavor.
Variations
Vegetarian Instant Pot Stew
Swap the beef for hearty mushrooms, lentils, or root veggies like parsnips and turnips. Use vegetable broth and add extra herbs for depth. The stew will be lighter but still comforting and rich in flavor.
Note: Cooking time may be shorter; adjust pressure cooking to 15-20 minutes to avoid overcooking veggies.
Spicy Beef Stew
Add a diced jalapeño or a teaspoon of chili flakes along with the garlic to give the stew a nice kick. You can also finish with a splash of hot sauce for extra heat. This version is perfect if you like warming spice.
Note: Be cautious with spicy ingredients; add gradually and taste after cooking to balance heat.
Red Wine Braised Beef Stew
Increase the red wine to 2 cups and reduce broth to 1 cup for a richer, wine-forward stew. This adds complexity and pairs wonderfully with mashed potatoes or crusty bread.
Note: Make sure to deglaze the pot thoroughly to prevent burn warnings with extra wine.
Herb-Infused Stew with Fresh Herbs
Add fresh rosemary, thyme, and parsley tied in a bundle during cooking for an aromatic boost. Remove the bundle before serving. This variation offers fresh, garden-like flavors.
Note: Use fresh herbs sparingly; too many can overpower the beef.
Slow Cooker Beef Stew
If you don’t have an Instant Pot, brown the beef and sauté veggies first, then transfer everything to a slow cooker. Cook on low for 6-8 hours or high for 3-4 hours. The texture will be slightly different but equally delicious.
Note: No pressure cooking here, so plan for longer cook time and check seasoning before serving.
Nutrition
Per Serving:
Nutritional values are estimates and may vary based on specific ingredients used.
Storage & Tips
Room Temperature
Keep the stew covered and at room temperature for no more than two hours to avoid bacterial growth. If you plan to serve it later, refrigerate promptly.
Refrigerator
Store leftovers in an airtight container for up to 4 days. The stew thickens as it cools; reheat gently on the stove with a splash of broth to loosen the texture. Flavor may deepen over time.
Freezer
Freeze in airtight containers or heavy-duty freezer bags for up to 3 months. To prevent freezer burn, remove as much air as possible. Thaw overnight in the fridge before reheating.
Reheating
Reheat on the stovetop over low-medium heat, stirring occasionally. Add a little broth or water if the stew is too thick. Avoid overheating to prevent drying out the beef. Microwave reheating is possible but may cause uneven warming.
Make Ahead
You can brown the beef and sauté veggies a day ahead, then store separately in the fridge. Assemble and pressure cook the next day for fresh, quick cooking and maximum flavor.
FAQ
Can I use a different cut of beef for this stew?
Yes, but beef chuck is ideal because it has enough fat and connective tissue to become tender during pressure cooking. Leaner cuts like sirloin can dry out and become tough. If using other cuts, adjust cooking time accordingly and expect different textures.
What if I don’t have red wine?
No worries! You can substitute the red wine with additional beef broth or a mix of grape juice and a splash of vinegar to mimic the acidity and depth wine provides. The stew will still be delicious without alcohol.
How thick should the stew be after cooking?
It should be thick enough to coat the back of a spoon but still spoonable. If it’s too thin, thicken with a flour slurry or simmer longer on sauté mode. If too thick, add a bit more broth or water to loosen.
Can I double this recipe for a larger batch?
You can double ingredients, but be mindful of your Instant Pot’s max fill line. Overfilling can prevent proper pressure cooking. You might need to cook in two batches or use a larger pressure cooker.
Is it okay to add frozen vegetables?
Frozen veggies can be added but usually after pressure cooking to avoid overcooking. Add them during the sauté or warming phase for best texture and flavor.
Why does my Instant Pot give a burn warning?
Usually because starchy ingredients stick to the bottom or there isn’t enough liquid. Layer veggies on top without stirring, deglaze the pot well after browning, and ensure you have enough broth to prevent this.
Can I make this stew in a slow cooker instead?
Definitely! Brown the beef and sauté veggies first, then transfer everything to a slow cooker. Cook on low for 6-8 hours or high for 3-4 hours. The texture will be slightly different but equally comforting.
How do I store and reheat leftovers without losing flavor?
Store in airtight containers in the fridge for up to 4 days. Reheat gently on the stove with a splash of broth to restore texture and prevent drying. Avoid overheating, which can toughen meat.
Final Thoughts
I hope you give this Instant Pot beef stew a try—it’s one of those recipes that feels like a warm hug on a plate. Don’t forget to share how it turns out!