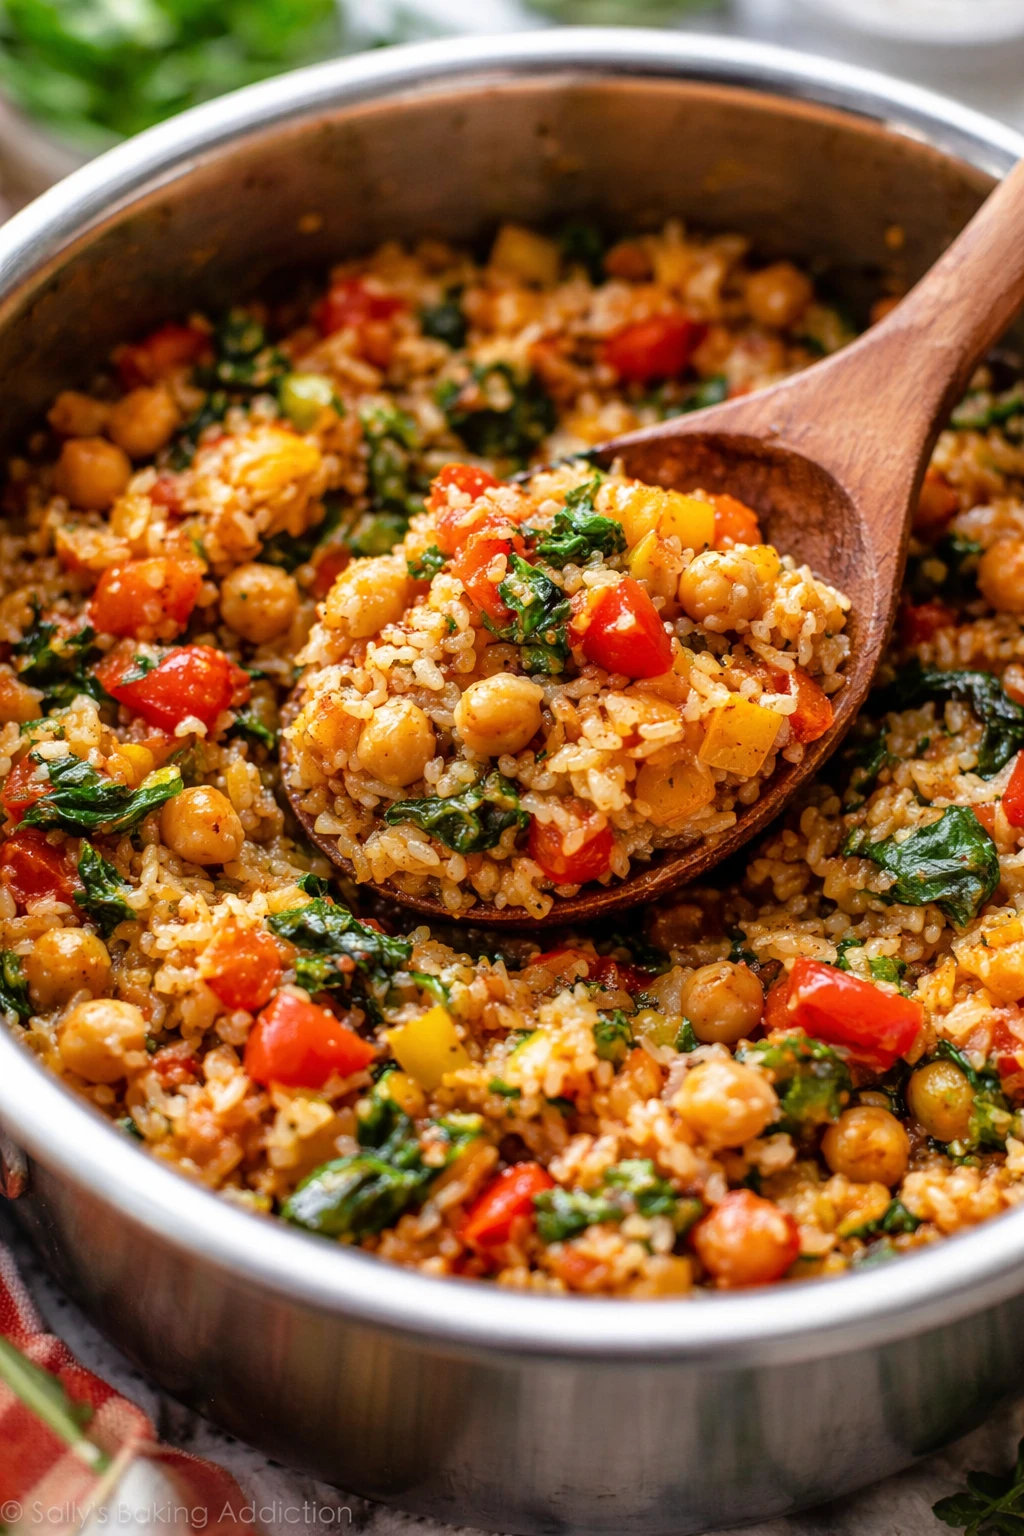
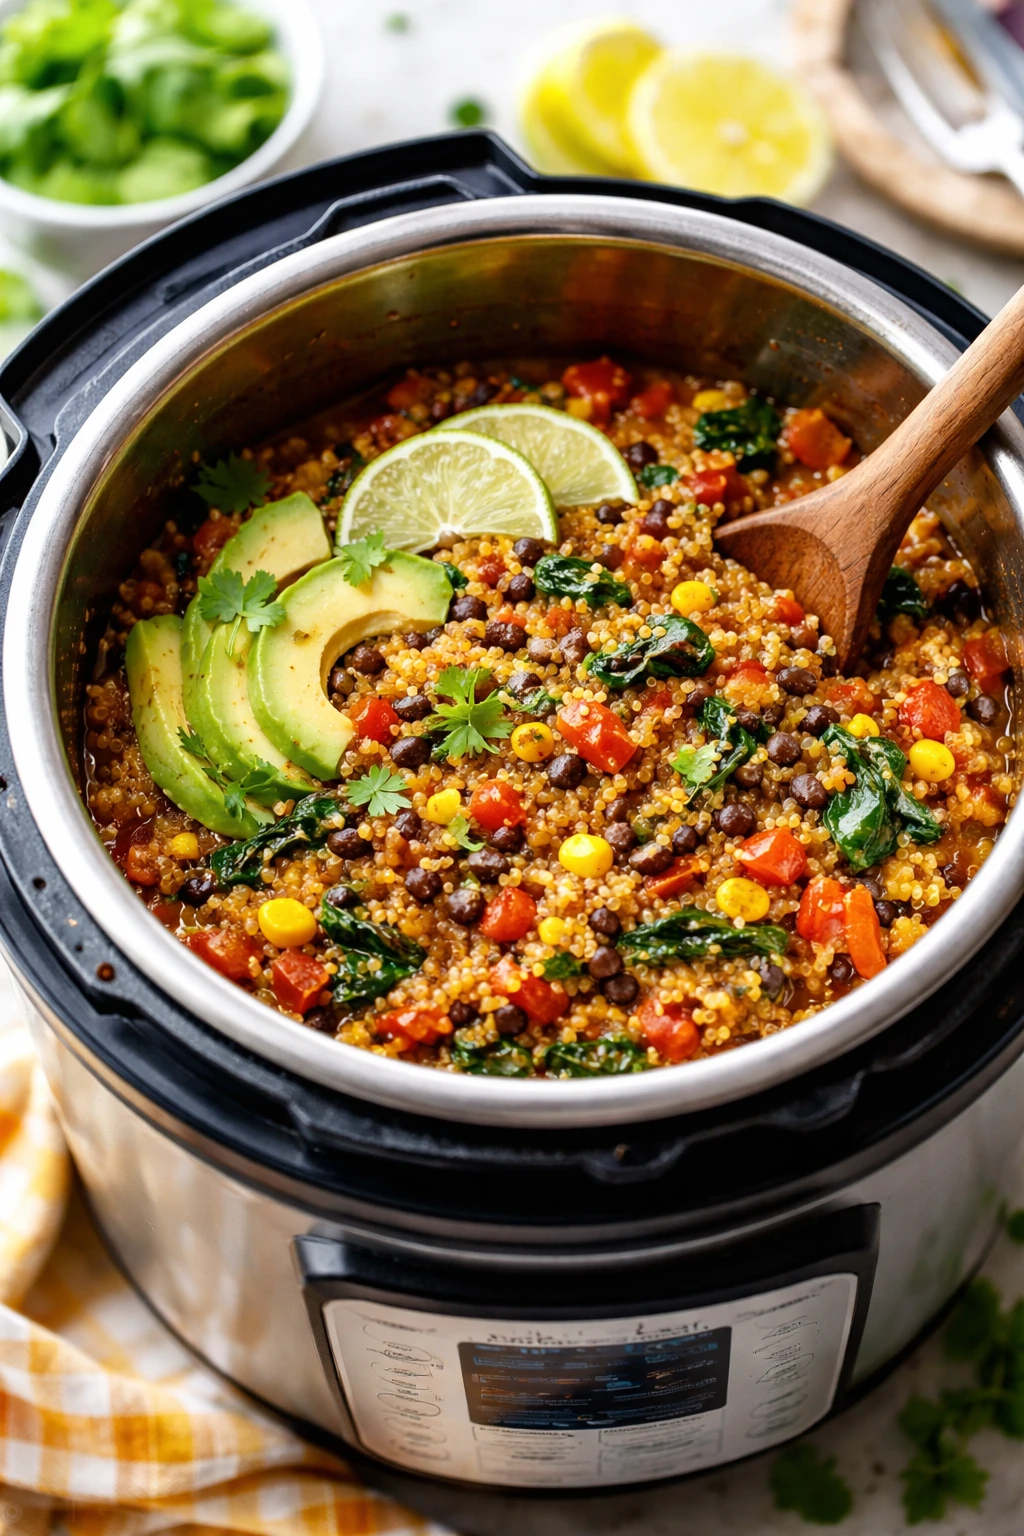
This veggie-packed chickpea stew is my go-to for quick, comforting dinners. The Instant Pot locks in all those warm spices and flavors, making it rich and cozy. Perfect when you want a fuss-free, wholesome meal!
Introduction
I first made this chickpea stew on a hectic weeknight when I needed something quick but filling. Using the Instant Pot was a game changer — it turned out so flavorful and tender without standing over the stove all evening. What I love most about this version is how the spices bloom under pressure cooking, giving the stew a deeper, richer taste than just simmering it on the stove. Plus, everything cooks together in one pot, which means less cleanup and more time to relax. I also toss in some greens at the end for a fresh pop of color and nutrition. This stew is hearty but not heavy, with just the right balance of spices and veggies. It’s become a staple in my kitchen for busy nights or whenever I want a comforting, wholesome meal without fuss. Trust me, once you try this, you’ll see how easy it is to make a delicious vegetarian dinner that feels like a warm hug in a bowl.
What You'll Need
Approximately 6 cups, 4 servings
- 1 tablespoon olive oil, room temperature
- 1 medium onion, diced
- 3 cloves garlic, minced
- 1 teaspoon ground cumin
- 1 teaspoon smoked paprika
- 1/2 teaspoon turmeric powder
- 1/4 teaspoon cayenne pepper, optional
- 1 can (15 oz) diced tomatoes
- 2 cups vegetable broth
- 2 cans (15 oz each) chickpeas, drained and rinsed
- 2 medium carrots, chopped
- 1 cup diced potatoes
- 1 cup chopped spinach or kale
- Salt and pepper to taste
- Fresh cilantro, chopped for garnish
How To Do It
Step 1
Turn your Instant Pot to the sauté setting and add the olive oil. Once hot, toss in the diced onions and cook, stirring occasionally, until they turn translucent and slightly golden—about 5 minutes. This step is crucial because it builds the stew’s flavor base by softening the onions and releasing their natural sweetness. Avoid rushing this part or adding garlic too early, as burnt garlic can give a bitter taste. Keep an eye on the heat to prevent browning too quickly.
⏱ Time: 5 minutes
✓ Doneness: Onions are soft, translucent, and lightly golden without any burnt bits.
Step 2
Add the minced garlic, cumin, smoked paprika, turmeric, and cayenne pepper to the pot. Stir constantly for about 1-2 minutes until the spices become fragrant. This brief toasting step deepens the flavors and helps release the essential oils in the spices, making the stew more aromatic and layered. Don’t skip it, but be careful not to burn the garlic or spices; stirring continuously helps prevent that.
⏱ Time: 2 minutes
✓ Doneness: Spices smell fragrant and the mixture looks evenly coated without any dark or burnt spots.
Step 3
Pour in the diced tomatoes with their juices and the vegetable broth. Scrape the bottom of the pot with a wooden spoon to loosen any browned bits stuck to the bottom—this prevents the Instant Pot from triggering a burn warning during pressure cooking. Stir everything together until well combined. This step adds acidity and liquid necessary for pressure cooking, while the browned bits add richness to the stew.
⏱ Time: 3 minutes
✓ Doneness: Liquid is evenly mixed, and no bits remain stuck to the pot’s bottom.
Step 4
Add the rinsed chickpeas, chopped carrots, and diced potatoes to the pot. Give everything a gentle stir to combine. These ingredients provide heartiness and texture. Make sure the vegetables are cut into similar sizes so they cook evenly under pressure. Avoid overcrowding the pot; ingredients should be submerged in liquid for best results.
⏱ Time: 3 minutes
✓ Doneness: Ingredients are evenly distributed and mostly covered by liquid.
Step 5
Close the Instant Pot lid and set the valve to sealing. Cook on high pressure for 10 minutes. Pressure cooking tenderizes the chickpeas and vegetables quickly while intensifying the flavors. Don’t rush this step or open the pot early, as that will affect the texture and flavor development.
⏱ Time: 10 minutes
✓ Doneness: Pressure cooking completes without burn warnings; the stew looks thickened and aromatic when opened.
Step 6
Carefully perform a quick release by turning the valve to venting to release the steam. Open the lid once all pressure is released. This prevents overcooking and ensures the vegetables keep a nice texture. Slow natural release can make veggies mushy.
⏱ Time: 5 minutes
✓ Doneness: Steam fully released, and ingredients look tender but not falling apart.
Step 7
Stir in the chopped spinach or kale and let it wilt in the residual heat for 2-3 minutes. This adds freshness and a vibrant green color, plus a nutritional boost. Adding greens at the end keeps them from overcooking and losing their texture.
⏱ Time: 3 minutes
✓ Doneness: Greens are wilted but still bright and tender.
Step 8
Taste the stew and season with salt and pepper as needed. Adjust seasoning gradually because you can always add more but can’t take it away. This final step balances the flavors and brings out the best in the stew.
⏱ Time: 2 minutes
✓ Doneness: Flavors taste balanced with no one note overpowering.
Step 9
Serve the stew hot, garnished with fresh cilantro. It pairs wonderfully with crusty bread or over rice for a complete meal. The garnish adds a fresh, herbaceous note that brightens the rich stew.
⏱ Time: 2 minutes
✓ Doneness: Stew looks vibrant with colorful garnish and is steaming hot.
Pro Tips
Always sauté onions and spices before pressure cooking.
This step activates the Maillard reaction, which develops complex flavors and aromas that pressure cooking alone can’t achieve. Skipping it can lead to a flatter, less vibrant stew.
Use the quick release method to avoid overcooking vegetables.
Natural pressure release continues cooking inside the pot, which can turn tender veggies mushy. Quick release stops cooking promptly, preserving ideal texture.
Cut vegetables into uniform sizes for even cooking.
Pressure cooking is fast and intense. Uneven pieces can result in some chunks being undercooked while others are mushy, affecting the stew’s texture.
Add delicate greens only after pressure cooking is complete.
Greens like spinach and kale wilt quickly and can lose their bright color and texture if cooked too long. Adding them last keeps the dish fresh.
Scrape the pot bottom before sealing to prevent burn warnings.
Browned bits can stick and trigger the Instant Pot’s safety sensors, stopping cooking. Scraping ensures smooth pressure build-up and prevents interruption.
Taste and adjust seasoning after cooking, not before.
Flavors concentrate during pressure cooking, so seasoning too early can lead to over-salted or unbalanced stew.
Use canned chickpeas for convenience and consistent texture.
Canned chickpeas are already cooked and soften perfectly under pressure, reducing total cook time and ensuring a creamy but firm texture.
Common Mistakes to Avoid
Skipping the sauté step
Why it happens Many assume pressure cooking alone is enough, but this misses out on flavor development from caramelized onions and toasted spices.
Fix Take the extra few minutes to sauté onions and spices first. It adds a rich, savory depth that transforms the stew from bland to delicious.
Using dry chickpeas without soaking
Why it happens Dry chickpeas take much longer to cook and can lead to uneven texture if not soaked properly.
Fix Use canned chickpeas or soak dry ones overnight and adjust cooking time accordingly for tender, creamy results.
Overfilling the Instant Pot
Why it happens Trying to cook too large a batch at once can block steam release and cause burn warnings.
Fix Fill the pot no more than two-thirds full and ensure enough liquid covers ingredients for safe pressure cooking.
Not quick releasing pressure
Why it happens Letting pressure release naturally overcooks veggies, making them mushy and less appealing.
Fix Use the quick release method immediately after cooking time ends to preserve texture.
Adding greens too early
Why it happens Greens can become dull and soggy if cooked under pressure too long.
Fix Add spinach or kale after pressure cooking, letting residual heat wilt them gently.
Variations
Spicy Moroccan Chickpea Stew
Add cinnamon, ground coriander, and a pinch of cayenne for a warm, spicy twist. Toss in some dried apricots or raisins for sweetness, and serve with couscous for a North African flair.
Note: Adjust spice quantities carefully; the sweetness balances the heat and acidity, so taste as you go.
Creamy Coconut Chickpea Curry
Stir in 1 cup coconut milk after pressure cooking for a creamy texture and tropical flavor. Swap spinach for chopped green beans or peas to complement the coconut’s sweetness.
Note: Add coconut milk after cooking to prevent curdling and keep the curry silky.
Hearty Lentil and Chickpea Stew
Mix 1 cup dried lentils with the chickpeas for extra protein and texture. Increase broth slightly and extend cooking time by 3-5 minutes to fully cook lentils.
Note: Lentils cook quickly but vary by type; adjust timing to avoid mushiness.
Chunky Vegetable Chickpea Stew
Add chopped zucchini, bell peppers, and celery for more crunch and variety. These veggies should be added after pressure cooking and sautéed briefly in the pot to maintain texture.
Note: Cook these delicate veggies separately to avoid them becoming too soft.
Smoky Chipotle Chickpea Stew
Include chipotle powder or canned chipotle peppers in adobo sauce for a smoky, spicy flavor. Serve with a dollop of sour cream or Greek yogurt to balance heat.
Note: Chipotle peppers are potent; add gradually and taste frequently to control spice level.
Nutrition
Per Serving:
Nutritional values are estimates and may vary based on specific ingredients used.
Storage & Tips
Room Temperature
This stew can be safely kept at room temperature for up to 2 hours if covered. Beyond that, bacteria growth increases, so refrigerate promptly to keep it safe and fresh.
Refrigerator
Store leftovers in an airtight container for up to 4 days. The stew thickens as it chills, so stir in a splash of broth or water before reheating to loosen the texture. It tastes great cold but is best warmed gently.
Freezer
Freeze the stew in a freezer-safe container or heavy-duty zip-top bag for up to 3 months. To avoid freezer burn, remove as much air as possible and label with date. Thaw overnight in the fridge before reheating.
Reheating
Reheat gently on the stovetop over medium-low heat or in the microwave. Add a little broth or water to loosen the stew and stir frequently to prevent sticking. Avoid boiling rapidly as it can toughen chickpeas and veggies.
Make Ahead
You can prepare the stew base (sauté onions, spices, add tomatoes and broth) 1-2 days ahead and refrigerate. Add chickpeas and vegetables, then pressure cook fresh on serving day for best texture and flavor.
FAQ
Can I use dried chickpeas instead of canned?
Yes, but you need to soak dried chickpeas overnight to soften them. Cooking times will increase significantly in the Instant Pot—usually 30-40 minutes on high pressure. Also, reduce added broth slightly since soaked chickpeas release some liquid. Using canned chickpeas is quicker and more convenient.
What can I substitute if I don’t have smoked paprika?
You can use regular paprika plus a small pinch of ground cumin or chili powder for some smoky depth. While it won’t be exactly the same, this combo adds warmth and color without overpowering the stew.
How spicy is this stew? Can I make it milder?
The recipe includes a small amount of cayenne, which adds gentle heat. You can omit or reduce cayenne for a milder stew. The other spices contribute warmth but aren’t spicy. Adjust to your preference easily.
Can I make this stew in a regular pot instead of an Instant Pot?
Absolutely! Use a heavy-bottomed pot and simmer covered for about 45-60 minutes until chickpeas and vegetables are tender. You’ll need to stir occasionally and add more liquid if it gets too thick.
Is this stew gluten-free?
Yes, all ingredients here are naturally gluten-free. Just make sure your vegetable broth and canned tomatoes don’t contain any hidden gluten additives by checking labels.
How do I store leftovers to keep them fresh?
Cool the stew completely before transferring to an airtight container. Store in the fridge for up to 4 days or freeze for up to 3 months. Reheat gently to preserve texture and flavor.
Can I add other vegetables to this stew?
Yes! Root vegetables like parsnips or sweet potatoes work well, as do greens like kale or chard. Add delicate veggies after pressure cooking to prevent over-softening.
What’s the best way to thicken the stew if it’s too watery?
Simmer the stew uncovered for a few minutes after pressure cooking to reduce excess liquid. Alternatively, mash some chickpeas against the pot side to naturally thicken the broth without adding starch.
Final Thoughts
Give this Instant Pot chickpea stew a try for your next busy night — it’s simple, hearty, and full of flavor. I’d love to hear how it turns out for you!