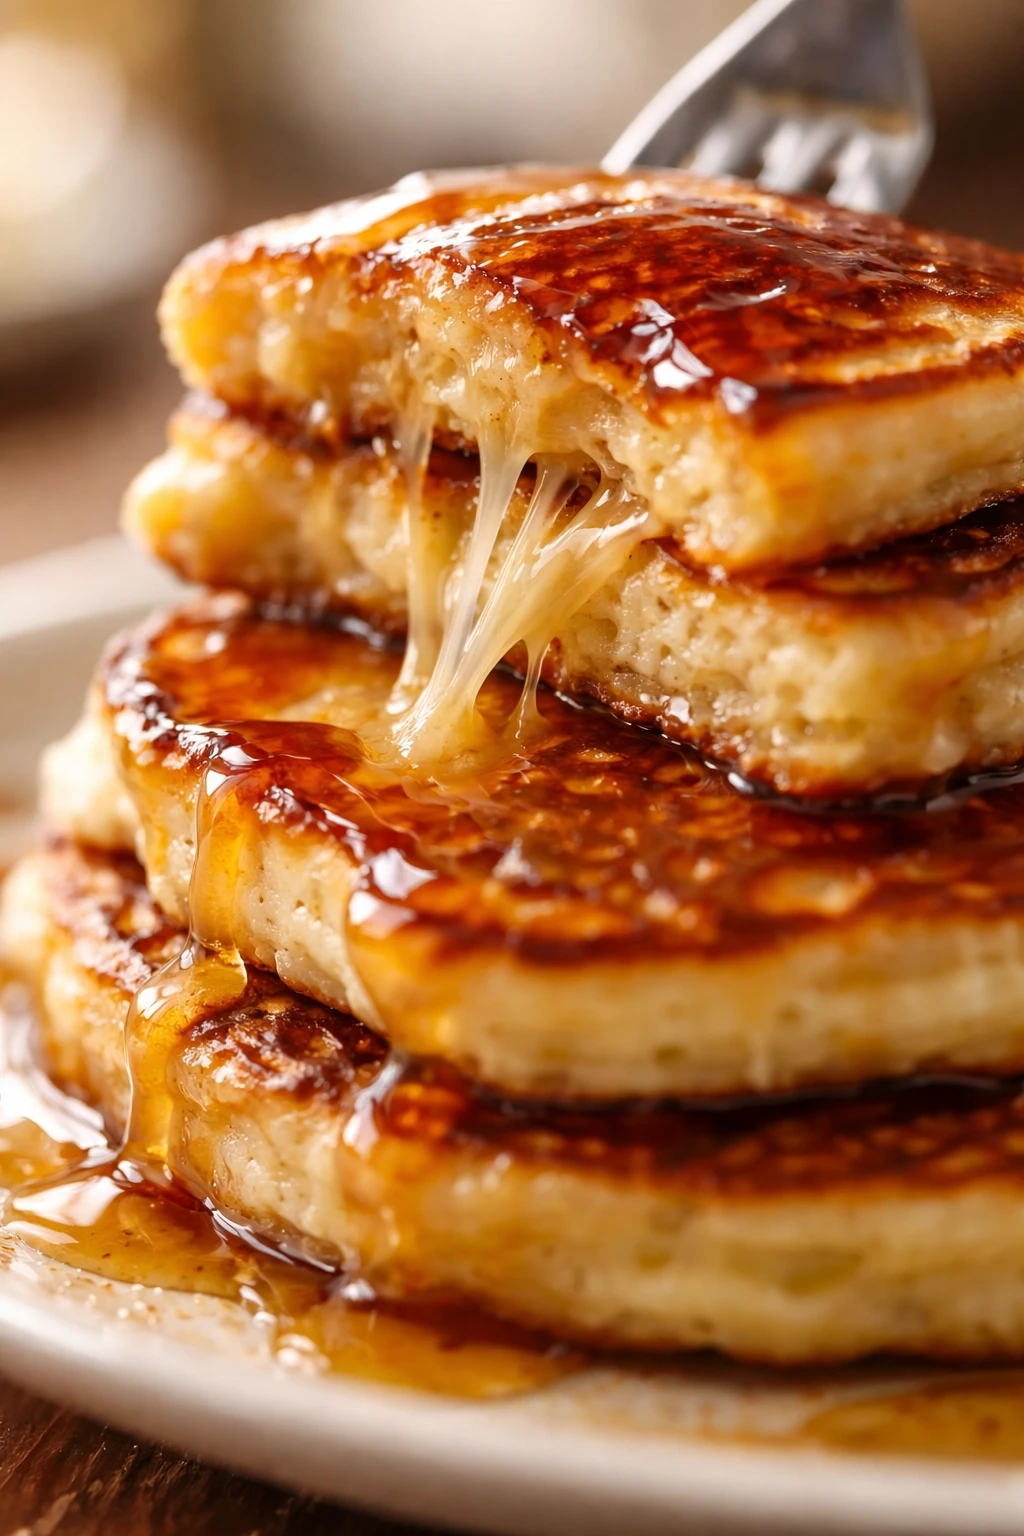
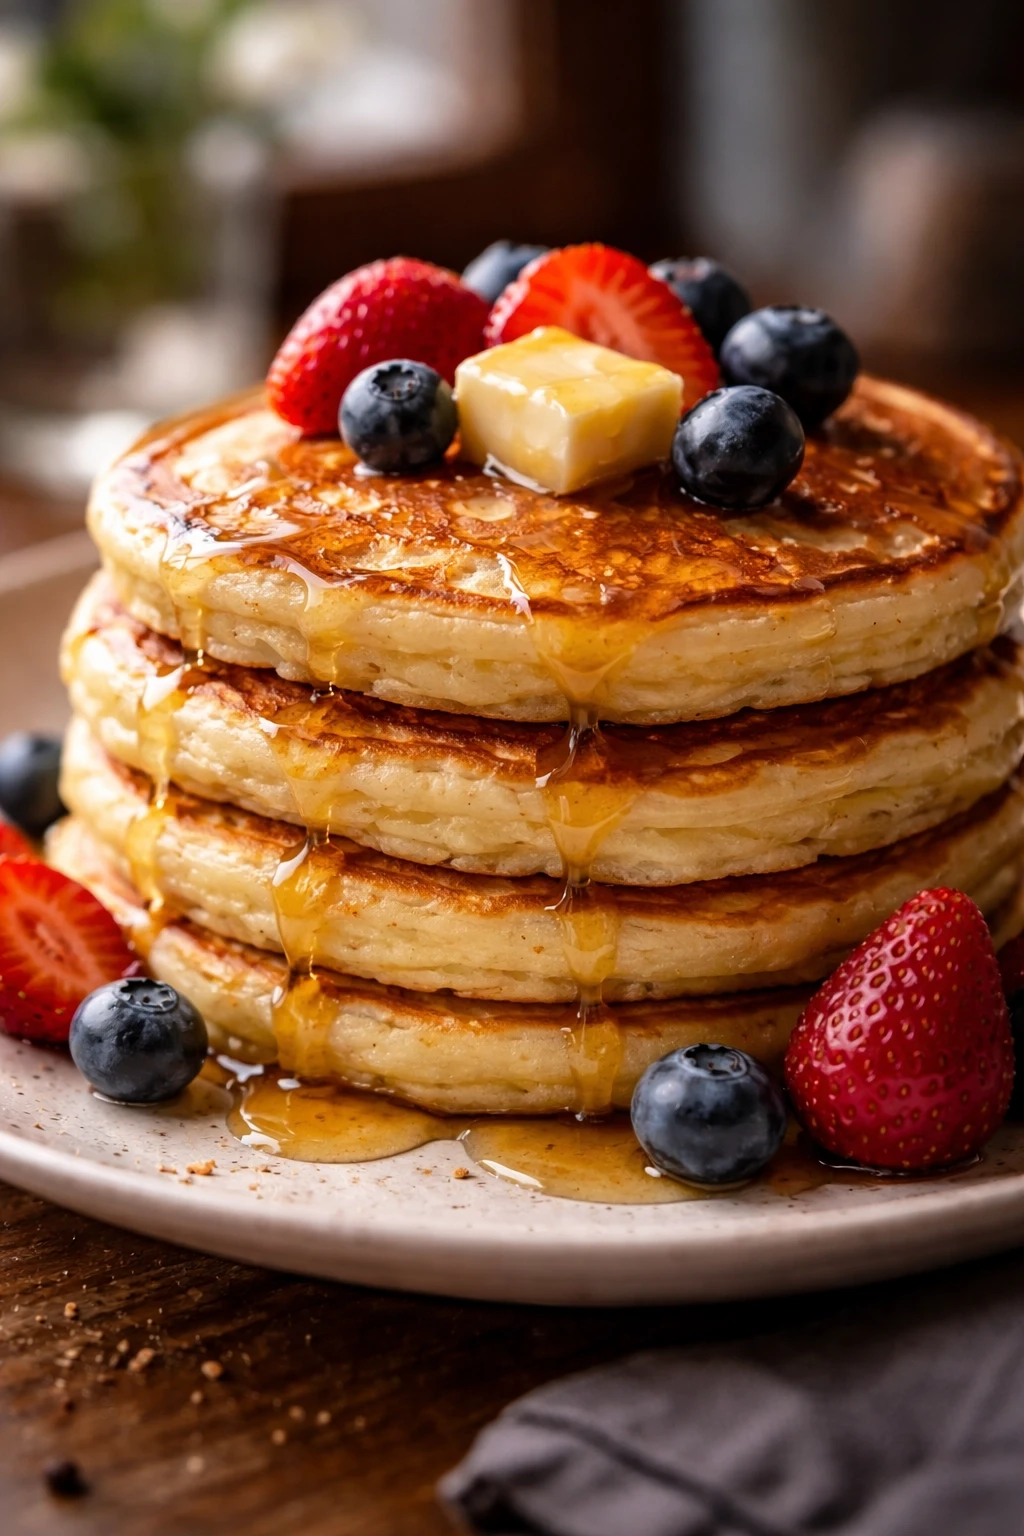
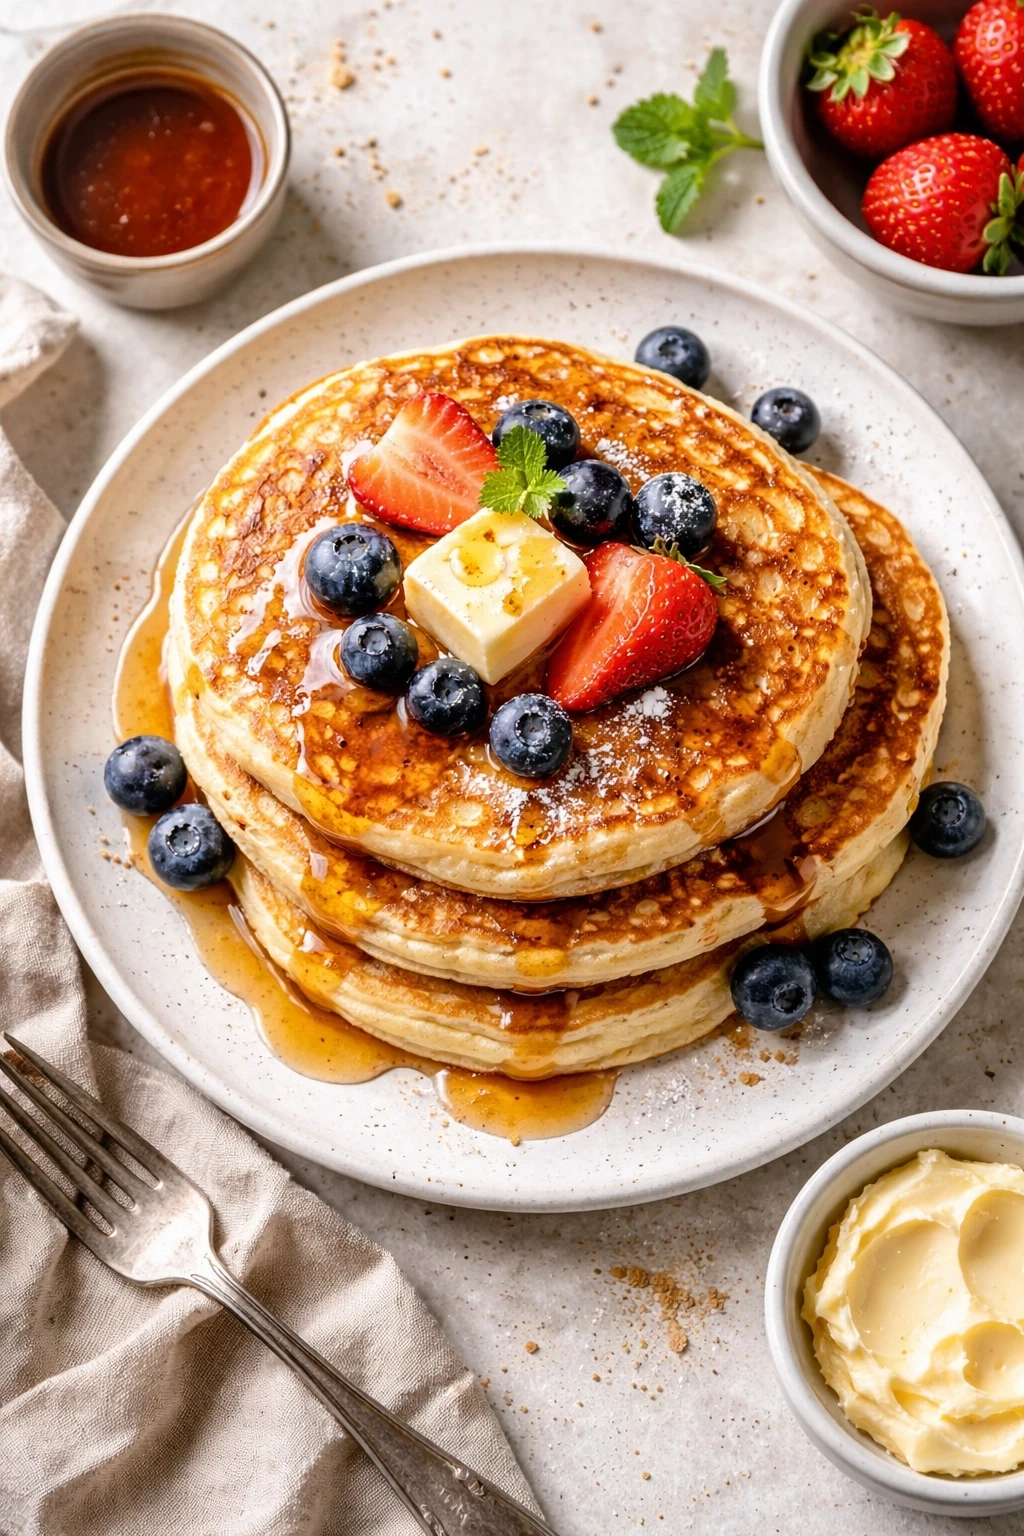
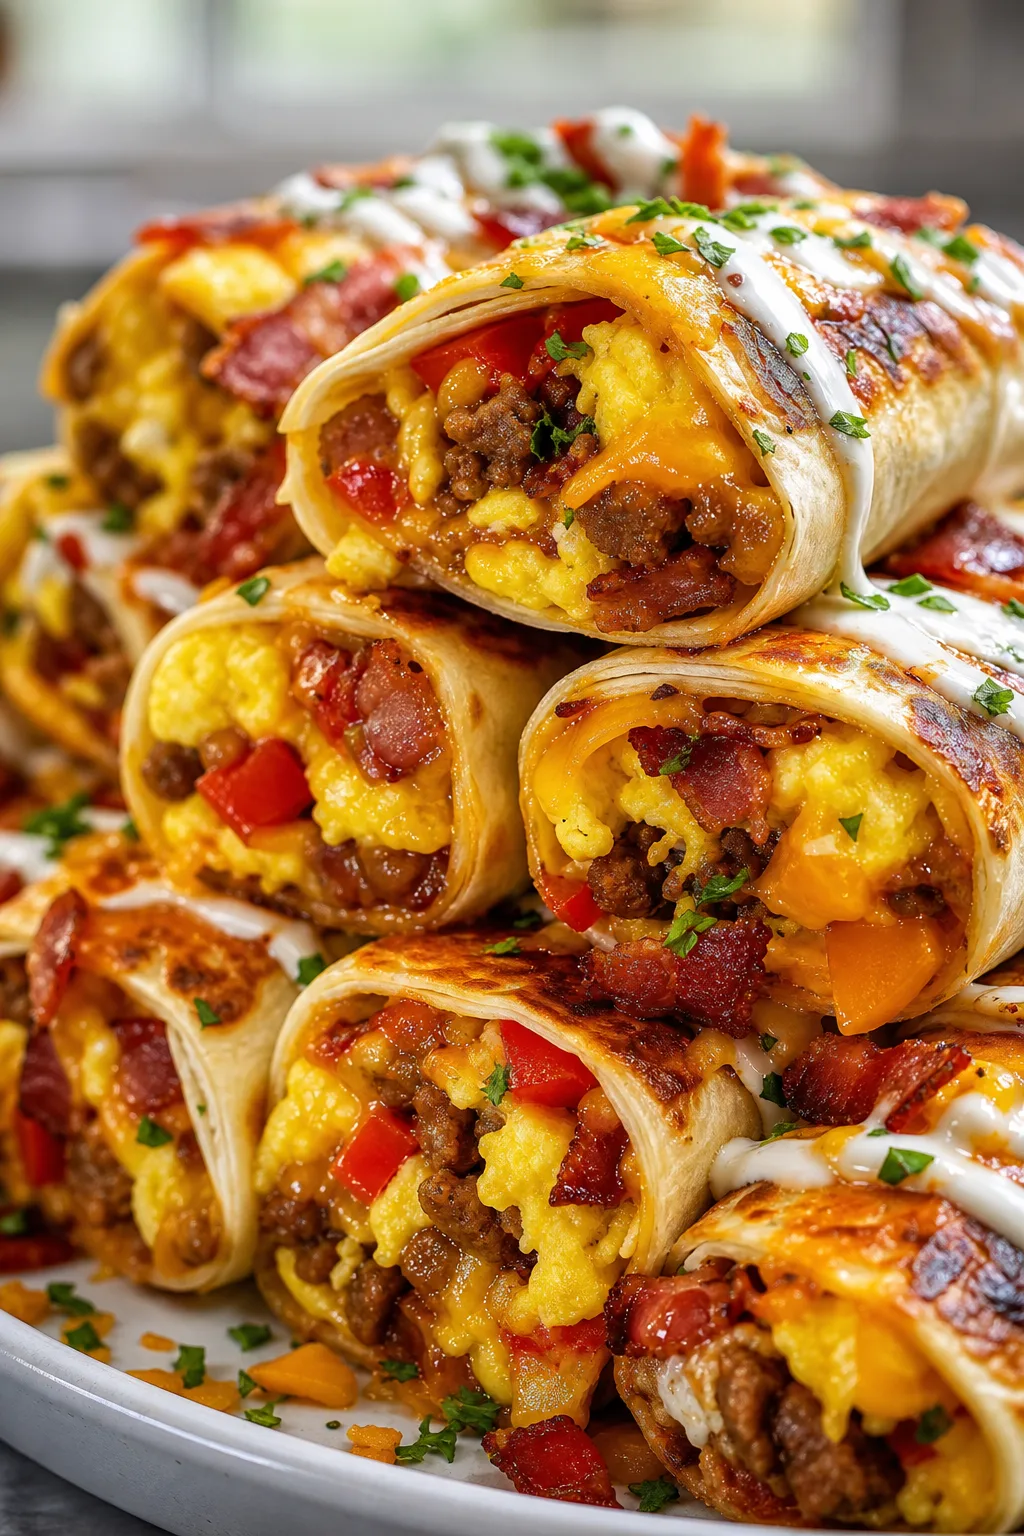
These pancakes are my go-to for lazy weekend mornings. The buttermilk adds a tangy softness that’s just unbeatable. They’re super fluffy, light, and perfect with maple syrup or fresh berries!
Introduction
I've been making these buttermilk pancakes every weekend for years now, and honestly, they never get old. The first time I tried a buttermilk pancake, I was hooked by how soft and fluffy it was compared to the usual recipe I used. What sets this version apart is a simple trick I learned from my grandma: letting the batter rest just a bit before cooking. It helps the baking soda react with the acidity in the buttermilk, creating those lovely air pockets that make the pancakes so tender inside. Plus, melting the butter before mixing ensures each bite is rich but not greasy. I've had my share of pancakes that turn out tough or flat, but this recipe nails it every time. When you cook them, look for bubbles forming on the surface before flipping — that’s the sign they’re perfectly cooked. These pancakes come out golden brown and pillowy soft, perfect with syrup, fresh fruit, or even a dollop of yogurt. They make weekend breakfasts feel special without any fuss, and honestly, they’re a cozy treat anytime you need a little comfort food fix.
What You'll Need
Approximately 12 pancakes, 4 servings
- 2 cups all-purpose flour, sifted
- 2 tablespoons granulated sugar
- 2 teaspoons baking powder
- 1 teaspoon baking soda
- 1/2 teaspoon salt
- 2 cups buttermilk, cold
- 2 large eggs, beaten
- 1/4 cup unsalted butter, melted, plus extra for cooking
- 1 teaspoon vanilla extract
How To Do It
Step 1
In a large mixing bowl, whisk together the sifted flour, sugar, baking powder, baking soda, and salt. This dry mix is the foundation of your pancakes, and sifting helps keep the batter light by aerating the flour and removing lumps. Take your time here — a smooth dry mix ensures even rising and a tender crumb.
⏱ Time: 5
✓ Doneness: Dry ingredients are evenly combined with no clumps.
Step 2
In a separate bowl, combine the cold buttermilk, beaten eggs, melted butter, and vanilla extract. Mixing the wet ingredients separately allows you to incorporate the butter smoothly and keep the eggs from cooking if the butter is too hot. The cold buttermilk is key because it reacts with the baking soda, creating bubbles that make the pancakes fluffy.
⏱ Time: 5
✓ Doneness: Wet ingredients are well combined with a smooth, uniform consistency.
Step 3
Pour the wet ingredients into the dry ingredients and gently fold them together using a spatula. Don’t overmix — it’s okay if the batter is a bit lumpy. Overworking the batter develops gluten, which can make pancakes tough rather than tender. The goal is a loose, slightly lumpy batter that will puff up nicely when cooked.
⏱ Time: 3
✓ Doneness: Batter combined but still slightly lumpy, not smooth like cake batter.
Step 4
Let the batter rest for 10 minutes at room temperature. This resting period is crucial because it gives the baking soda time to react with the buttermilk, creating air bubbles that make the pancakes fluffy. It also hydrates the flour, improving texture. Resist the urge to skip this step — it makes a noticeable difference.
⏱ Time: 10
✓ Doneness: Batter appears slightly thickened with small bubbles forming on the surface.
Step 5
Heat a non-stick skillet or griddle over medium heat and brush with a little melted butter. The pan should be hot but not smoking; too hot and the pancakes will burn on the outside while staying raw inside. Test by sprinkling a few drops of water — they should sizzle gently.
⏱ Time: 5
✓ Doneness: Pan surface evenly heated, butter melted without browning.
Step 6
Pour 1/4 cup batter per pancake onto the hot skillet. Space them out so they don’t touch. Cooking in batches helps control temperature and gives even cooking. Avoid pressing down on the pancakes, which can make them dense instead of fluffy.
⏱ Time: 2
✓ Doneness: Batter forms round pancakes about 3-4 inches wide.
Step 7
Cook the pancakes until bubbles form on the surface and edges look set, about 2-3 minutes. This is the sign that the bottom is nicely browned and the inside is cooking through. If you flip too early, the pancake won’t have structure and may fall apart.
⏱ Time: 3
✓ Doneness: Bubbles pop and leave visible holes; edges appear dry and slightly firm.
Step 8
Flip the pancakes gently and cook for another 1-2 minutes until golden brown. The second side cooks faster, so watch carefully to avoid burning. The pancakes should spring back lightly when pressed, indicating they’re cooked through but still tender.
⏱ Time: 2
✓ Doneness: Golden brown color on second side; pancake bounces back when touched.
Step 9
Serve immediately with butter and maple syrup, or keep warm in a low oven while you finish cooking the rest. Fresh berries or whipped cream are great toppings too. These pancakes are best enjoyed hot for maximum fluffiness and flavor.
⏱ Time: 5
✓ Doneness: Pancakes served warm, fluffy, and golden with desired toppings.
Pro Tips
Always let your batter rest for about 10 minutes before cooking.
Resting allows the baking soda and buttermilk to react fully, forming air bubbles that make pancakes tender and fluffy. Skipping this step can result in a denser texture because the leavening reaction hasn’t had time to develop.
Don’t overmix the batter; fold ingredients gently until just combined.
Overmixing develops gluten strands in the flour, which toughens pancakes. Gentle folding keeps the batter light and lumpy, which bakes out to a soft, tender crumb.
Use a non-stick skillet or griddle heated to medium heat for cooking.
Medium heat cooks pancakes evenly—too hot burns the outside before the inside cooks, too low makes them flat and tough. A non-stick surface prevents sticking and helps achieve a golden crust.
Brush the pan lightly with melted butter before each batch.
Butter adds flavor and helps create a golden crust, but too much can cause uneven cooking or burning. A light brush ensures just enough fat for perfect pancakes.
Use cold buttermilk rather than room temperature.
Cold buttermilk slows the leavening reaction so it doesn’t happen too quickly, allowing better control and fluffiness. Warm liquids can make the batter overly runny and affect texture.
Flip pancakes only once when bubbles appear and edges set.
Flipping too soon can cause pancakes to collapse or cook unevenly. Waiting for bubbles to pop and edges to dry ensures the pancake holds together and cooks through.
Serve pancakes immediately or keep warm in a low oven.
Pancakes lose their fluffy texture as they cool. Keeping them warm ensures they stay tender and fresh until ready to eat.
Common Mistakes to Avoid
Skipping the batter rest time
Why it happens In a rush, it’s tempting to cook pancakes immediately after mixing. Many assume resting isn’t necessary.
Fix Plan ahead and let the batter sit for at least 10 minutes. This allows the baking soda to react fully with buttermilk, producing air bubbles that make pancakes fluffy and tender.
Overmixing the batter
Why it happens Some people think a smooth batter is best, so they stir vigorously.
Fix Mix just until the dry ingredients are moistened. It’s okay if the batter is lumpy. This prevents excess gluten formation, keeping pancakes soft.
Cooking on too high heat
Why it happens High heat seems faster but burns pancakes quickly.
Fix Use medium heat and test with water droplets. This ensures pancakes cook evenly, developing a golden crust without burning.
Pressing down on pancakes with spatula
Why it happens Trying to speed cooking or get a flat surface.
Fix Avoid pressing. Let pancakes rise naturally; pressing squeezes out air and makes them dense.
Using old baking soda
Why it happens Baking soda loses potency over time but is easy to forget replacing.
Fix Test baking soda by adding vinegar; it should bubble vigorously. Replace if it doesn’t to ensure fluffy pancakes.
Variations
Blueberry Buttermilk Pancakes
Fold fresh or frozen blueberries into the batter just before cooking for bursts of juicy sweetness. The berries add a lovely tart contrast to the tangy batter and make these pancakes extra special for brunch.
Note: Add berries gently to avoid breaking them and creating purple streaks in the batter. Cook slightly longer as the moisture from berries can slow cooking.
Chocolate Chip Buttermilk Pancakes
Sprinkle mini chocolate chips into the batter or directly onto the griddle after pouring batter. The melty chocolate pairs wonderfully with the tangy buttermilk for a decadent breakfast treat.
Note: Use mini chips to prevent sinking and distribute chocolate evenly. Flip carefully as chips can stick to the pan.
Vegan Buttermilk Pancakes
Replace eggs with flax eggs and use a plant-based buttermilk substitute made with almond or soy milk plus vinegar. These pancakes still come out fluffy and flavorful without dairy or eggs.
Note: Flax eggs need a few minutes to gel; also, batter may be slightly thicker and require gentle stirring.
Whole Wheat Buttermilk Pancakes
Swap half the all-purpose flour for whole wheat for a nuttier flavor and more fiber. The pancakes will be heartier but still soft and fluffy thanks to the buttermilk and baking soda.
Note: Use fresh whole wheat flour and don’t overmix to avoid toughness. You may need slightly more liquid if batter is too thick.
Lemon Poppy Seed Buttermilk Pancakes
Add lemon zest and a tablespoon of poppy seeds to the batter for a fresh, bright twist. The citrus lifts the richness of the buttermilk and offers a lovely texture contrast.
Note: Zest lemons finely to avoid bitter pith. Incorporate seeds evenly to prevent clumping.
Nutrition
Per Serving:
Nutritional values are estimates and may vary based on specific ingredients used.
Storage & Tips
Room Temperature
Pancakes can safely sit at room temperature for up to 2 hours if covered loosely with foil or a clean kitchen towel to prevent drying out. Beyond that, they start to lose moisture and texture.
Refrigerator
Store leftover pancakes in an airtight container or wrapped tightly in plastic wrap for up to 3 days. They tend to firm up in the fridge, so reheat gently to restore softness before serving.
Freezer
Freeze pancakes in a single layer on a baking sheet, then transfer to a freezer bag for up to 2 months. Wrap well to avoid freezer burn. Thaw overnight in the fridge or reheat directly from frozen.
Reheating
Reheat pancakes in a toaster, oven at 350°F for 5-7 minutes, or microwave in short bursts with a damp paper towel to keep moist. Avoid overheating which makes them tough or dry.
Make Ahead
You can prepare the batter the night before and refrigerate it. Let it come to room temperature before cooking and give it a gentle stir. This saves time in the morning and still produces fluffy pancakes.
FAQ
Can I use regular milk instead of buttermilk?
Yes, buttermilk is preferred because its acidity reacts with baking soda to make pancakes fluffy. If you don’t have buttermilk, add 1 tablespoon of lemon juice or vinegar to 2 cups of milk and let it sit 5 minutes before using.
Why are my pancakes flat and dense?
Common causes include old baking soda, not letting the batter rest, or overmixing the batter. Ensure your baking soda is fresh, fold ingredients gently, and allow the batter to rest so the leavening reaction can occur.
How do I know when to flip pancakes?
Flip when bubbles form on the surface and start to pop, and edges look set and dry. This means the bottom is cooked and the pancake has enough structure to flip without breaking.
Can I make the batter ahead of time?
Yes, you can prepare the batter 1 day ahead and refrigerate it. Let it warm to room temperature and stir gently before cooking. The pancakes will still be fluffy and delicious.
What if I don’t have a non-stick pan?
Use a well-seasoned cast iron skillet or a heavy-bottomed pan. Brush lightly with butter or oil before cooking to prevent sticking and achieve a golden crust.
Can I add fruit or chocolate chips to the batter?
Absolutely! Fold in fresh berries or sprinkle chocolate chips onto the batter on the griddle. Just be gentle to avoid breaking fruit and cook a little longer if adding juicy berries.
Why are my pancakes tough instead of fluffy?
Tough pancakes often result from overmixing the batter or cooking at too high heat. Mix just until combined and cook on medium heat to keep them tender.
How do I keep pancakes warm while cooking multiple batches?
Place cooked pancakes on a baking sheet in a preheated oven at 200°F. This keeps them warm and soft without drying out until all batches are ready.
Final Thoughts
Give these buttermilk pancakes a try—I promise they’ll become a breakfast favorite. Don’t forget to share your fluffy creations!