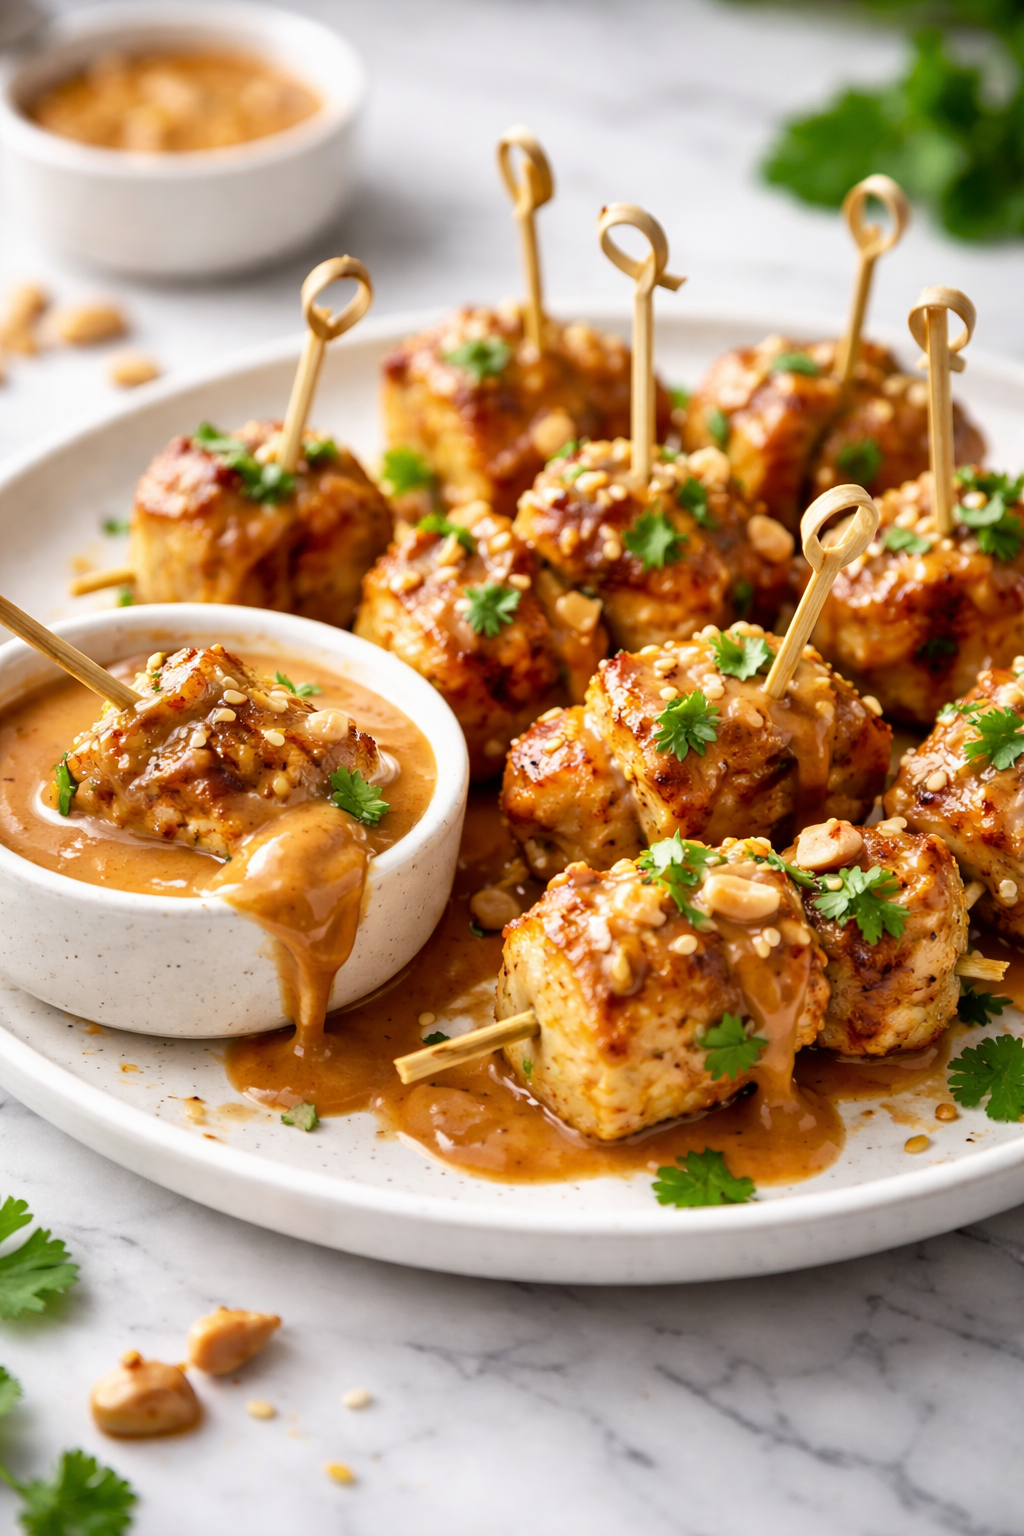
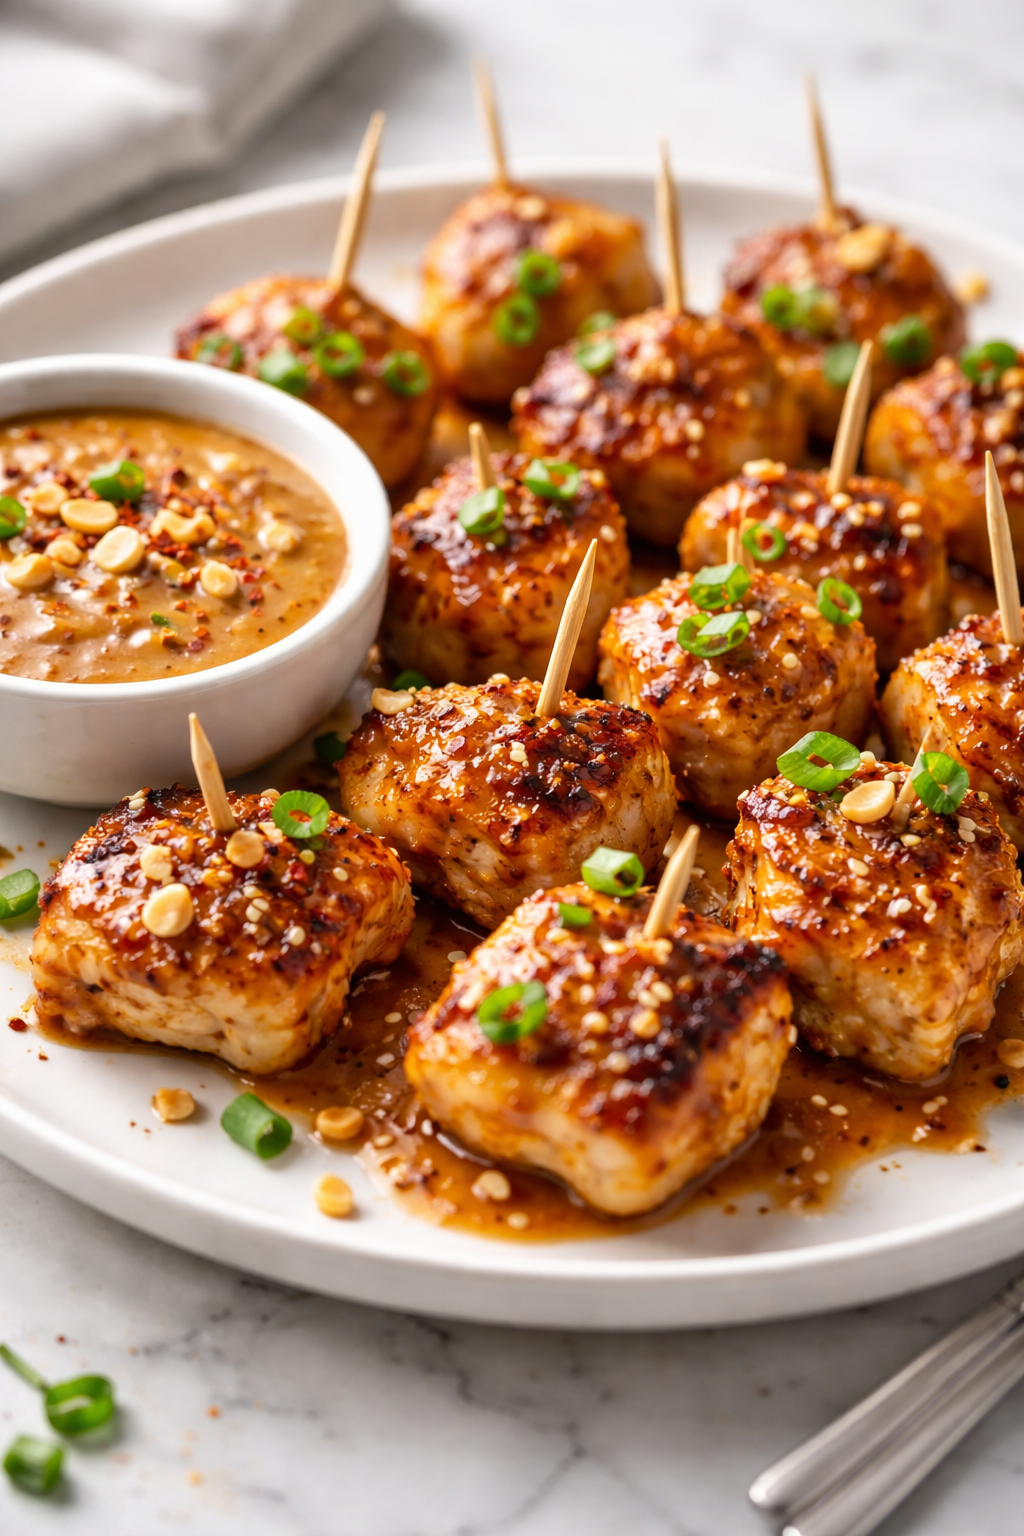
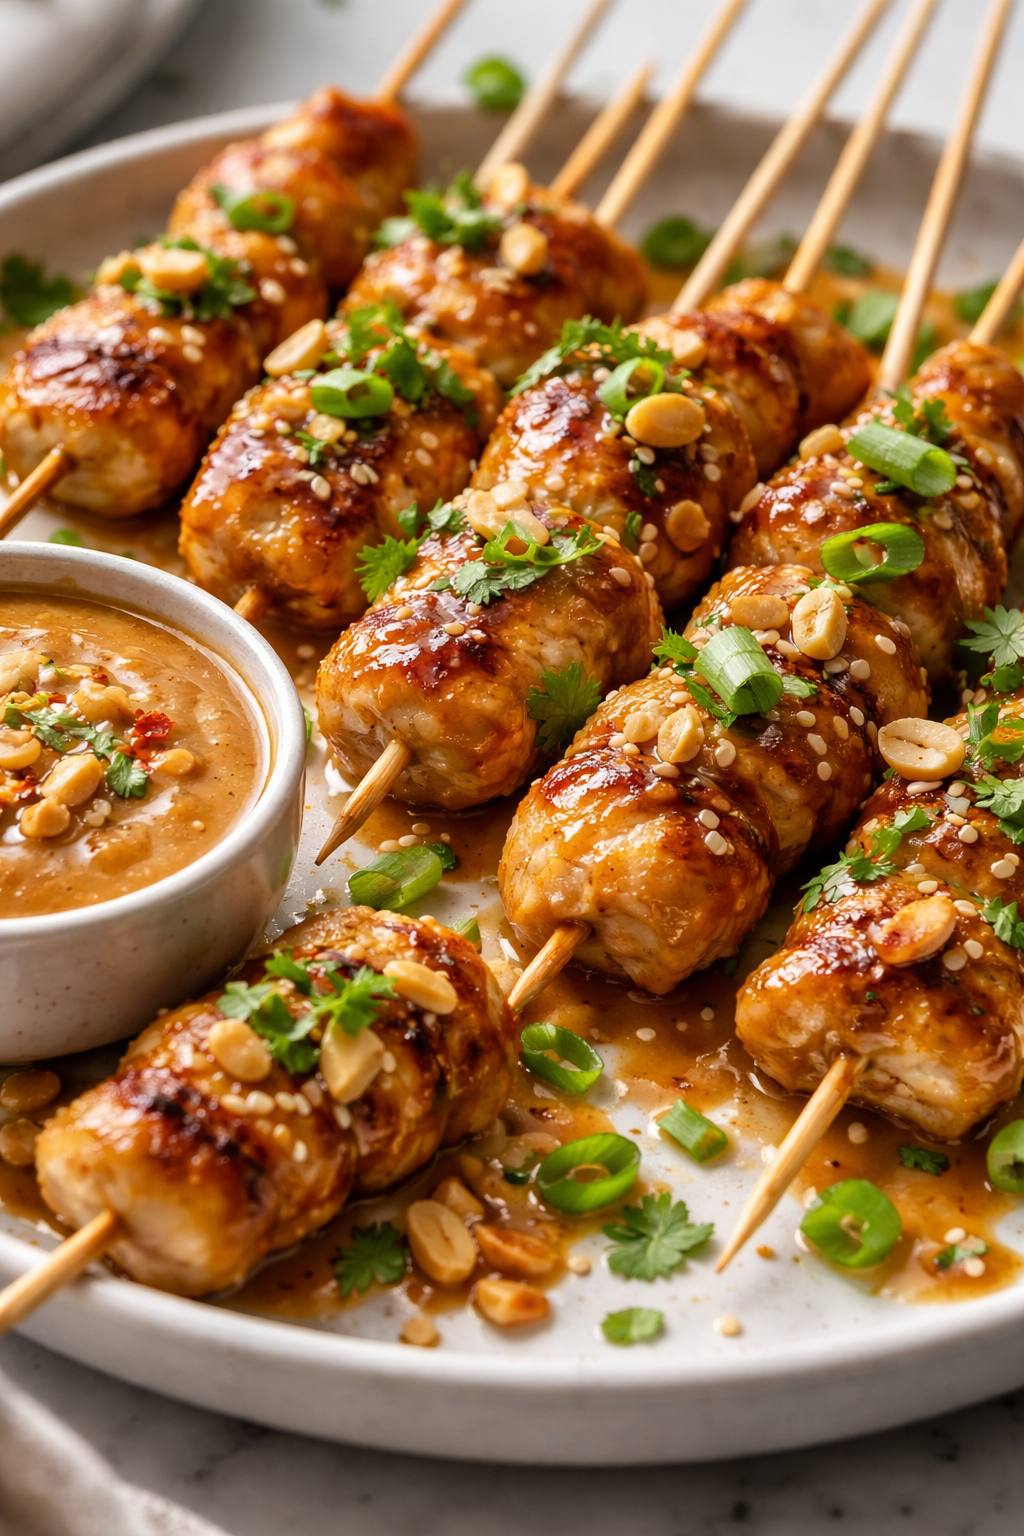
These mini chicken satay bites are a quick, delicious snack that pairs perfectly with a rich, creamy peanut sauce. Super easy to whip up and great for casual gatherings or even a cozy night in.
Introduction
I first made these mini chicken satay bites a few years ago when I needed a quick snack for a last-minute gathering. Honestly, I was skeptical about how well the peanut sauce would work, but it turned out to be the star of the show. What sets my version apart is the balance of spices I use in the marinade and the creamy, slightly tangy peanut sauce that’s easy to whip up with simple pantry staples. The trick I learned is to soak the skewers beforehand so they don’t burn on the grill or pan, and to marinate the chicken long enough for the flavors to really soak in. When you bite into these, you get juicy, tender chicken with a subtle spice and a luscious peanut dip that’s just irresistible. They’re perfect for casual get-togethers or just a cozy night snack. I love that they’re bite-sized, so everyone can grab a few without feeling too full. Plus, they’re quick to make, which is always a win in my book!
What You'll Need
Approximately 24 mini bites, serves 4
- 1 lb boneless skinless chicken thighs, cut into 1-inch pieces
- 2 tbsp soy sauce
- 1 tbsp lime juice
- 1 tbsp brown sugar
- 2 cloves garlic, minced
- 1 tsp ground coriander
- 1 tsp turmeric powder
- 1/2 tsp chili flakes (optional)
- Wooden skewers, soaked in water for 30 minutes
- For the peanut sauce:
- 1/2 cup creamy peanut butter
- 2 tbsp coconut milk
- 1 tbsp soy sauce
- 1 tbsp lime juice
- 1 tbsp honey
- 1 clove garlic, minced
- Warm water to thin sauce as needed
How To Do It
Step 1
Start by preparing the chicken marinade. In a bowl, mix soy sauce, lime juice, brown sugar, minced garlic, ground coriander, turmeric powder, and chili flakes if you like a little heat. This combination not only tenderizes the chicken but also infuses it with a warm, earthy flavor that’s classic to satay. Toss the chicken pieces in the marinade, making sure each piece is well coated. Cover and refrigerate for at least 30 minutes, or up to 2 hours for deeper flavor. Marinating helps the meat stay juicy and flavorful during cooking.
⏱ Time: 30 minutes (marinating)
✓ Doneness: Chicken pieces fully coated and slightly glossy from marinade
Step 2
While the chicken marinates, soak your wooden skewers in water for at least 30 minutes. This prevents them from burning when you cook the satay. Next, prepare the peanut sauce by whisking together peanut butter, coconut milk, soy sauce, lime juice, honey, and minced garlic in a small bowl. Add warm water gradually to reach your desired sauce consistency—smooth and pourable but not too thin. The coconut milk adds a lovely creaminess that balances the tang and sweetness perfectly.
⏱ Time: 10 minutes
✓ Doneness: Smooth, creamy peanut sauce with balanced flavor and pourable consistency
Step 3
Thread the marinated chicken pieces onto the soaked skewers, about 3-4 pieces per skewer. Arrange them so the pieces aren’t too crowded; this ensures even cooking and nice browning. Preheat a grill pan or skillet over medium-high heat and lightly oil the surface to prevent sticking. The high heat helps create that signature char and caramelization which locks in flavor and juiciness.
⏱ Time: 10 minutes
✓ Doneness: Chicken pieces evenly spaced on skewers, pan hot and lightly oiled
Step 4
Cook the chicken skewers for about 4-5 minutes on each side. Don’t rush this step—allowing the chicken to sear properly develops flavor through the Maillard reaction, which is the browning that adds depth and texture. Flip carefully to avoid tearing the meat, and watch for juices running clear as a sign of doneness. If you notice any burnt bits, lower the heat slightly to avoid bitterness.
⏱ Time: 8-10 minutes
✓ Doneness: Golden brown edges with clear juices when pierced
Step 5
Once cooked, transfer the skewers to a serving platter and let them rest for a few minutes. Resting allows the juices to redistribute in the meat, keeping each bite tender and juicy. Serve warm alongside the peanut sauce for dipping. These bites are best enjoyed fresh but can be kept warm in a low oven if needed.
⏱ Time: 5 minutes
✓ Doneness: Chicken looks moist and rested, sauce ready for dipping
Step 6
For a little extra flair, sprinkle chopped fresh cilantro or crushed peanuts on top before serving. These add a fresh crunch and herbaceous note that complements the rich peanut sauce beautifully. You can also serve with lime wedges to squeeze over, adding a zesty brightness that cuts through the richness.
⏱ Time: 2 minutes
✓ Doneness: Fresh garnishes visibly brightening the dish
Step 7
If you’re making these ahead for a party, cook the chicken skewers fully but keep them warm in the oven at around 200°F (93°C). Reheat the peanut sauce gently on the stove or microwave just before serving, stirring to maintain smoothness. This way, everything stays fresh and delicious without drying out.
⏱ Time: 5 minutes prep before serving
✓ Doneness: Warm chicken and sauce ready to serve without drying
Step 8
To make the dish gluten-free, simply substitute the soy sauce with tamari or coconut aminos. This swap keeps the umami flavor intact without the gluten. Just be sure to check your peanut butter and other ingredients for any hidden gluten-containing additives.
⏱ Time: Varies, depends on substitution
✓ Doneness: Ingredients labeled gluten-free and sauce consistency maintained
Step 9
For an indoor cooking option, you can also broil the skewers in the oven on a foil-lined tray. Place them about 6 inches from the broiler and cook for 3-4 minutes per side, watching closely to prevent burning. This method gives a nice char similar to grilling and is great when outdoor grilling isn’t possible.
⏱ Time: 6-8 minutes
✓ Doneness: Charred edges with cooked through chicken
Pro Tips
Always soak wooden skewers before grilling.
Soaking prevents the skewers from catching fire or burning during cooking. This is crucial for safety and preserving the flavor of the chicken. Dry skewers can char quickly and impart a burnt taste, so soaking them for at least 30 minutes ensures they stay moist and intact.
Marinate the chicken for a minimum of 30 minutes.
Marinating allows the chicken to absorb the flavors and tenderize properly. Rushing this step results in bland meat and less juicy texture. The acids and spices need time to penetrate the muscle fibers, enhancing both taste and tenderness.
Use chicken thighs instead of breasts for better flavor and juiciness.
Thighs have more fat and connective tissue, which break down during cooking to keep the meat moist. Breasts tend to dry out quickly, especially on high heat, resulting in a tougher bite. Thighs also have a richer flavor that pairs well with bold marinades.
Cook chicken over medium-high heat without crowding the pan.
Crowding reduces heat and causes steaming instead of searing, which prevents browning and flavor development. Medium-high heat encourages the Maillard reaction, producing a delicious crust and locking in juices.
Add warm water gradually to the peanut sauce to control thickness.
Peanut butter can be dense, so thinning the sauce carefully ensures it’s smooth and dip-friendly. Adding water too quickly or too much can make the sauce runny and dilute the flavors, so a slow approach helps achieve perfect consistency.
Let the cooked chicken rest before serving.
Resting allows the juices to redistribute throughout the meat, making each bite tender and juicy rather than dry. Cutting into the chicken immediately causes juices to escape, resulting in less flavorful and drier meat.
Use fresh lime juice for marinade and sauce.
Fresh lime juice provides bright acidity and aroma that bottled versions lack. The citrus acid helps tenderize the chicken and balances the richness of the peanut sauce, elevating the overall flavor of the dish.
Common Mistakes to Avoid
Not soaking wooden skewers before cooking.
Why it happens Many cooks overlook this step, assuming it’s unnecessary or forget to plan ahead. It’s easy to underestimate how quickly thin wood burns under heat.
Fix Always soak skewers in water for at least 30 minutes before cooking. If pressed for time, soak in hot water to speed up the process, but avoid dry skewers to prevent burning and ensure safety.
Skipping the marinade or marinating too briefly.
Why it happens Sometimes people want to save time or think the seasoning will stick without marinating. This leads to bland chicken lacking depth.
Fix Plan ahead and marinate the chicken at least 30 minutes, preferably longer. This step is essential for tender, flavorful meat and should not be rushed or skipped.
Cooking over too low heat causing soggy chicken.
Why it happens Low heat doesn’t create the necessary sear and Maillard reaction, resulting in pale, steamed chicken without texture or flavor.
Fix Preheat your pan or grill to medium-high heat and avoid crowding. This ensures a nice crust forms quickly, sealing in juices and flavor.
Peanut sauce too thick or clumpy.
Why it happens Using cold peanut butter straight from the jar or not thinning the sauce properly can cause clumps and a pasty texture.
Fix Warm the peanut butter slightly and whisk in warm water slowly until smooth and pourable. This makes the sauce creamy and easy to dip.
Overcooking the chicken causing dryness.
Why it happens Cooking the chicken too long or at too high heat can dry it out quickly, especially if cut too small or thin.
Fix Cook chicken just until juices run clear and internal temperature reaches 165°F (74°C). Remove promptly and let rest for best texture.
Variations
Spicy Satay Bites
Add 1 tsp of chili paste or Sriracha to the marinade and peanut sauce for a spicy kick. This variation brings heat that balances the creamy peanut flavor and makes the dish more exciting for spice lovers.
Note: Increase chili flakes gradually to avoid overpowering; adjust sweetness in sauce to balance heat.
Vegetarian Tofu Satay
Swap chicken with firm tofu cubes marinated in the same satay spices. Grill or pan-fry until golden and serve with peanut sauce for a plant-based alternative that’s equally flavorful and satisfying.
Note: Press tofu well to remove excess moisture before marinating for better texture.
Peanut Satay Salad
Serve grilled chicken satay bites over a bed of mixed greens, shredded carrots, and cucumber, drizzled with peanut sauce for a light, fresh meal option with a satisfying crunch.
Note: Use thinly sliced vegetables to complement tender chicken and creamy sauce.
Satay Wraps
Turn the satay bites into wraps by adding them to warm flatbreads with fresh herbs, sliced onions, and peanut sauce. This makes a fun handheld meal perfect for lunch or picnics.
Note: Warm flatbreads before assembling to keep wraps pliable.
Grilled Satay with Coconut Rice
Serve the chicken satay alongside fragrant coconut rice to soak up the peanut sauce and create a more filling, balanced meal with tropical flavors.
Note: Cook rice with coconut milk and a pinch of salt for best flavor.
Nutrition
Per Serving:
Nutritional values are estimates and may vary based on specific ingredients used.
Storage & Tips
Room Temperature
These satay bites can safely sit out for about 2 hours during serving. Cover loosely with foil or a clean cloth to keep them warm and prevent drying out, but avoid leaving them out longer to reduce food safety risks.
Refrigerator
Store cooked chicken satay in an airtight container for up to 3 days. The chicken may dry out slightly when cold, so it's best to reheat gently before serving. The peanut sauce can be refrigerated separately and stirred well before use.
Freezer
Freeze cooked chicken satay skewers in a freezer-safe container or bag for up to 2 months. Wrap tightly to prevent freezer burn. Thaw overnight in the refrigerator and reheat gently to preserve texture.
Reheating
Reheat chicken satay in a skillet over medium heat or in the oven at 350°F (175°C) until warmed through, about 5-7 minutes. Add a splash of water or oil to prevent drying. Avoid microwaving as it can make chicken rubbery. Warm peanut sauce separately and stir before serving.
Make Ahead
Marinate chicken up to 24 hours ahead and keep refrigerated. Prepare peanut sauce a day in advance and store in the fridge. Assemble skewers shortly before cooking to keep chicken fresh and tender. This saves time on the day of serving without compromising flavor.
FAQ
Can I use chicken breast instead of thighs?
You can, but chicken breasts are leaner and can dry out more easily when grilled. If you use breast meat, marinate a bit longer and watch cooking time closely to avoid overcooking. Thighs generally produce juicier, more flavorful satay.
How do I prevent the peanut sauce from separating?
Whisk the peanut butter and liquid ingredients well, adding warm water gradually to create a smooth emulsion. If the sauce separates, re-whisk or gently heat it while stirring to bring it back together.
What if I don’t have coconut milk?
You can substitute with regular milk or almond milk, but the sauce won’t be as creamy or rich. Coconut milk adds a subtle sweetness and thickness that balances the flavors, so it’s best if you can get it.
Can I bake the satay instead of grilling?
Yes, baking at 425°F (220°C) for 15-20 minutes works well. Just turn the skewers halfway through for even cooking and a bit of browning. Broiling for a few minutes at the end can add some char if desired.
How spicy is this recipe?
This version is mild but flavorful. You can easily add chili flakes or Sriracha to the marinade and sauce if you like more heat. Adjust according to your spice tolerance.
Can I make the peanut sauce ahead of time?
Absolutely! The sauce keeps well in the refrigerator for up to 3 days. Just stir or whisk it before serving, and add a little warm water if it thickens too much.
What’s the best way to serve these satay bites?
Serve warm with peanut sauce on the side for dipping. Garnish with fresh herbs like cilantro and lime wedges for brightness. They’re perfect as appetizers or a light snack.
How do I store leftovers?
Place cooled chicken satay in an airtight container and refrigerate for up to 3 days. Reheat gently to maintain juiciness. Store peanut sauce separately to keep it fresh and creamy.
Final Thoughts
I hope you enjoy making and sharing these mini chicken satay bites as much as I do! Don’t forget to tell me how they turn out or any tweaks you make.