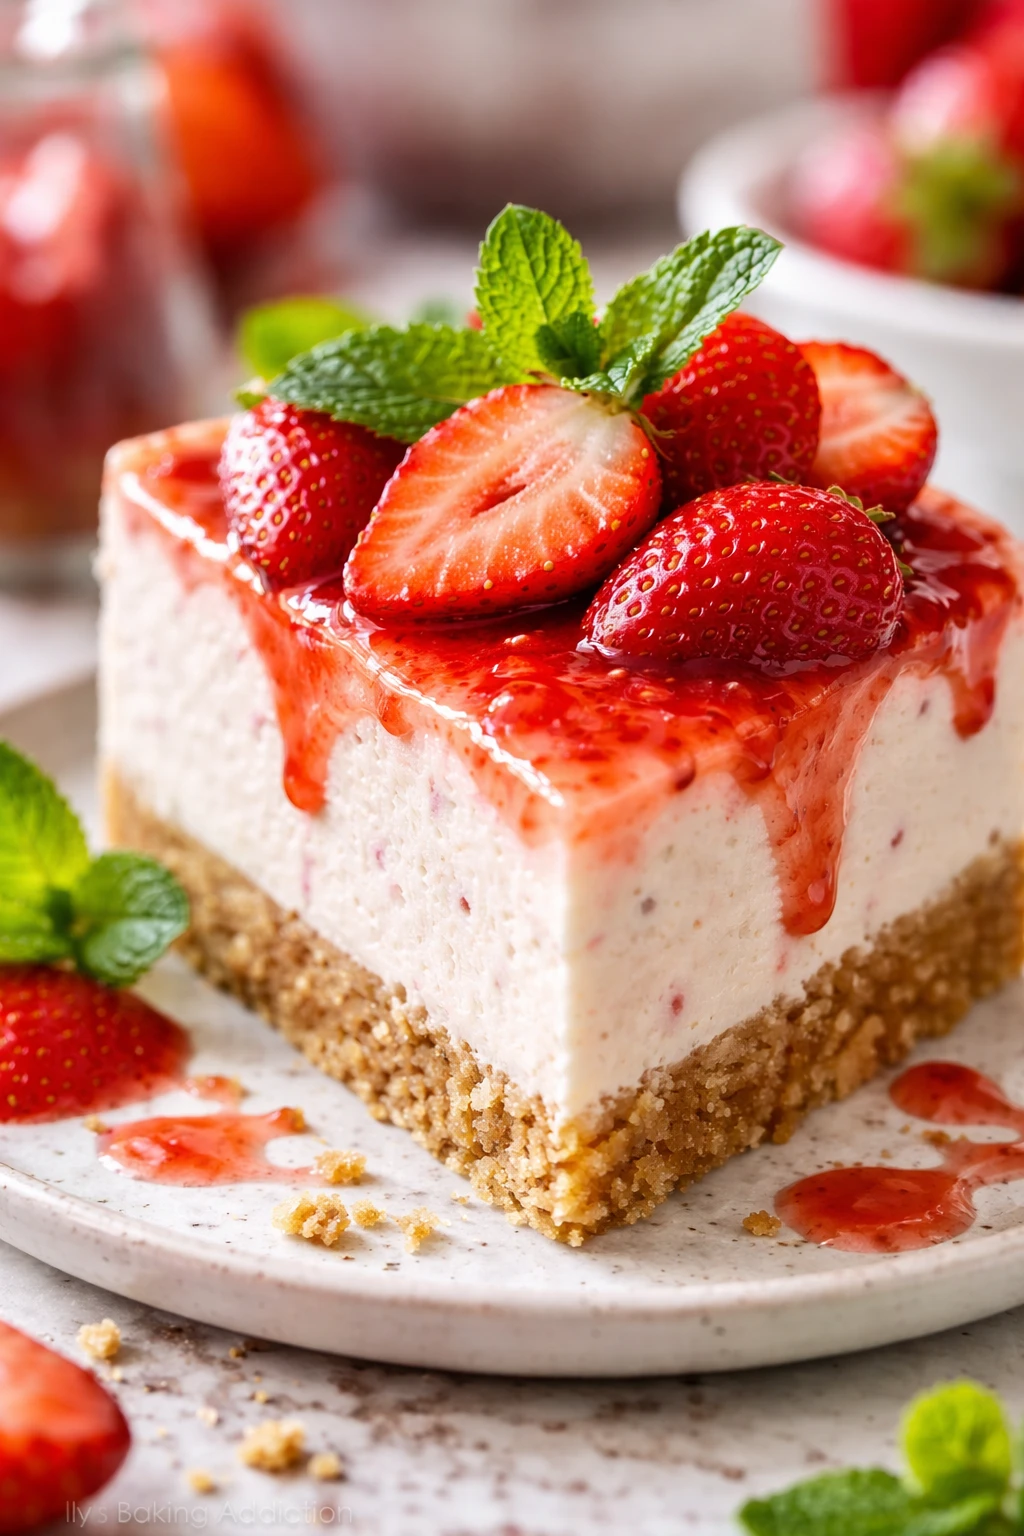
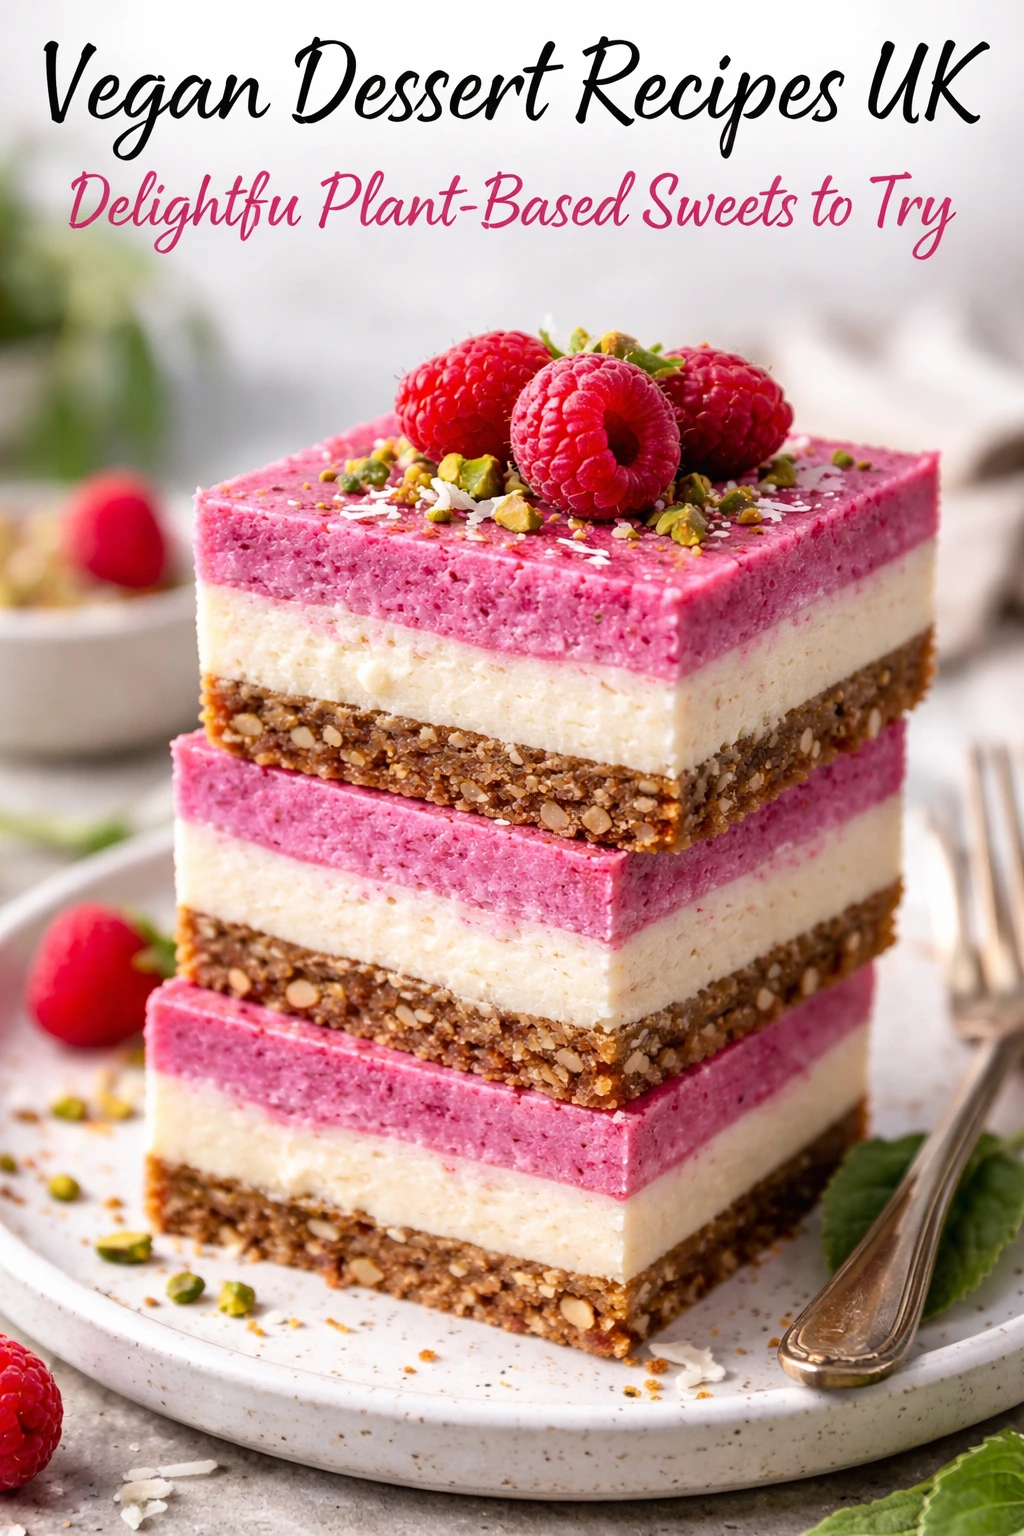
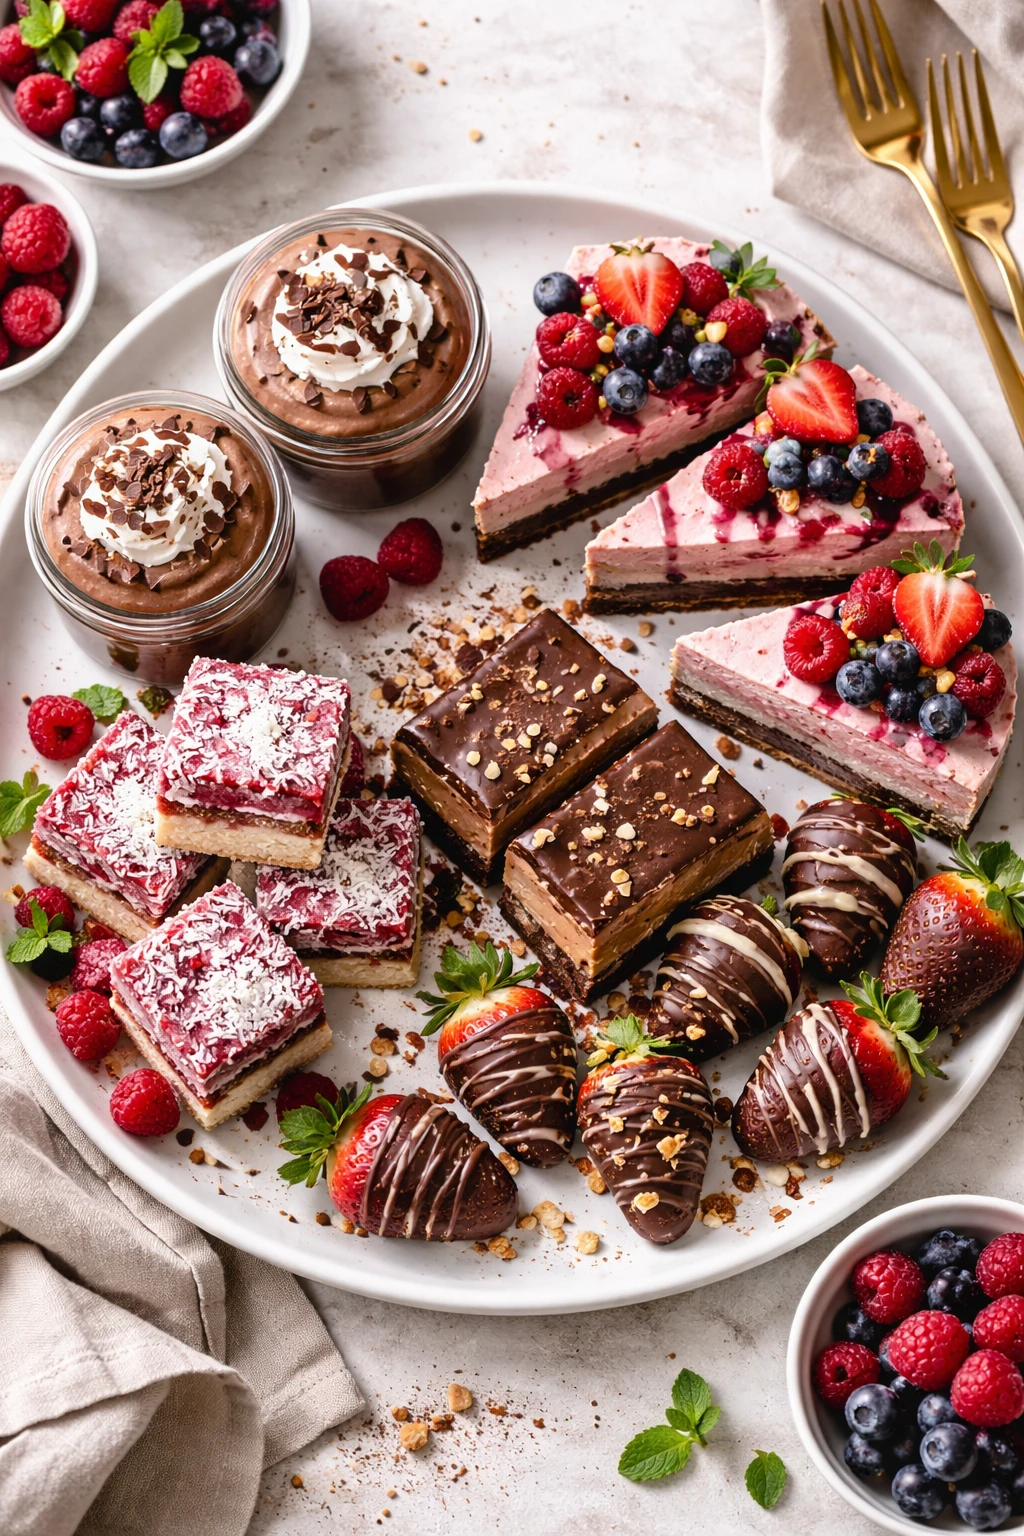
This vegan dessert is creamy and satisfying thanks to oat milk and coconut oil. It’s a light, sweet treat that’s perfect for afternoon tea or a gentle finish to dinner. Super simple and naturally delicious!
Introduction
I first stumbled upon this vegan dessert while looking for a sweet treat that wouldn’t weigh me down after dinner. I love how simple ingredients like oat milk and coconut oil come together to create something both creamy and light. What sets this recipe apart is the gentle thickening with cornstarch rather than heavy cream, which keeps it vegan and easy on the stomach. The vanilla and pinch of salt add a subtle depth that makes it feel special without being fussy. I’ve tried a few versions before, but this one strikes the perfect balance of richness and freshness. It’s become my go-to when I want a comforting dessert that doesn’t require a ton of prep or hard-to-find ingredients. Plus, it’s perfect for sharing with friends over afternoon tea or enjoying solo on a cozy evening. The texture is smooth and luscious, almost like a custard, but dairy-free, which surprises everyone who tries it. I think you’ll love how naturally sweet and satisfying it is!
How To Do It
Step 1
Start by whisking the cornstarch into about 100 ml of the oat milk until completely smooth. This step is crucial because it prevents lumps when you cook the mixture later. If you skip this, you might end up with a grainy texture instead of a silky dessert. Make sure your cornstarch dissolves fully before moving on to avoid clumps.
⏱ Time: 5 minutes
✓ Doneness: Mixture should be smooth and lump-free
Step 2
In a saucepan, combine the remaining oat milk, melted coconut oil, cane sugar, vanilla extract, and a pinch of salt. Heat gently over medium-low heat, stirring frequently so the sugar dissolves completely and the oil blends in. Avoid high heat here to prevent separating the coconut oil. This gentle warming also helps infuse the vanilla flavor.
⏱ Time: 7 minutes
✓ Doneness: Sugar fully dissolved, mixture warm but not boiling
Step 3
Slowly pour in your cornstarch mixture while continuously whisking. This gradual addition thickens the liquid evenly and prevents lumps. Keep whisking as the mixture heats to activate the thickening power of cornstarch. Rushing this step or adding the cornstarch too quickly often results in clumps or uneven texture.
⏱ Time: 3 minutes
✓ Doneness: Mixture starts to thicken smoothly
Step 4
Bring the mixture to a gentle simmer over medium heat, stirring constantly. This activates the thickening further. Keep an eye on it so it doesn’t boil over or scorch on the bottom. The stirring ensures even cooking and prevents a skin from forming on top.
⏱ Time: 6 minutes
✓ Doneness: Mixture thickens to custard-like consistency, coats the back of a spoon
Step 5
Once thickened, remove the pan from heat and let the dessert cool slightly. Stir occasionally to keep the surface smooth and prevent a skin from forming. This cooling step helps it set properly without becoming rubbery or dry.
⏱ Time: 5 minutes
✓ Doneness: Smooth, thick custard that holds shape when spooned
Step 6
Pour the dessert into serving dishes or ramekins. For best texture, chill in the fridge for at least 1 hour before serving. This allows the flavors to meld and the dessert to firm up to a perfect creamy texture. Avoid serving it warm as it won’t have the same body.
⏱ Time: 60 minutes
✓ Doneness: Firm but creamy dessert after chilling
Step 7
Before serving, you can top with fresh berries, a sprinkle of toasted coconut, or a drizzle of maple syrup for extra flavor and texture contrast. These toppings add freshness and a little crunch that pairs beautifully with the smooth dessert.
⏱ Time: 2 minutes
✓ Doneness: Appealing presentation with vibrant toppings
Step 8
If you want a lighter version, try reducing the sugar slightly or swapping it for maple syrup, but keep in mind this changes the texture slightly. The sugar helps with setting and sweetness balance, so adjust carefully.
⏱ Time: Optional adjustment time
✓ Doneness: Sweetness balanced to your liking without compromising texture
Step 9
Enjoy this dessert within 2 days for best freshness. Keep refrigerated and covered to maintain creamy texture and prevent it from absorbing fridge odors. This recipe is ideal for making a day ahead to let flavors develop fully.
⏱ Time: Storage advice
✓ Doneness: Freshness and texture maintained when stored properly
Pro Tips
Whisk cornstarch into cold oat milk before heating.
Dissolving cornstarch in cold liquid prevents lumps and ensures a smooth, even thickening. If added directly to hot liquid, cornstarch can clump and create an unpleasant texture in the dessert.
Heat the mixture gently and stir constantly.
Slow heating prevents the coconut oil from separating and oat milk from curdling. Constant stirring distributes heat evenly and activates the thickening power of cornstarch without burning the bottom.
Chill the dessert for at least an hour before serving.
Cooling allows the starch network to set firmly, giving the dessert a creamy but stable texture. Serving it warm results in a runnier consistency that’s less enjoyable.
Use refined coconut oil for a neutral flavor.
Refined coconut oil won’t impart a strong coconut taste, which keeps the dessert’s flavor balanced and subtle. Virgin coconut oil has a stronger aroma that might overpower the delicate vanilla and oat milk notes.
Add vanilla extract after removing from heat.
Vanilla’s delicate aroma and flavor can dissipate with prolonged heat. Stirring it in after cooking preserves its fragrant qualities for a more flavorful dessert.
Avoid rushing the simmering step.
Simmering allows full gelatinization of cornstarch and flavor melding. Skipping or shortening this can result in an under-thickened dessert or flat taste.
Serve with fresh fruit or toasted coconut for texture contrast.
The creamy dessert benefits from a fresh or crunchy topping that adds complexity and makes each bite more interesting and satisfying.
Common Mistakes to Avoid
Adding cornstarch directly to hot liquid.
Why it happens Many assume cornstarch can be mixed into the hot mixture, but this causes clumping because the starch molecules gelatinize instantly and unevenly.
Fix Always mix cornstarch with a portion of cold oat milk first to dissolve it fully, then gradually whisk into the hot mixture for smooth thickening.
Using high heat during cooking.
Why it happens Rushing the cooking process by increasing heat can cause the coconut oil to separate and the oat milk to curdle, ruining texture.
Fix Cook over medium-low heat and stir constantly to keep the mixture smooth and prevent separation.
Skipping the chilling step.
Why it happens Impatient cooks sometimes serve this dessert warm, but it hasn’t had time to set properly, resulting in a runny texture.
Fix Refrigerate for at least 1 hour to allow the dessert to firm up and develop its creamy consistency.
Not stirring during cooling.
Why it happens Leaving the dessert undisturbed as it cools can form a skin on the surface.
Fix Stir occasionally while cooling to maintain a smooth surface and prevent skin formation.
Using flavored oat milk or sweetened varieties.
Why it happens Flavored or sweetened oat milk can alter the dessert’s flavor and sweetness balance unexpectedly.
Fix Choose plain, unsweetened oat milk for a neutral base that allows you to control sweetness and flavor.
Variations
Chocolate Vegan Creamy Dessert
Add 2 tablespoons of cocoa powder to the oat milk mixture before heating for a rich chocolate version. Use a bit more sugar if you like it sweeter. This variation has a deep, comforting flavor with the same creamy texture.
Note: Mix cocoa powder well with sugar before adding to prevent lumps and adjust thickening time slightly as cocoa can affect consistency.
Lemon Vanilla Vegan Pudding
Stir in fresh lemon zest and a tablespoon of lemon juice after cooking to add a bright, citrusy twist. This freshens the dessert and pairs beautifully with the creamy base for a light, summery taste.
Note: Add lemon juice off the heat to prevent curdling and maintain smooth texture.
Maple-Sweetened Vegan Dessert
Swap cane sugar for pure maple syrup for a natural sweetness with a hint of caramel. This version is less granular and has a slightly thinner texture but offers a lovely depth of flavor.
Note: Reduce liquid slightly to compensate for syrup’s extra moisture and add syrup after heating to preserve flavor.
Nutty Vegan Dessert with Almond Butter
Whisk in 2 tablespoons of smooth almond butter after cooking for a nutty flavor and extra creaminess. This adds richness and a subtle almond aroma that complements the vanilla beautifully.
Note: Add almond butter off heat and whisk vigorously to incorporate smoothly.
Berry Swirl Vegan Dessert
Fold in a berry compote or fresh mashed berries after chilling for a fruity burst. This adds color and a tart contrast to the sweet creamy base, making it more vibrant and fun.
Note: Add fruit topping just before serving to keep texture fresh and avoid watering down the dessert.
Nutrition
Per Serving:
Nutritional values are estimates and may vary based on specific ingredients used.
Storage & Tips
Room Temperature
This dessert should not be left at room temperature for more than 2 hours as it contains perishable oat milk. Cover it loosely if waiting briefly before refrigerating.
Refrigerator
Store in an airtight container for up to 3 days. The texture may firm up further when chilled; serve cold or let sit at room temperature for 10 minutes before enjoying for a softer feel.
Freezer
Freeze for up to 1 month in a sealed container. Thaw overnight in the fridge and stir gently before serving. Texture may be slightly grainier after freezing but still tasty.
Reheating
Reheat gently on the stovetop over low heat with a splash of oat milk to loosen if needed. Avoid boiling which can break the emulsion and cause separation.
Make Ahead
Prepare the dessert base and cook it 1-2 days ahead. Store covered in the fridge and add any fresh toppings just before serving for best freshness.
FAQ
Can I use other plant milks instead of oat milk?
Yes, but oat milk works best for creaminess and texture. Almond or soy milk can be used but may result in a thinner dessert. Avoid watery plant milks as they won’t thicken well with cornstarch.
What if my dessert is too runny?
If it’s runny, it likely needs more cooking time to fully activate the cornstarch. Return it to low heat and cook while stirring until it thickens. Also, ensure cornstarch was properly dissolved before adding.
Can I make this dessert nut-free?
Absolutely! This recipe is naturally nut-free unless you add nut toppings or variations. Just ensure your oat milk is processed in a nut-free facility if allergies are a concern.
How do I prevent lumps from forming?
Whisk cornstarch thoroughly into cold oat milk before mixing with hot ingredients. Stir constantly during cooking and cook gently over medium-low heat to maintain smoothness.
Can I use arrowroot instead of cornstarch?
Yes, arrowroot is a great alternative with a similar thickening power and produces a glossy finish. Use the same amount but add it off heat to avoid breakdown from prolonged cooking.
Is this dessert suitable for kids?
Definitely! It’s mild, creamy, and naturally sweet without any eggs or dairy, making it a safe and tasty option for children and those with dietary restrictions.
How long does this dessert keep in the fridge?
Up to 3 days in an airtight container. The texture remains creamy but may firm up more. Let it sit a few minutes at room temperature before serving if you prefer a softer texture.
Can I double the recipe for a larger batch?
Yes, this recipe scales well. Just be sure to use a larger saucepan and stir carefully to avoid lumps. Cooking time may increase slightly to reach the right thickness.
Final Thoughts
Give this creamy vegan dessert a try—you’ll love how simple and satisfying it is! Don’t forget to share your results and favorite toppings with me.