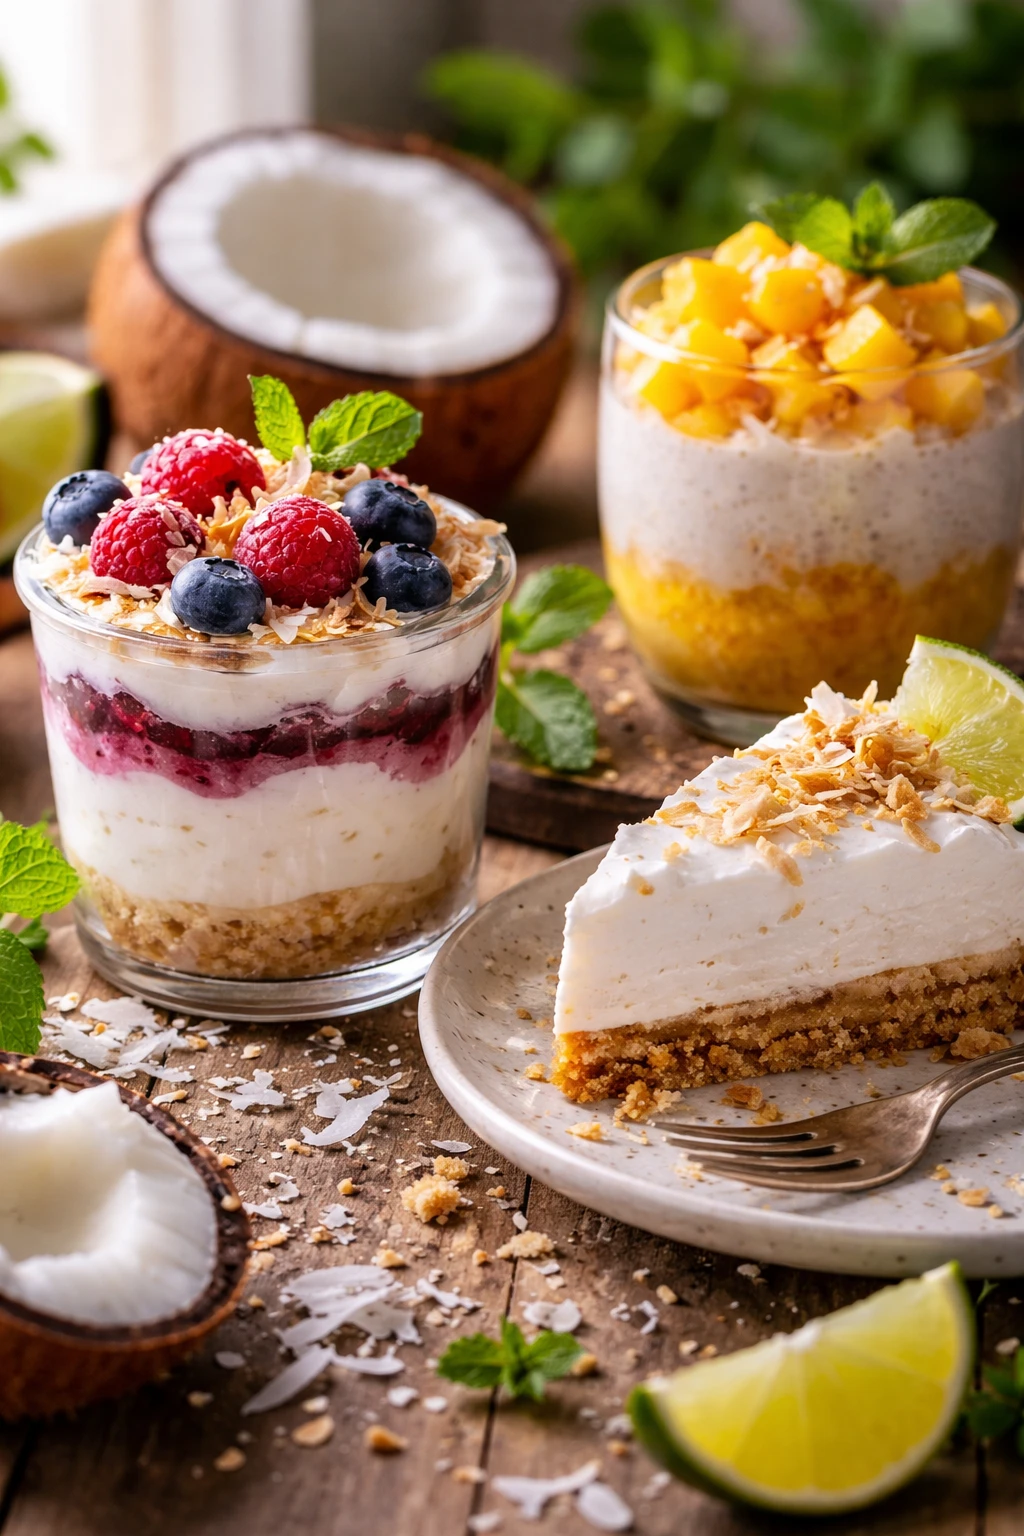
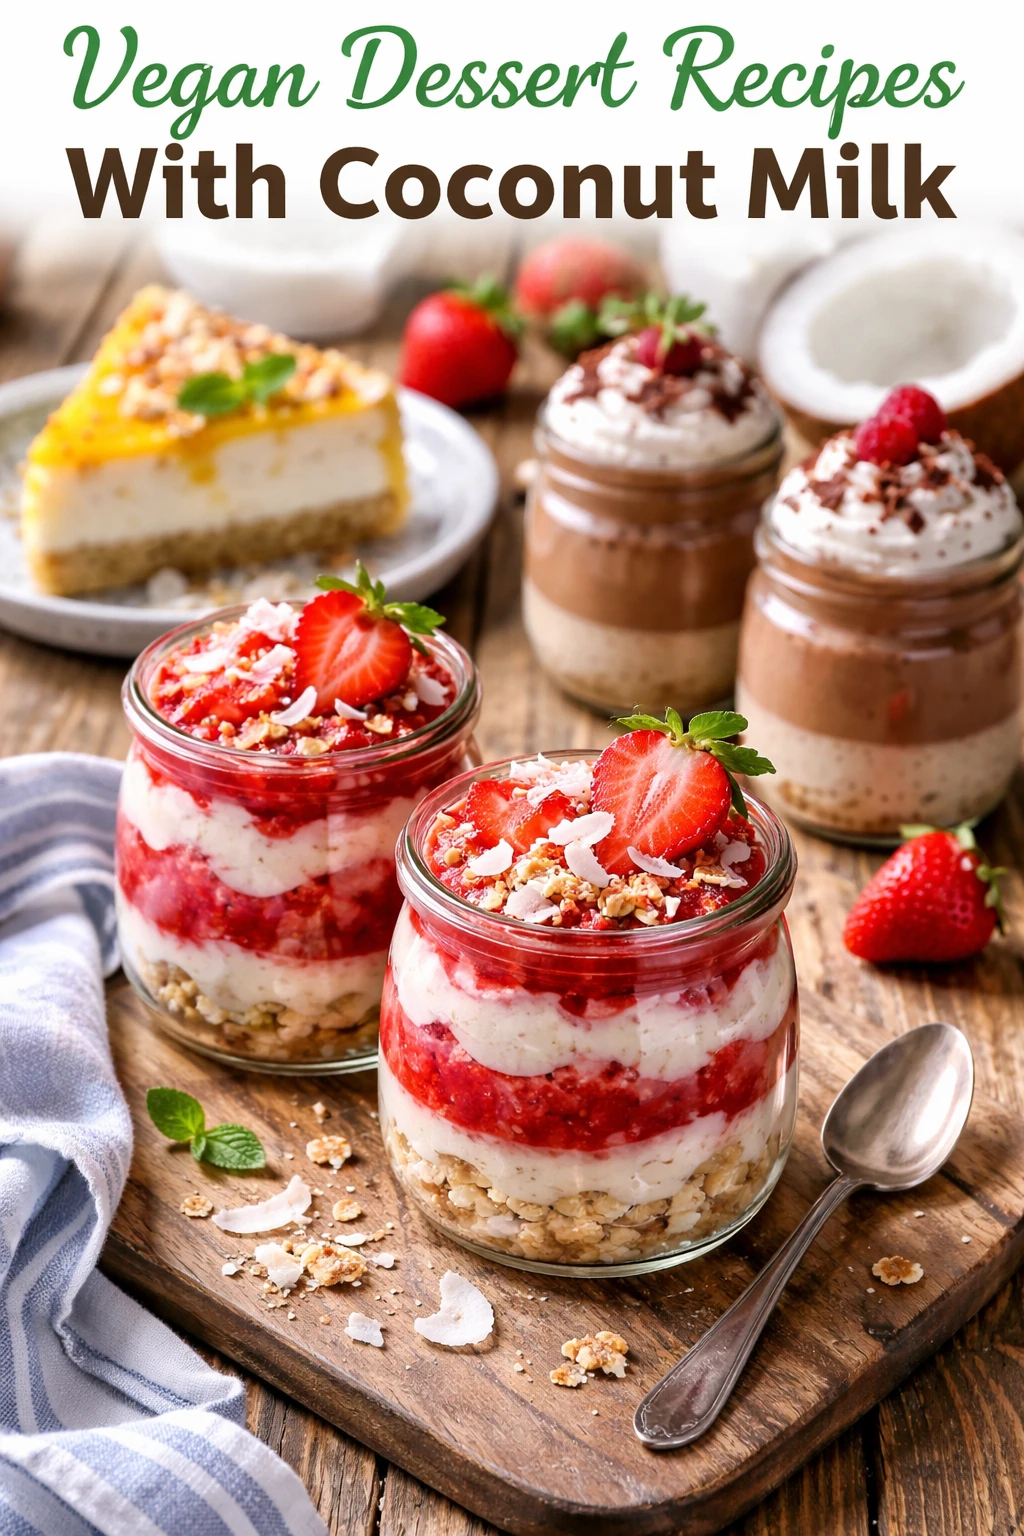
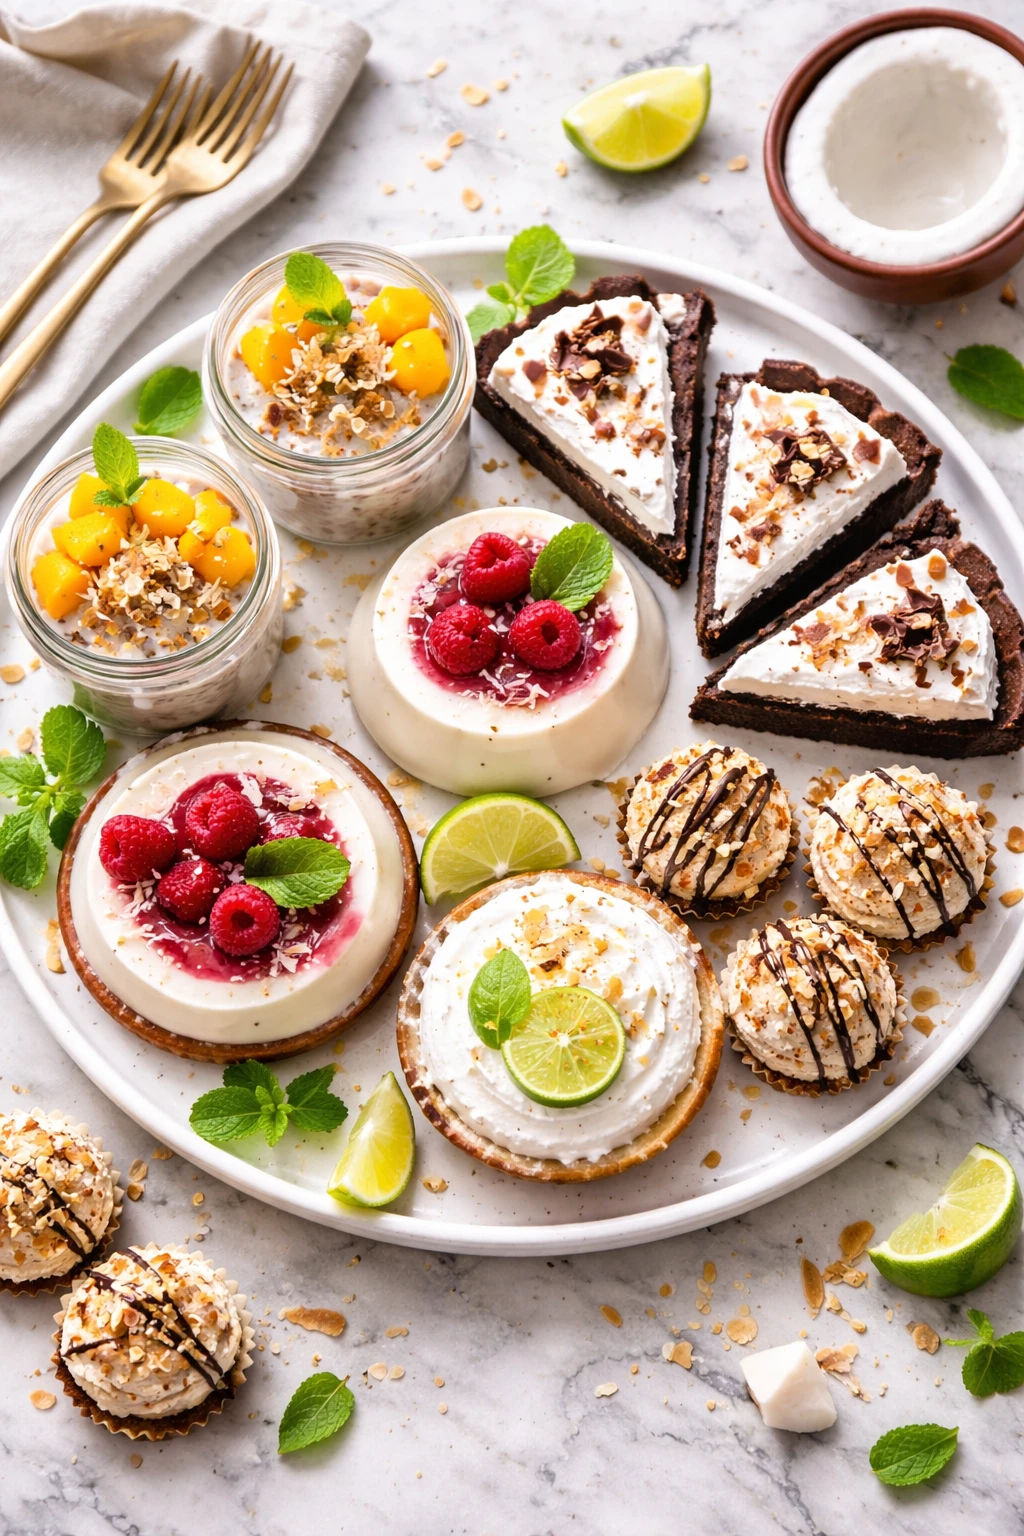
This vegan coconut milk pudding is all about creamy richness without dairy. Using full-fat coconut milk gives it that luscious texture, making it perfect for a cozy dessert anytime you crave something soothing and plant-based.
Introduction
I stumbled upon this vegan coconut milk pudding recipe a few years ago when I was craving a creamy dessert but wanted to avoid dairy. Unlike other vegan puddings that can be thin or grainy, this one turns out silky smooth every time, thanks to the full-fat coconut milk and just the right amount of cornstarch for thickening. The trick I learned is to whisk the cornstarch with a little cold coconut milk before heating to avoid lumps. I also like to cook it low and slow, stirring constantly, so it thickens gently without curdling. The result is a luscious, comforting pudding that feels indulgent but is totally plant-based. Whether I’m serving it at a casual weeknight dinner or a special gathering, it’s always a hit. Plus, it’s so easy to make that I often whip it up last minute when I want something sweet and cozy. The natural coconut flavor shines through without being overpowering, and you can customize it with your favorite toppings for extra texture and taste. Honestly, it’s become one of my go-to vegan desserts that never disappoints.
What You'll Need
Approximately 4 cups, 4 servings
- 2 cans (13.5 oz each) full-fat coconut milk, well shaken
- 1/3 cup granulated sugar or coconut sugar
- 1/4 cup cornstarch
- 1/4 teaspoon salt
- 1 teaspoon pure vanilla extract
- Optional toppings: toasted coconut flakes, fresh berries, chopped nuts
How To Do It
Step 1
Start by shaking the cans of full-fat coconut milk really well to mix the cream and water. Pour 1 1/2 cups of the coconut milk into a medium saucepan. This initial step is important because the fat content in full-fat coconut milk gives the pudding its creamy texture. Using well-mixed coconut milk ensures consistency and prevents separation during cooking. Avoid using light coconut milk here as it won’t thicken properly.
⏱ Time: 5
✓ Doneness: The coconut milk should look smooth and slightly thickened as it warms.
Step 2
In a separate small bowl, whisk together the cornstarch, sugar, salt, and the remaining 1 1/2 cups of coconut milk until completely smooth and no lumps remain. This slurry is crucial because it evenly distributes the thickener and sugar, preventing clumps. If you rush this step or skip whisking thoroughly, you’ll end up with a grainy texture in the pudding.
⏱ Time: 5
✓ Doneness: The mixture should be silky and lump-free.
Step 3
Slowly pour the cornstarch mixture into the warm coconut milk in the saucepan, whisking constantly to combine. This gradual incorporation avoids sudden temperature changes that can cause lumps or curdling. Constant whisking also helps the starch disperse evenly, which is key for a smooth pudding.
⏱ Time: 3
✓ Doneness: The mixture should look uniform without streaks.
Step 4
Place the saucepan back on medium-low heat and continue to cook, whisking constantly, until the mixture thickens and starts to bubble gently. This usually takes about 10-12 minutes. Cooking slowly allows the starch molecules to swell properly, thickening the pudding without breaking down the coconut milk fats or causing separation. Rushing this can lead to a thin or lumpy pudding.
⏱ Time: 12
✓ Doneness: The pudding coats the back of a spoon and leaves a clear line when you run your finger through it.
Step 5
Once thickened, remove the saucepan from heat and stir in the vanilla extract for flavor. Adding vanilla at this stage preserves its delicate aroma and enhances the natural sweetness of the coconut milk. Stirring it in off the heat prevents the vanilla from evaporating or becoming bitter.
⏱ Time: 2
✓ Doneness: Pudding has a glossy finish and fragrant vanilla scent.
Step 6
Pour the pudding into individual serving dishes or a large bowl. To avoid a skin forming on top, press a piece of plastic wrap directly onto the surface of the pudding. This step is important for texture—without the plastic wrap, a film can develop, which some find unappealing.
⏱ Time: 3
✓ Doneness: Smooth surface with no skin forming under the plastic wrap.
Step 7
Refrigerate the pudding for at least 2 hours or until fully chilled and set. Chilling allows the pudding to firm up and develop that satisfying spoonable texture. If you serve it too soon, it might be too soft or runny.
⏱ Time: 120
✓ Doneness: Pudding is chilled through and holds its shape when scooped.
Step 8
Before serving, you can add optional toppings like toasted coconut flakes, fresh berries, or chopped nuts to add texture and contrast. These toppings complement the creamy pudding and make it feel more special. Toasting the coconut flakes enhances their nuttiness and crunch.
⏱ Time: 5
✓ Doneness: Toppings look fresh and add appealing color contrast.
Step 9
Serve chilled and enjoy immediately. This pudding is best eaten cold as it’s refreshing and silky. If it thickens too much in the fridge, let it sit at room temperature for a few minutes and stir gently before serving.
⏱ Time: 1
✓ Doneness: Pudding spoon glides smoothly without resistance.
Pro Tips
Whisk the cornstarch with cold coconut milk before adding to the saucepan.
This step prevents lumps by evenly dispersing the starch granules, ensuring a smooth pudding. If you add cornstarch directly to hot liquid, it clumps and creates a grainy texture that’s hard to fix.
Cook the pudding on medium-low heat, stirring constantly.
Slow cooking allows the starch to gelatinize properly and prevents the coconut milk from separating or scorching. High heat can cause curdling or burnt flavors, ruining the pudding’s texture and taste.
Press plastic wrap directly onto the pudding surface while cooling.
This prevents a skin from forming on top, which some find unappealing. The plastic wrap traps moisture and keeps the surface silky smooth until you’re ready to serve.
Use full-fat coconut milk for the creamiest texture.
The fat content mimics dairy cream’s richness and helps emulsify the pudding. Lighter coconut milk varieties lack the fat needed for proper thickening, resulting in a watery or grainy dessert.
Add vanilla extract off the heat after cooking.
Vanilla’s delicate flavor and aroma can be damaged by prolonged heat, making it taste bitter. Stirring it in after removing from heat preserves its sweet, fragrant qualities.
Toast coconut flakes for topping to boost flavor and texture.
Toasting deepens the nutty flavor and adds crunch, creating a pleasant contrast with the smooth pudding. Untoasted flakes can taste raw and lack depth.
Let the pudding chill for at least 2 hours before serving.
Chilling firms up the pudding and lets flavors meld. Serving too soon means the texture will be runny and less satisfying.
Common Mistakes to Avoid
Using light coconut milk instead of full-fat
Why it happens Some people choose light coconut milk thinking it’s healthier or to reduce calories, but they don’t realize it won’t thicken properly.
Fix Always select full-fat coconut milk for this recipe. The fat content is essential for the pudding’s creamy texture and proper thickening. Avoid substitutions unless you adjust the thickener accordingly.
Not whisking cornstarch slurry well
Why it happens It’s easy to skip this step or mix it too quickly, resulting in lumps.
Fix Take time to whisk the cornstarch thoroughly with cold coconut milk until smooth before adding to the hot mixture. This ensures even thickening and a silky final texture.
Cooking at too high a temperature
Why it happens Rushing the cooking process or using high heat to save time.
Fix Cook on medium-low heat and stir constantly to prevent scorching and curdling. Patience here guarantees a smooth, creamy pudding.
Skipping plastic wrap on the surface
Why it happens Forgetting or not knowing about skin formation.
Fix Cover the pudding surface with plastic wrap as soon as it’s poured into dishes to prevent a skin from forming, keeping the texture pleasant.
Adding vanilla too early
Why it happens Adding vanilla during cooking can happen if you’re not familiar with the ingredient’s sensitivity to heat.
Fix Add vanilla after removing the pudding from heat to preserve its flavor and aroma.
Variations
Chocolate Coconut Pudding
Add 1/4 cup of unsweetened cocoa powder to the cornstarch slurry before cooking. This turns the pudding into a rich, chocolatey treat that still keeps the creamy coconut base. You can top it with vegan whipped cream or chocolate shavings for extra indulgence.
Note: The cocoa powder slightly thickens the mixture, so watch the cooking time to avoid over-thickening.
Mango Coconut Pudding
Blend fresh ripe mangoes and fold them into the pudding after cooking and cooling slightly. This adds a tropical sweetness and a bit of texture contrast, making the dessert vibrant and refreshing.
Note: Add mango puree off the heat to preserve its fresh flavor and avoid curdling.
Matcha Coconut Pudding
Whisk 1 tablespoon of matcha green tea powder into the cornstarch slurry for a subtle earthy flavor and beautiful green color. This variation pairs wonderfully with a sprinkle of toasted sesame seeds on top.
Note: Matcha can be bitter if overcooked, so add it to the slurry before cooking and keep stirring gently.
Vanilla Bean Coconut Pudding
Use the seeds of one vanilla bean pod instead of extract for a more intense vanilla flavor and pretty specks throughout the pudding. The natural bean adds a gourmet touch and richer aroma.
Note: Simmer the pod with the coconut milk to infuse flavor, then remove before adding the cornstarch slurry.
Spiced Coconut Pudding
Add a pinch of ground cinnamon, nutmeg, and cardamom to the cornstarch mixture for warm, cozy spices that complement the coconut flavor perfectly. Great for fall or winter desserts.
Note: Add spices to the dry ingredients before mixing with liquid to ensure even distribution.
Nutrition
Per Serving:
Nutritional values are estimates and may vary based on specific ingredients used.
Storage & Tips
Room Temperature
You can leave the pudding at room temperature for up to 2 hours covered with plastic wrap. Beyond that, refrigeration is necessary to prevent spoilage.
Refrigerator
Store pudding in airtight containers for up to 3 days. The texture may thicken further when cold; let it sit at room temperature for 10 minutes and stir gently before serving if it feels too firm.
Freezer
Freezing is not recommended as the pudding’s texture can become grainy upon thawing. If you must freeze, place in airtight containers for up to 1 month and thaw slowly in the refrigerator.
Reheating
Reheat gently on the stovetop over low heat, stirring constantly. Add a splash of coconut milk or plant milk to loosen the pudding if it thickened too much. Avoid microwaving as it heats unevenly and can cause separation.
Make Ahead
You can prepare the pudding base a day ahead and refrigerate it covered tightly. Add toppings just before serving for best texture and freshness.
FAQ
Can I use light coconut milk instead of full-fat?
Light coconut milk lacks sufficient fat to create the creamy texture needed for this pudding. Using it will result in a thinner, less rich dessert. For best results, stick to full-fat coconut milk to achieve the silky consistency and flavor.
How do I avoid lumps in my pudding?
Whisk the cornstarch with cold coconut milk thoroughly before adding to the hot milk. Also, stir constantly during cooking over medium-low heat. These steps prevent starch from clumping and ensure a smooth finish.
Can I substitute cornstarch with another thickener?
Cornstarch is preferred for its neutral flavor and smooth texture.
Why is my pudding grainy?
Graininess usually results from cooking at too high a temperature, causing starch to break down or coconut milk to separate. Cooking gently on medium-low heat and stirring constantly helps maintain a smooth texture.
Can I make this pudding in advance?
Absolutely! It keeps well in the fridge for up to 3 days. Just cover it tightly with plastic wrap pressed onto the surface to prevent skin formation. Bring it to room temperature before serving for the best texture.
How can I make the pudding sweeter or less sweet?
Adjust the sugar amount to your taste when mixing the slurry. Keep in mind sugar also affects texture and thickening, so don’t reduce it too drastically or the pudding might not set properly.
What toppings work best with this pudding?
Toasted coconut flakes, fresh berries, chopped nuts, or a drizzle of maple syrup all complement the creamy coconut flavor beautifully. Adding crunch or brightness balances the pudding’s richness.
Is this recipe nut-free and allergy friendly?
Yes, it’s naturally nut-free if you avoid nut toppings. Coconut is a fruit and generally safe for nut allergies, but check with your allergist if unsure. This pudding is also gluten-free and dairy-free.
Final Thoughts
I hope you give this vegan coconut milk pudding a try—it’s one of those comforting desserts that feels like a little celebration in every spoonful. Let me know how yours turns out!