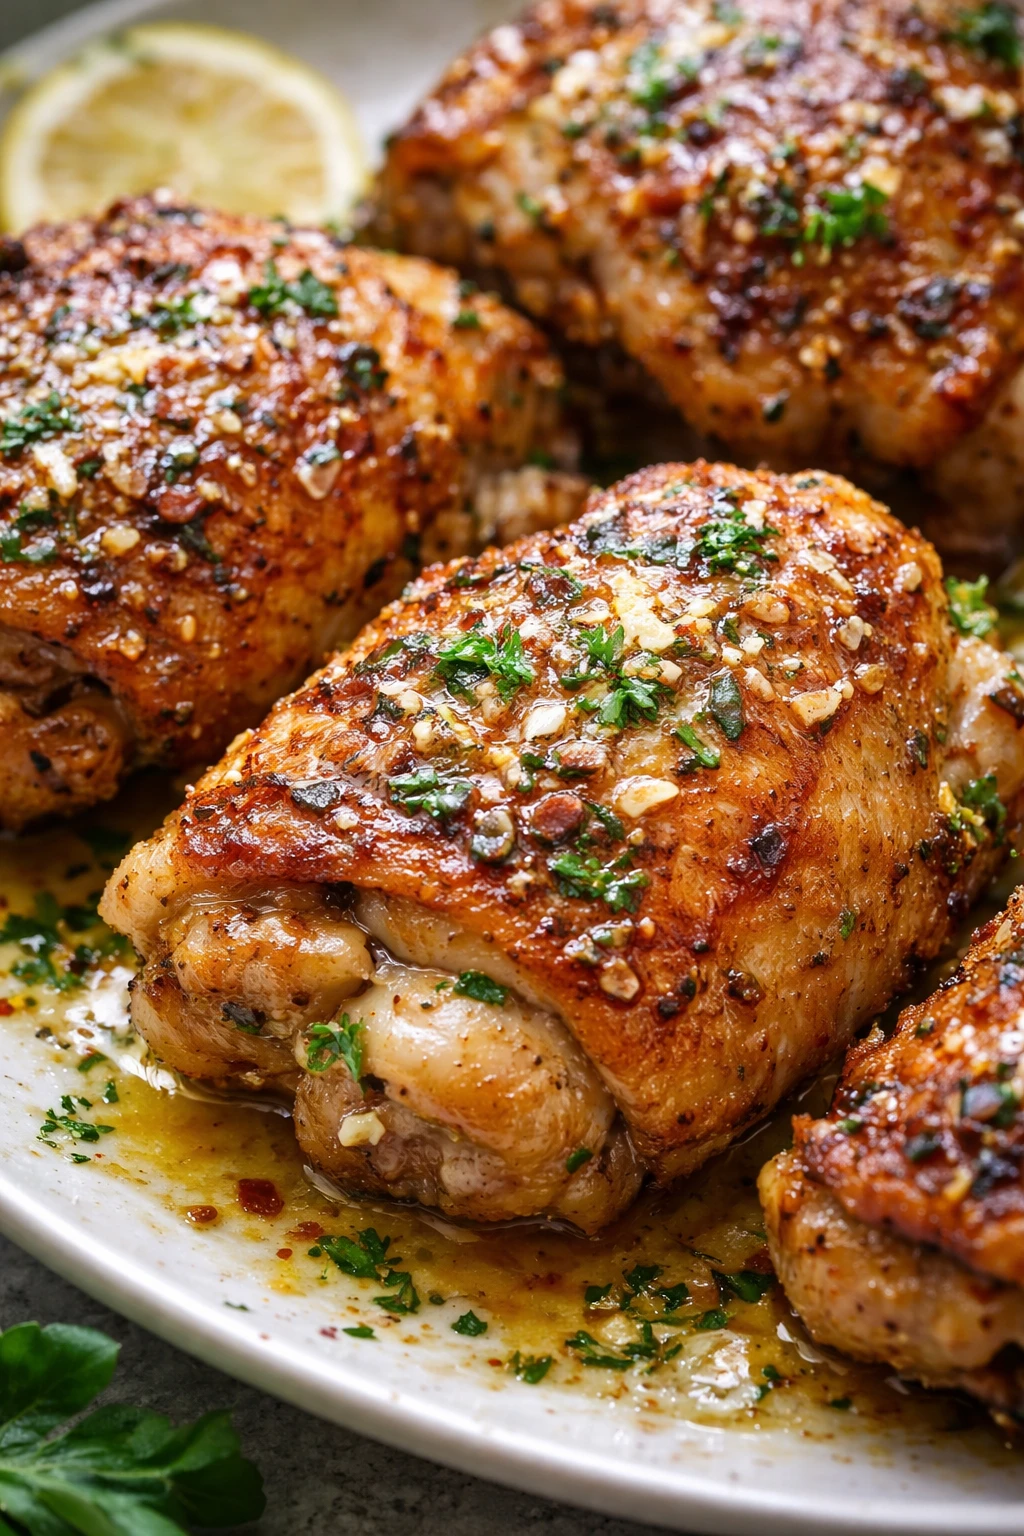
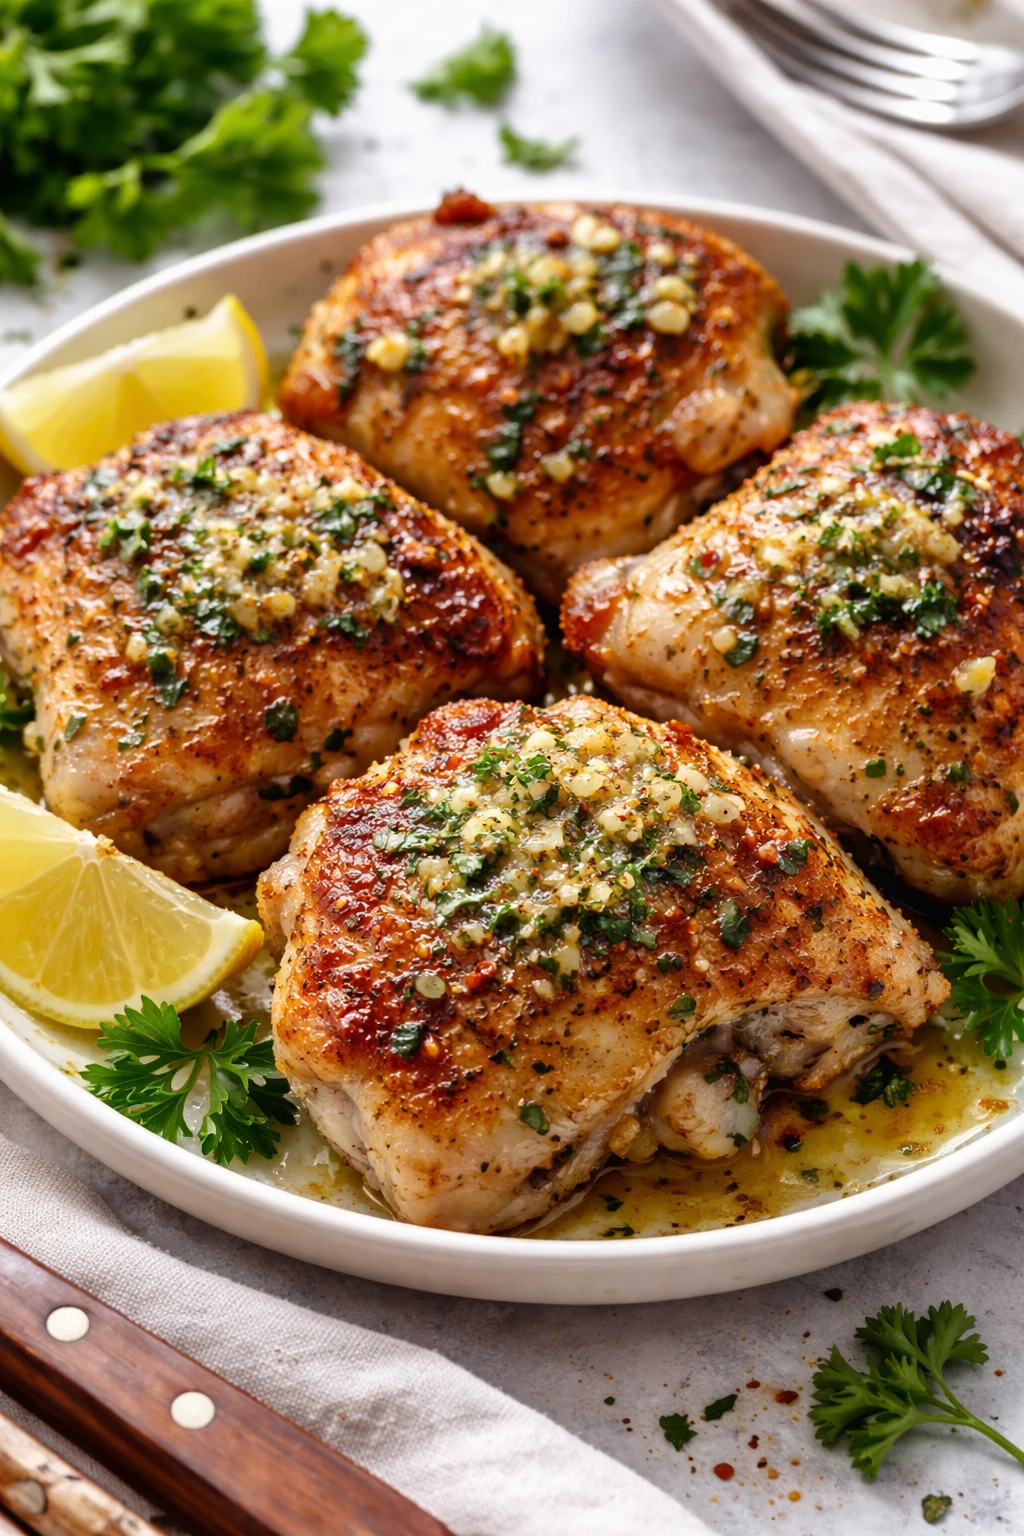
These chicken thighs get perfectly crispy in the airfryer and finish with a rich garlic herb butter that makes every bite juicy and flavorful. Ideal for a quick weeknight dinner that feels special without the fuss.
Introduction
I first made this crispy airfryer chicken thighs recipe when I was scrambling for a quick dinner that didn’t sacrifice flavor. The trick I learned was to airfry the thighs skin-side down first to render the fat, then flip to get that golden, crackly skin everyone loves. Finishing the chicken with a garlic herb butter adds a luscious, rich layer that takes it from good to wow. I used to struggle with dry chicken thighs, but this method keeps them juicy and tender inside while the skin crisps up perfectly. Plus, it’s hands-off once it’s in the airfryer, so I can prep a side while it cooks. The finished dish is deeply flavorful, with a buttery garlic note that complements the smoky paprika seasoning. It’s become a go-to for weeknights when I want something satisfying but easy. I hope you enjoy making it as much as I do!
How To Do It
Step 1
Pat the chicken thighs dry with paper towels to remove any moisture. This step is crucial because wet skin won’t crisp up properly in the airfryer. Next, season both sides evenly with kosher salt, black pepper, and smoked paprika. The salt not only flavors the meat but also helps draw out excess moisture, aiding the crisping process. Make sure each piece is well-coated for maximum flavor and texture.
⏱ Time: 10
✓ Doneness: Skin looks dry and the seasoning is evenly visible without clumps
Step 2
Preheat your airfryer to 375°F (190°C) for about 5 minutes. Place the chicken thighs skin-side down in a single layer in the basket—avoid overcrowding for even air circulation. Cooking skin-side down first helps render the fat under the skin, making it extra crispy later. Cook for 15 minutes, then flip them over carefully using tongs to cook the other side. The airfryer’s hot circulating air crisps the skin while keeping the meat juicy inside.
⏱ Time: 30
✓ Doneness: Skin is golden brown and crisp; internal temperature reads 165°F (74°C)
Step 3
While the chicken cooks, mix softened butter with minced garlic, chopped parsley, and thyme in a small bowl. This herb butter will add a fresh, savory finish to the crispy thighs. Make sure the butter is soft enough to blend easily but not melted. The fresh herbs brighten the rich butter, balancing the smoky paprika on the chicken.
⏱ Time: 5
✓ Doneness: Butter mixture is smooth, fragrant, and evenly combined
Step 4
Once the chicken thighs are done cooking, remove them from the airfryer and immediately brush the garlic herb butter over the hot skin. The residual heat will melt the butter, creating a shiny, flavorful glaze that seeps into the meat. Don’t skip this step—it’s what transforms the dish from good to irresistible. Serve immediately to enjoy the contrast of crispy skin and buttery richness.
⏱ Time: 5
✓ Doneness: Butter is melted and glistening on the chicken surface
Step 5
Let the chicken rest for 5 minutes before serving. Resting allows the juices to redistribute inside the meat, ensuring every bite is juicy and tender rather than dry. Cover loosely with foil during this time to keep warm. This final pause is often overlooked but makes a noticeable difference in texture and flavor.
⏱ Time: 5
✓ Doneness: Chicken feels warm and juicy when pressed gently
Step 6
For an extra touch, drizzle any leftover garlic herb butter from the bowl over the chicken just before serving. You can also sprinkle a pinch more fresh parsley on top for color and freshness. These small finishing touches elevate the presentation and flavor, making it feel like a special meal even on a busy weeknight.
⏱ Time: 2
✓ Doneness: Chicken looks glossy and garnished with fresh green herbs
Step 7
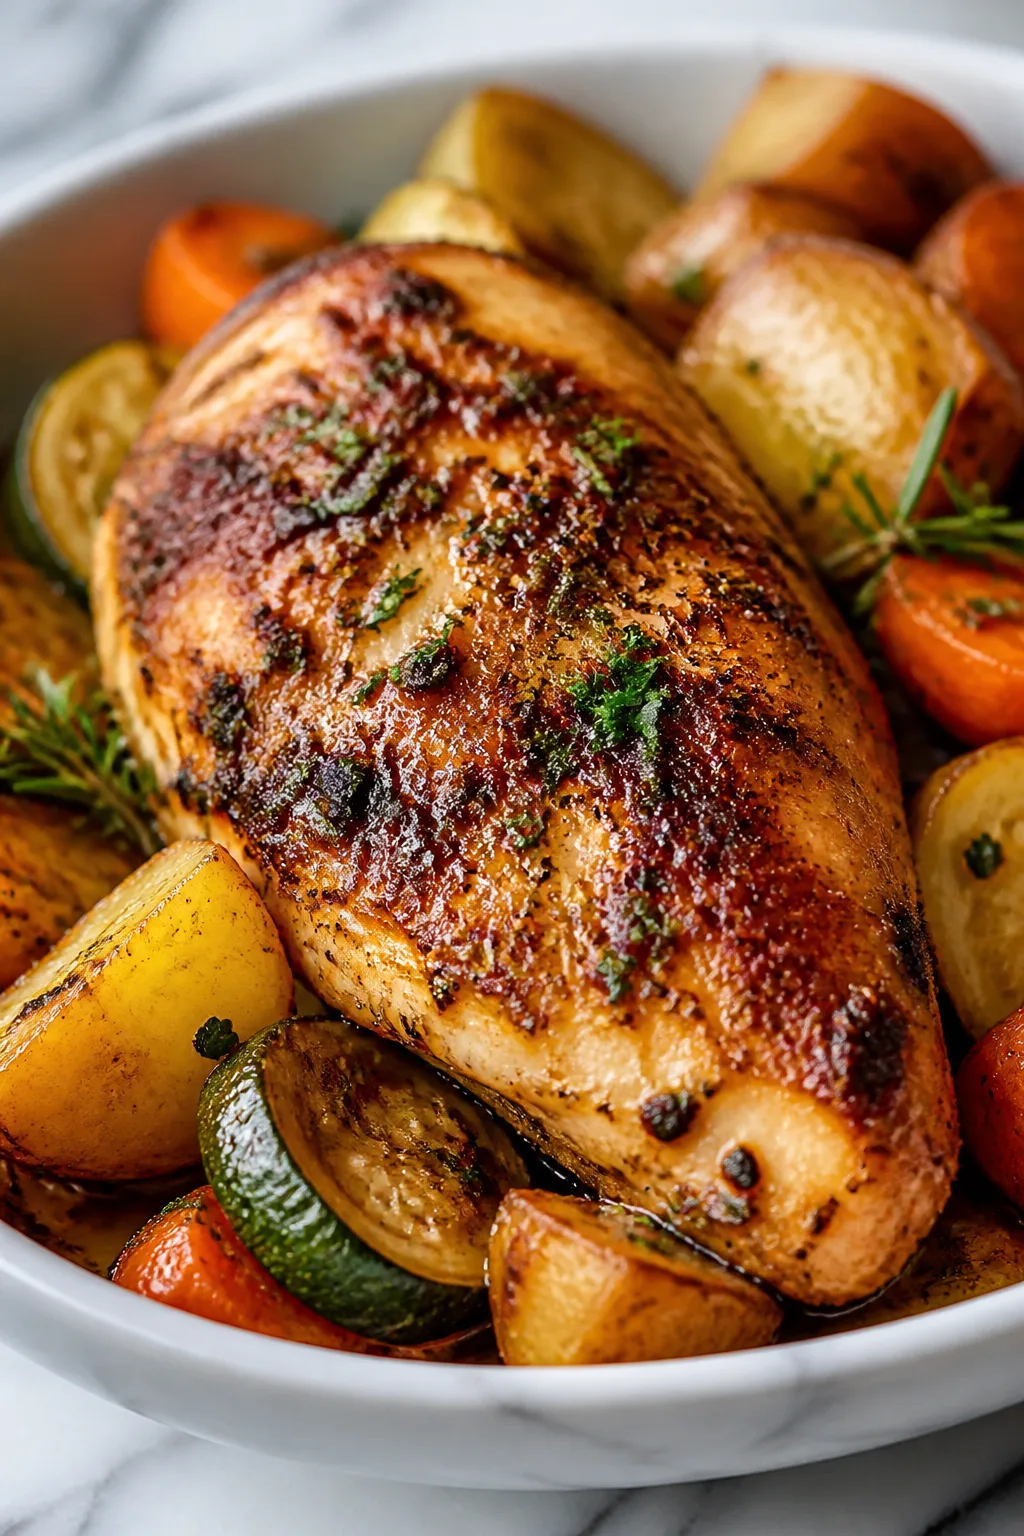
Pair these crispy thighs with simple sides like roasted veggies, a crisp salad, or buttery mashed potatoes. The richness of the garlic herb butter pairs perfectly with fresh or roasted vegetables. Planning your sides while the chicken cooks makes the whole meal come together quickly and effortlessly.
⏱ Time: 0
✓ Doneness: Sides are ready to serve alongside the chicken
Step 8
If you want to prep ahead, you can season the chicken and mix the herb butter up to a day in advance. Keep the chicken uncovered in the fridge to help dry out the skin for better crisping, and store the butter wrapped tightly. This makes weeknight dinner a breeze because most of the work is done.
⏱ Time: 0
✓ Doneness: Chicken skin feels dry and butter stays firm but spreadable
Step 9
Avoid overcrowding the airfryer basket; if you have more than 4 thighs, cook in batches. Overcrowding traps moisture and prevents the skin from crisping properly. Also, resist the urge to flip the chicken multiple times—one flip halfway through cooking is enough to get even browning without drying out the meat.
⏱ Time: 0
✓ Doneness: Evenly browned, crispy skin without soggy patches
Pro Tips
Dry the chicken skin thoroughly before seasoning.
Moisture on the skin creates steam during cooking, which prevents crisping. Patting the skin completely dry helps the airfryer render the fat and crisp the skin evenly. Skipping this step often results in soggy skin.
Preheat the airfryer before adding chicken.
Preheating ensures the cooking environment is hot from the start, which jump-starts the Maillard reaction—the chemical browning that creates flavor and crispy skin. Adding chicken to a cold airfryer slows this process and can lead to uneven cooking.
Season the chicken generously with kosher salt.
Salt draws out moisture from the skin and seasons the meat deeply. Under-seasoning means bland chicken and less crisp skin. Over-seasoning can be fixed by rinsing lightly, but it’s better to season well upfront for balanced flavor.
Flip chicken thighs only once during cooking.
Flipping too often disrupts the cooking process and can cause uneven browning or drying out. One flip halfway through ensures both sides crisp evenly and the meat stays juicy.
Use bone-in, skin-on thighs for best results.
Bones help retain moisture and provide flavor, while skin crisps up nicely in the airfryer. Boneless or skinless thighs cook faster but tend to be drier and lack the satisfying crunch.
Make the garlic herb butter ahead and keep chilled.
Cold butter spreads easily and melts evenly over hot chicken, creating a glossy, flavorful finish. Soft or melted butter can separate or soak into the skin, reducing crispness.
Let chicken rest after cooking before serving.
Resting allows juices to redistribute inside the meat instead of leaking out when cut. This results in moist, tender chicken rather than dry or stringy texture.
Common Mistakes to Avoid
Skipping drying the chicken skin before cooking
Why it happens Many cooks underestimate how moisture affects crispiness and think seasoning alone is enough.
Fix Pat the skin completely dry with paper towels before seasoning and cooking. For extra dryness, leave uncovered in the fridge for 30 minutes before cooking to help moisture evaporate.
Overcrowding the airfryer basket
Why it happens Trying to cook too many pieces at once to save time is a common shortcut.
Fix Cook in batches if needed, ensuring enough space around each piece for hot air to circulate. This helps skin crisp evenly and prevents steaming.
Not preheating the airfryer
Why it happens Skipping preheating saves a few minutes but impacts cooking quality.
Fix Always preheat the airfryer for 5 minutes before adding chicken to ensure immediate high heat and proper browning.
Flipping chicken too often
Why it happens Some cooks flip repeatedly thinking it helps cook faster or more evenly.
Fix Flip only once halfway through cooking. This maintains the crisp skin and juicy interior without drying out the meat.
Applying garlic herb butter before cooking
Why it happens Trying to save time or infuse flavor earlier can seem logical but backfires.
Fix Apply the herb butter after cooking while the chicken is hot. Butter melts and flavors without sogging the skin, preserving crispness.
Variations
Spicy Cajun Airfryer Chicken Thighs
Swap the smoked paprika for a Cajun spice blend and add a pinch of cayenne for heat. The spicy seasoning adds a bold kick that pairs wonderfully with the garlic herb butter finish. Expect a slightly more intense flavor with a subtle smoky heat.
Note: Because Cajun spices can be saltier, reduce added salt slightly to avoid over-seasoning.
Lemon Herb Chicken Thighs
Add lemon zest to the garlic herb butter and squeeze fresh lemon juice over the cooked thighs just before serving. This brightens the dish with fresh citrus notes and balances the richness of the butter and skin.
Note: Add lemon juice only after cooking to prevent curdling the butter.
Honey Garlic Butter Chicken Thighs
Mix a teaspoon of honey into the garlic herb butter for a sweet-savory glaze that caramelizes slightly on the hot chicken. This variation adds a sticky, luscious texture that’s irresistible.
Note: Brush the honey butter on right after cooking to preserve crispness and avoid burning.
Herb Butter with Rosemary and Sage
Swap parsley and thyme for finely chopped rosemary and sage in the butter for a more earthy, woodsy flavor profile. This works great if you want a deeper herb note with a rustic feel.
Note: Chop herbs finely to avoid overpowering bites and ensure even distribution.
Garlic Butter Chicken Thighs with Parmesan
Add 2 tablespoons of grated Parmesan cheese to the garlic herb butter. The cheese melts over the chicken, adding a nutty, savory layer that complements the crispy skin and herbs beautifully.
Note: Apply Parmesan butter immediately after cooking to avoid burning the cheese.
Nutrition
Per Serving:
Nutritional values are estimates and may vary based on specific ingredients used.
Storage & Tips
Room Temperature
Cooked chicken thighs can safely sit at room temperature for up to 2 hours if covered loosely. Beyond that, bacteria growth increases, so refrigerate promptly. Cover with foil or a clean kitchen towel to keep dust and insects away.
Refrigerator
Store leftover chicken thighs in an airtight container in the fridge for up to 3 days. The skin may lose some crispness, but reheating properly can help restore texture. Enjoy cold for salads or reheat gently before serving.
Freezer
Freeze cooked chicken thighs wrapped tightly in plastic wrap and foil or in a freezer-safe container for up to 3 months. To prevent freezer burn, remove as much air as possible. Thaw overnight in the fridge before reheating.
Reheating
Reheat chicken thighs in a 350°F oven for 10-15 minutes to restore crispness, adding a splash of water or broth under the pan to keep meat moist. Avoid microwaving if possible, as it tends to make skin soggy.
Make Ahead
Season the chicken and prepare the garlic herb butter 1-2 days ahead. Keep chicken uncovered in the fridge to dry the skin for better crisping. On the day, airfry and finish with the butter—this saves time while preserving flavor and texture.
FAQ
Can I use boneless chicken thighs instead of bone-in?
Yes, but boneless thighs cook faster and can dry out more easily. Adjust cooking time down by about 5-7 minutes and watch closely for doneness. The skin may still crisp, but the texture and juiciness won’t be quite the same without the bone’s moisture retention.
What if I don’t have an airfryer? Can I bake this in the oven?
Absolutely! Preheat your oven to 425°F and bake the seasoned chicken thighs on a wire rack over a baking sheet for about 35-40 minutes, flipping halfway. The wire rack helps air circulate for crispier skin, though it won’t be quite as crisp as an airfryer.
How do I know when the chicken is fully cooked?
The safest method is using a meat thermometer. Insert it into the thickest part of the thigh without touching bone; it should read 165°F (74°C). The juices should run clear, and the skin should be golden and crisp.
Can I prepare the garlic herb butter with dried herbs instead of fresh?
You can, but fresh herbs provide a brighter, fresher flavor and better texture. If using dried, reduce the quantity to about one-third and crush them finely before mixing. The flavor will be less vibrant but still tasty.
Why is drying the chicken skin so important?
Dry skin allows the hot air to render fat and crisp the surface instead of steaming it. Moisture on the skin creates steam that prevents browning and leads to soggy skin. Patting dry and even air-drying in the fridge enhances crispiness dramatically.
Can I marinate the chicken overnight?
Marinating with wet marinades isn’t recommended here because excess moisture hinders crisping. Instead, dry brining with salt overnight (just salt and pepper) can improve flavor and texture by drawing out moisture and seasoning the meat deeply.
How can I make this recipe spicier?
Add cayenne pepper or chili powder to the seasoning mix before airfrying. Adjust the amount to taste, starting with 1/4 teaspoon for mild heat. You can also add crushed red pepper flakes to the garlic herb butter for a spicy finish.
Is it okay to use salted butter for the garlic herb butter?
Using salted butter is fine but reduce or omit added salt on the chicken to avoid over-salting. Unsalted butter gives more control over seasoning, but salted butter can add a nice depth of flavor if balanced carefully.
What sides go well with this chicken?
Roasted vegetables, mashed potatoes, steamed green beans, or a crisp salad all pair beautifully. The rich garlic herb butter complements fresh or roasted sides, making this a versatile main dish for any meal.
How do I store leftovers to keep the skin crispy?
Store leftovers uncovered in the fridge for a short time to avoid sogginess, or reheat in the oven on a wire rack to help restore crispness. Avoid storing in airtight containers immediately, as trapped moisture softens the skin.
Final Thoughts
Give these crispy airfryer chicken thighs a try and enjoy the perfect balance of crunch and juicy flavor. I’d love to hear how yours turn out—don’t forget to share your results!