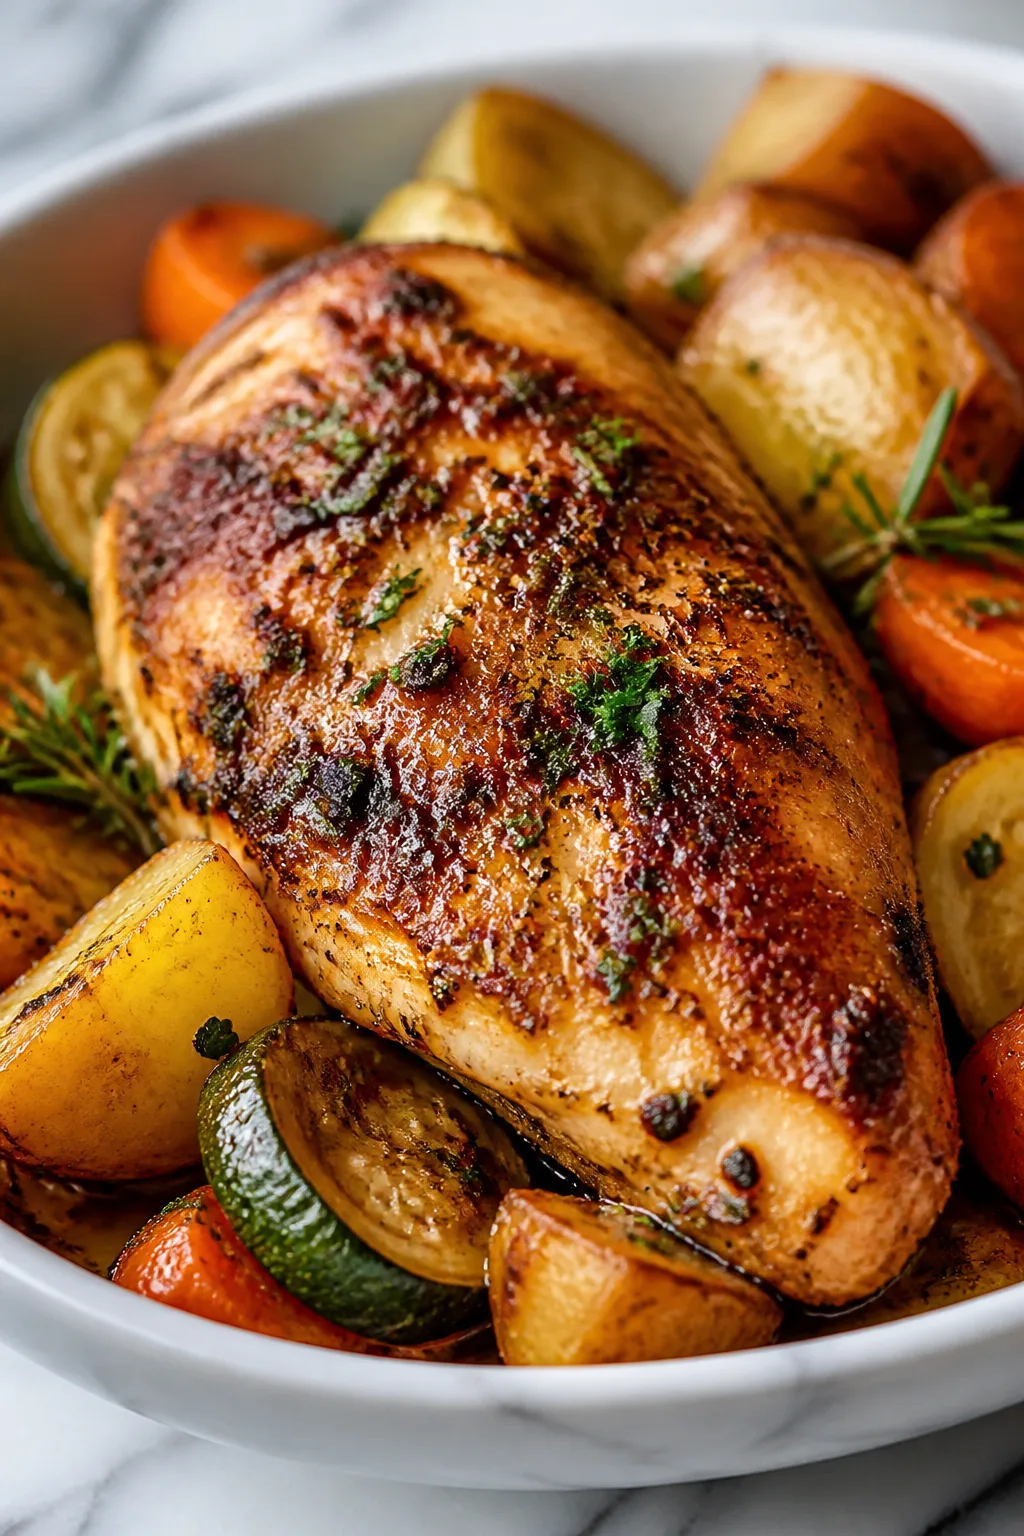
A detailed method for making beef stew that focuses on developing deep flavor through proper browning and achieving tender beef by slow simmering. Includes insights on cut selection, timing for vegetable additions, and broth consistency.
Introduction
I’ve been making beef stew for years, often recalling the cold winter evenings when a warm pot bubbling on the stove brought everyone to the table. Early on, I realized that the key difference between a flat stew and one with depth lies in the browning of the beef. It took me many attempts to understand why rushing this step left the stew lacking. Now, by letting the beef develop a deep crust in a hot pan before simmering slowly, I get a rich broth and tender meat every time. This recipe reflects those lessons and is ideal for family dinners or cozy weekend meals when time allows the flavors to meld.
What You'll Need
Approximately 8 cups of stew, 6 servings
- 2 lbs (900g) beef chuck, cut into 1.5-inch (4cm) pieces
- 3 tbsp (45ml) neutral oil or bacon fat, divided
- 1 large yellow onion (300g), cut into 1-inch (2.5cm) pieces
- 4 cloves (20g) garlic, sliced
- 2 tbsp (30g) tomato paste
- 4 cups (960ml) beef broth, unsalted preferred
- 1 cup (240ml) water or additional broth
- 2 tsp (10g) fine sea salt, divided
- 1/2 tsp (1g) black pepper
- 1.5 tsp (3g) dried thyme
- 1 tsp (2g) dried rosemary, crushed
- 1 bay leaf
- 1 tbsp (15ml) Worcestershire sauce
- 3 large carrots (350g), cut into 1.5-inch (4cm) pieces
- 3 medium potatoes (450g), cut into 1-inch (2.5cm) cubes
- 1 cup (150g) frozen peas, added near end
- Optional: 1 tbsp (8g) cornstarch mixed with 2 tbsp (30ml) cold water for thickening
How To Do It
Step 1
Remove beef from the refrigerator about 15-20 minutes before cooking to allow it to come to near room temperature. Pat dry thoroughly with paper towels to remove surface moisture. Moist beef steams rather than browns, preventing proper crust formation.
⏱ Time: 15-20 minutes
✓ Doneness: Beef feels cool but no longer cold; surface is dry without visible moisture
Step 2
Heat 1 tablespoon (15ml) oil in a heavy-bottomed Dutch oven over medium-high heat until shimmering and just smoking (about 350-375°F or 175-190°C). Add beef in a single layer without crowding, working in batches if necessary. Leave undisturbed for 2-3 minutes per side to develop a deep golden crust. Avoid moving pieces prematurely as crust formation requires contact time.
⏱ Time: 2-3 minutes per side, 3 batches total (18-21 minutes)
✓ Doneness: Beef has a rich, dark golden-brown crust, does not stick to the pan when flipped
Step 3
Transfer browned beef to a plate. If pan looks dry, add another tablespoon of oil. Add diced onion and a pinch of salt (about 1/4 teaspoon) to draw moisture and speed softening. Sauté for 4-5 minutes until onions are translucent and softened. Add garlic slices and cook for another minute until fragrant but not browned.
⏱ Time: 5-6 minutes
✓ Doneness: Onions are translucent; garlic aroma is noticeable without bitterness
Step 4
Stir in tomato paste and cook, stirring constantly, for 1-2 minutes until it darkens and thickens slightly. This caramelization intensifies flavor and balances acidity.
⏱ Time: 1-2 minutes
✓ Doneness: Paste changes from bright red to deep reddish-brown and thickens
Step 5
Return browned beef to the pot, stir to coat with the tomato paste mixture. Add beef broth and water, filling about halfway to three-quarters up the beef pieces. Add bay leaf, thyme, rosemary, Worcestershire sauce, and 1.5 teaspoons (9g) salt. Bring to a gentle simmer over medium-high heat, watching for small bubbles that rise steadily but do not break aggressively.
⏱ Time: 5-10 minutes to reach simmer
✓ Doneness: Surface shows small, gentle bubbles intermittently, no rolling boil
Step 6
Cover pot and reduce heat to low, maintaining a gentle simmer. Avoid boiling to prevent meat toughening. Simmer for 1.5 hours. Test beef by piercing with a fork; it should yield easily without resistance. If not tender, continue simmering up to 30 minutes longer.
⏱ Time: 1.5 hours or longer as needed
✓ Doneness: Fork slides through meat easily; meat feels tender and moist
Step 7
Add carrot and potato pieces to the stew. Stir to distribute evenly. Cook uncovered to allow some evaporation, concentrating flavors. The vegetables will cook for 25-30 minutes until just tender.
⏱ Time: 25-30 minutes
✓ Doneness: Vegetables are submerged, stew surface is gently steaming
Step 8
Check vegetables by piercing a potato piece with a fork. It should be tender but hold shape; carrots should be soft but not mushy. If stew is thinner than desired, mix cornstarch and cold water to form a slurry and stir it in to thicken over 1-2 minutes. This step is optional depending on your preferred consistency.
⏱ Time: 25-30 minutes
✓ Doneness: Potatoes and carrots fork-tender; stew slightly thickened if slurry used
Step 9
Add frozen peas and simmer uncovered for 3-5 minutes. Peas cook quickly and retain their bright green color and slight firmness. Taste and adjust seasoning with salt and pepper carefully, considering earlier salt additions.
⏱ Time: 3-5 minutes
✓ Doneness: Peas are bright green and heated through; stew is hot and flavorful
Step 10
Remove from heat and serve immediately. For later serving, keep stew warm over low heat or transfer to a slow cooker on warm setting. Stew often tastes better after resting overnight as flavors meld further.
⏱ Time: 0 minutes (serving)
✓ Doneness: Stew is steaming hot, meat and vegetables tender, broth rich and fragrant
Pro Tips
Use beef chuck for its collagen content and flavor.
Chuck’s connective tissue breaks down into gelatin during long cooking, giving the stew body and moist, tender meat. Lean cuts lack collagen and dry out.
Brown beef thoroughly in batches without crowding the pan.
Crowding lowers pan temperature and causes steaming instead of browning. The Maillard reaction requires dry, hot surfaces for flavor development.
Choose unsalted broth to control seasoning accurately.
Stew liquid reduces during cooking, concentrating salt. Starting with salted broth risks oversalting.
Maintain a gentle simmer, never a boil, during braising.
Boiling toughens meat by contracting muscle fibers and squeezing moisture out. Gentle simmering allows collagen to break down and tenderize meat.
Add vegetables in stages based on their cooking times.
Carrots and potatoes need longer cooking than peas. Staggering their addition prevents overcooked mushy vegetables.
Prepare the stew a day ahead when possible.
Resting allows flavors to meld and gelatin to set, enriching texture and depth.
Common Mistakes to Avoid
Skipping or rushing the browning step.
Why it happens Impatience or underestimating its importance leads to insufficient flavor development.
Fix Take the time to brown beef in batches, allowing crust formation for 15-20 minutes total.
Boiling the stew instead of simmering.
Why it happens Higher heat seems faster but causes meat to toughen by squeezing out moisture.
Fix Adjust heat to keep small bubbles gently rising, never a rolling boil.
Adding all vegetables at once at the start.
Why it happens Trying to save time overlooks differing cooking requirements, leading to overcooked or undercooked veggies.
Fix Add root vegetables after beef has simmered and peas at the end to preserve texture.
Waiting until the end to add salt.
Why it happens Late salting means salt doesn’t penetrate meat, resulting in uneven seasoning.
Fix Add most salt early with broth to allow gradual absorption; adjust final seasoning after cooking.
Using too much liquid initially.
Why it happens Fear of drying out leads cooks to add excess broth, making stew watery after reduction.
Fix Add enough liquid to cover about three-quarters of beef; reduce during cooking for concentrated flavor.
Variations
Burgundy-Style Beef Stew
Add 1 cup (240ml) dry red wine with the broth, reducing broth to 3 cups (720ml). Caramelize tomato paste a little longer to balance acidity.
Note: Wine’s alcohol cooks off during braise, leaving fruity acidity that brightens flavor and tenderizes beef.
Root Vegetable Stew
Swap potatoes and carrots for parsnips, celery root, and turnips cut similarly. These add sweetness, earthiness, and slight peppery notes.
Note: Different root vegetables vary in density; test doneness with a fork and adjust cooking time slightly if needed.
Mushroom and Beef Stew
Add 12 oz (340g) quartered cremini mushrooms with potatoes and carrots for added umami and earthiness.
Note: Mushrooms release moisture while cooking, which can slightly thin broth; adjust liquid accordingly.
Irish-Style Stew
Omit tomato paste and increase broth to 5 cups (1200ml). Use only beef, potatoes, carrots, and onions with extra thyme for herbaceous notes.
Note: This variation produces a lighter, subtler stew focused on beef and vegetable flavors without tomato acidity.
Pressure Cooker Beef Stew
After browning beef and aromatics, pressure cook for 25 minutes with natural release. Add vegetables after and pressure cook for 3 more minutes. This shortens cooking time to about 45 minutes.
Note: Pressure cooking accelerates collagen breakdown but can produce slightly firmer meat texture compared to slow simmering.
Nutrition
Per Serving:
approximately 425
Calories
These values are estimates and will vary based on beef trim and broth saltiness. Carbohydrates increase slightly if thickening slurry is used.
Storage & Tips
Room Temperature
Do not leave stew at room temperature longer than 2 hours after cooking. Transfer to shallow containers quickly to cool and prevent bacterial growth.
Refrigerator
Store cooled stew in airtight containers for up to 4 days. Fat may solidify on top, which is normal and protects flavor. Taste and texture improve after 1-2 days as flavors meld.
Freezer
Freeze in airtight containers or freezer bags for up to 3 months. Leave about 1 inch (2.5cm) headspace for expansion. Thaw overnight in refrigerator before reheating.
Reheating
Reheat gently over low to medium heat on stovetop, stirring occasionally. Avoid boiling as this breaks down gelatin and toughens meat. Add broth or water if stew thickened too much. Expect 20-30 minutes reheating time.
Make Ahead
Prepare stew up to the end of step 6 (after beef braising), then cool and refrigerate up to 24 hours. Reheat gently, then add vegetables and cook as directed. Flavors benefit from resting overnight.
FAQ
Why is my beef tough and chewy even though I cooked it for 2 hours?
This usually means the stew was boiled rather than simmered gently, causing muscle fibers to contract and dry out. Also, using lean cuts like sirloin instead of chuck can result in toughness.
My stew is too thin and brothy. How do I thicken it?
Create a slurry by mixing 1 tablespoon cornstarch with 2 tablespoons cold water. Stir this into simmering stew and cook 1-2 minutes until thickened. Alternatively, simmer uncovered longer to reduce liquid.
Can I use cuts other than beef chuck?
Yes, cuts like brisket, short ribs, or beef neck also work well due to their collagen content. Avoid lean cuts like sirloin or tenderloin which dry out with long cooking.
How do I know if my stew is done cooking?
Pierce beef with a fork; it should slide through easily and meat should break apart slightly. The broth should be reduced and flavorful. If still tough, continue simmering and test again.
Can I use a slow cooker or Instant Pot instead of stovetop?
Yes. Brown beef on stovetop first, then slow cook for 6-8 hours or pressure cook for about 25 minutes. Both methods yield good stew, though stovetop simmering gives the most tender texture.
Is it okay if my stew doesn't have a lot of visible broth?
Yes, stew thickness varies by preference. Less liquid results in a chunkier stew, more liquid makes it soupier. Adjust initial liquid amounts or simmer uncovered to reach desired consistency.
Final Thoughts
Understanding the steps behind this beef stew—from browning to slow simmering and vegetable timing—helps build cooking skills beyond this recipe. I welcome your thoughts or questions about the process or variations you’ve tried.