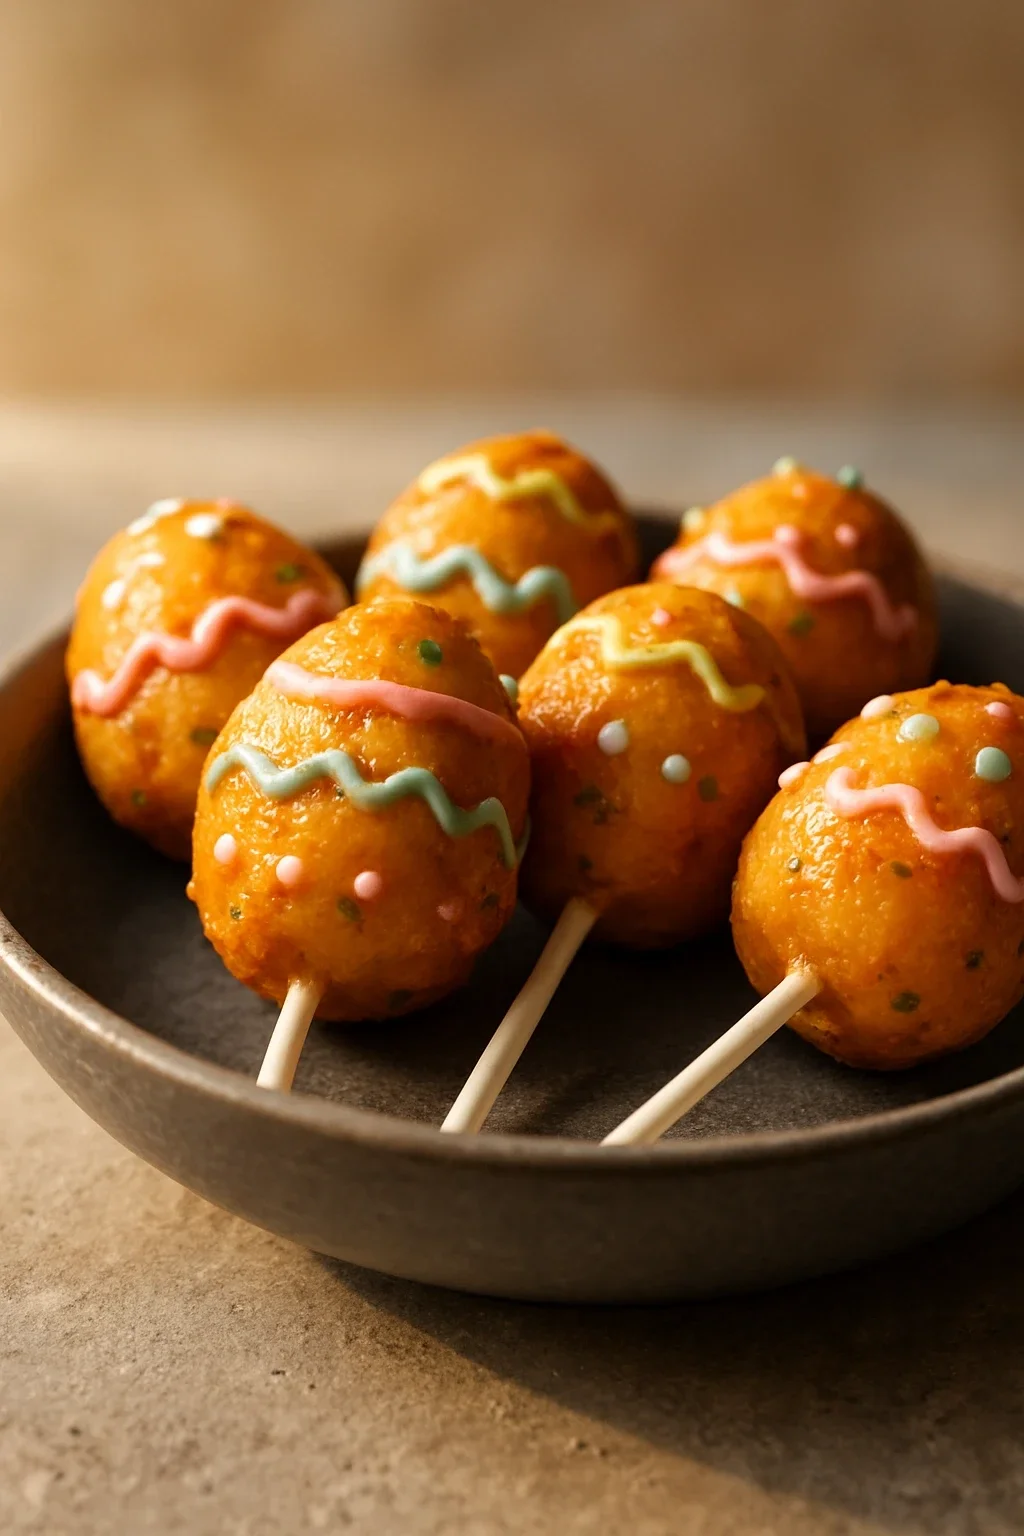
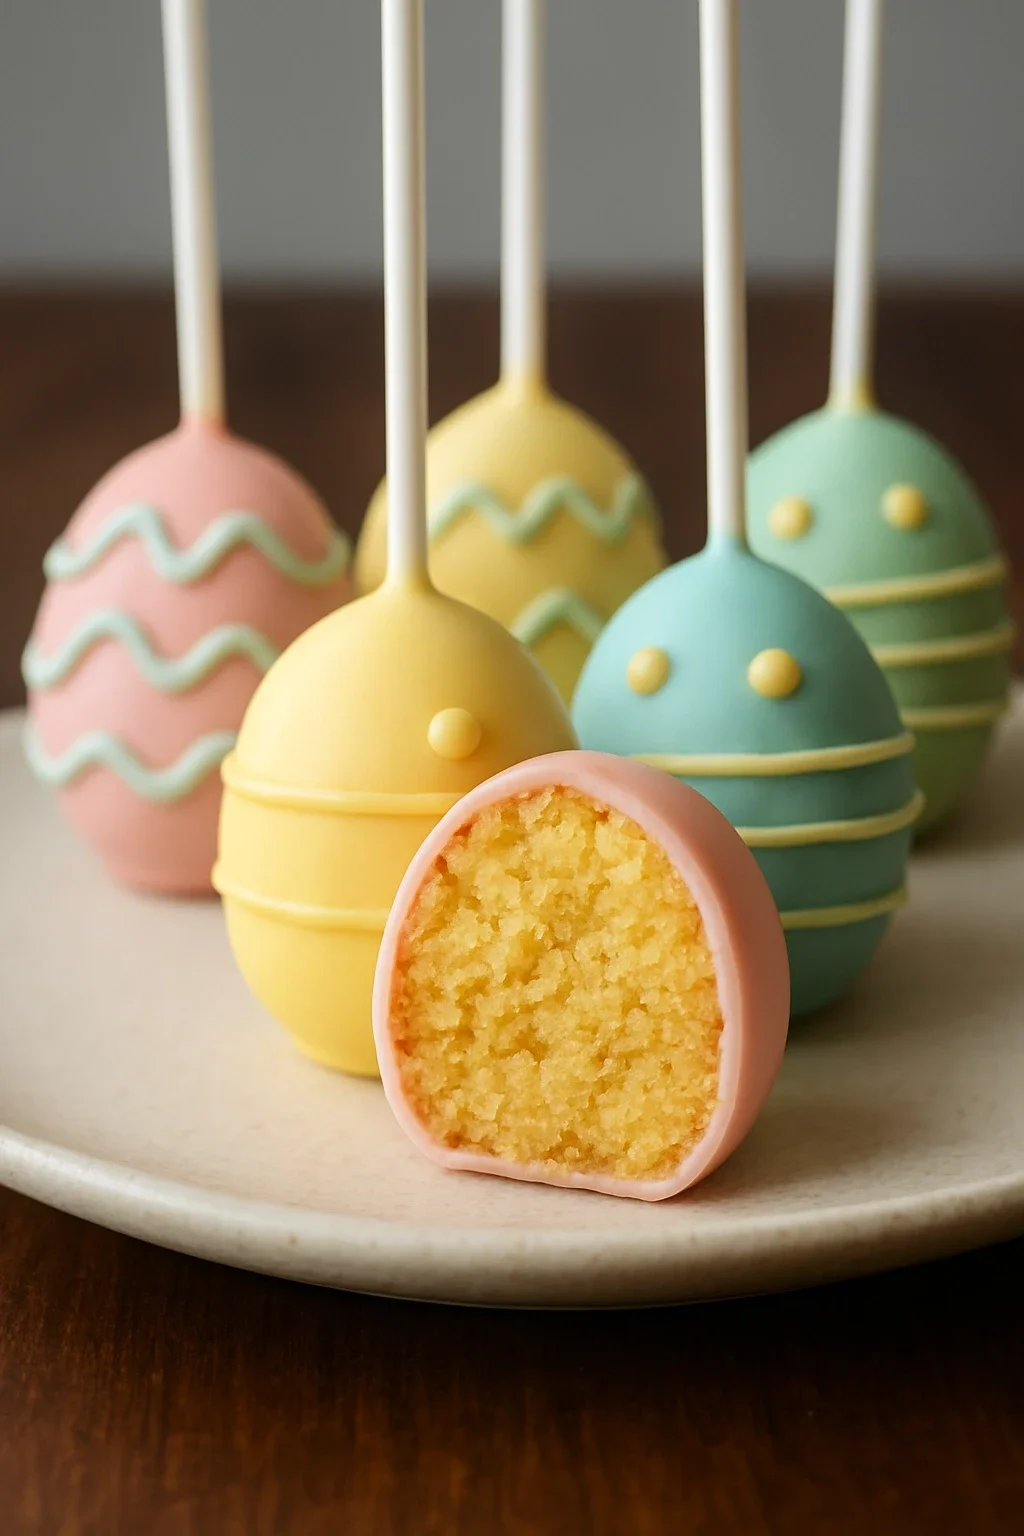
Learn how to make moist and colorful Easter egg cake pops using a secret ingredient that keeps them tender. This recipe guides you through every step, from baking to decorating, ideal for spring celebrations and family gatherings.
Introduction
Every spring, I look forward to making these Easter egg cake pops with my family. They’re a cozy tradition that fills the kitchen with the sweet, buttery aroma of freshly baked cake and the faint tang of sour cream — my secret to keeping the cake tender and moist. Over the years, I’ve refined this recipe to balance a soft crumb with a sturdy structure that holds up well on sticks and takes decoration beautifully. These cake pops are especially fun to make for Easter brunch or a kids’ party, where their colorful icing and charming shapes add a festive touch. The process of baking, shaping, and decorating offers moments to share stories and laughter, making the experience as memorable as the treats themselves. Below, I’ll walk you through the steps and explain why each ingredient and technique matters.
How To Do It
Step 1
Preheat your oven to 175°C (350°F). Line a 9x13 inch (23x33 cm) baking pan with parchment paper to prevent sticking and ensure even baking.
⏱ Time: 10 minutes
✓ Doneness: Oven reaches temperature; parchment paper is smooth and flat in pan
Step 2
In a large mixing bowl, combine the white cake mix, water, vegetable oil, eggs, and sour cream. Stir gently with a spatula until just combined, ensuring no large lumps remain but the batter isn't overmixed.
⏱ Time: 3-4 minutes
✓ Doneness: Batter is smooth with a uniform pale color; avoid vigorous beating to prevent tough cake
Step 3
Pour the batter into the prepared baking pan and spread evenly with an offset spatula. Bake for 22-25 minutes, or until a toothpick inserted into the center comes out clean or with a few moist crumbs.
⏱ Time: 22-25 minutes
✓ Doneness: Cake surface is golden and springs back lightly when pressed; toothpick test passes
Step 4
Remove the cake from the oven and let it cool completely in the pan on a wire rack. Cooling fully is important to prevent melting your coating when handling.
⏱ Time: 30 minutes
✓ Doneness: Cake feels room temperature and firm to touch
Step 5
Once cooled, crumble the cake into a large bowl using your hands or a fork, breaking it into fine crumbs without large chunks.
⏱ Time: 5 minutes
✓ Doneness: Uniform crumb texture with no large pieces; easy to mix with frosting or binder
Step 6
Melt 50g of candy melts gently in a microwave-safe bowl in 20-second intervals, stirring between each until smooth. Combine the melted candy melts with the cake crumbs to create a dough that holds together when pressed. Adjust amount slightly if needed.
⏱ Time: 5 minutes
✓ Doneness: Cake mixture is moist and cohesive, holds shape when rolled into a ball
Step 7
Shape the cake mixture into small egg shapes, roughly 1.5 inches (4 cm) long. Place them on a parchment-lined tray and refrigerate for at least 30 minutes to firm up.
⏱ Time: 30 minutes
✓ Doneness: Cake eggs feel firm and cool to touch, hold shape well
Step 8
Prepare the candy melts coatings by melting them gently in separate bowls. Stir in desired food coloring gels to tint each bowl for colorful decorations.
⏱ Time: 10 minutes
✓ Doneness: Candy melts are smooth, fluid, and evenly colored
Step 9
Dip the tip of each lollipop stick into melted candy coating, then insert it halfway into a cake egg. This seals the stick in place. Return to the refrigerator for 10 minutes to set.
⏱ Time: 10 minutes
✓ Doneness: Candy coating at stick base is hardened, sticks are secure
Step 10
Dip each cake pop into the colored candy coating, using a spoon to help cover fully if needed. Let excess drip off, then place the pop upright in a styrofoam block or cake pop stand to dry completely.
⏱ Time: 15 minutes
✓ Doneness: Candy coating hardens with a smooth, even finish and slight sheen
Step 11
Decorate with sprinkles or edible details while the coating is still slightly wet to ensure adhesion. Allow final set for at least 30 minutes before serving.
⏱ Time: 30 minutes
✓ Doneness: Decorations are firmly attached and coating is fully hardened
Pro Tips
Use sour cream instead of additional oil or butter in your batter.
Sour cream adds moisture and a slight acidity that tenderizes the crumb for a softer texture, which is key for cake pops that need to hold shape but remain tender.
Do not overmix the cake batter.
Overmixing develops gluten, which tightens the crumb and can result in a dense or tough cake instead of a light, tender base.
Cool the cake completely before crumbling.
Warm cake causes the candy coating to melt when shaping and decorating, making it harder to work with and resulting in a messy finish.
Chill shaped cake pops before coating.
Firm cake pops better withstand the dipping process and minimize crumbling or breakage when handling.
Use gel food coloring instead of liquid.
Gel colors are concentrated and don’t thin the candy coating, preserving its ability to set properly and maintain a smooth finish.
Dip the sticks in candy melts before inserting into the cake.
This creates a glue-like bond that secures the stick inside the cake pop, preventing it from falling out during handling or serving.
Common Mistakes to Avoid
Using warm cake when shaping and dipping.
Why it happens Rushing the cooling process or not allowing enough time to cool fully.
Fix Allow the cake to cool completely at room temperature before crumbling and shaping to prevent melting the coating.
Overmixing batter causing tough cake.
Why it happens Mixing too vigorously or for too long develops gluten in flour.
Fix Mix ingredients gently just until combined; small lumps are okay.
Adding too much liquid food coloring.
Why it happens Using liquid instead of gel colors dilutes candy melts, preventing proper hardening.
Fix Use gel food coloring sparingly to maintain coating consistency.
Not chilling cake pops before dipping.
Why it happens Skipping the refrigeration step to save time.
Fix Chill cake pops for at least 30 minutes to firm up and reduce crumbling.
Variations
Vegan Easter Cake Pops
Use a vegan white cake mix and substitute sour cream with coconut yogurt or a vegan sour cream alternative. Use dairy-free candy melts for coating.
Note: Ensure all substitutes are firm enough to hold shape and maintain moisture. Coconut yogurt works well due to its thickness and acidity.
Gluten-Free Cake Pops
Use a gluten-free white cake mix and verify candy melts are gluten-free. Follow the same preparation steps.
Note: Gluten-free cake tends to be more crumbly; increase sour cream slightly (by 1-2 tablespoons) to improve moisture and binding.
Chocolate Easter Cake Pops
Replace the white cake mix with chocolate cake mix. Use dark or milk chocolate candy melts for coating, and decorate with white or pastel-colored drizzle.
Note: Chocolate cake produces a richer flavor; ensure sour cream is still included for moisture.
Natural Coloring Cake Pops
Use natural colorings such as beet juice powder for pink, spirulina powder for green, and turmeric for yellow to tint white candy melts.
Note: Natural powders may affect consistency slightly; add in small amounts and test melting properties.
Nutrition
Per Serving:
approximately 250
Calories
Values are estimates and may vary depending on the cake mix brand, candy melts, and decoration quantities. Nutritional content assumes standard sized cake pops.
Storage & Tips
Room Temperature
Cake pops can be stored at room temperature in an airtight container for up to 2 days, away from direct sunlight and heat sources to prevent melting or softening.
Refrigerator
Store cake pops in an airtight container in the refrigerator for up to 5 days. Chilling helps maintain the coating’s firmness and keeps the cake moist.
Freezer
Wrap cake pops individually in plastic wrap and place in a freezer-safe container or bag. Freeze for up to 1 month. Thaw overnight in the refrigerator before serving.
Reheating
Cake pops are best served at room temperature. Remove from refrigerator about 30 minutes before serving to allow them to soften slightly. Avoid microwaving as it may melt the coating.
Make Ahead
Bake and crumble the cake up to 1 day ahead, then store tightly covered in the refrigerator. Assemble, shape, and decorate the cake pops on the day of serving for best texture and appearance.
FAQ
Can I make Easter egg cake pops ahead of time?
Yes, you can bake and crumble the cake a day in advance and keep it refrigerated. Shape and decorate the cake pops on the day you plan to serve them for best results.
Why are my cake pops dry or crumbly?
This usually happens if the cake is overbaked or if there’s not enough binder like sour cream or frosting. Make sure to follow the recipe and include the sour cream to maintain moisture.
Can I use regular food coloring instead of gels?
Regular liquid food coloring adds moisture and can thin the candy coating, causing it not to harden properly. Gel food coloring is preferred to maintain coating consistency.
How long do cake pops last in the fridge?
Properly stored cake pops last up to 5 days in the refrigerator. Keep them in an airtight container to avoid drying out.
Can I freeze cake pops?
Yes, freeze wrapped cake pops for up to 1 month. Thaw them overnight in the refrigerator before serving to maintain texture and flavor.
What is the secret ingredient for moist cake pops?
Adding sour cream to the cake batter adds moisture and acidity that keeps the cake tender and prevents dryness, which is essential for good cake pops.
Final Thoughts
Making Easter egg cake pops is a rewarding project that combines simple baking with creative decorating. I hope this recipe helps you create tender, colorful treats that bring joy to your spring gatherings. Feel free to share your experiences or questions in the comments—I enjoy hearing how these recipes come to life in your kitchens.