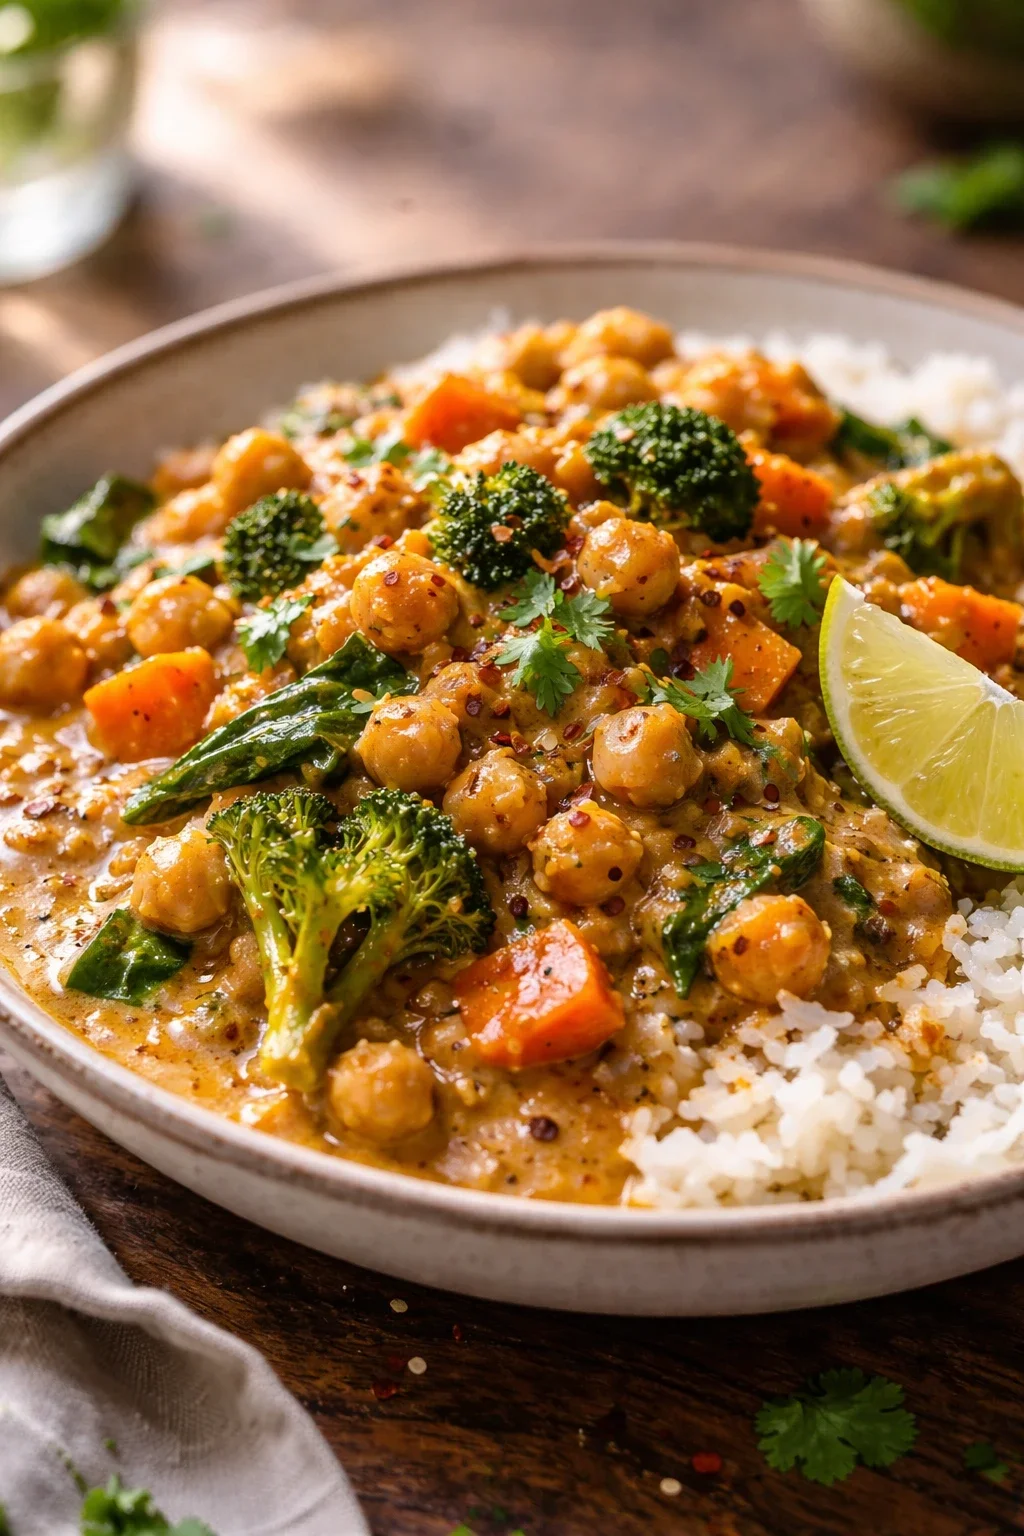
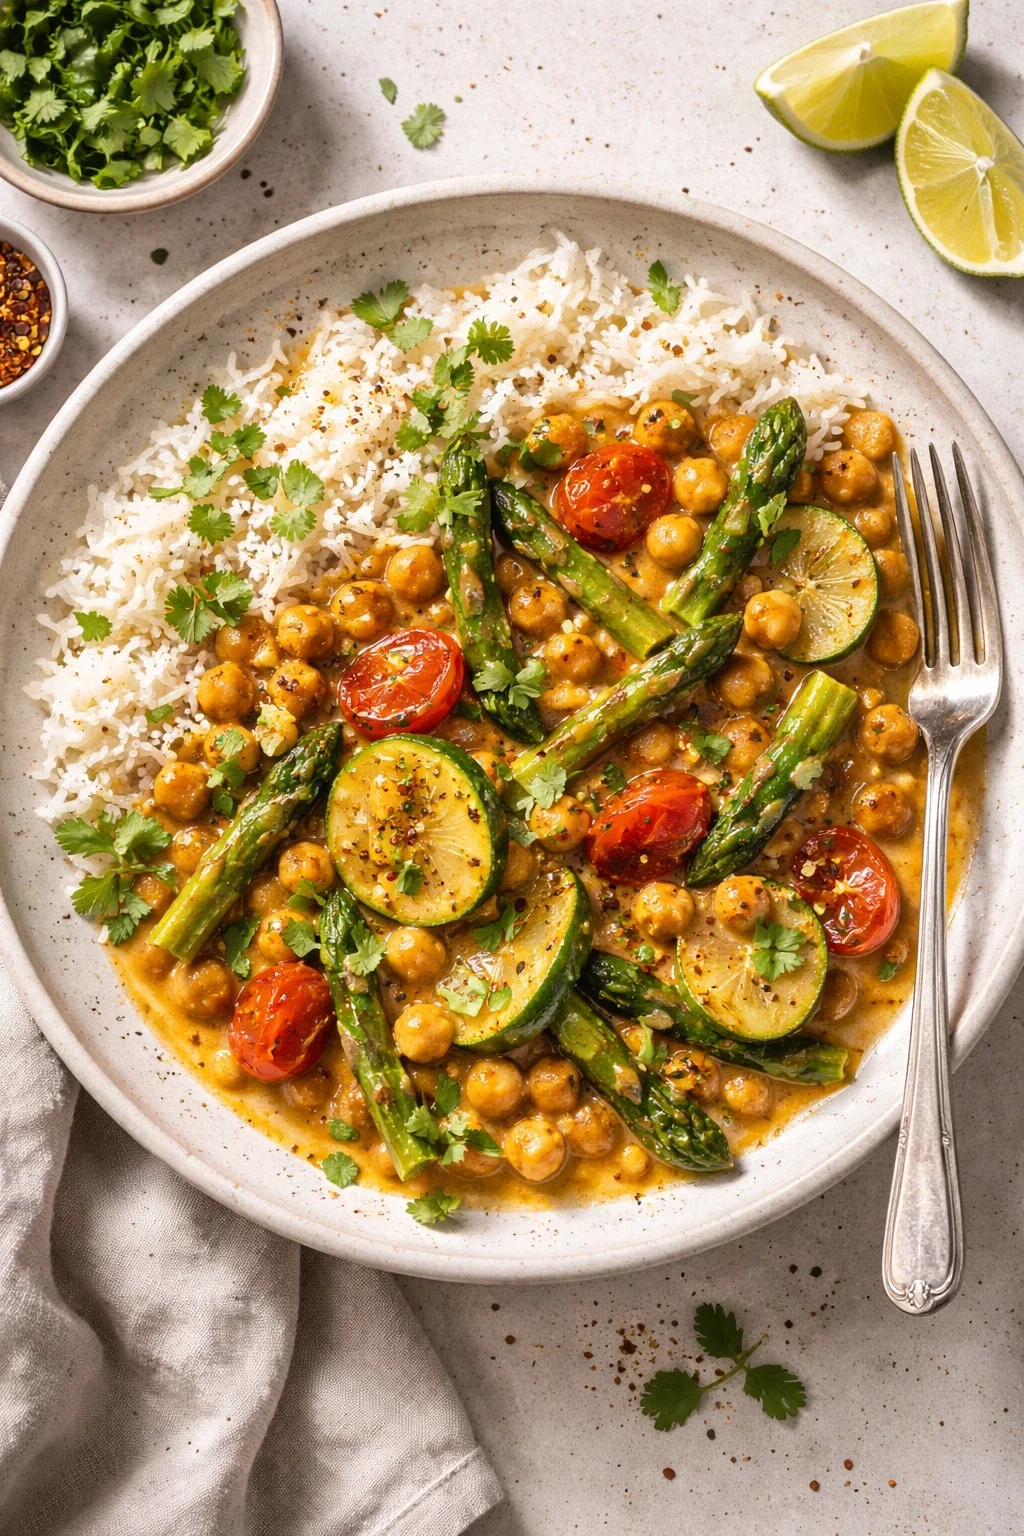
This chickpea and spring vegetable curry brings together fresh seasonal produce with a simple spice-toasting technique that enhances depth and aroma. It’s a balanced dish where the creamy chickpeas meet tender-crisp vegetables, all enveloped in a warmly spiced sauce. Ideal for quick weeknight dinners or springtime gatherings, this recipe highlights how to maximize flavor with minimal effort.
Introduction
I’ve been drawn to chickpea curries for their comforting texture and ability to absorb spices beautifully. This version, inspired by the freshness of spring vegetables, is one I turn to when I want something that feels both light and satisfying. The key difference here is the step where I toast whole spices before adding the aromatics—this simple technique deepens the fragrance and adds a subtle complexity that you notice with every bite. It’s especially fitting for those early spring evenings when fresh peas and tender zucchini start appearing at the market. Whether I’m cooking for family or a relaxed dinner with friends, this curry delivers a balance of textures and flavors that feels thoughtfully composed without requiring hours in the kitchen. Here’s how I prepare it.
How To Do It
Step 1
Heat the vegetable oil or ghee in a medium skillet or saucepan over medium heat until shimmering, about 1-2 minutes.
⏱ Time: 1-2 minutes
✓ Doneness: Oil shimmers lightly and small bubbles form around a wooden spoon dipped in oil.
Step 2
Add cumin seeds, coriander seeds, and mustard seeds to the hot oil. Toast them, stirring frequently, until they begin to pop and release a warm, nutty aroma, about 1-2 minutes.
⏱ Time: 1-2 minutes
✓ Doneness: Seeds start popping gently and a fragrant, earthy aroma fills the kitchen.
Step 3
Add chopped onion to the pan with a pinch of salt. Sauté, stirring often, until the onion softens and turns translucent, about 5 minutes. Then add minced garlic, grated ginger, and chopped green chili (if using), cooking for 1 minute more until fragrant.
⏱ Time: 6 minutes total
✓ Doneness: Onions look translucent and soft; garlic and ginger aroma becomes noticeable without burning.
Step 4
Stir in ground turmeric, cumin, coriander, and chili powder. Cook the spices with the onion mixture for about 30 seconds to 1 minute, stirring continuously to prevent burning and to bloom the spices' flavors.
⏱ Time: 30 seconds to 1 minute
✓ Doneness: Spices become aromatic and the mixture thickens slightly.
Step 5
Add the chopped tomato and cook for 3-4 minutes until softened and the mixture thickens slightly, releasing a faint sweetness and acidity.
⏱ Time: 3-4 minutes
✓ Doneness: Tomato pieces break down, mixture darkens slightly, and a subtle tangy aroma emerges.
Step 6
Pour in the coconut milk and vegetable broth. Stir to combine, then bring the mixture to a gentle simmer over medium-low heat.
⏱ Time: 3 minutes to simmer
✓ Doneness: Small bubbles appear at the edges, steam rises gently, and sauce looks creamy and slightly thickened.
Step 7
Add the drained chickpeas, sliced carrots, diced zucchini, and peas. Stir well to distribute evenly. Cover partially and simmer gently for 10-12 minutes until the vegetables are tender but still retain some bite.
⏱ Time: 10-12 minutes
✓ Doneness: Carrots are fork-tender but not mushy; peas remain bright green; sauce thickens lightly.
Step 8
Season the curry with salt to taste. Remove from heat and stir in fresh lemon juice if using. Garnish with chopped cilantro before serving.
⏱ Time: 2 minutes
✓ Doneness: Fresh herbs add vibrant color, and the lemon juice brightens the aroma.
Pro Tips
Toast whole spices in oil before adding aromatics.
This step unlocks the spices’ essential oils, enhancing their flavor and aroma more effectively than adding ground spices directly.
Pat chickpeas dry after rinsing canned ones.
Removing excess moisture prevents the curry from becoming watery and helps the sauce thicken naturally.
Add vegetables in stages according to cooking time.
Carrots take longer to soften than zucchini or peas, so staggering additions ensures all vegetables are cooked perfectly without becoming mushy.
Use fresh lemon juice at the end instead of vinegar.
Lemon juice brightens without overpowering the curry’s flavors, balancing richness while preserving freshness.
Simmer gently rather than boiling aggressively.
A gentle simmer keeps vegetables intact and prevents the coconut milk from curdling, maintaining a smooth sauce.
Use a heavy-bottomed pan to prevent hot spots.
Even heat distribution avoids burning spices or onions during sautéing, ensuring balanced flavor without bitterness.
Common Mistakes to Avoid
Skipping the spice toasting and adding ground spices directly.
Why it happens It feels faster or simpler to skip to ground spices, but this misses the opportunity to develop deeper flavor through oil infusion.
Fix Always toast whole spices in oil first to release their essential oils before adding other ingredients.
Overcooking the vegetables until mushy.
Why it happens Adding all vegetables at once or cooking too long at high heat causes loss of texture and dulls their flavor.
Fix Add vegetables according to their cooking times and simmer gently, checking tenderness regularly.
Using canned chickpeas without rinsing or draining thoroughly.
Why it happens Rinsing is often overlooked, but canned liquids contain excess salt and starch that can dilute flavor or affect texture.
Fix Rinse chickpeas under cold water and pat dry before adding to the curry.
Boiling vigorously after adding coconut milk.
Why it happens High heat can cause coconut milk to split or curdle, ruining the sauce’s texture.
Fix Maintain a gentle simmer once coconut milk is added, adjusting heat as necessary.
Variations
Vegan Variation
Use vegetable oil instead of ghee and ensure the vegetable broth is vegan-friendly. Add a splash of coconut cream for extra richness if desired.
Note: Ghee adds a buttery flavor but is not vegan; substituting with neutral oil maintains the curry's texture and flavor.
Gluten-Free Version
This recipe is naturally gluten-free if you verify that the vegetable broth and spices contain no gluten additives.
Note: Always check labels on pre-packaged ingredients to ensure no hidden gluten is present.
Spicier Curry
Increase the amount of fresh green chili or add a pinch of cayenne pepper to the spice mix for more heat.
Note: Adjust chili amounts gradually to avoid overwhelming the delicate balance of flavors.
Seasonal Root Vegetable Addition
In cooler months, replace zucchini and peas with diced sweet potato and parsnip for a heartier texture.
Note: Root vegetables take longer to cook; add them earlier during the simmering phase to ensure tenderness.
Lentil and Chickpea Curry
Add 1/2 cup red lentils along with chickpeas for added protein and a creamier texture.
Note: Lentils will thicken the sauce as they cook; add extra broth if needed to maintain desired consistency.
Nutrition
Per Serving:
approximately 320
Calories
These values are estimates and may vary depending on exact ingredient brands and substitutions. Sodium content assumes low-sodium broth and rinsed chickpeas.
Storage & Tips
Room Temperature
Do not leave the curry at room temperature for more than 2 hours. Transfer to shallow containers for quicker cooling.
Refrigerator
Store cooled curry in an airtight container for up to 3 days. Flavors tend to meld and improve after a day.
Freezer
Freeze the curry for up to 2 months in freezer-safe containers. Thaw overnight in the refrigerator before reheating.
Reheating
Reheat gently on the stovetop over low to medium heat, stirring occasionally. Add a splash of water or broth if the curry thickens excessively.
Make Ahead
Prepare the spice base and sautéed aromatics up to 24 hours ahead. Refrigerate separately, then add chickpeas, vegetables, and liquids before simmering on the day of serving.
FAQ
Can I make chickpea and spring vegetable curry ahead of time?
Yes, this curry stores well in the refrigerator for up to 3 days. Flavors often deepen overnight, making it an excellent make-ahead dish.
Why is my curry watery or thin?
This usually happens if excess liquid is added or vegetables release too much moisture. Simmer uncovered to reduce liquid or add a small amount of coconut cream for thickness.
Can I use dried chickpeas instead of canned?
Yes, but soak and cook dried chickpeas fully before adding. This increases cooking time but can improve texture and flavor.
How long does this curry last in the fridge?
Stored properly in an airtight container, it lasts up to 3 days in the refrigerator.
Can I substitute the fresh vegetables with frozen ones?
Yes, frozen peas and zucchini can be used, but add them later in the cooking process to avoid overcooking.
Is this curry suitable for a vegan diet?
Yes, as long as you use vegetable oil instead of ghee and verify that all ingredients are vegan.
Final Thoughts
This chickpea and spring vegetable curry combines simple ingredients with thoughtful technique to create a dish that feels both fresh and comforting. I welcome your thoughts or any variations you’ve tried—feel free to share your experience in the comments.