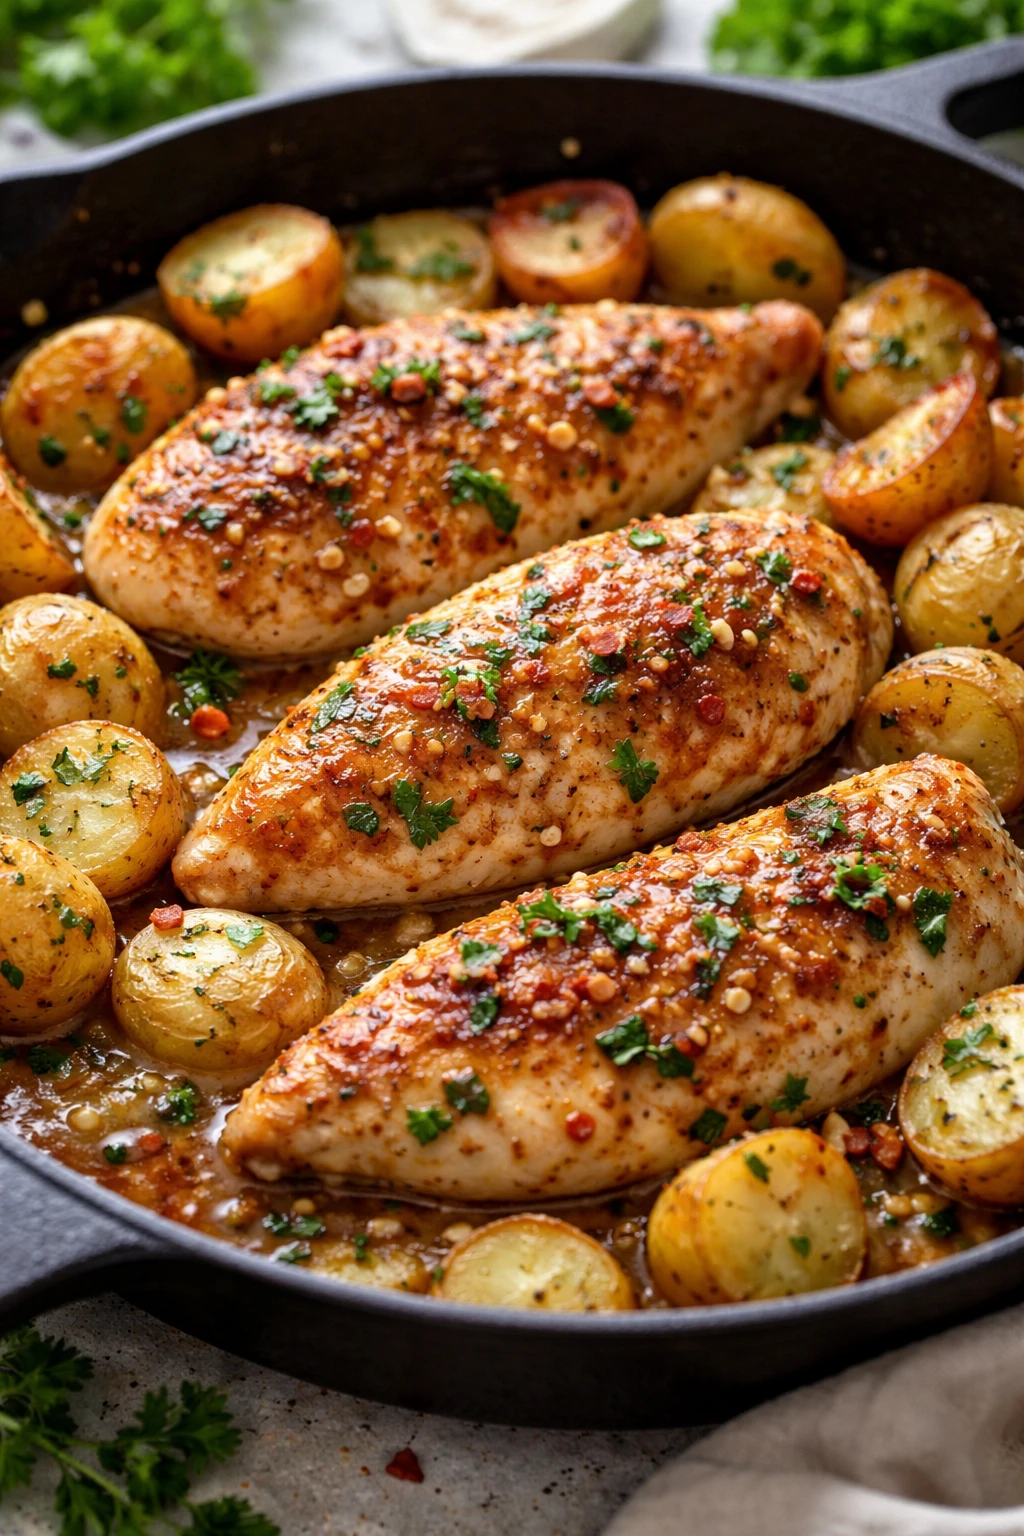
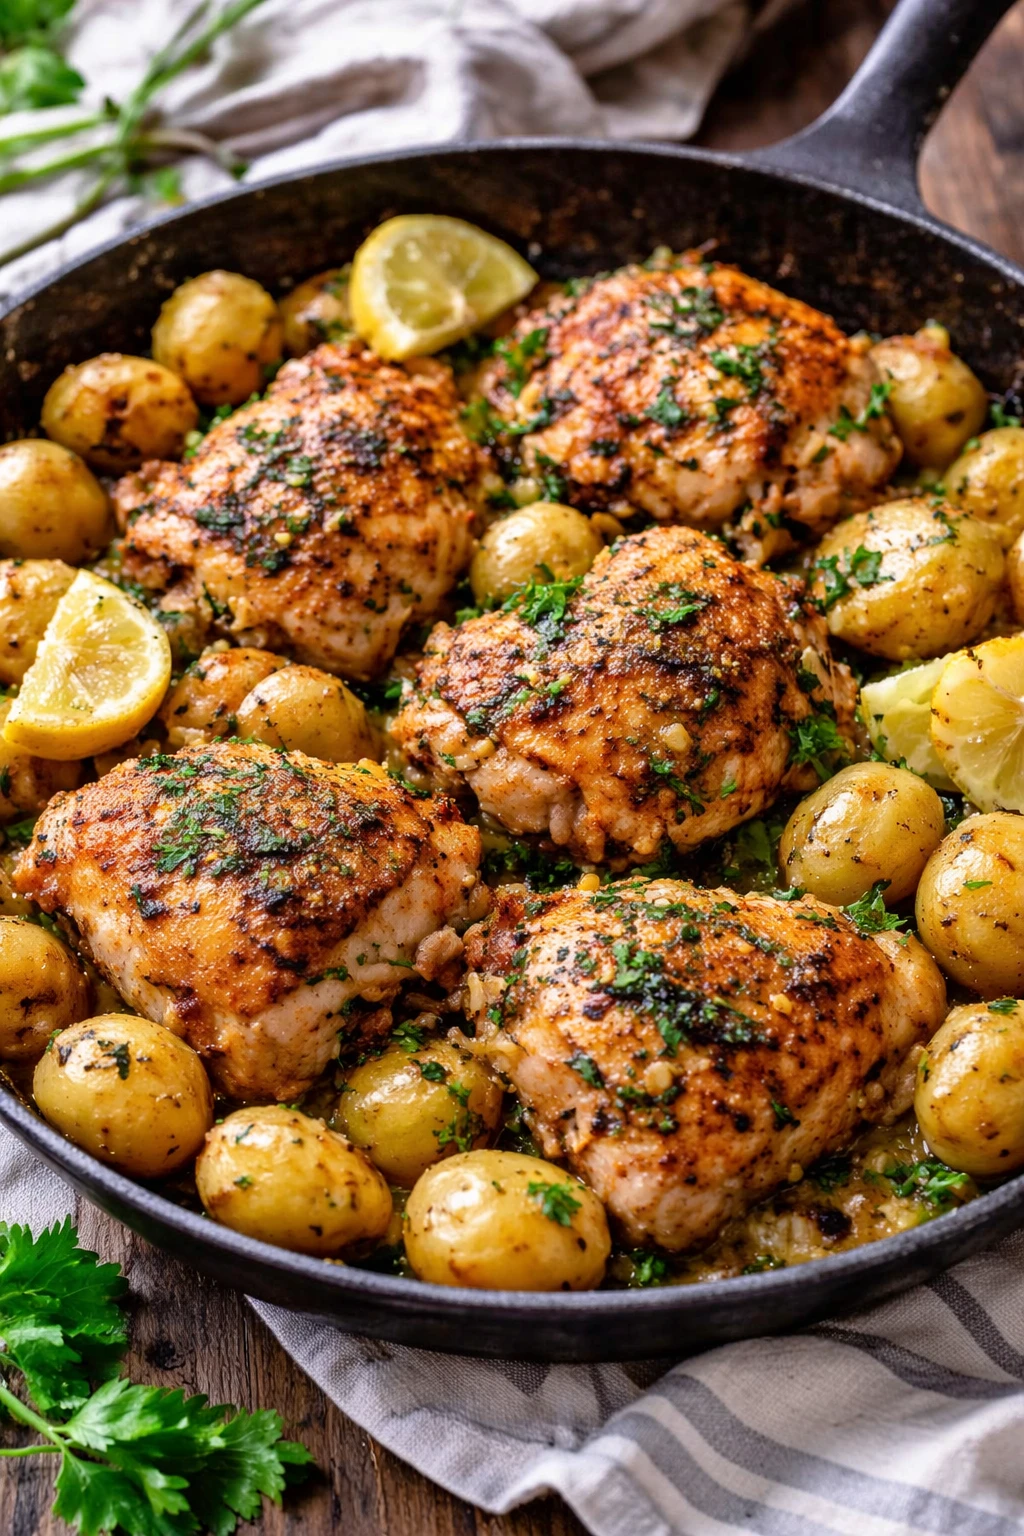
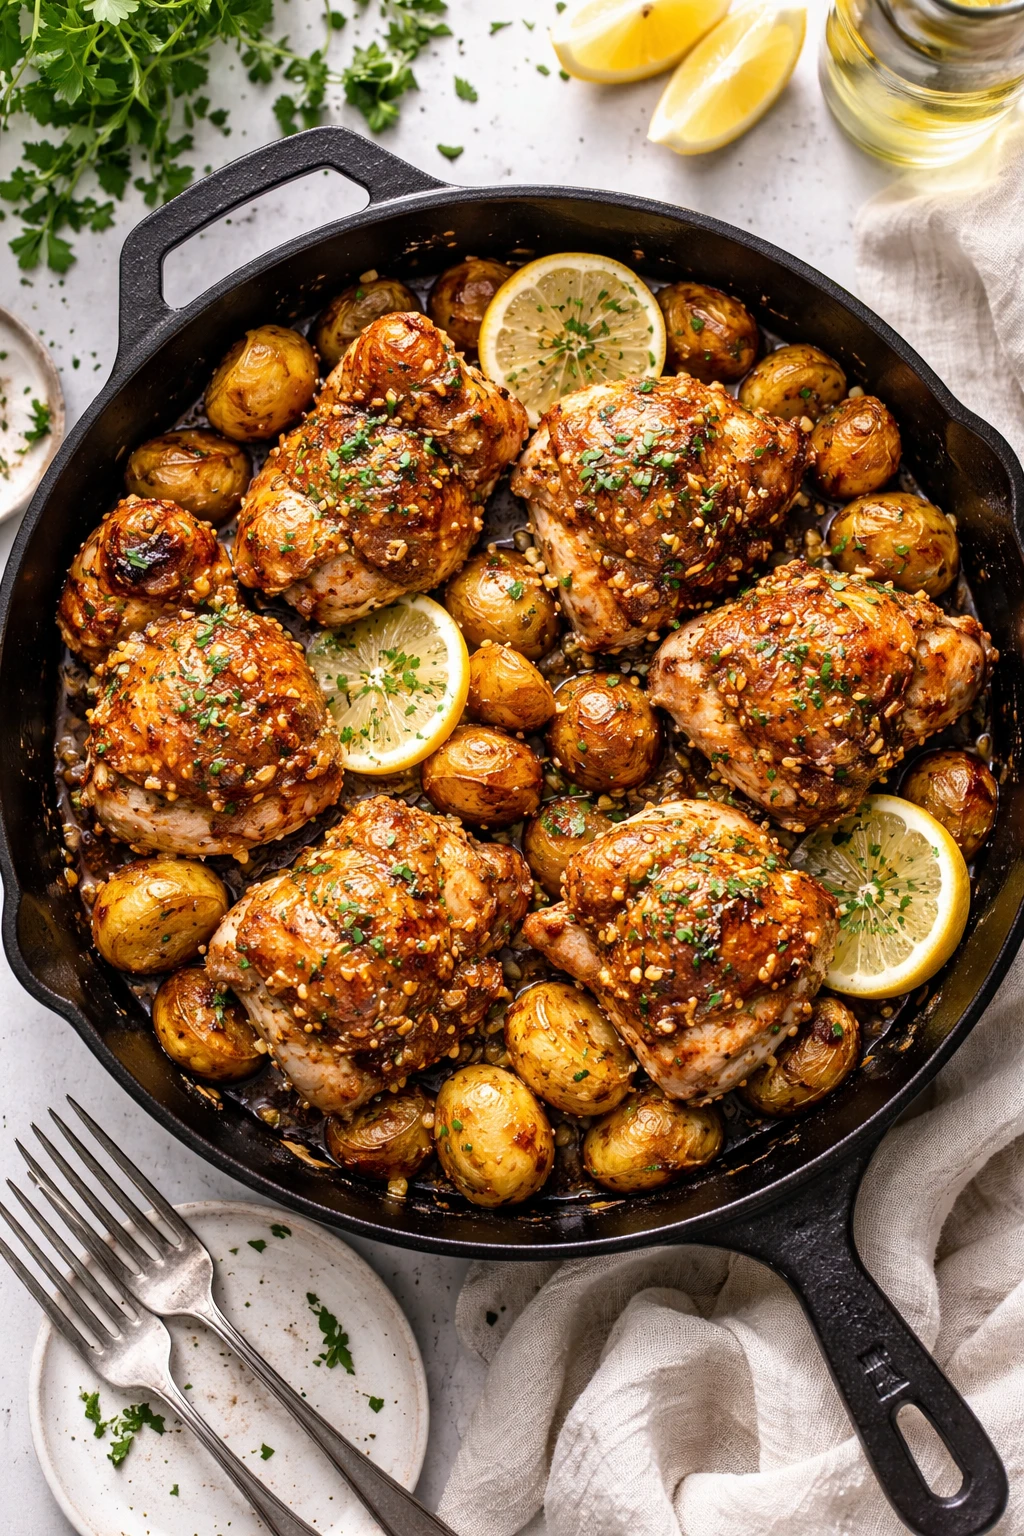
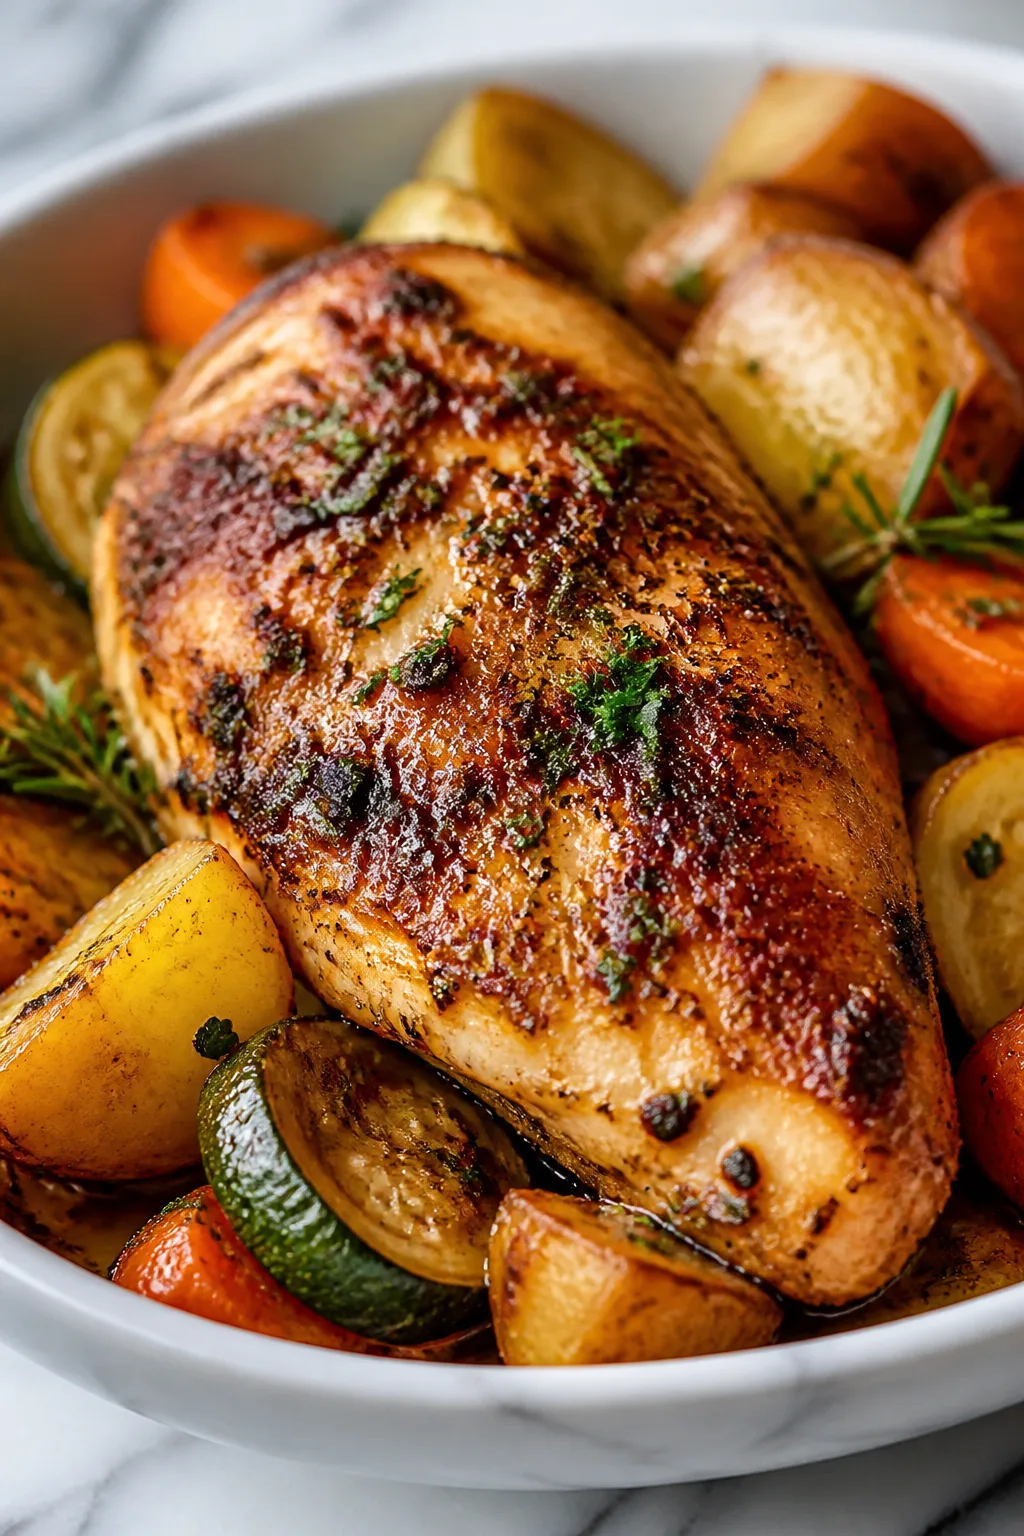
This one pan garlic butter chicken is pure comfort. The chicken stays tender while the potatoes get perfectly crispy, all soaked in a buttery garlic sauce. A simple, cozy dish that’s ready in under an hour—great for busy weeknights.
Introduction
I first stumbled upon this one pan garlic butter chicken recipe on a hectic weeknight when I needed something comforting but simple. What I love most is how the chicken stays juicy and tender while the potatoes get those irresistible crispy edges, all infused with a rich garlic butter flavor. Over time, I tweaked it by adding smoked paprika and dried thyme for extra depth, which really makes the dish pop. The trick I learned is to sear the chicken skin-side down first to render the fat and get that golden crisp, then finish cooking everything together in the buttery sauce. It’s a total crowd-pleaser and feels like a warm hug on a plate. Plus, cleanup is a breeze with just one pan! The finished dish looks inviting with golden chicken skin and perfectly roasted potatoes, garnished with fresh parsley for brightness. Honestly, it’s become my go-to when I want dinner on the table fast without sacrificing flavor or cozy vibes.
How To Do It
Step 1
Start by preheating your oven to 400°F (200°C). While it warms up, pat the chicken thighs dry with paper towels to remove excess moisture—this helps achieve a crispy skin. Season both sides generously with salt, pepper, smoked paprika, and thyme. The seasoning layers flavor and the paprika adds a subtle smoky warmth. Don’t skip drying the skin; it’s key to crispiness.
⏱ Time: 10
✓ Doneness: Chicken skin looks dry and seasoned evenly, not wet or clumpy.
Step 2
Heat olive oil in a large oven-safe skillet over medium-high heat. Once shimmering, add the chicken thighs skin-side down. Sear without moving them for about 6-8 minutes until the skin is golden brown and releases easily from the pan. This step renders fat and locks in moisture, giving you that perfect crisp skin. Avoid flipping too soon to prevent tearing.
⏱ Time: 8
✓ Doneness: Skin is deep golden brown and chicken releases easily when nudged.
Step 3
Flip the chicken thighs over and add halved baby potatoes around them in the pan. Drizzle the minced garlic over everything, then add the butter in small dollops across the pan. The butter will melt into a rich sauce as it cooks. Toss the potatoes gently in the butter and garlic to coat them evenly, which helps them roast beautifully and soak up flavor.
⏱ Time: 5
✓ Doneness: Garlic is fragrant and butter is melted, potatoes look coated and glossy.
Step 4
Transfer the skillet to the oven and roast for 25-30 minutes. This allows the chicken to finish cooking through and the potatoes to become tender inside and crispy outside. Check the potatoes halfway and gently stir them if needed to prevent sticking. Roasting everything together lets the flavors meld and the sauce thicken slightly.
⏱ Time: 30
✓ Doneness: Chicken registers 165°F internally and potatoes are fork-tender with golden edges.
Step 5
Remove the pan from the oven and let the chicken rest for 5 minutes before serving. Resting lets the juices redistribute, keeping the meat juicy. Sprinkle chopped fresh parsley over the top for a pop of color and fresh flavor that balances the rich butter and garlic.
⏱ Time: 5
✓ Doneness: Chicken juices run clear and meat feels tender but firm.
Step 6
Spoon the garlic butter sauce over the chicken and potatoes on each plate. The sauce is the star here, packed with flavor from the butter, garlic, and rendered chicken fat. Make sure to scrape the pan well to get all the delicious bits.
⏱ Time: 2
✓ Doneness: Sauce is glossy and coats the chicken and potatoes evenly.
Step 7
Serve immediately with a simple green salad or steamed veggies to balance the richness. This meal feels indulgent but is surprisingly straightforward. The crispy skin, tender meat, and caramelized potatoes make every bite satisfying.
⏱ Time: 0
✓ Doneness: Dish looks vibrant and inviting with fresh parsley garnish.
Step 8
If you want to prep ahead, you can season the chicken and halve the potatoes a day before. Keep them refrigerated separately in airtight containers. When ready to cook, bring them to room temperature for about 20 minutes before starting the recipe for even cooking.
⏱ Time: 0
✓ Doneness: Ingredients are ready to be cooked without cold spots.
Step 9
For extra crispy potatoes, try parboiling them for 5 minutes before roasting. This softens the inside and helps the exterior crisp up nicely in the oven. Just make sure to dry them well before adding to the pan to avoid steaming.
⏱ Time: 5
✓ Doneness: Potatoes are tender when pierced but hold their shape.
Pro Tips
Pat the chicken skin dry thoroughly before seasoning.
Moisture on the skin creates steam during cooking, which prevents it from crisping. Dry skin allows the Maillard reaction to occur properly, resulting in that coveted golden, crispy texture.
Use an oven-safe skillet for easy transfer from stovetop to oven.
This saves time and prevents losing heat by moving the chicken to another dish. It ensures even cooking and lets the chicken and potatoes roast together, melding flavors.
Don’t overcrowd the pan with potatoes or chicken.
Crowding traps steam and prevents browning. Leaving space around ingredients allows hot air to circulate, producing crispier potatoes and skin.
Add fresh herbs at the end of cooking or as garnish.
Cooking herbs too long can make them bitter or lose their brightness. Adding them fresh preserves flavor and adds a nice color contrast.
Rest chicken after roasting before slicing or serving.
Resting allows juices to redistribute evenly through the meat, preventing dryness and keeping the chicken tender.
Use a meat thermometer to check doneness.
Chicken is safe to eat at 165°F internal temperature. Using a thermometer prevents overcooking and drying out the meat.
Toss potatoes in a little olive oil before roasting.
Oil helps potatoes crisp and prevents sticking to the pan, enhancing texture and flavor.
Common Mistakes to Avoid
Skipping drying the chicken skin before cooking.
Why it happens Many assume seasoning is enough, but moisture on the skin creates steam, making it soggy rather than crispy.
Fix Always pat the chicken skin dry with paper towels before seasoning and searing. This ensures the skin crisps up nicely.
Adding garlic too early or at too high heat.
Why it happens Garlic cooks quickly and burns easily, especially at high heat, which leads to bitterness.
Fix Add garlic after the chicken has seared or during the butter melting stage at medium heat. Watch it closely and stir frequently.
Overcrowding the pan with potatoes and chicken.
Why it happens Trying to fit everything in one pan without space leads to steaming instead of roasting.
Fix Use a large enough pan or roast potatoes separately for better crispness. Leave space between pieces.
Not resting the chicken before serving.
Why it happens Impatience to eat causes cutting into chicken right away, causing juices to run out.
Fix Let chicken rest for at least 5 minutes after cooking to lock in moisture.
Using frozen chicken without thawing.
Why it happens Cooking frozen chicken leads to uneven cooking and rubbery texture.
Fix Thaw chicken fully in the fridge overnight before cooking for best results.
Variations
Lemon Herb Garlic Butter Chicken
Add fresh lemon juice and zest along with rosemary and thyme to brighten the garlic butter sauce. This variation offers a fresh, zesty twist that cuts through the richness and adds a lovely aroma.
Note: Add lemon juice after roasting to avoid bitterness; herbs can be added during cooking to infuse flavor.
Spicy Paprika Garlic Chicken
Include cayenne pepper or chili flakes with the smoked paprika for a spicy kick. This changes the flavor profile to something bolder and more warming, perfect for spice lovers.
Note: Adjust chili quantity to taste; add spices during seasoning step for even heat distribution.
Creamy Garlic Butter Chicken with Mushrooms
Add sliced mushrooms to the pan before roasting and finish with a splash of cream for a rich, earthy sauce. This variation adds umami depth and a creamy texture to the dish.
Note: Sauté mushrooms first to release moisture; add cream after roasting to avoid curdling.
Honey Garlic Butter Chicken
Drizzle honey over the chicken before roasting for a touch of sweetness that balances the savory garlic butter. The caramelized honey creates a sticky, flavorful glaze.
Note: Watch closely to prevent burning due to honey’s sugars; reduce oven temperature slightly if needed.
Sheet Pan Garlic Butter Chicken with Veggies
Add mixed vegetables like carrots, green beans, or Brussels sprouts to roast alongside the chicken and potatoes. This makes the meal a complete one-pan dinner with added nutrition and color.
Note: Cut vegetables evenly and add at appropriate times to ensure even cooking without over or undercooking.
Nutrition
Per Serving:
Nutritional values are estimates and may vary based on specific ingredients used.
Storage & Tips
Room Temperature
This dish can safely sit at room temperature for up to 2 hours if covered. Beyond that, bacteria growth increases, so refrigerate promptly to keep it safe.
Refrigerator
Store leftovers in an airtight container for up to 3-4 days. The chicken skin may lose crispness, but reheating in the oven can help restore it slightly. Serve warm for best flavor.
Freezer
Freeze cooked chicken and potatoes for up to 2 months. Wrap tightly in foil and place in a freezer-safe container to prevent freezer burn. Thaw overnight in the fridge before reheating.
Reheating
Reheat in a 350°F oven for 10-15 minutes to warm through and help crisp the skin again. Avoid microwaving if possible, as it can make the skin soggy. Add a splash of water or broth to keep potatoes moist if needed.
Make Ahead
You can season the chicken and prep potatoes 1-2 days ahead, storing separately in the fridge. Bring to room temperature before cooking. Butter and garlic sauce should be added fresh during cooking for best flavor.
FAQ
Can I use boneless chicken breasts instead of thighs?
You can, but boneless breasts cook faster and can dry out more easily. Reduce cooking time and watch closely. Also, breasts won’t render fat like thighs, so the sauce may be less rich.
How do I make the potatoes extra crispy?
Parboil potatoes for 5 minutes before roasting to soften the inside. Also, toss them well in oil and avoid crowding the pan to ensure they crisp up nicely.
Can I make this recipe gluten-free?
Absolutely! This recipe is naturally gluten-free as it uses whole ingredients like chicken, potatoes, butter, and spices with no added gluten-containing items.
What can I substitute for butter if dairy-free?
Use a plant-based butter or coconut oil to retain the rich texture and flavor. Olive oil alone works but won’t deliver quite the same buttery richness.
Is it necessary to use an oven-safe skillet?
While recommended for ease and even cooking, you can transfer the chicken and potatoes to a baking dish after searing. Just be careful with hot pans and transfer quickly to retain heat.
How do I know when the chicken is fully cooked?
Use a meat thermometer to check for 165°F internal temperature. You can also cut into the thickest part to ensure juices run clear without any pink.
Can I add other vegetables to this dish?
Yes! Add sturdy vegetables like carrots or Brussels sprouts along with potatoes. Softer veggies should be added later to avoid overcooking.
How long can leftovers be stored safely?
Store cooked leftovers in airtight containers in the fridge for up to 3-4 days. Reheat thoroughly before eating.
Final Thoughts
Give this one pan garlic butter chicken a try—you’ll love how simple and comforting it is. Don’t forget to share your results; I’d love to hear how it turns out!