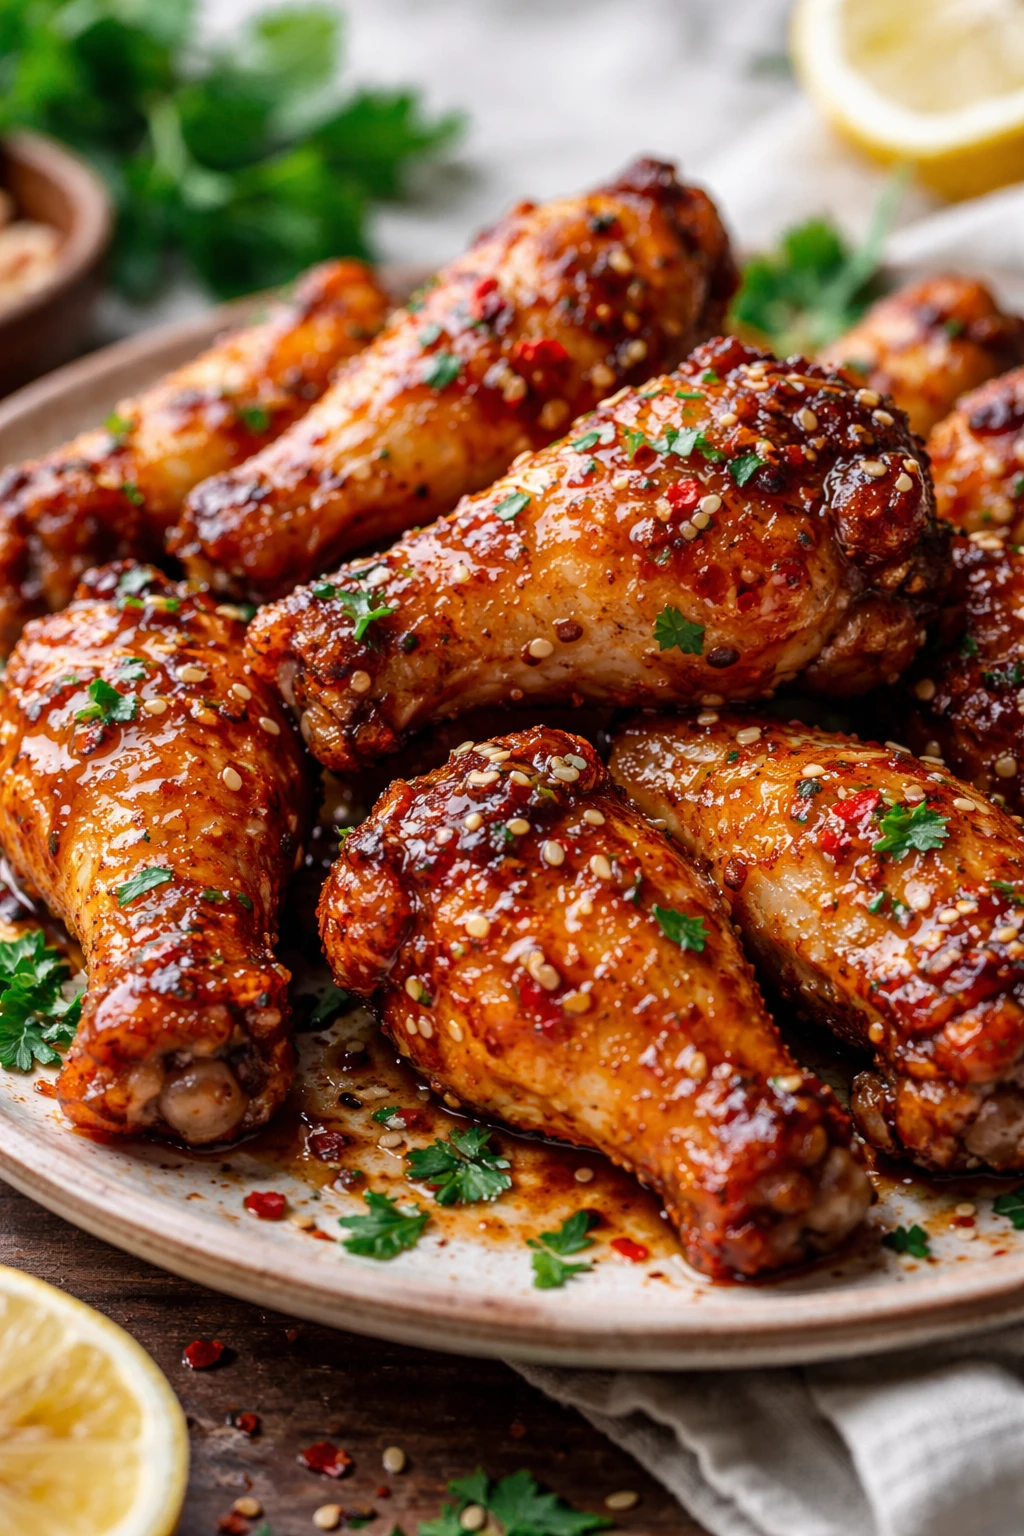
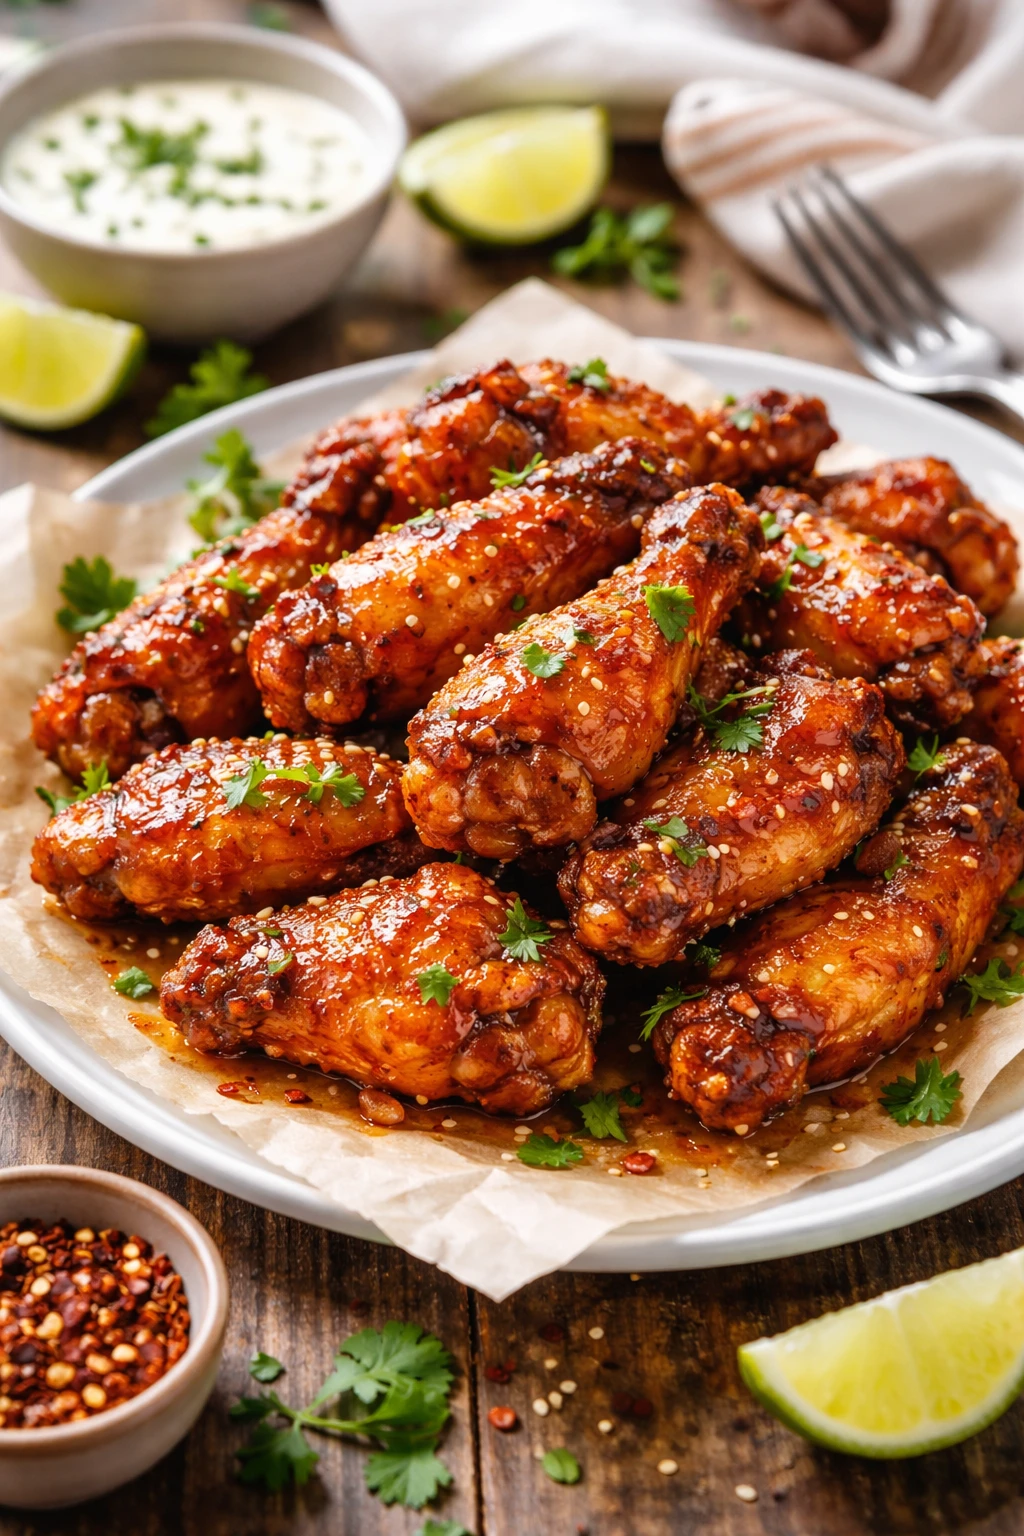
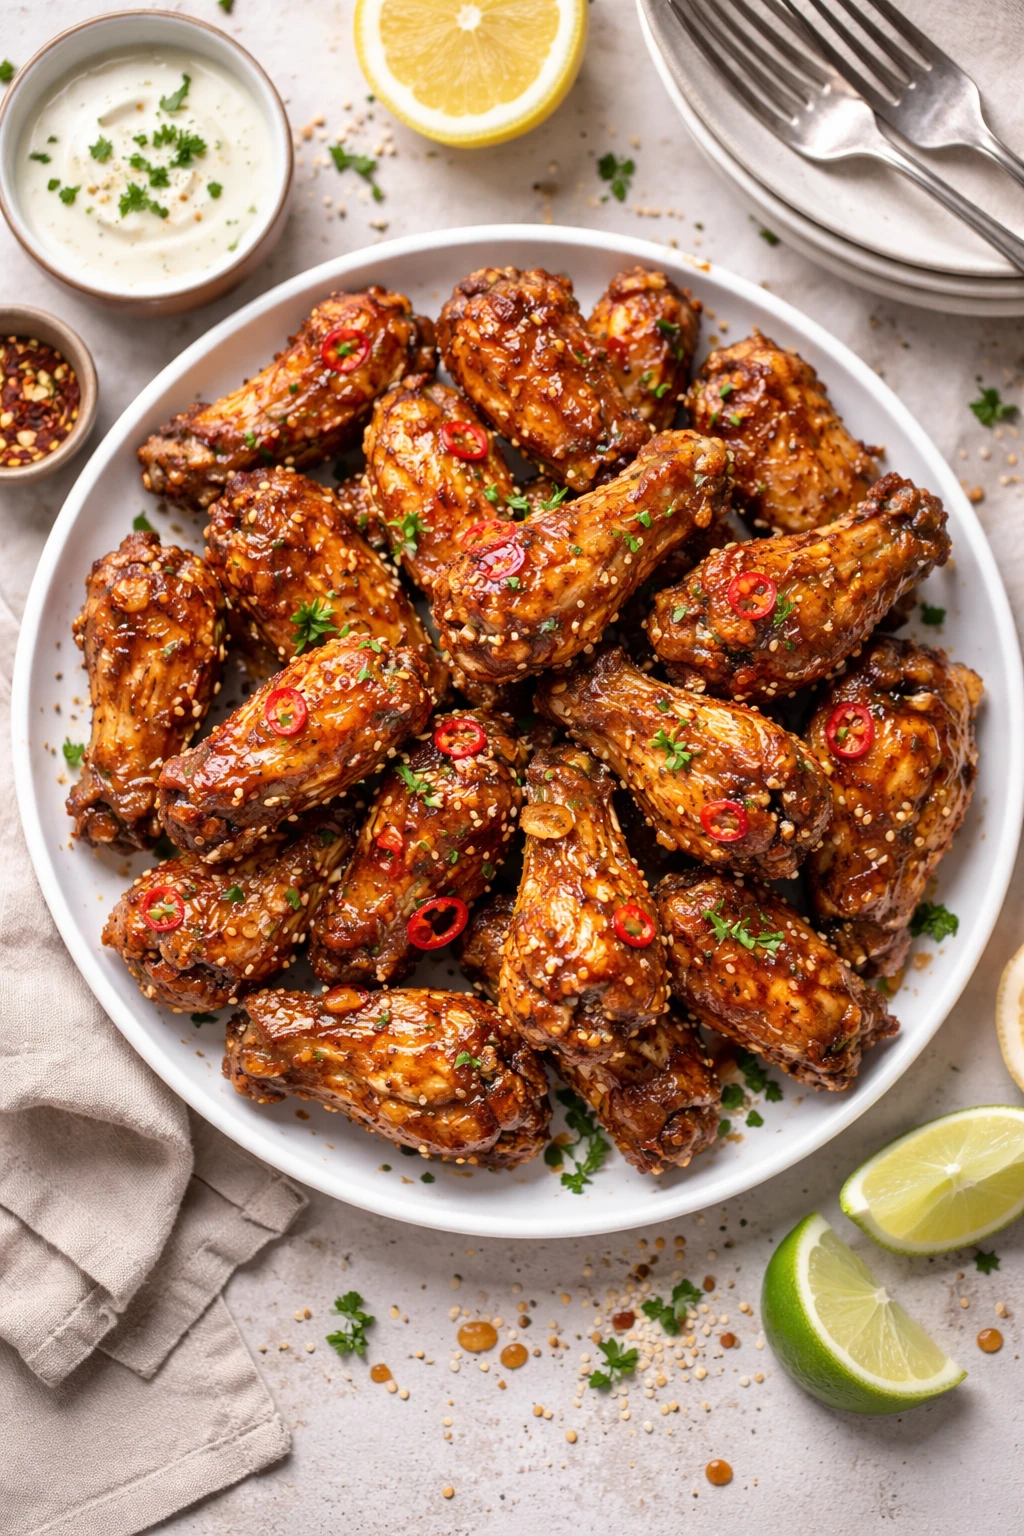
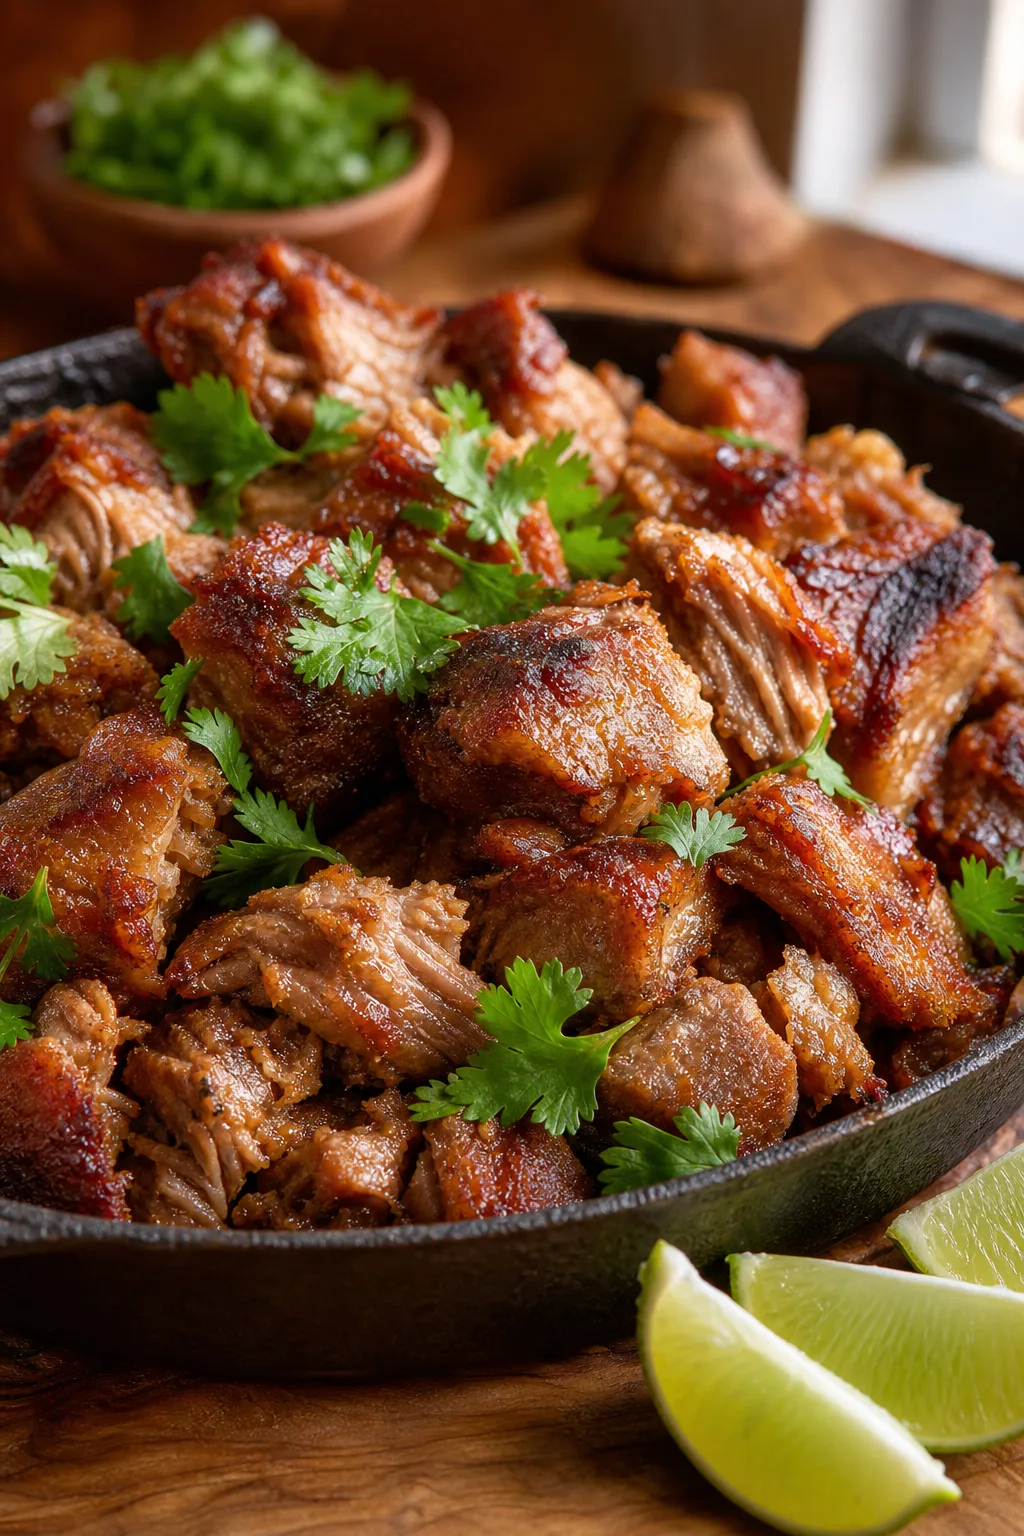
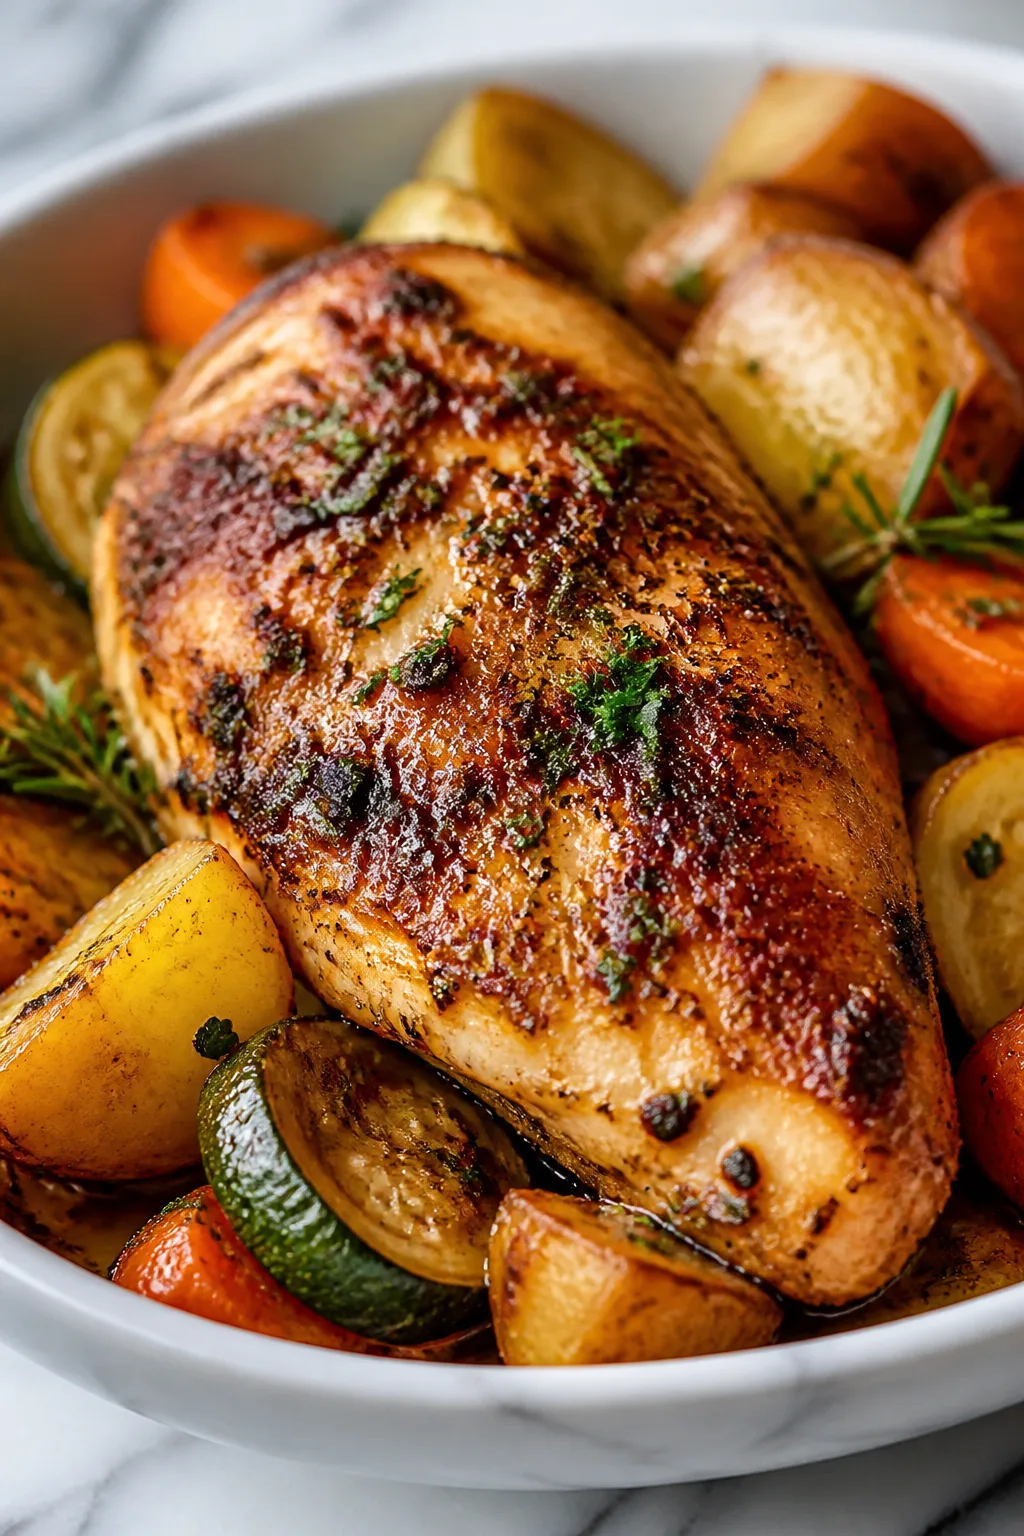
These wings are crispy on the outside and juicy inside, tossed in a sticky, spicy honey glaze that hits the perfect sweet-heat balance. Ready in under 45 minutes, they're perfect for casual dinners or game nights!
Introduction
I first made these sticky spicy honey glazed chicken wings on a whim when friends came over for a casual hangout, and they quickly became the star of the night. What sets this recipe apart is the balance between the crispy skin and the juicy meat inside, all coated in a glaze that’s sweet but with a perfect kick of heat. Unlike some wing recipes that can be greasy or soggy, the trick I learned was lightly dusting the wings with flour and pan-frying them before finishing in the oven. This dual cooking process ensures that crunch without drying them out. Plus, the glaze is cooked down just enough to get that sticky, finger-licking finish without being overly sweet or cloying. When these wings come out of the oven, they’re glossy, slightly caramelized, and bursting with flavor — the kind of dish that makes you want to lick your fingers and go back for more. They’re great for game nights, casual dinners, or anytime you want a crowd-pleaser that’s not too complicated but tastes like you spent hours on it.
What You'll Need
Approximately 8-10 wings, 4 servings
- 2 pounds chicken wings, whole or split
- 1 teaspoon kosher salt
- 1/2 teaspoon black pepper
- 1/2 teaspoon garlic powder
- 1/2 cup all-purpose flour
- 2 tablespoons vegetable oil
- 1/3 cup honey
- 2 tablespoons hot sauce (adjust to taste)
- 1 tablespoon soy sauce
- 1 teaspoon apple cider vinegar
- 1/2 teaspoon smoked paprika
- Optional: chopped fresh parsley for garnish
How To Do It
Step 1
Start by patting your chicken wings dry with paper towels. This is a crucial step because moisture on the skin will prevent them from crisping up properly. Once dry, season the wings evenly with kosher salt, black pepper, and garlic powder. This simple seasoning forms the flavor base and ensures the meat inside is tasty before the glaze is added. Avoid skipping the drying — it helps the flour stick better and creates a nice crust when cooking.
⏱ Time: 10
✓ Doneness: Wings feel dry to the touch and are evenly coated with seasoning
Step 2
Place the flour in a large bowl and toss the seasoned wings in it until lightly coated. The flour helps create the crispy outer layer when frying. Don’t overdo it — a thin dusting is enough. If you add too much flour, the wings can end up gummy after cooking. Make sure to shake off excess flour before cooking to avoid clumping.
⏱ Time: 5
✓ Doneness: Wings have a light, even flour coating with no clumps
Step 3
Heat the vegetable oil in a large skillet over medium-high heat. When the oil is hot but not smoking, add the wings in a single layer without crowding. This step is about building a crispy crust by frying the flour coating. Cook the wings for about 3-4 minutes per side, turning carefully with tongs, until golden brown. Don’t rush or overcrowd the pan — that traps steam and makes the wings soggy instead of crispy.
⏱ Time: 8
✓ Doneness: Wings are golden brown and crispy on the outside
Step 4
Preheat your oven to 400°F (200°C). After frying, transfer the wings to a wire rack set over a baking sheet to drain any excess oil. This keeps them from sitting in grease and helps maintain crispness. Then, bake the wings in the oven for 15 minutes to finish cooking through and render the fat underneath the skin. This step ensures juicy meat inside while keeping the skin crispy.
⏱ Time: 15
✓ Doneness: Wings are cooked through (internal temp 165°F) and skin feels crisp
Step 5
While the wings bake, prepare the glaze by combining honey, hot sauce, soy sauce, apple cider vinegar, and smoked paprika in a small saucepan. Heat gently over low heat, stirring occasionally, until the mixture thickens slightly and becomes syrupy. This slow simmer allows the flavors to meld and the sugars in the honey to caramelize, giving the glaze its sticky texture.
⏱ Time: 7
✓ Doneness: Glaze coats the back of a spoon and has a shiny, sticky consistency
Step 6
Once the wings are out of the oven, immediately toss them in the warm honey glaze using a large bowl or zip-top bag. The heat from the wings helps the glaze stick evenly and form that irresistible sticky coating. Be sure to coat every wing well but don’t drown them — you want a nice balance of glaze to crispy skin.
⏱ Time: 3
✓ Doneness: Wings are evenly coated with a glossy, sticky glaze
Step 7
Serve the wings immediately, garnished with chopped fresh parsley if you like a pop of color and freshness. These wings are best enjoyed hot to savor the contrast between the crispy skin and sticky sweet-spicy glaze. Pair with celery sticks or a simple dipping sauce for a classic touch.
⏱ Time: 2
✓ Doneness: Wings are hot, sticky, and ready to devour
Step 8
If you want to prepare ahead, you can fry and bake the wings, then cool completely before glazing. Store them in an airtight container in the fridge. Reheat in a hot oven to restore crispness, then toss with freshly warmed glaze just before serving.
⏱ Time: 0
✓ Doneness: Wings are reheated through and glaze is fresh and sticky
Step 9
For an extra touch, try adding a sprinkle of toasted sesame seeds or a squeeze of lime juice over the glazed wings right before serving. This adds texture and brightens the flavors beautifully.
⏱ Time: 0
✓ Doneness: Wings have an added fresh crunch or citrus zing
Pro Tips
Make sure to dry the wings thoroughly before seasoning and flouring.
Dry skin allows the flour to stick properly and helps the wings crisp up during frying and baking. Moisture causes steam, which prevents the crust from forming and results in soggy wings.
Don’t overcrowd the pan when frying the wings.
Crowding traps steam and lowers the oil temperature, which stops the wings from crisping properly. Fry in batches if needed to maintain heat and get an even golden crust.
Simmer the glaze gently until it thickens slightly.
Slow simmering allows the sugars in honey to caramelize without burning, creating a sticky, glossy glaze that clings to the wings. If you rush this step, the glaze may be too thin or taste raw.
Use a wire rack when baking the wings after frying.
Elevating the wings lets hot air circulate all around, preventing sogginess and helping render out fat for a crispier finish. Baking directly on a sheet traps grease and softens the skin.
Toss wings in warm glaze immediately after baking.
The heat from the wings helps the glaze coat evenly and stick well. If the wings cool first, the glaze can slide off or clump unevenly.
Adjust the hot sauce quantity to your preferred spice level.
Everyone’s heat tolerance is different. Adding too much can overpower the honey’s sweetness, while too little won’t balance the flavors. Start with less and add more to taste.
Use fresh parsley or citrus zest as garnish for brightness.
The fresh herbs or a little acidity cut through the richness and sticky sweetness, adding a refreshing contrast that keeps the wings from feeling heavy.
Common Mistakes to Avoid
Skipping the drying step before cooking
Why it happens Many cooks underestimate how much moisture affects crispiness and skip drying to save time.
Fix Always pat wings dry thoroughly with paper towels before seasoning and flouring. This step is essential for crisp skin and proper flour adhesion.
Overcrowding the pan during frying
Why it happens Trying to cook all wings at once to save time is tempting but counterproductive.
Fix Fry in batches if needed, so the oil temperature stays high and wings crisp evenly without steaming.
Using too much flour coating
Why it happens Some think a thick batter makes wings crispier, but it can cause gummy or cakey texture.
Fix Use just a light dusting of flour and shake off excess before cooking for a delicate, crispy crust.
Adding glaze when wings are cold
Why it happens Sometimes wings are glazed after cooling, causing glaze to slide off or clump.
Fix Toss wings in glaze immediately while hot to ensure even, sticky coating.
Rushing the glaze cooking step
Why it happens Impatience or distraction can cause glaze to be thin or burnt.
Fix Simmer glaze gently while stirring until it thickens slightly and becomes shiny, then remove from heat.
Variations
Garlic Parmesan Wings
Swap the honey glaze for a buttery garlic Parmesan sauce with fresh herbs and lots of grated cheese. These wings have a savory, cheesy twist that’s perfect for garlic lovers. They’re less sweet but just as addictive.
Note: Use melted butter mixed with garlic and Parmesan, then toss wings immediately after baking to coat evenly.
Lemon Pepper Wings
Season wings with lemon zest, cracked black pepper, and a touch of salt instead of flouring. Bake until crispy, then toss with melted butter and extra lemon juice. This variation is bright, tangy, and less sticky.
Note: Skip frying and bake wings on a wire rack for crispness; toss in lemon butter glaze right after baking.
Spicy Korean Gochujang Wings
Replace the honey glaze with a sauce made from gochujang (Korean chili paste), soy sauce, garlic, and a bit of sugar. These wings have a deep umami flavor with a spicy kick and a sticky finish.
Note: Simmer gochujang sauce until thick, then toss wings immediately after baking for best adhesion.
Smoky BBQ Wings
Use your favorite smoky barbecue sauce instead of honey glaze. The wings get a tangy, smoky flavor that’s great for summer cookouts. Brush sauce on during the last 5 minutes of baking for a caramelized finish.
Note: Apply BBQ sauce in the oven near the end to prevent burning sugars.
Crispy Baked Wings Without Frying
For a lighter version, skip the frying and coat wings lightly with baking powder and seasoning before baking. This method still crisps the skin nicely and reduces oil use, though texture differs slightly.
Note: Bake wings on a wire rack at high heat for 40-45 minutes, flipping halfway through.
Nutrition
Per Serving:
Nutritional values are estimates and may vary based on specific ingredients used.
Storage & Tips
Room Temperature
These wings can safely sit out at room temperature for up to 2 hours if covered loosely to avoid drying out. Beyond that, bacteria growth risk increases, so refrigerate promptly.
Refrigerator
Store leftover wings in an airtight container for up to 3 days. Flavor may mellow and skin lose crispness when cold. Reheat in the oven to restore texture and reapply glaze for best results.
Freezer
Freeze wings in a single layer on a baking sheet, then transfer to a freezer-safe bag or container for up to 3 months. Wrap tightly to prevent freezer burn. Thaw overnight in the fridge before reheating.
Reheating
Reheat wings in a preheated oven at 375°F (190°C) for 10-12 minutes until hot and crisp. Avoid microwaving as it softens the skin. Add a splash of water or extra glaze if they seem dry.
Make Ahead
You can fry and bake the wings a day ahead, then cool and store them unglazed. On serving day, gently reheat and toss with freshly warmed glaze for that just-made taste.
FAQ
Can I bake the wings instead of frying them?
Yes! You can bake wings on a wire rack at 400°F for about 40-45 minutes, flipping halfway. They won’t be quite as crispy as when fried first, but still delicious. Adding baking powder to the seasoning helps crisp the skin.
What can I substitute for hot sauce if I don’t like spicy food?
You can leave out the hot sauce or use a mild chili paste or smoked paprika for flavor without much heat. Adding a little extra vinegar or mustard can also add tanginess without spice.
Why do my wings sometimes come out soggy after glazing?
This usually happens if the wings are cooled before glazing or if the glaze is too watery. Make sure to toss wings in the warm glaze immediately after baking while still hot, and simmer the glaze until it thickens.
How do I know when the wings are fully cooked?
The internal temperature should reach 165°F (74°C). The meat should be opaque and juices run clear. Baking after frying helps ensure thorough cooking.
Can I make these wings gluten-free?
Yes, use a gluten-free flour blend or cornstarch for the coating. Double-check that soy sauce and hot sauce are gluten-free or use tamari and a suitable alternative.
Is it okay to use frozen wings?
Frozen wings can be used but make sure to thaw completely and pat dry before cooking. Excess moisture from frozen wings can prevent crisping.
Can I prepare the glaze ahead of time?
Absolutely, the glaze can be made a day ahead and reheated gently before tossing with wings. Store it in a sealed container in the fridge.
How spicy are these wings?
They have a moderate heat level from the hot sauce balanced by honey’s sweetness. You can adjust the hot sauce amount to make them milder or hotter.
Final Thoughts
Give these sticky spicy honey glazed wings a try and let me know how they turn out! They’re a guaranteed hit for any casual get-together or cozy night in.