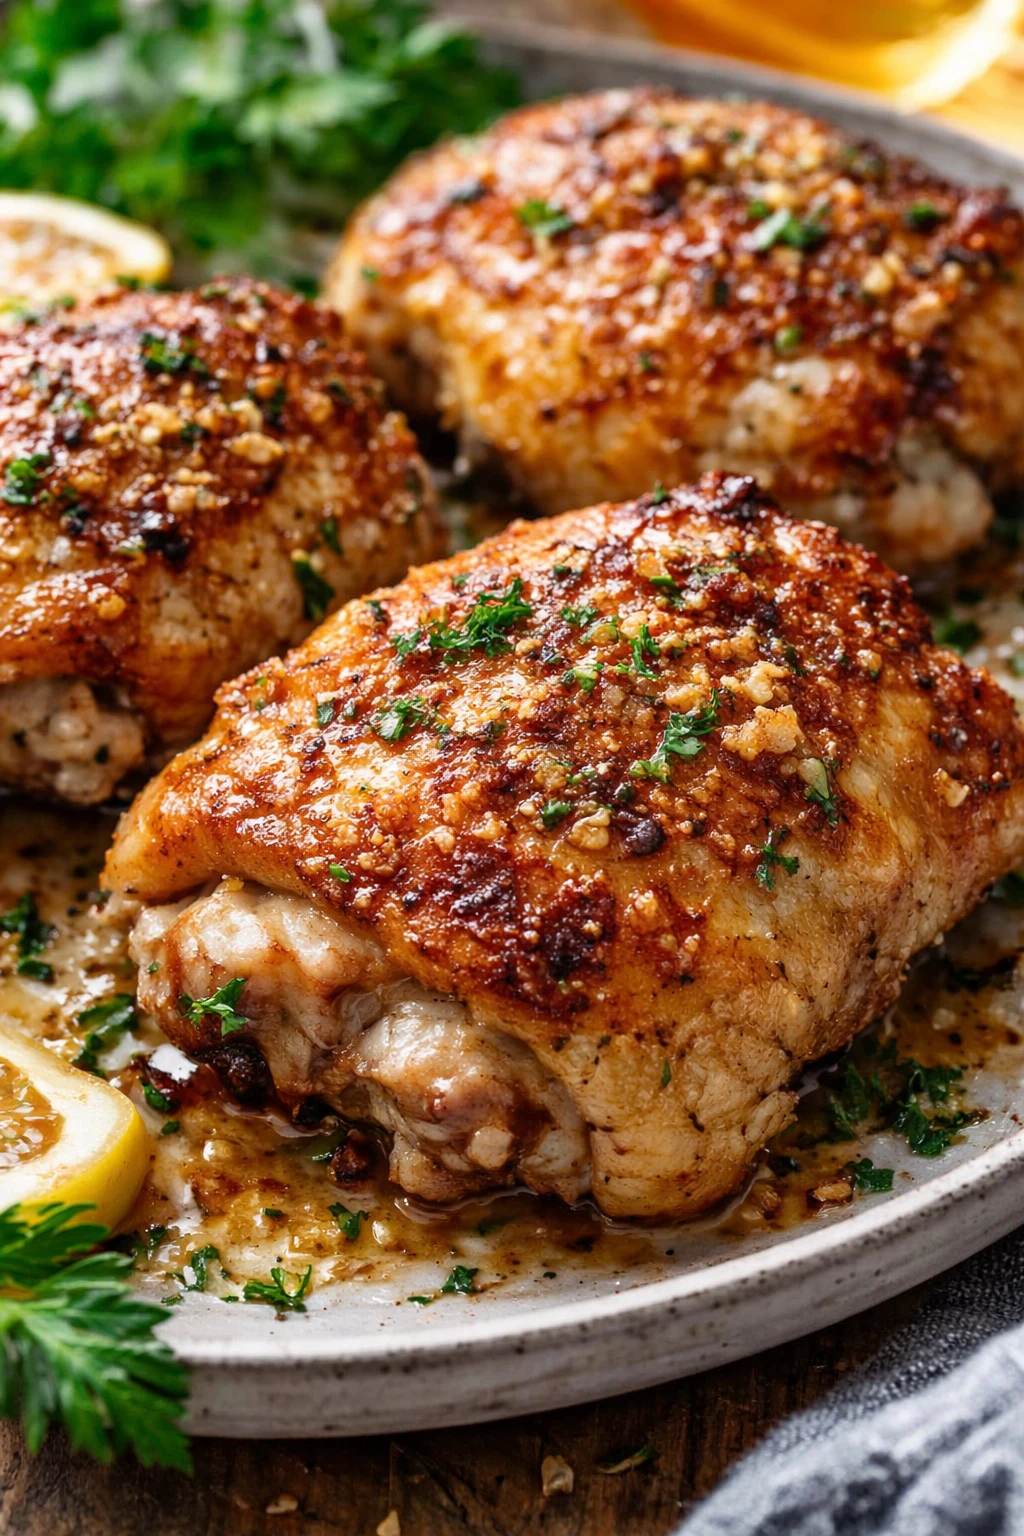
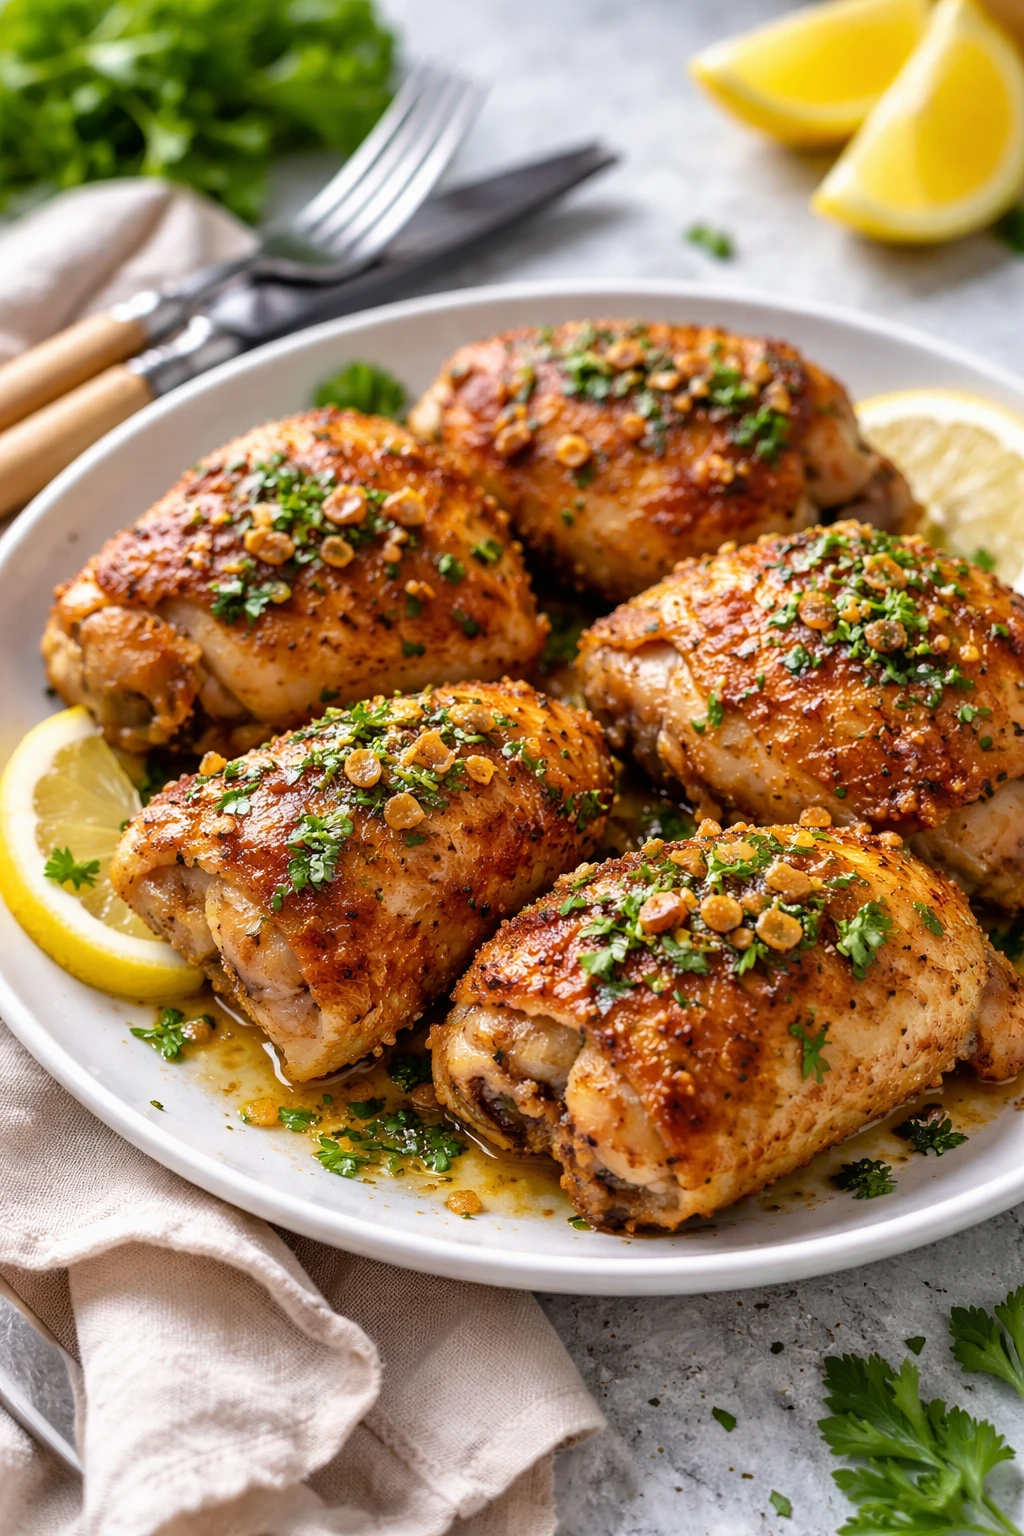
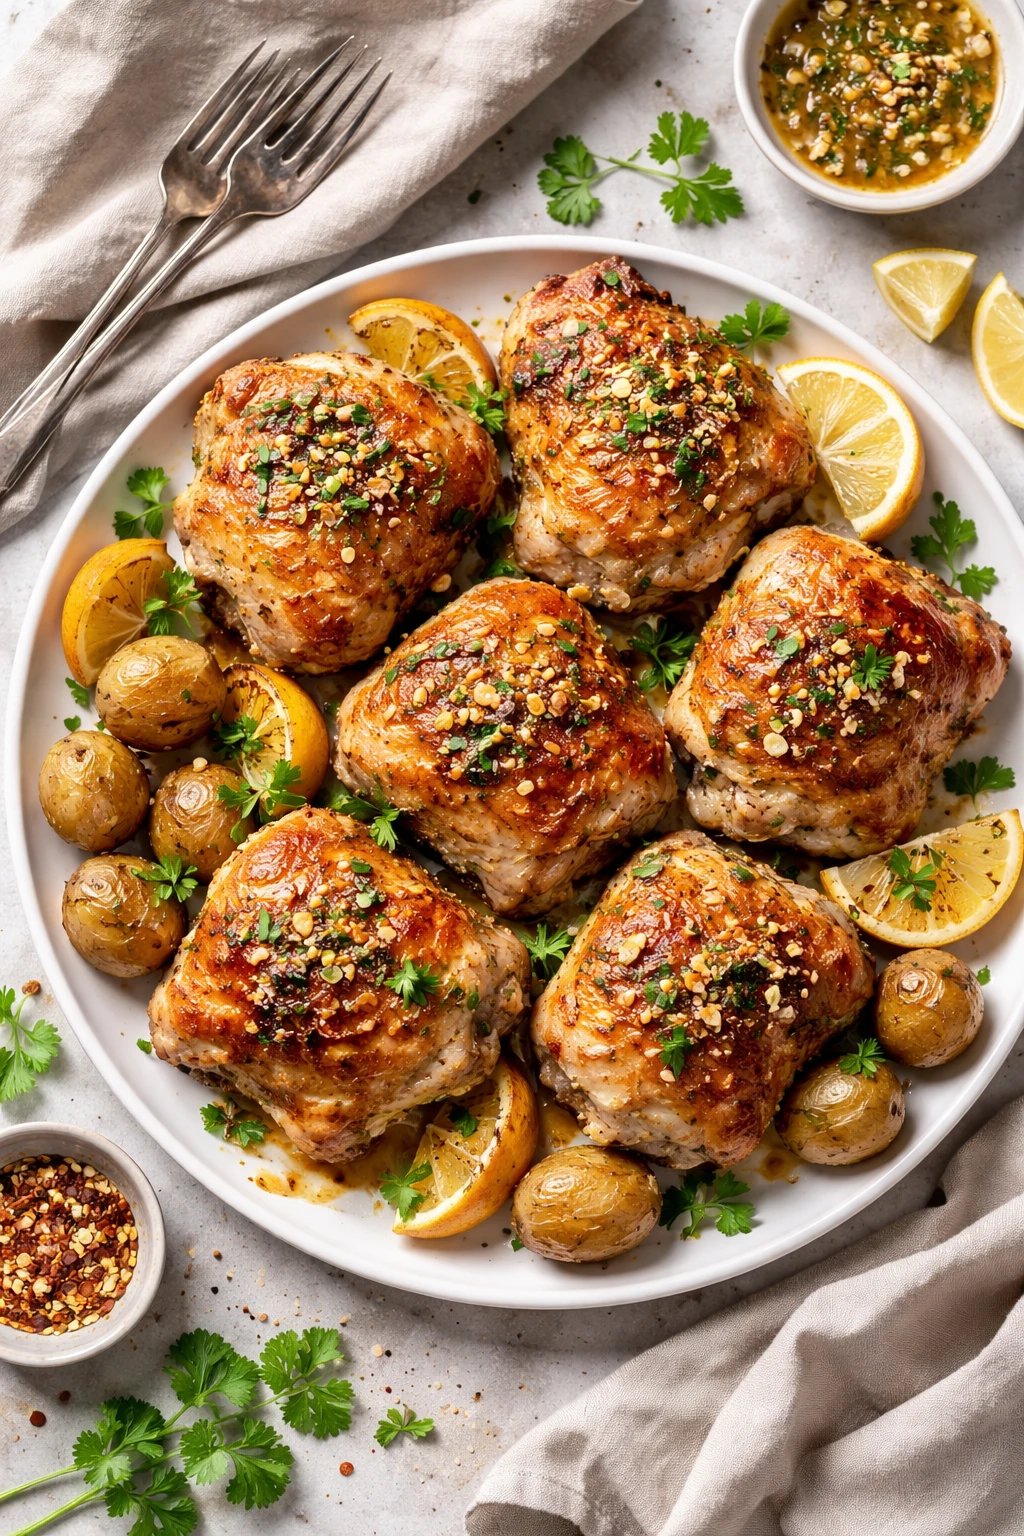
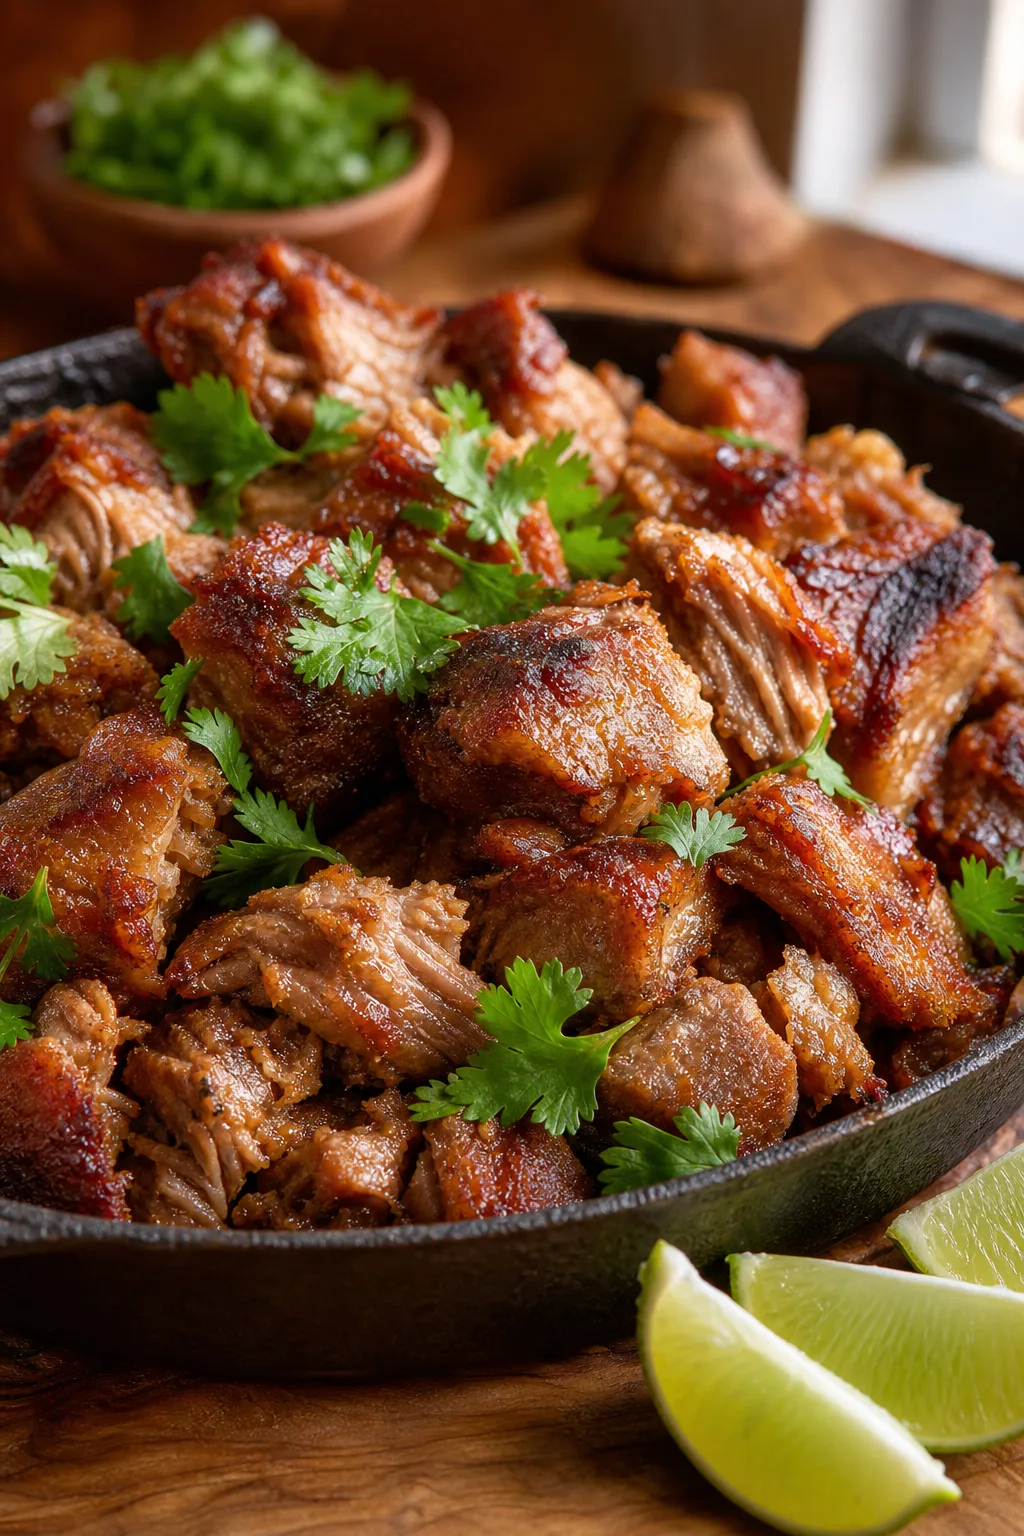
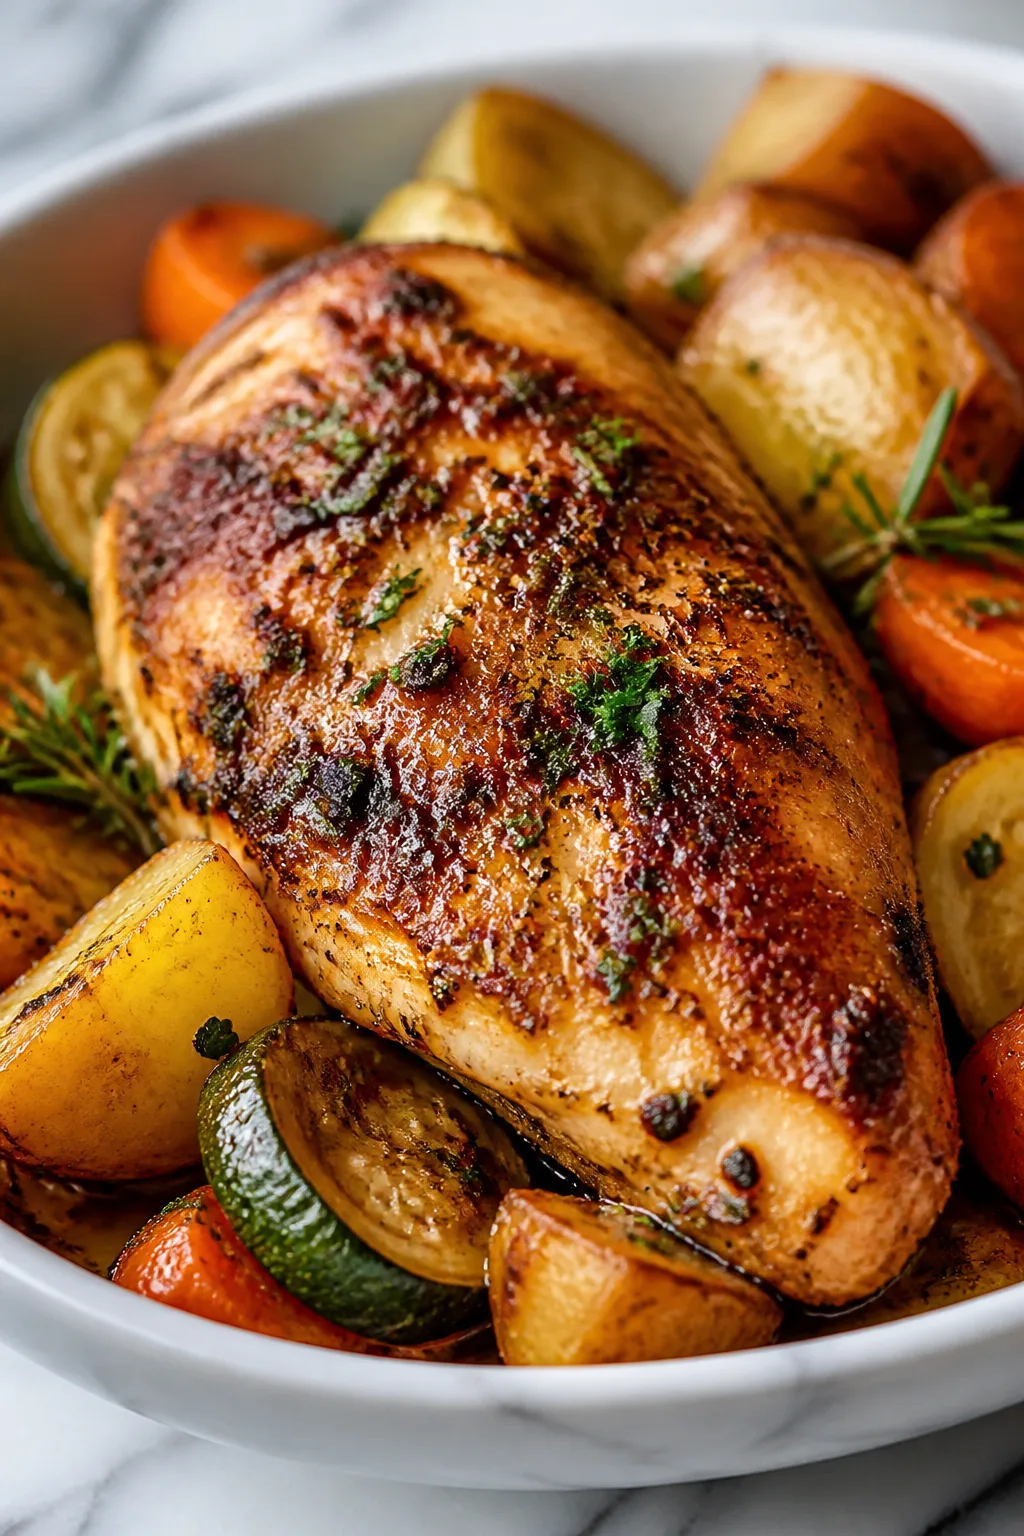
These chicken thighs get perfectly crispy in the airfryer with a rich garlic butter glaze that locks in flavor. Super quick and easy—great for busy weeknights or a cozy dinner with friends.
Introduction
I first made these garlic butter chicken thighs when I was craving something crispy but didn’t want the mess of frying. Using the airfryer was a game-changer — it crisps the skin beautifully while keeping the meat juicy. What makes my version stand out is the luscious garlic butter glaze that I brush on right after cooking, which seals in all those savory flavors and gives it a rich finish. I’ve tried a few times without the butter and honestly, it just doesn’t have the same depth. Also, seasoning the chicken with smoked paprika adds a subtle warmth that’s not overpowering but really elevates the dish. The trick I learned is to pat the chicken dry before seasoning — that’s key to getting the skin crisp and crackly. When it’s done, the thighs have this beautiful golden crust, and the garlic butter makes every bite feel indulgent but still easy enough for a weeknight. My family loves it, and honestly, it’s become a go-to when I want a fuss-free but impressive dinner. You’ll love how quick it comes together and how little cleanup you have afterward!
How To Do It
Step 1
Start by patting the chicken thighs dry with paper towels — this step is crucial because moisture on the skin prevents it from crisping properly. Once dry, season both sides evenly with kosher salt, black pepper, and smoked paprika. The paprika adds a subtle smoky flavor and beautiful color. Let the seasoned chicken rest at room temperature for about 10 minutes; this helps the seasoning penetrate and promotes even cooking.
⏱ Time: 15 minutes
✓ Doneness: Chicken skin looks dry and well-coated with seasoning, no moisture beading on surface
Step 2
Preheat your airfryer to 400°F (200°C). Lightly brush the basket or tray with olive oil to prevent sticking. Place the chicken thighs skin-side down in a single layer, making sure they’re not overcrowded to allow hot air circulation. Cook for 12 minutes, then flip and cook another 12-15 minutes skin-side up. The high heat crisps the skin while rendering the fat underneath. Avoid opening the fryer too often, or you’ll lose heat and affect the crispiness.
⏱ Time: 27 minutes
✓ Doneness: Skin is golden brown and crisp, internal temperature reaches 165°F (74°C) when checked with a meat thermometer
Step 3
While the chicken cooks, melt the butter in a small saucepan over medium heat. Add the minced garlic and cook gently for 1-2 minutes until fragrant but not browned. This gentle cooking mellows the garlic’s sharpness and infuses the butter with flavor. Remove from heat and stir in chopped parsley if using. This garlic butter will be brushed on after cooking to add richness and moisture.
⏱ Time: 5 minutes
✓ Doneness: Butter is melted and fragrant with garlic aroma, parsley looks fresh and vibrant
Step 4
Once the chicken is cooked through and skin is crispy, transfer the thighs to a serving dish. Immediately brush them generously with the warm garlic butter. The hot chicken will absorb the butter, creating a glossy, flavorful coating. Don’t skip this step because it’s what elevates the dish from simple airfried chicken to something special and indulgent.
⏱ Time: 3 minutes
✓ Doneness: Chicken skin appears shiny and coated with garlic butter, aroma intensifies
Step 5
Let the chicken rest for 5 minutes before serving. Resting allows the juices to redistribute inside the meat, keeping it juicy and tender. If you slice into it too soon, you’ll lose those flavorful juices. Use this time to prepare any side dishes or a simple salad to complement the rich chicken.
⏱ Time: 5 minutes
✓ Doneness: Chicken juices run clear when gently pressed, meat feels tender but firm
Step 6
Serve the chicken thighs warm with your favorite sides. I love pairing them with roasted veggies or a fresh green salad to balance the richness. The garlic butter sauce clings to the skin and meat, making every bite flavorful. Leftovers reheat well and can be tossed into salads or wraps for next-day meals.
⏱ Time: 0 minutes
✓ Doneness: Dish plated attractively, ready to enjoy
Step 7
If you want extra crispy skin, after the initial airfry, you can flip the chicken skin-side up and airfry for an additional 2-3 minutes. Watch closely so it doesn’t burn. This step enhances the texture and gives you that perfect crunch.
⏱ Time: 2-3 minutes
✓ Doneness: Skin is extra crisp and crackly without dark spots
Step 8
Feel free to customize the seasoning by adding herbs like thyme or rosemary to the butter while melting. These herbs infuse the butter with fresh notes that complement the garlic beautifully. Just strain out the herbs before brushing if you prefer a smooth sauce.
⏱ Time: 0 minutes
✓ Doneness: Butter has a fresh herbal aroma
Step 9
Always use a meat thermometer to check doneness. Chicken thighs are safe at 165°F, but they can remain juicy up to 170°F. Overcooking dries them out and makes the skin less pleasant. Slow and steady heat in the airfryer helps keep everything tender yet crisp.
⏱ Time: 0 minutes
✓ Doneness: Internal temperature reads 165-170°F
Pro Tips
Always pat the chicken skin dry before seasoning.
Dry skin allows the fat under the skin to render properly during cooking, which is what creates that coveted crispy texture. Moist skin steams instead of crisps, leading to rubbery or soggy results.
Use a meat thermometer to check doneness.
Chicken thighs reach safe eating temperature at 165°F, but going beyond 170°F can dry out the meat. A thermometer removes guesswork and ensures juicy, perfectly cooked chicken every time.
Brush garlic butter on immediately after cooking.
Applying the butter while the chicken is hot helps it melt into the skin and meat, enhancing flavor and moisture. Waiting too long means the butter will solidify and won’t coat evenly.
Don’t overcrowd the airfryer basket.
Good air circulation is key to even cooking and crispiness. Crowding traps moisture and leads to unevenly cooked, less crispy chicken.
Let the chicken rest before slicing or serving.
Resting allows the juices to redistribute and settle inside the meat, preventing them from spilling out and drying the chicken when cut.
Use smoked paprika for added depth.
The smoky flavor complements the garlic butter and adds complexity. It also enhances the golden color of the skin, making the dish more visually appealing.
Cook garlic gently in butter to avoid bitterness.
High heat can burn garlic quickly, producing a bitter taste. Cooking it slowly infuses the butter with mellow garlic aroma without harshness.
Common Mistakes to Avoid
Skipping the drying step before seasoning.
Why it happens People often want to rush and skip drying the skin, not realizing moisture prevents crisping.
Fix Always pat chicken skin dry with paper towels before seasoning to ensure the skin crisps well in the airfryer.
Overcrowding the airfryer basket.
Why it happens Trying to cook everything at once to save time, unaware that this traps steam and reduces crispiness.
Fix Cook in batches if needed, leaving space between pieces for hot air to circulate properly.
Applying garlic butter too late or when cold.
Why it happens Waiting until the chicken cools down causes butter to solidify and not coat evenly.
Fix Brush garlic butter immediately after cooking while chicken is hot for best absorption.
Not using a thermometer to check doneness.
Why it happens Guessing by time or appearance can lead to under- or overcooked chicken.
Fix Invest in a meat thermometer to check for 165°F internal temperature for juicy, safe chicken.
Burning garlic when melting butter.
Why it happens Using high heat cooks garlic too fast, making it bitter.
Fix Melt butter on low-medium heat and cook garlic gently until fragrant but not browned.
Variations
Spicy Garlic Butter Chicken
Add 1/2 teaspoon cayenne pepper or chili flakes to the seasoning mix and a pinch to the garlic butter for a spicy kick. The heat pairs wonderfully with the richness of the butter and crispy skin, making it perfect if you like a little fire.
Note: Monitor the cooking closely since spices can darken faster; adjust airfry time to prevent burning.
Herb-Infused Garlic Butter Chicken
Add fresh thyme and rosemary sprigs to the butter as it melts, then strain before brushing. This adds an earthy, aromatic layer that complements the garlic and paprika beautifully.
Note: Use fresh herbs and avoid overcooking them in butter to keep flavors vibrant and avoid bitterness.
Lemon Garlic Butter Chicken
Squeeze fresh lemon juice into the garlic butter after melting and add lemon zest to the seasoning. This brightens the dish and cuts through the richness, offering a fresh, tangy twist.
Note: Add lemon juice off the heat to preserve freshness and prevent curdling.
Honey Garlic Butter Chicken
Stir 1 tablespoon honey into the garlic butter for a sweet-savory glaze. This variation caramelizes slightly in the airfryer and adds a sticky, finger-licking finish.
Note: Watch for burning as sugar can caramelize quickly; reduce airfry time if needed.
Boneless Skinless Variation
Use boneless, skinless chicken thighs for a leaner option. Cook at 380°F for 10-12 minutes per side, then brush with garlic butter. Texture will be less crispy but still flavorful and tender.
Note: Without skin, the crispiness is reduced; marinate longer for extra flavor.
Nutrition
Per Serving:
Nutritional values are estimates and may vary based on specific ingredients used.
Storage & Tips
Room Temperature
Chicken thighs can be safely left out at room temperature for up to 2 hours if covered loosely with foil or a clean towel to prevent contamination. Beyond that, refrigerate promptly to avoid food safety issues.
Refrigerator
Store leftovers in an airtight container and refrigerate for up to 3 days. The garlic butter flavor intensifies but skin will lose crispness. Reheat gently to avoid drying out, preferably in an oven or airfryer to restore some crisp.
Freezer
Freeze cooked chicken thighs in airtight freezer bags or containers for up to 3 months. Wrap tightly to prevent freezer burn. Thaw overnight in the fridge before reheating to maintain texture and flavor.
Reheating
Reheat in an airfryer or oven at 350°F for 8-10 minutes to crisp skin again. Avoid microwaving as it makes skin rubbery. Add a splash of water or butter before reheating if meat seems dry.
Make Ahead
Season and dry chicken thighs up to 1 day ahead and keep covered in the fridge. You can prepare the garlic butter sauce ahead as well, then cook and brush just before serving for maximum freshness.
FAQ
Can I use boneless chicken thighs instead of bone-in?
Yes, you can swap boneless thighs for bone-in, but the texture and cooking time will differ. Boneless cooks faster and won’t have the same crispy skin since it’s usually removed. Adjust cooking time to about 10-12 minutes per side at 380°F and be sure to check internal temperature for doneness.
What if I don’t have an airfryer? Can I bake this instead?
Absolutely! You can bake the chicken thighs in a preheated oven at 425°F for about 35-40 minutes, flipping halfway through. The skin won’t be quite as crispy as airfrying but will still be tasty. Finish with the garlic butter glaze right after baking.
How do I prevent the garlic from burning in the butter?
Cook the garlic gently over low to medium heat just until fragrant, about 1-2 minutes. Avoid high heat, which quickly burns garlic and turns it bitter. Stir frequently and remove from heat as soon as you smell the aroma.
Can I prepare this recipe ahead of time?
Yes! Season and dry the chicken the day before and keep it covered in the fridge. You can also prepare the garlic butter in advance. When ready to cook, airfry the chicken fresh and brush with the warm butter for best results.
Why is patting the chicken dry so important?
Drying the skin removes excess moisture that would steam the chicken during cooking. This step is essential for achieving crispy, golden skin instead of soggy or rubbery texture.
What sides go well with this chicken recipe?
Roasted vegetables, mashed potatoes, or a crisp green salad all pair beautifully with this rich garlic butter chicken. The sides balance the flavors and keep the meal hearty but fresh.
Is smoked paprika necessary, or can I omit it?
Smoked paprika adds a subtle smoky depth and enhances color but isn’t mandatory. You can substitute regular paprika or omit it entirely if you prefer a simpler flavor.
How do I store leftovers to keep them from drying out?
Store in an airtight container in the fridge and reheat gently in the oven or airfryer. Adding a small splash of water or butter before reheating helps maintain moisture and flavor.
Final Thoughts
I hope you give these crispy garlic butter chicken thighs a try soon! They’re a simple way to make weeknight dinners feel a little more special. Don’t forget to share how yours turn out!